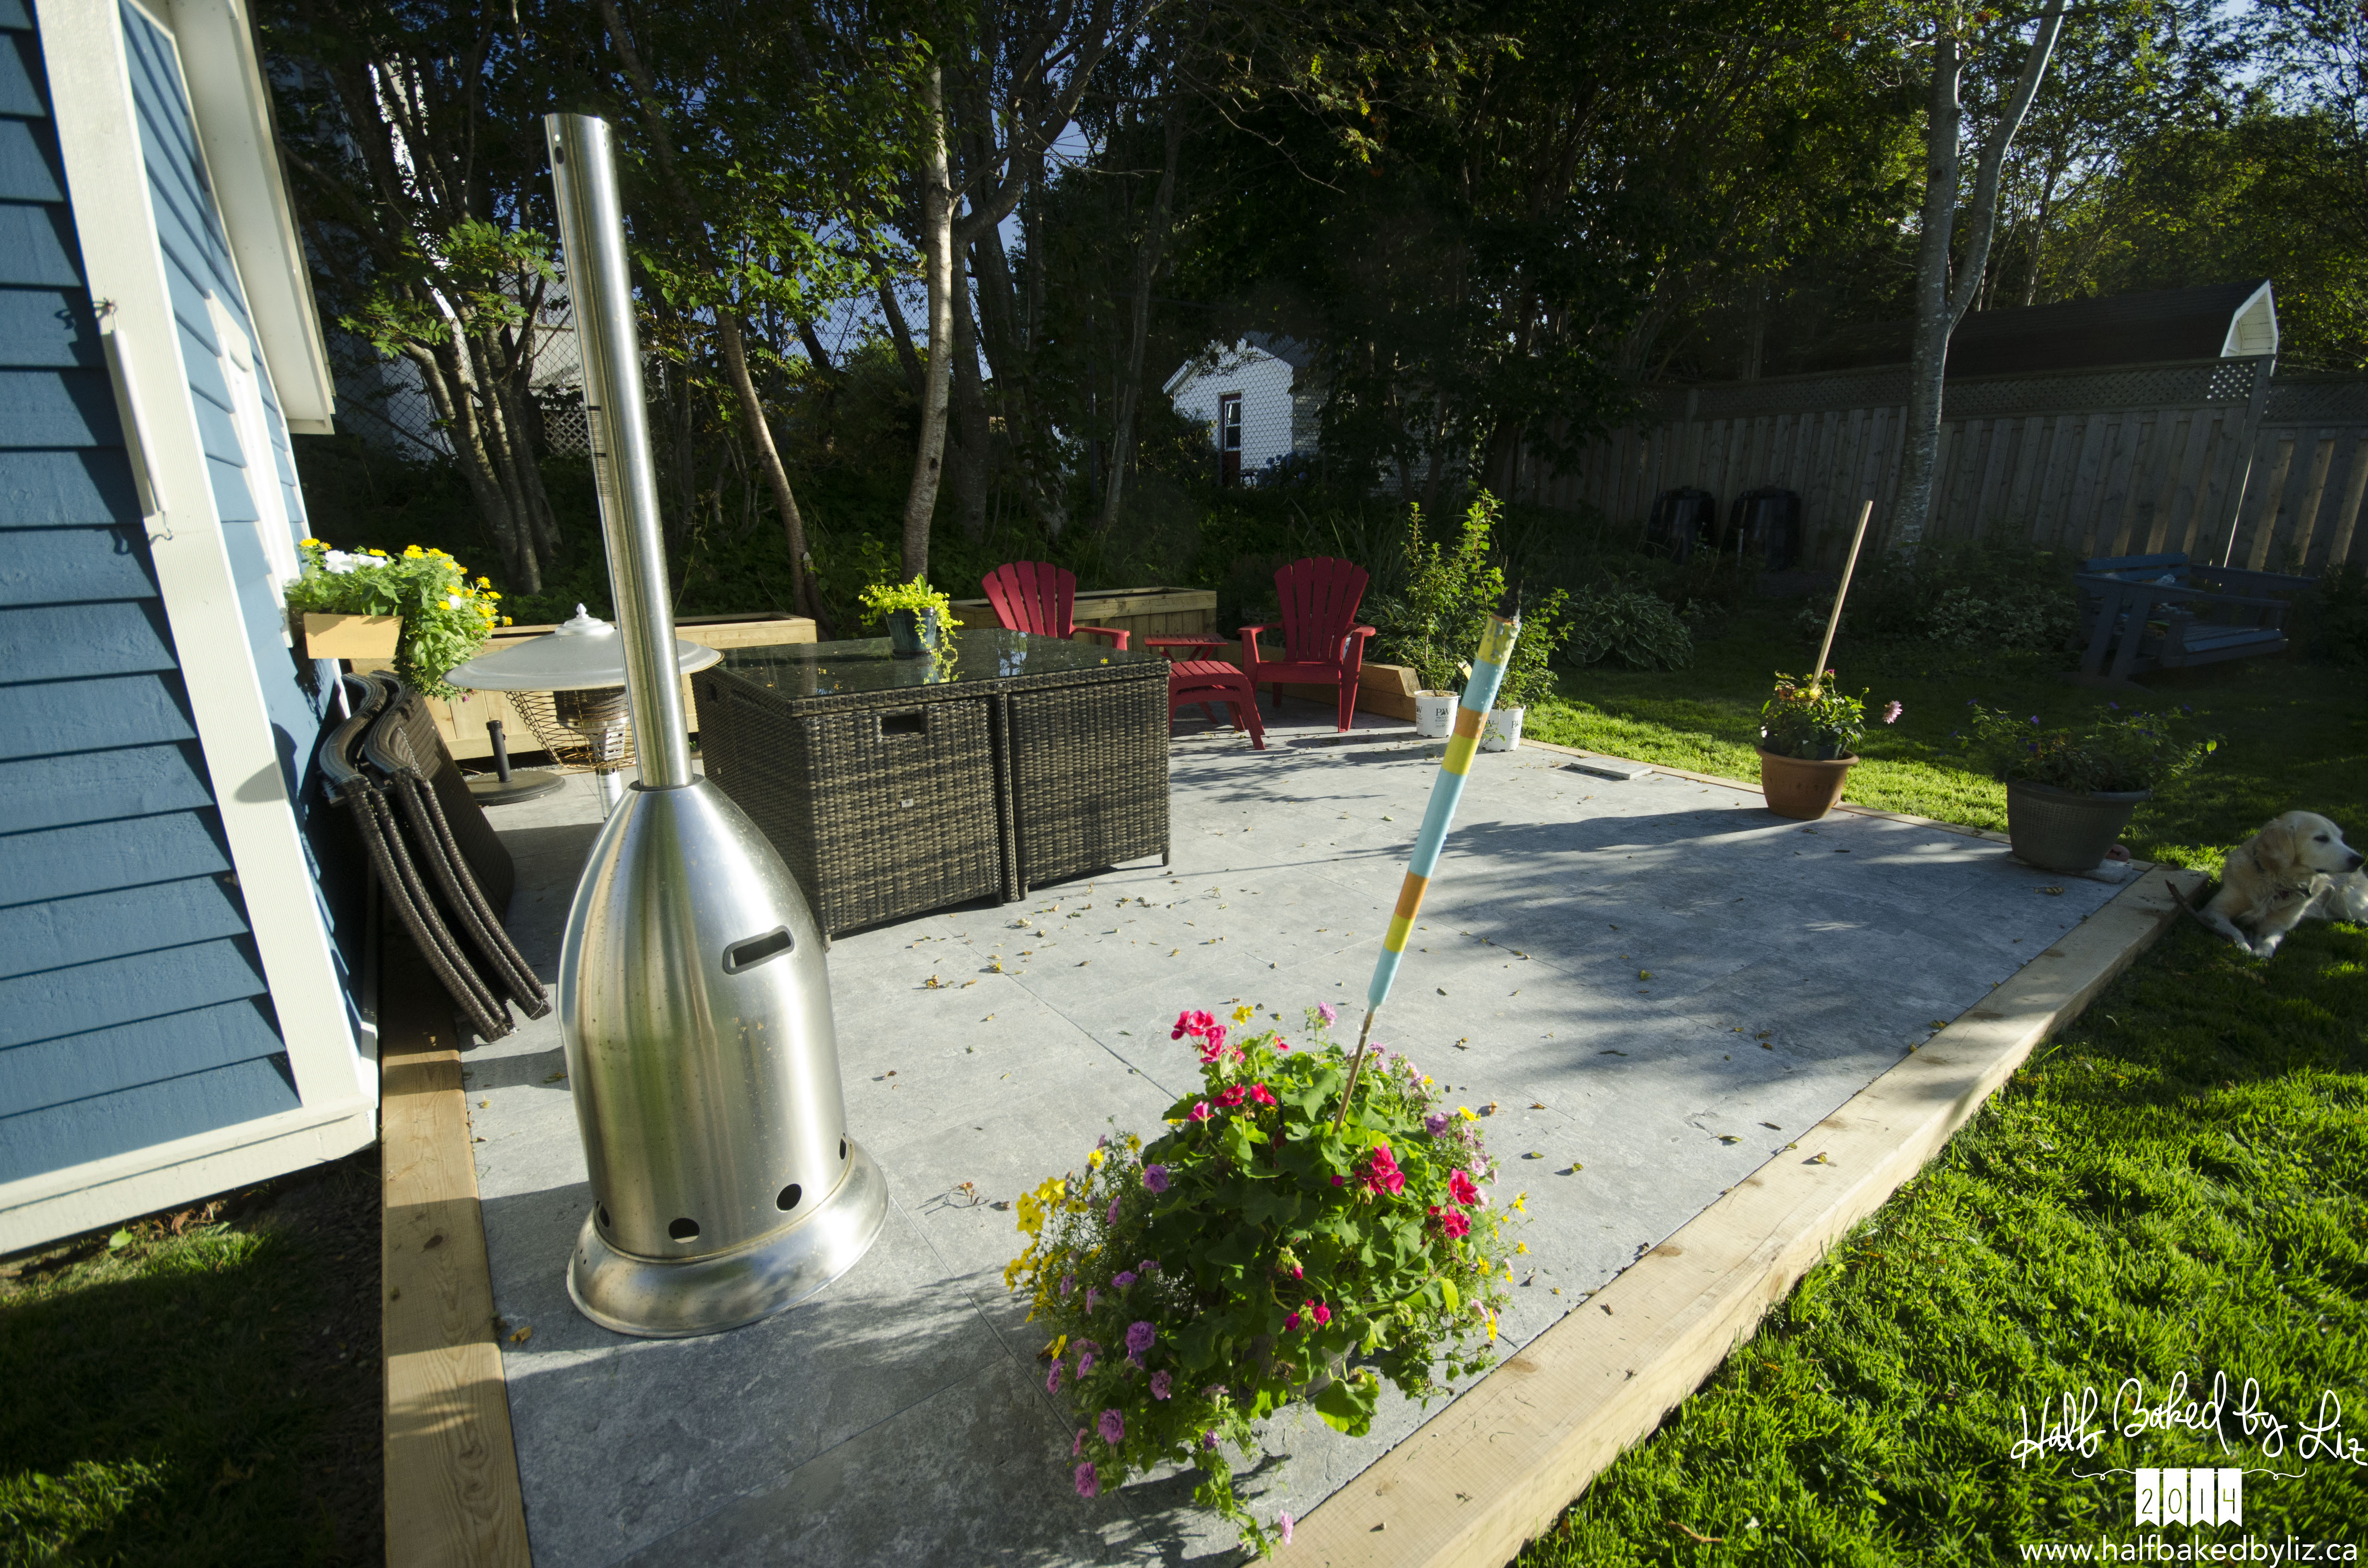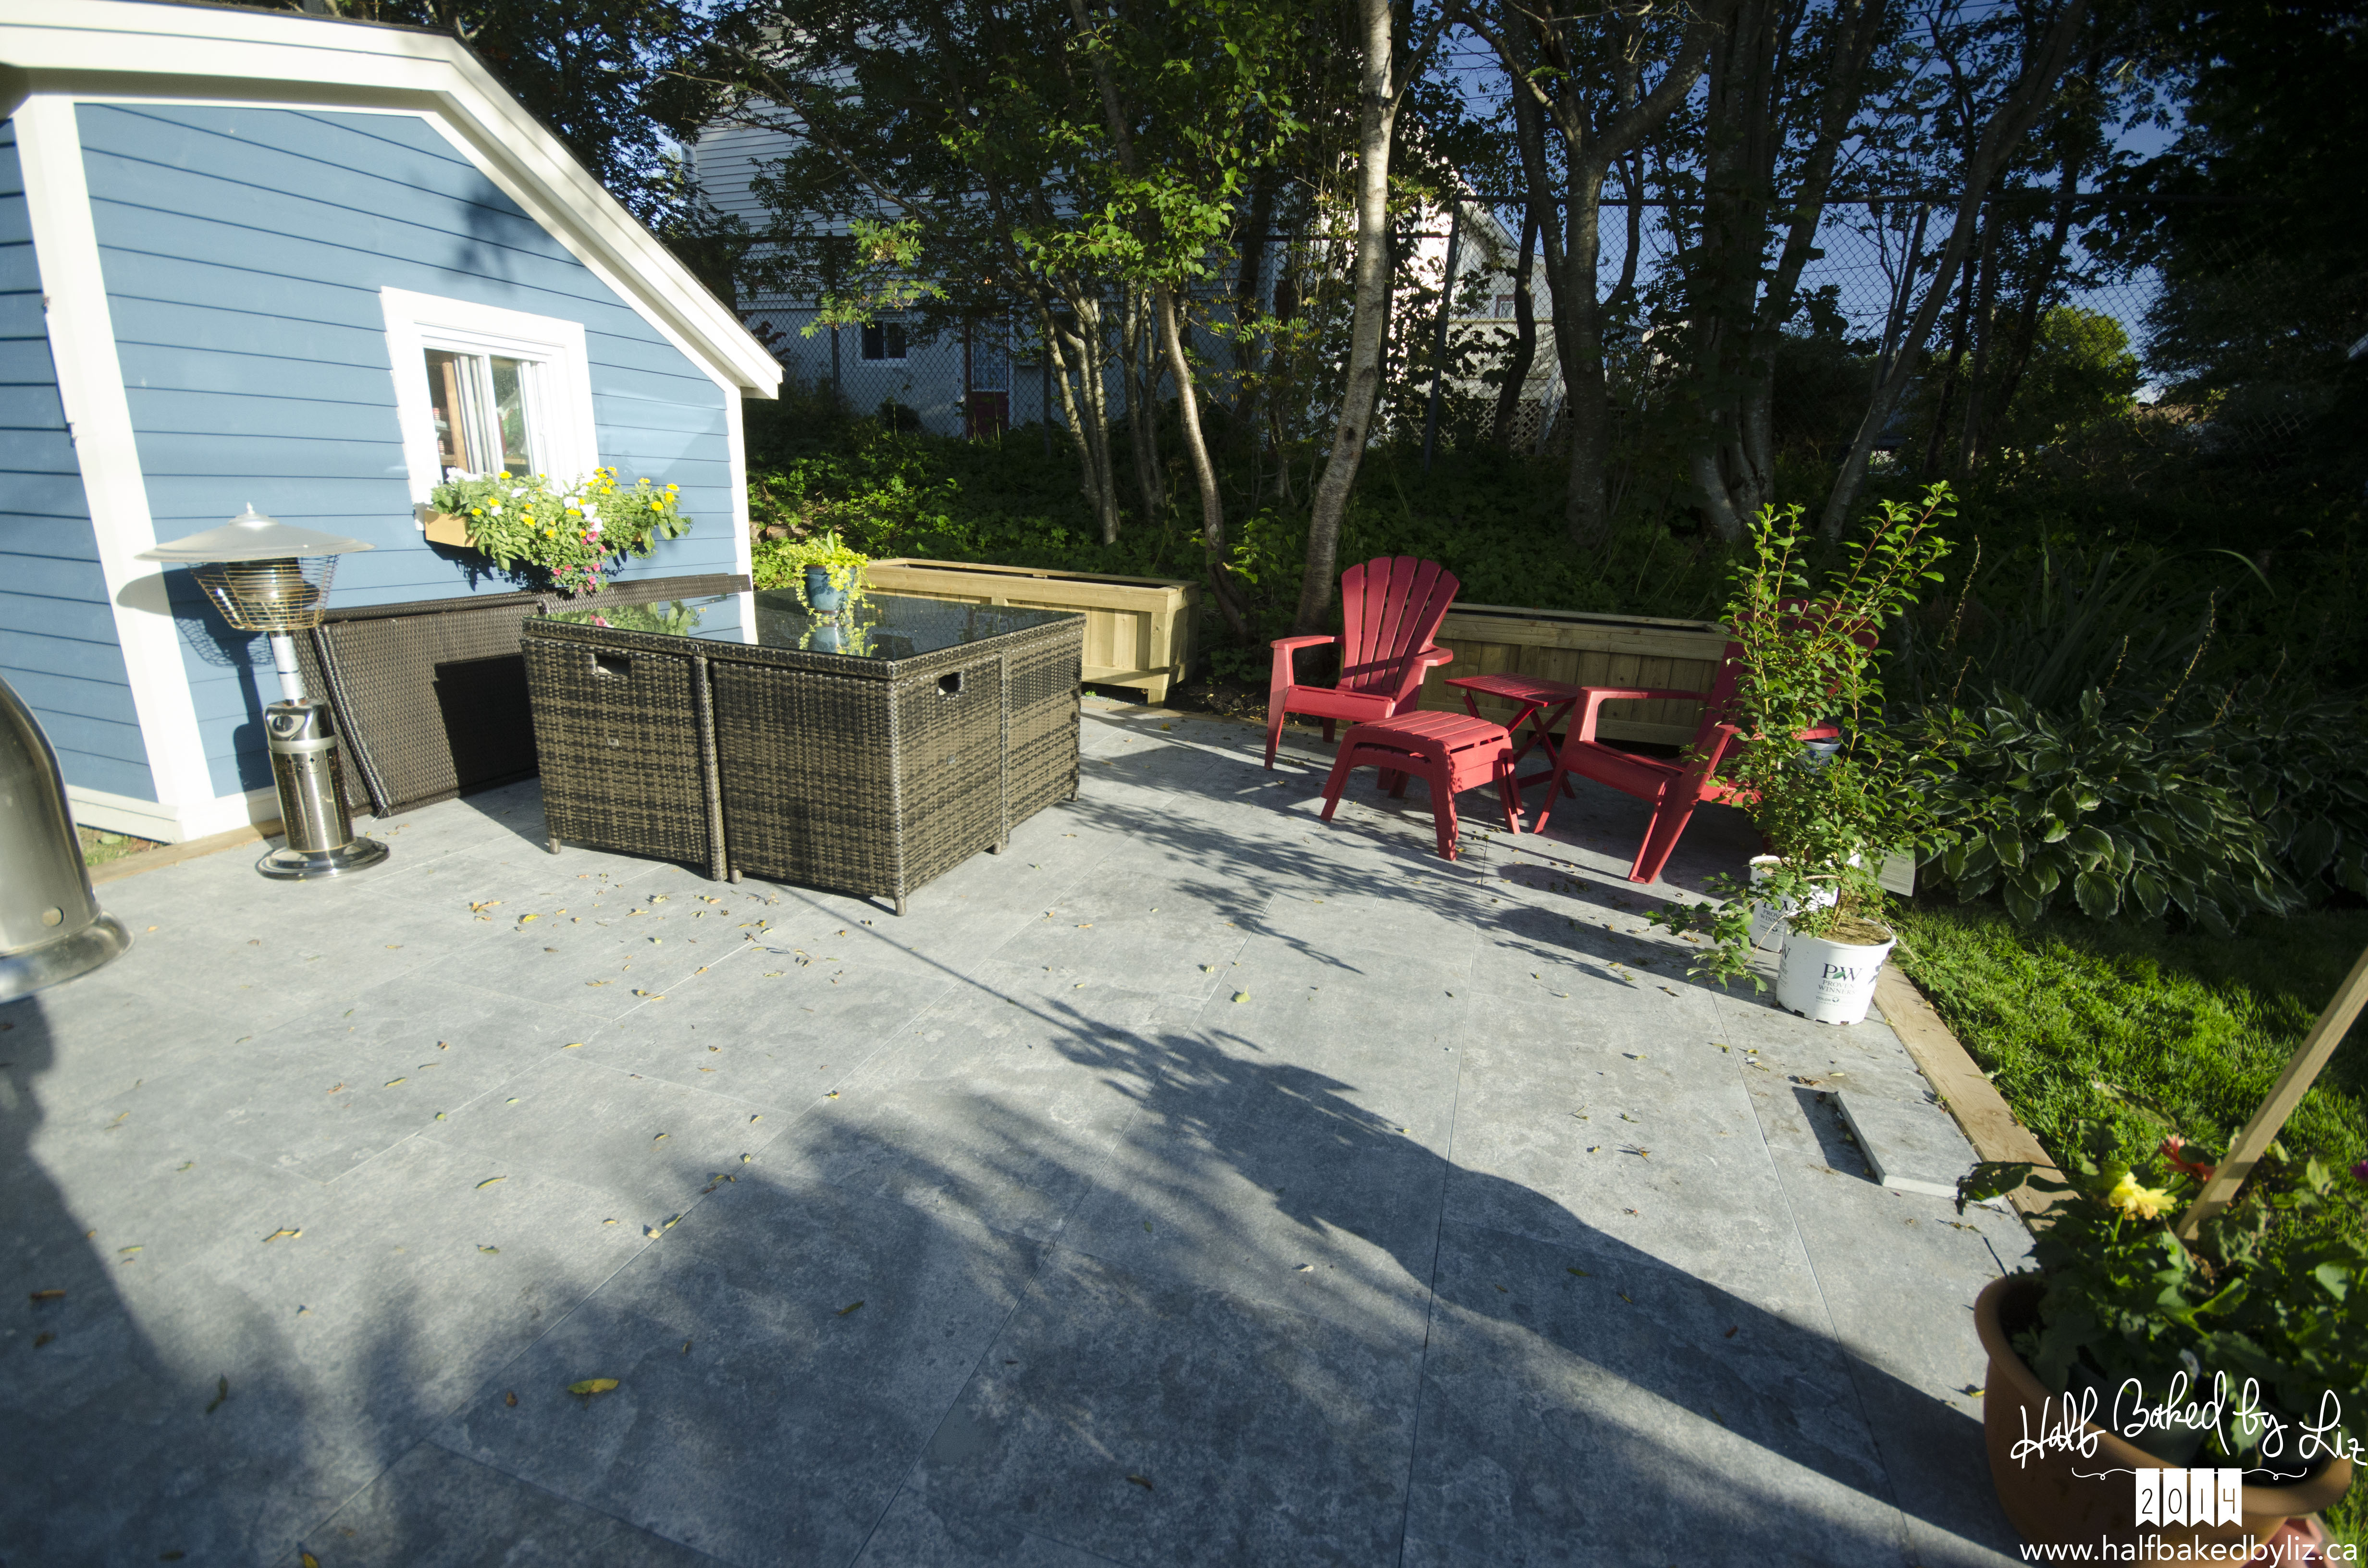
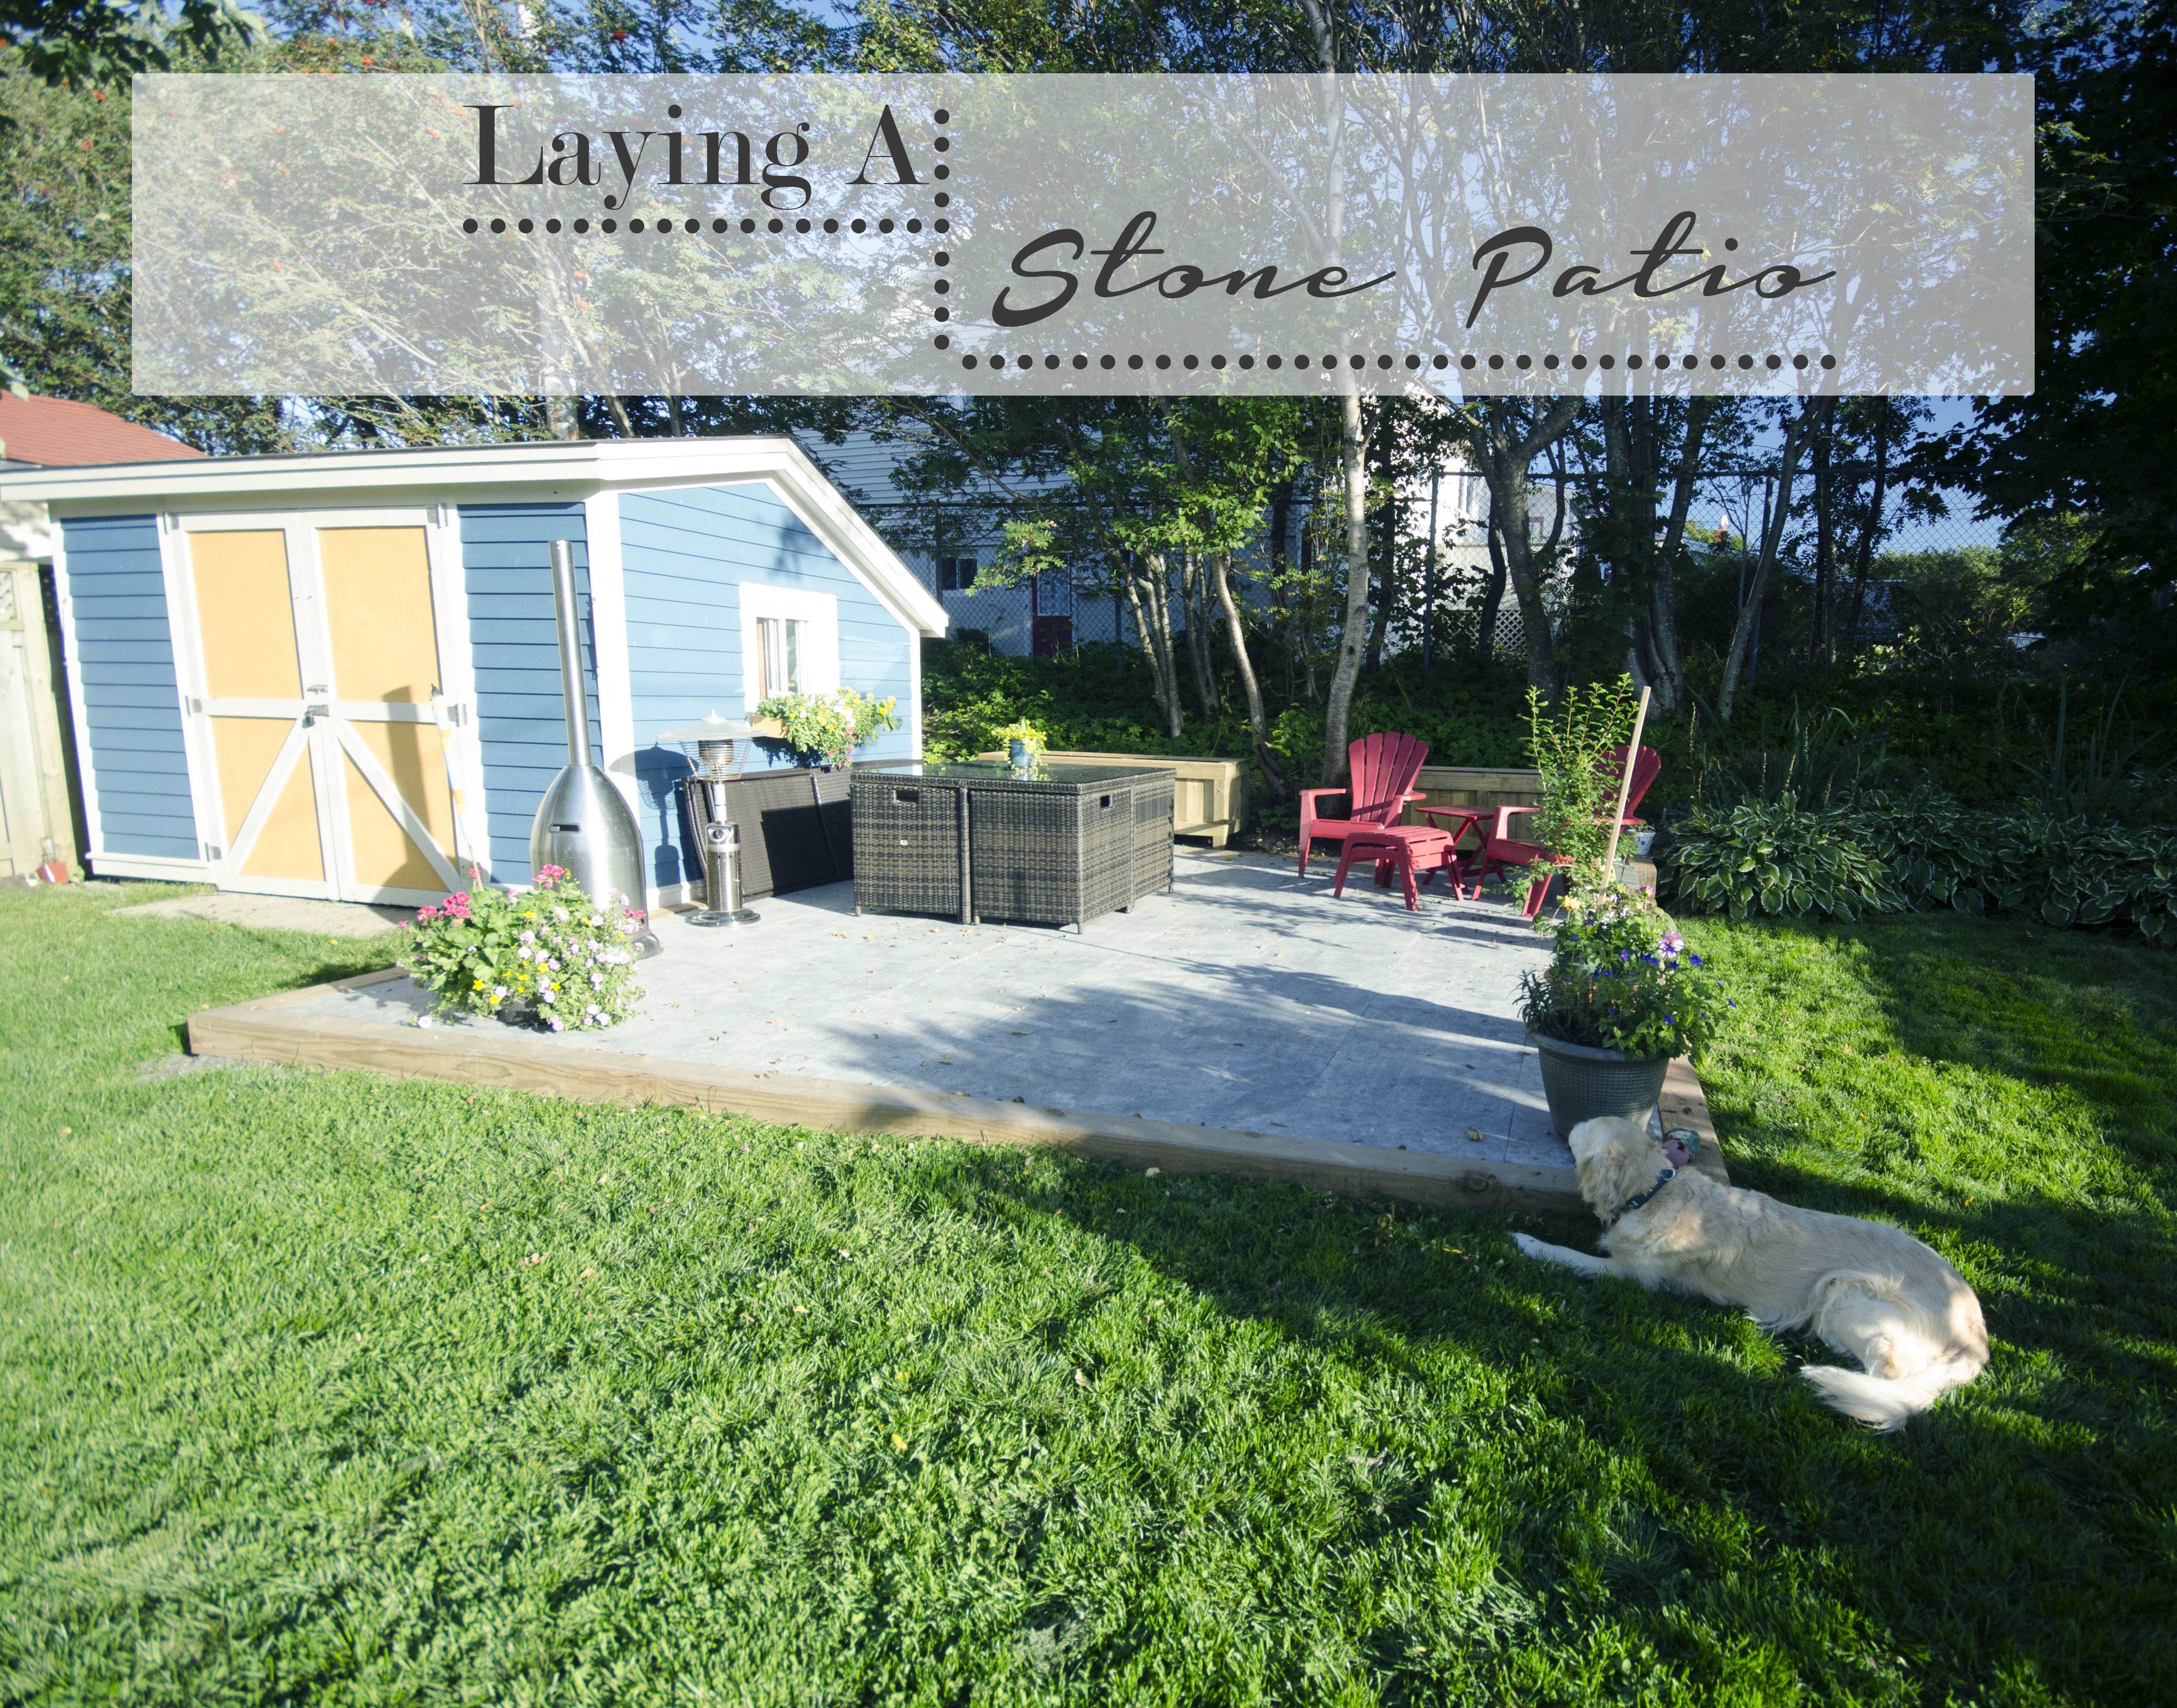
Earlier this summer, my Dad and I installed a new stone patio in my parents back garden. It took a solid few weeks to get the job done, but the result is so great. They now have a lovely outdoor space, that gets sunshine until sunset. Today, my post will be about the process of installing it!
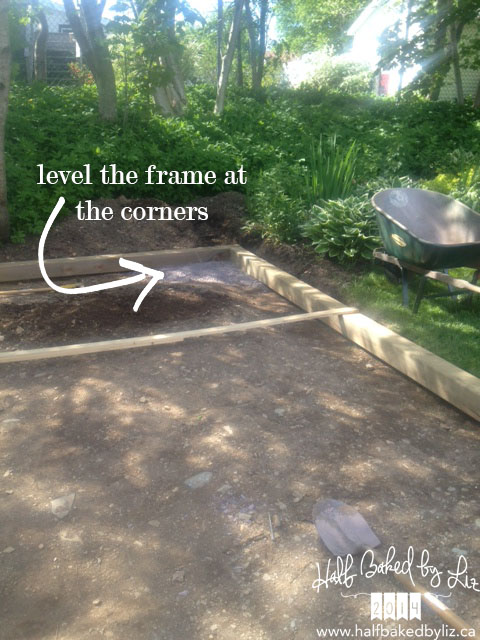
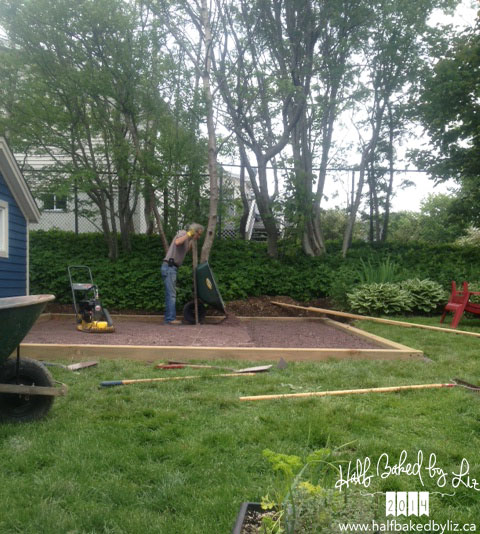
First, the area was excavated (my Dad did all of this by himself – shame on me!). Then, the four corners were levelled using crushed stone, and the 6″x6″ (pressure treated) wooden border was put in place. The corners of the wooded frame were attached to one another with lag bolts.
The patio area was then filled in with crushed stone. The stone was filled to 2″ below the top of the wood border (to allow room for sand and the patio stones). In order to ensure the crushed stone was at the right height, we placed a string across the frame at the correct height, and worked in two foot increments.
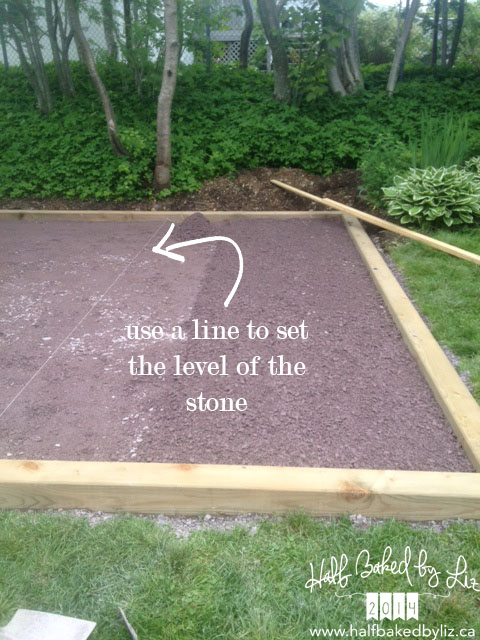
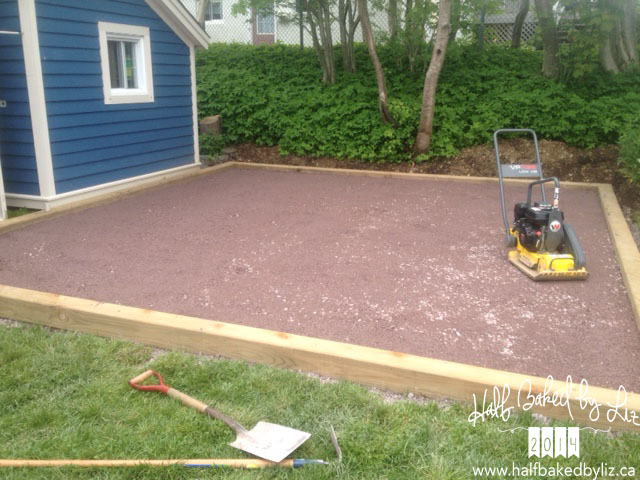
The crushed stone was at least 3″-4″ deep in all places, to ensure a solid base for the patio. Once all the crushed stone was in place, it was packed down with a plate tamper.
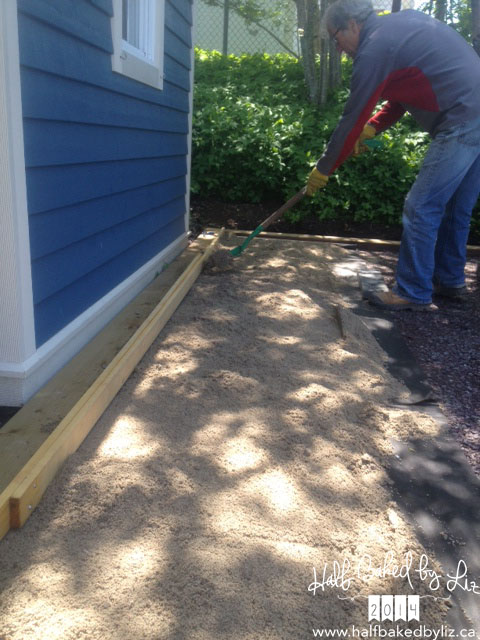
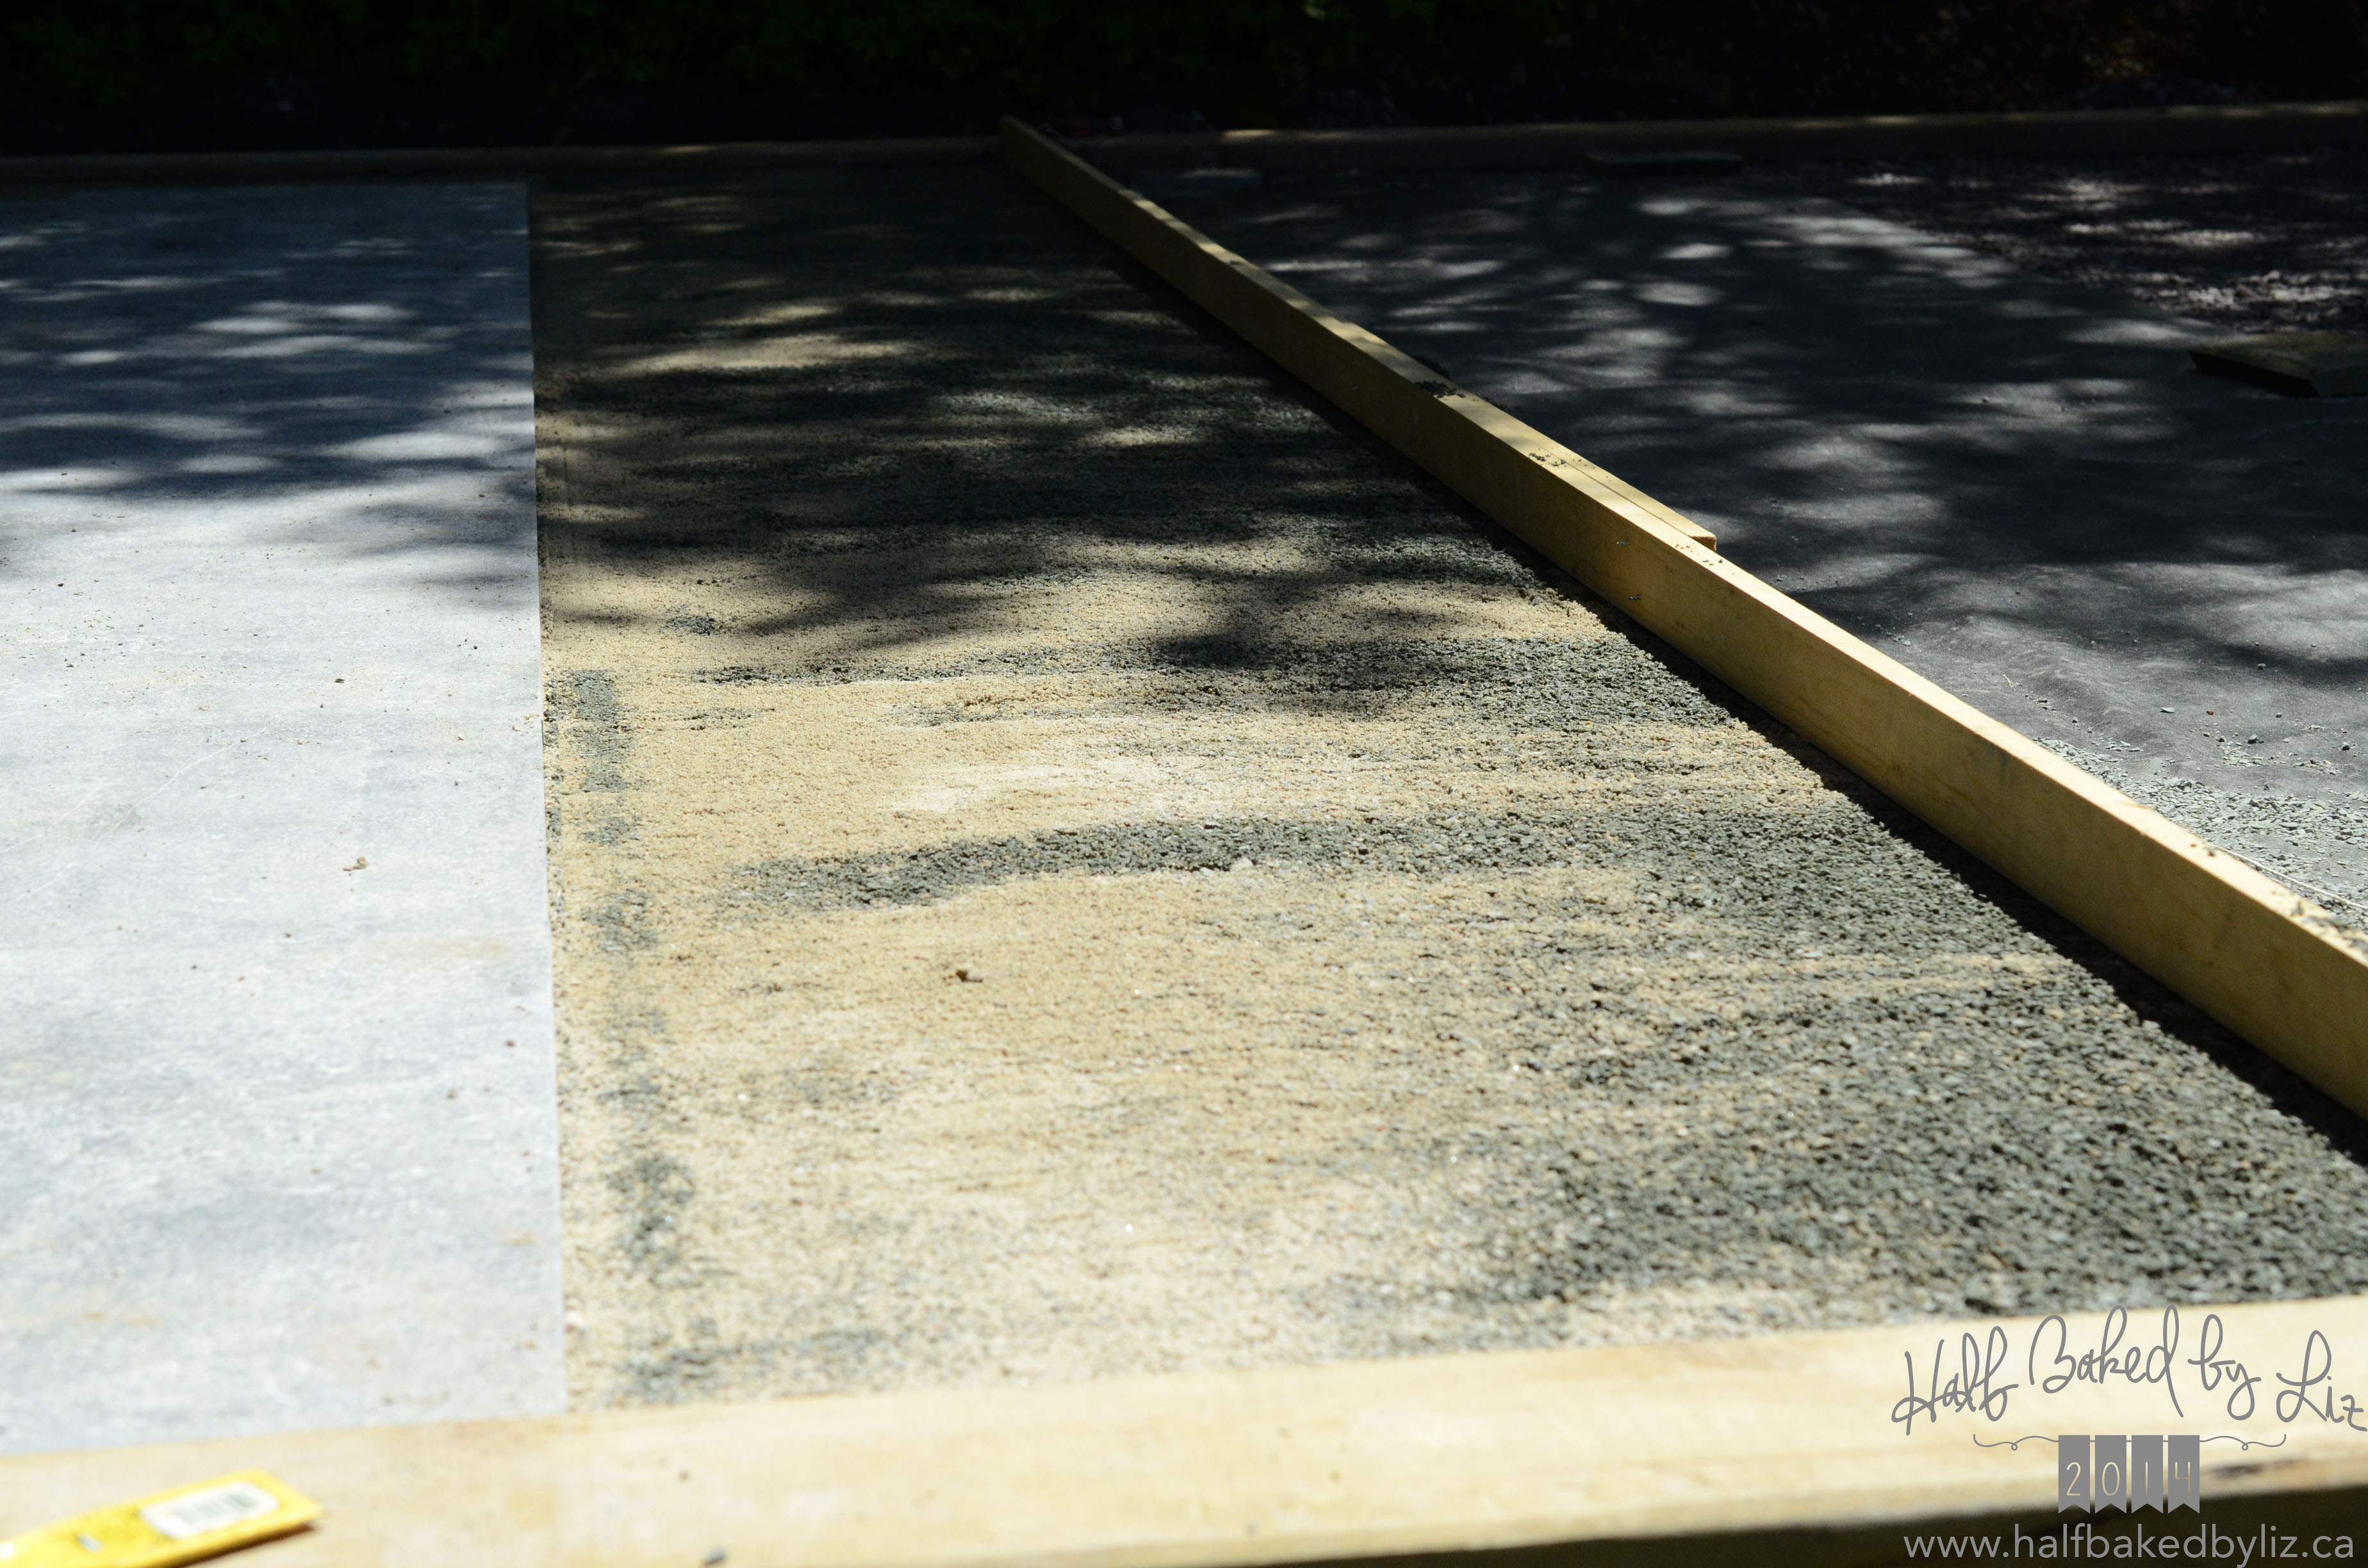
The next step was to add a layer of sand, in which the patio stones would be set. In order to make the process of adding the sand easier, we installed small wooded strips along the edges of the patio frame.
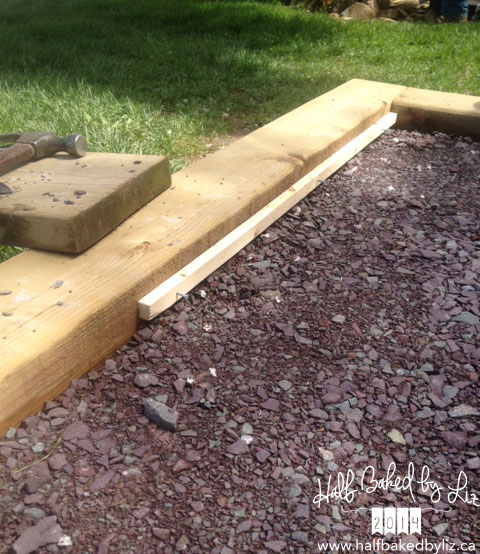
This meant that we could add sand to the area, and use a long screed board which would sit on these wooded strips, and screed the sand off to the right height simply be pulling the board along the strips.
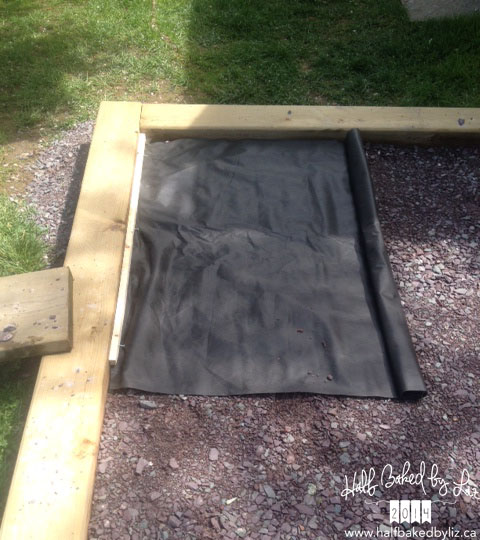
It’s also important to use landscaping fabric on top of the crushed stone and under the sand, to ensure that the final product is solid, and won’t sink.
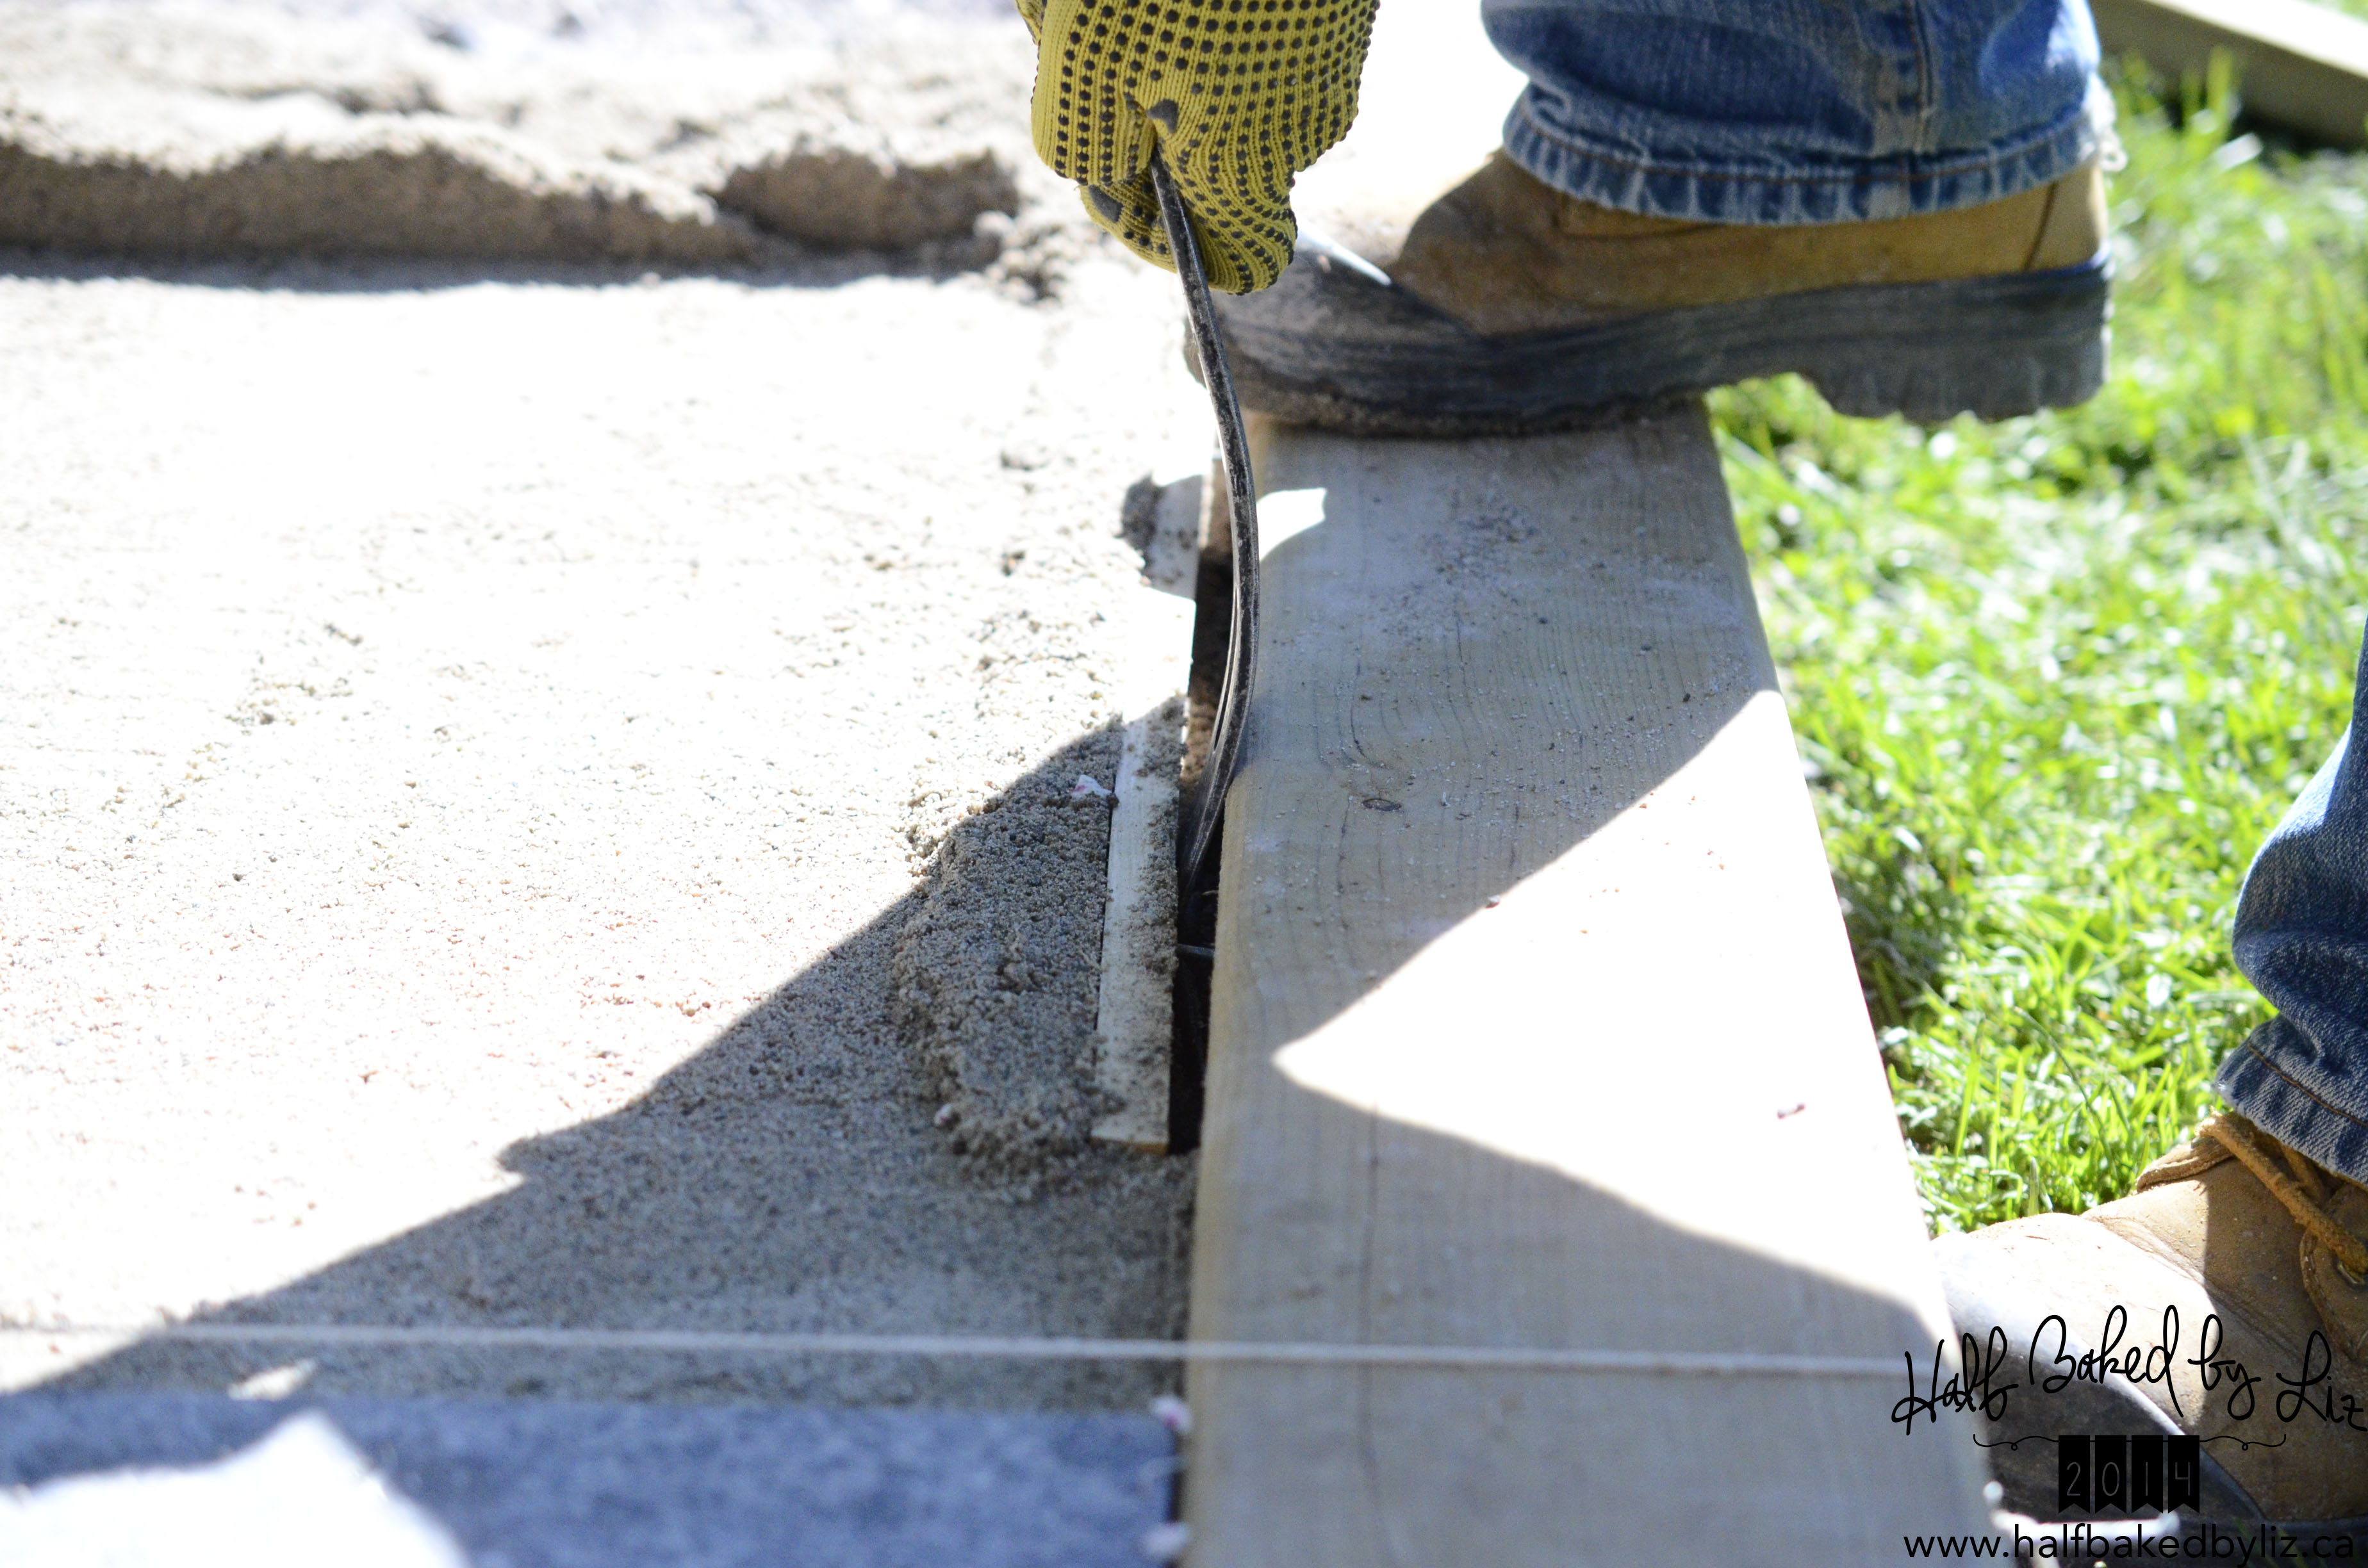
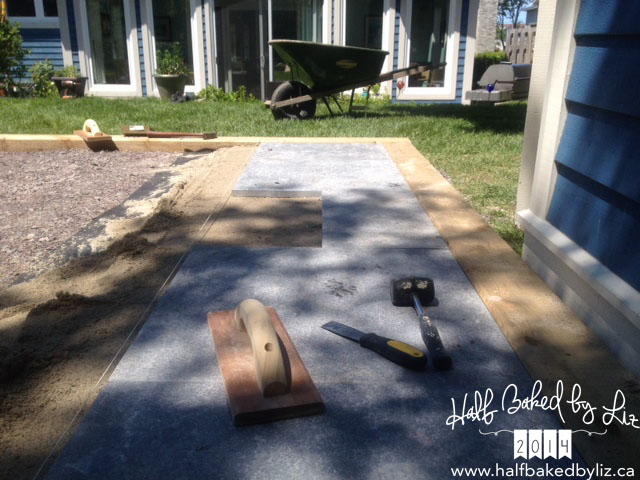
Before laying any patio stones, carefully remove the strips, and fix up the sand along the edges. We tamped all of the sand down with a wooded float, before laying any stone on it.
Also, be sure to have a good plan before laying or cutting any stones!

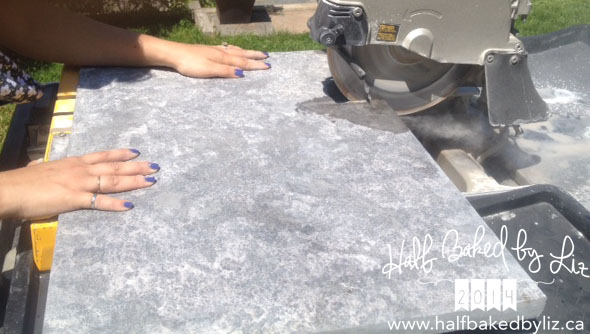
We made the plan such that there would be as little cutting as possible, however, it was impossible to avoid entirely! To cut the 1″ thick limestone tiles, we used a heavy duty tile saw.
We worked our way along, laying stone in two foot increments.
…All the way until the end!
I love the way this patio turned out, and I think Mom and Dad do too :) They (and I) use it all the time!