
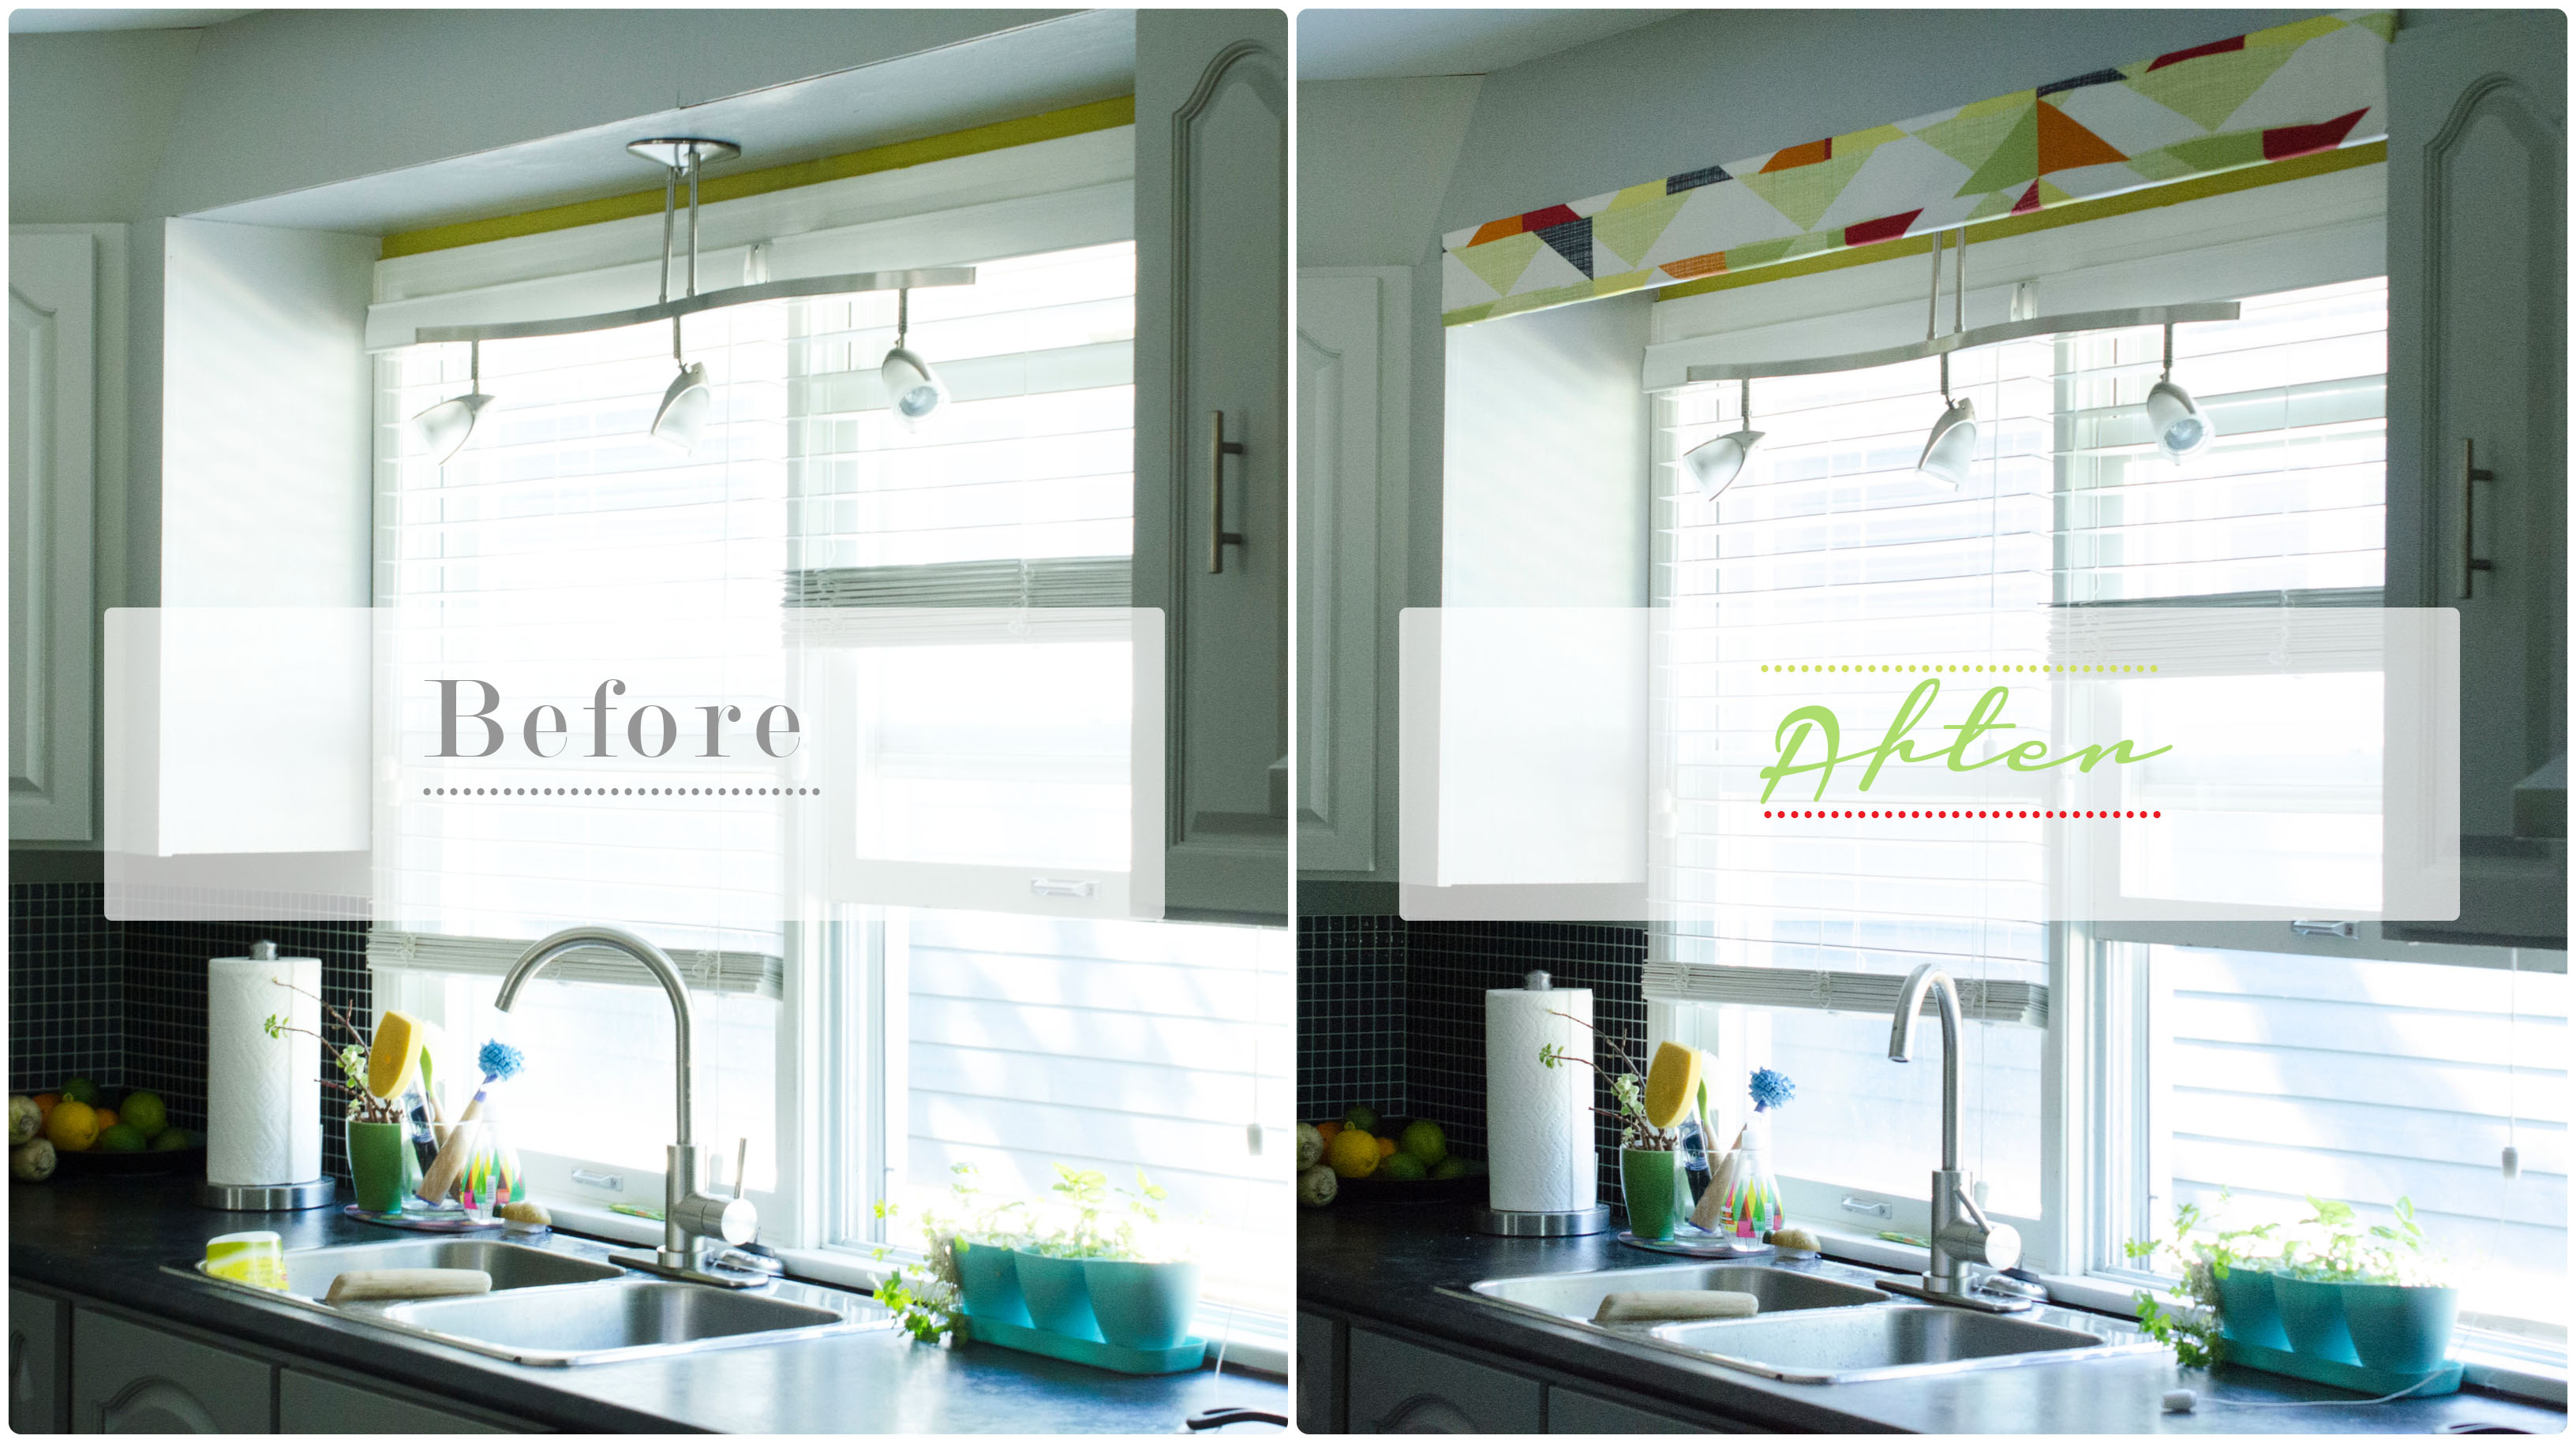
When I completed our kitchen renos earlier this summer , I took down the old (weird looking) window valance, and didn’t put anything back up. It didn’t look terrible, but did look a little unfinished.
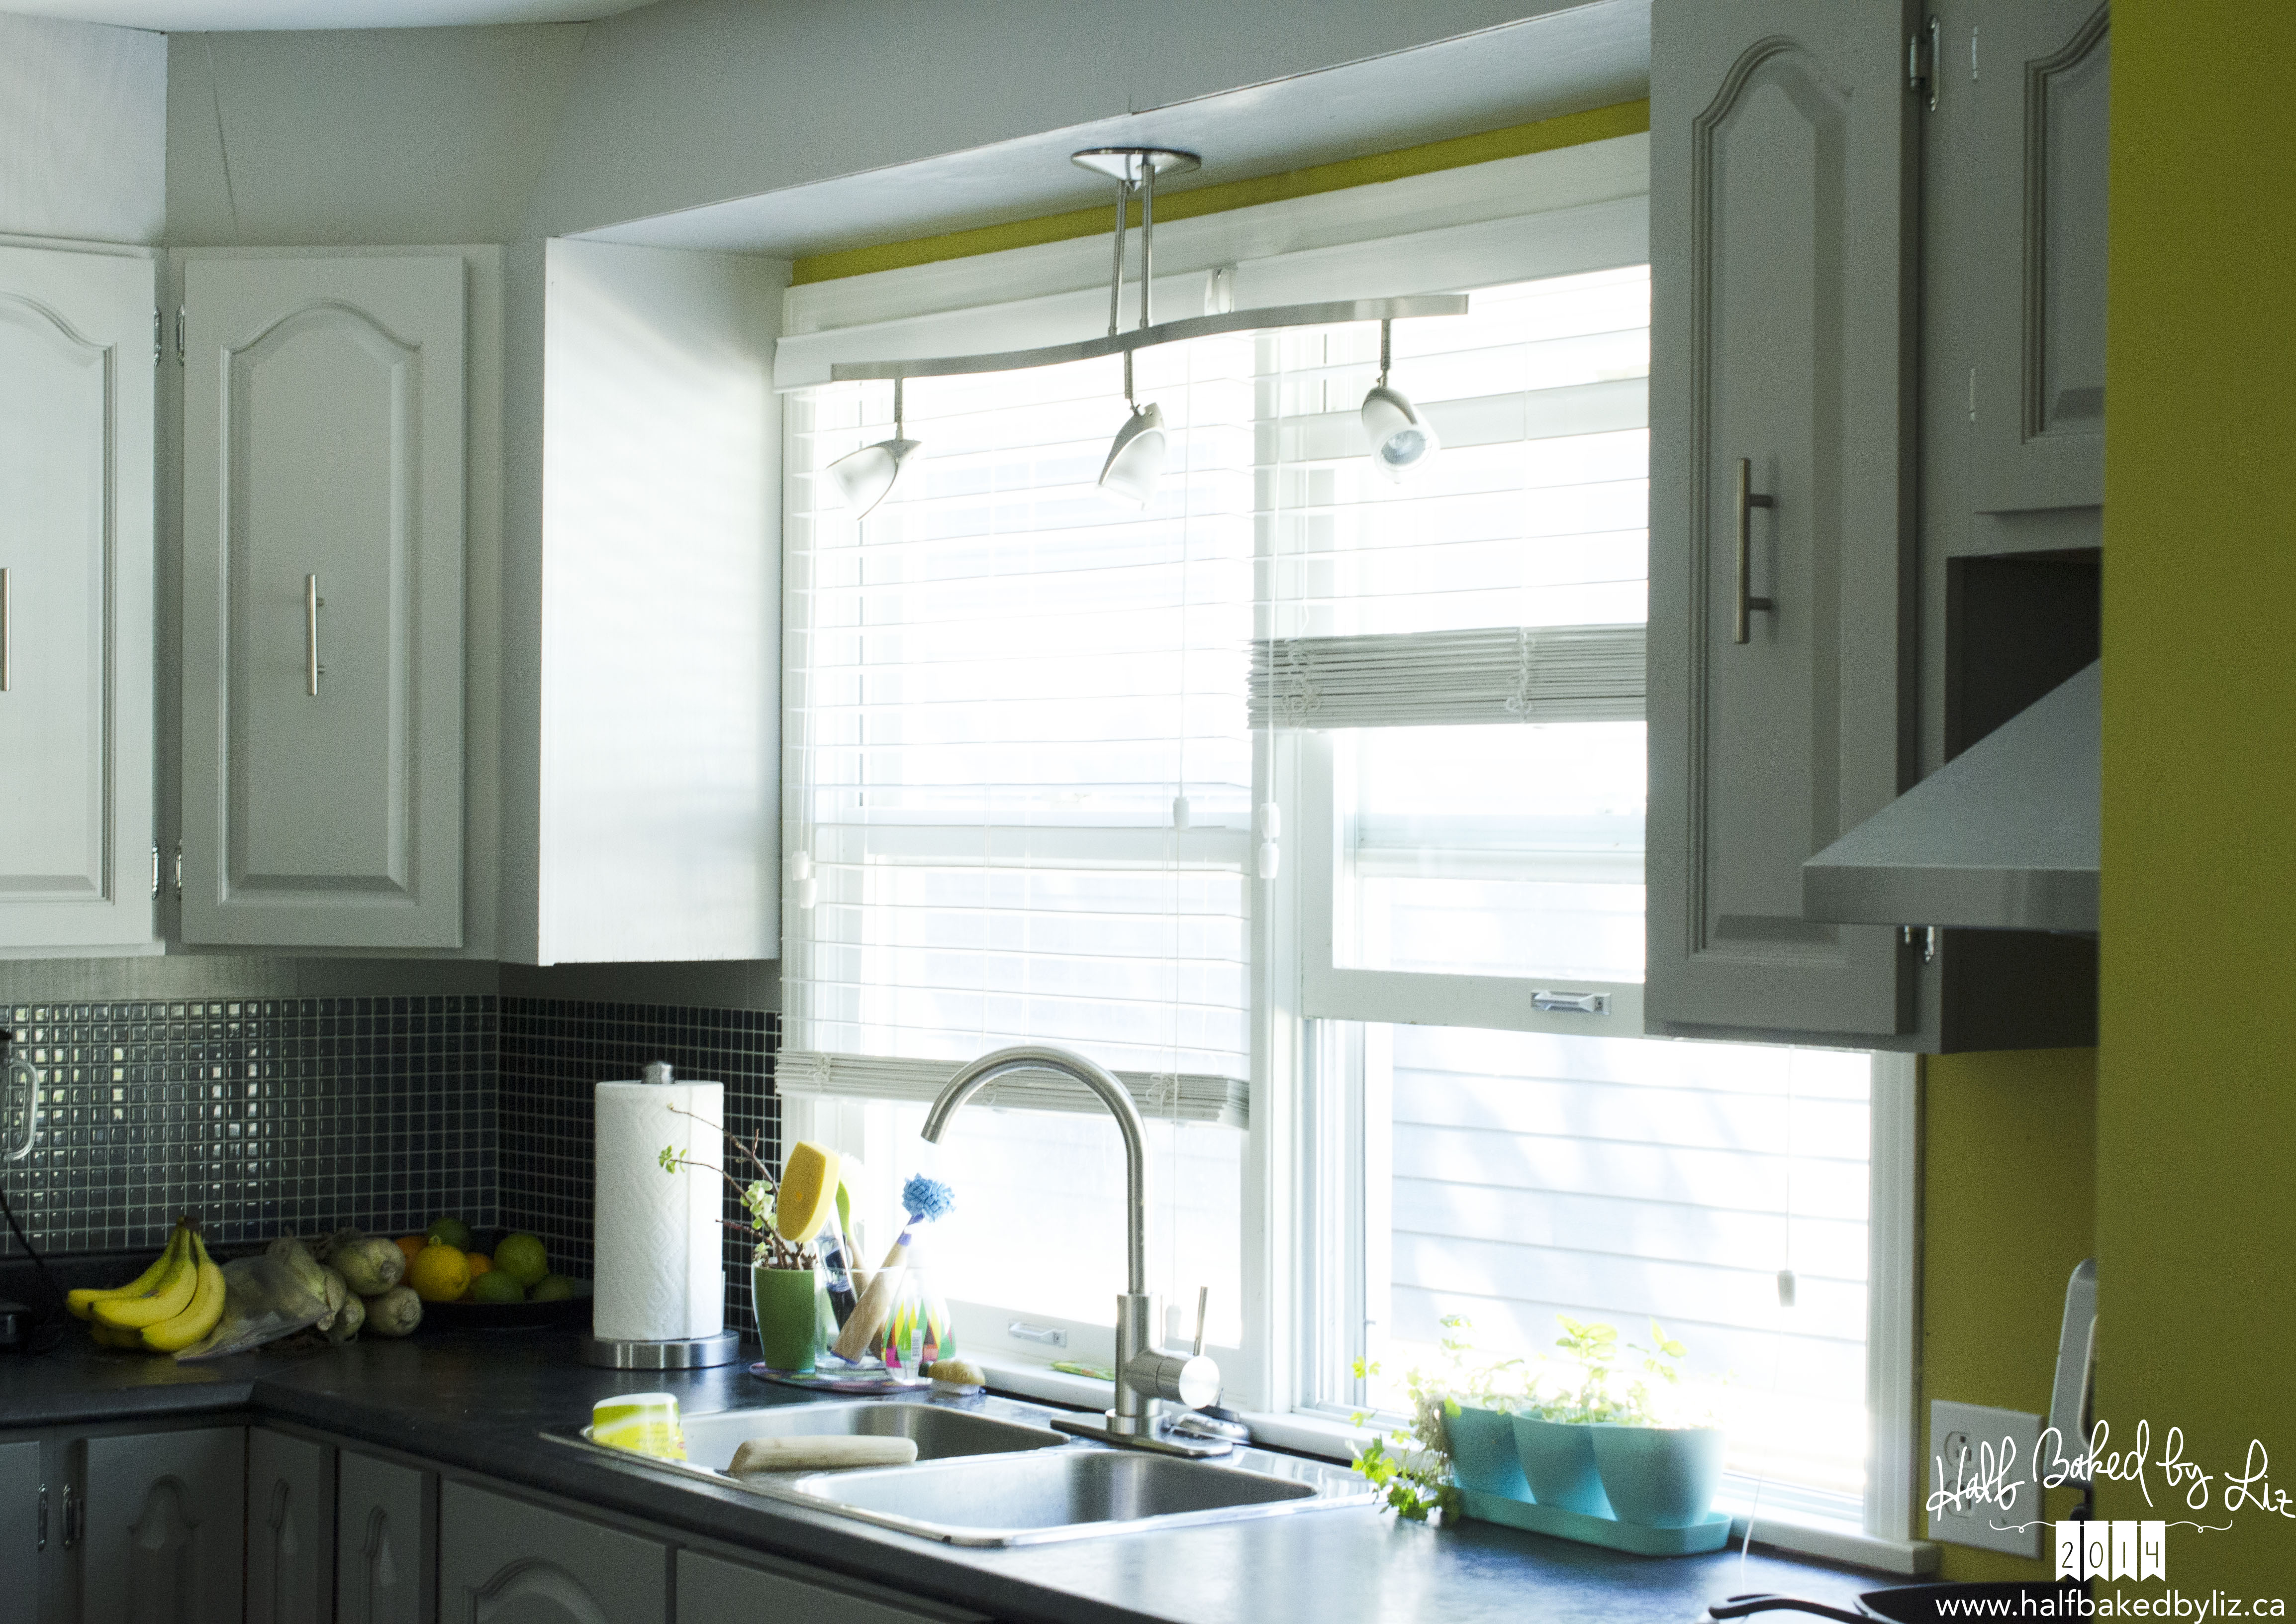
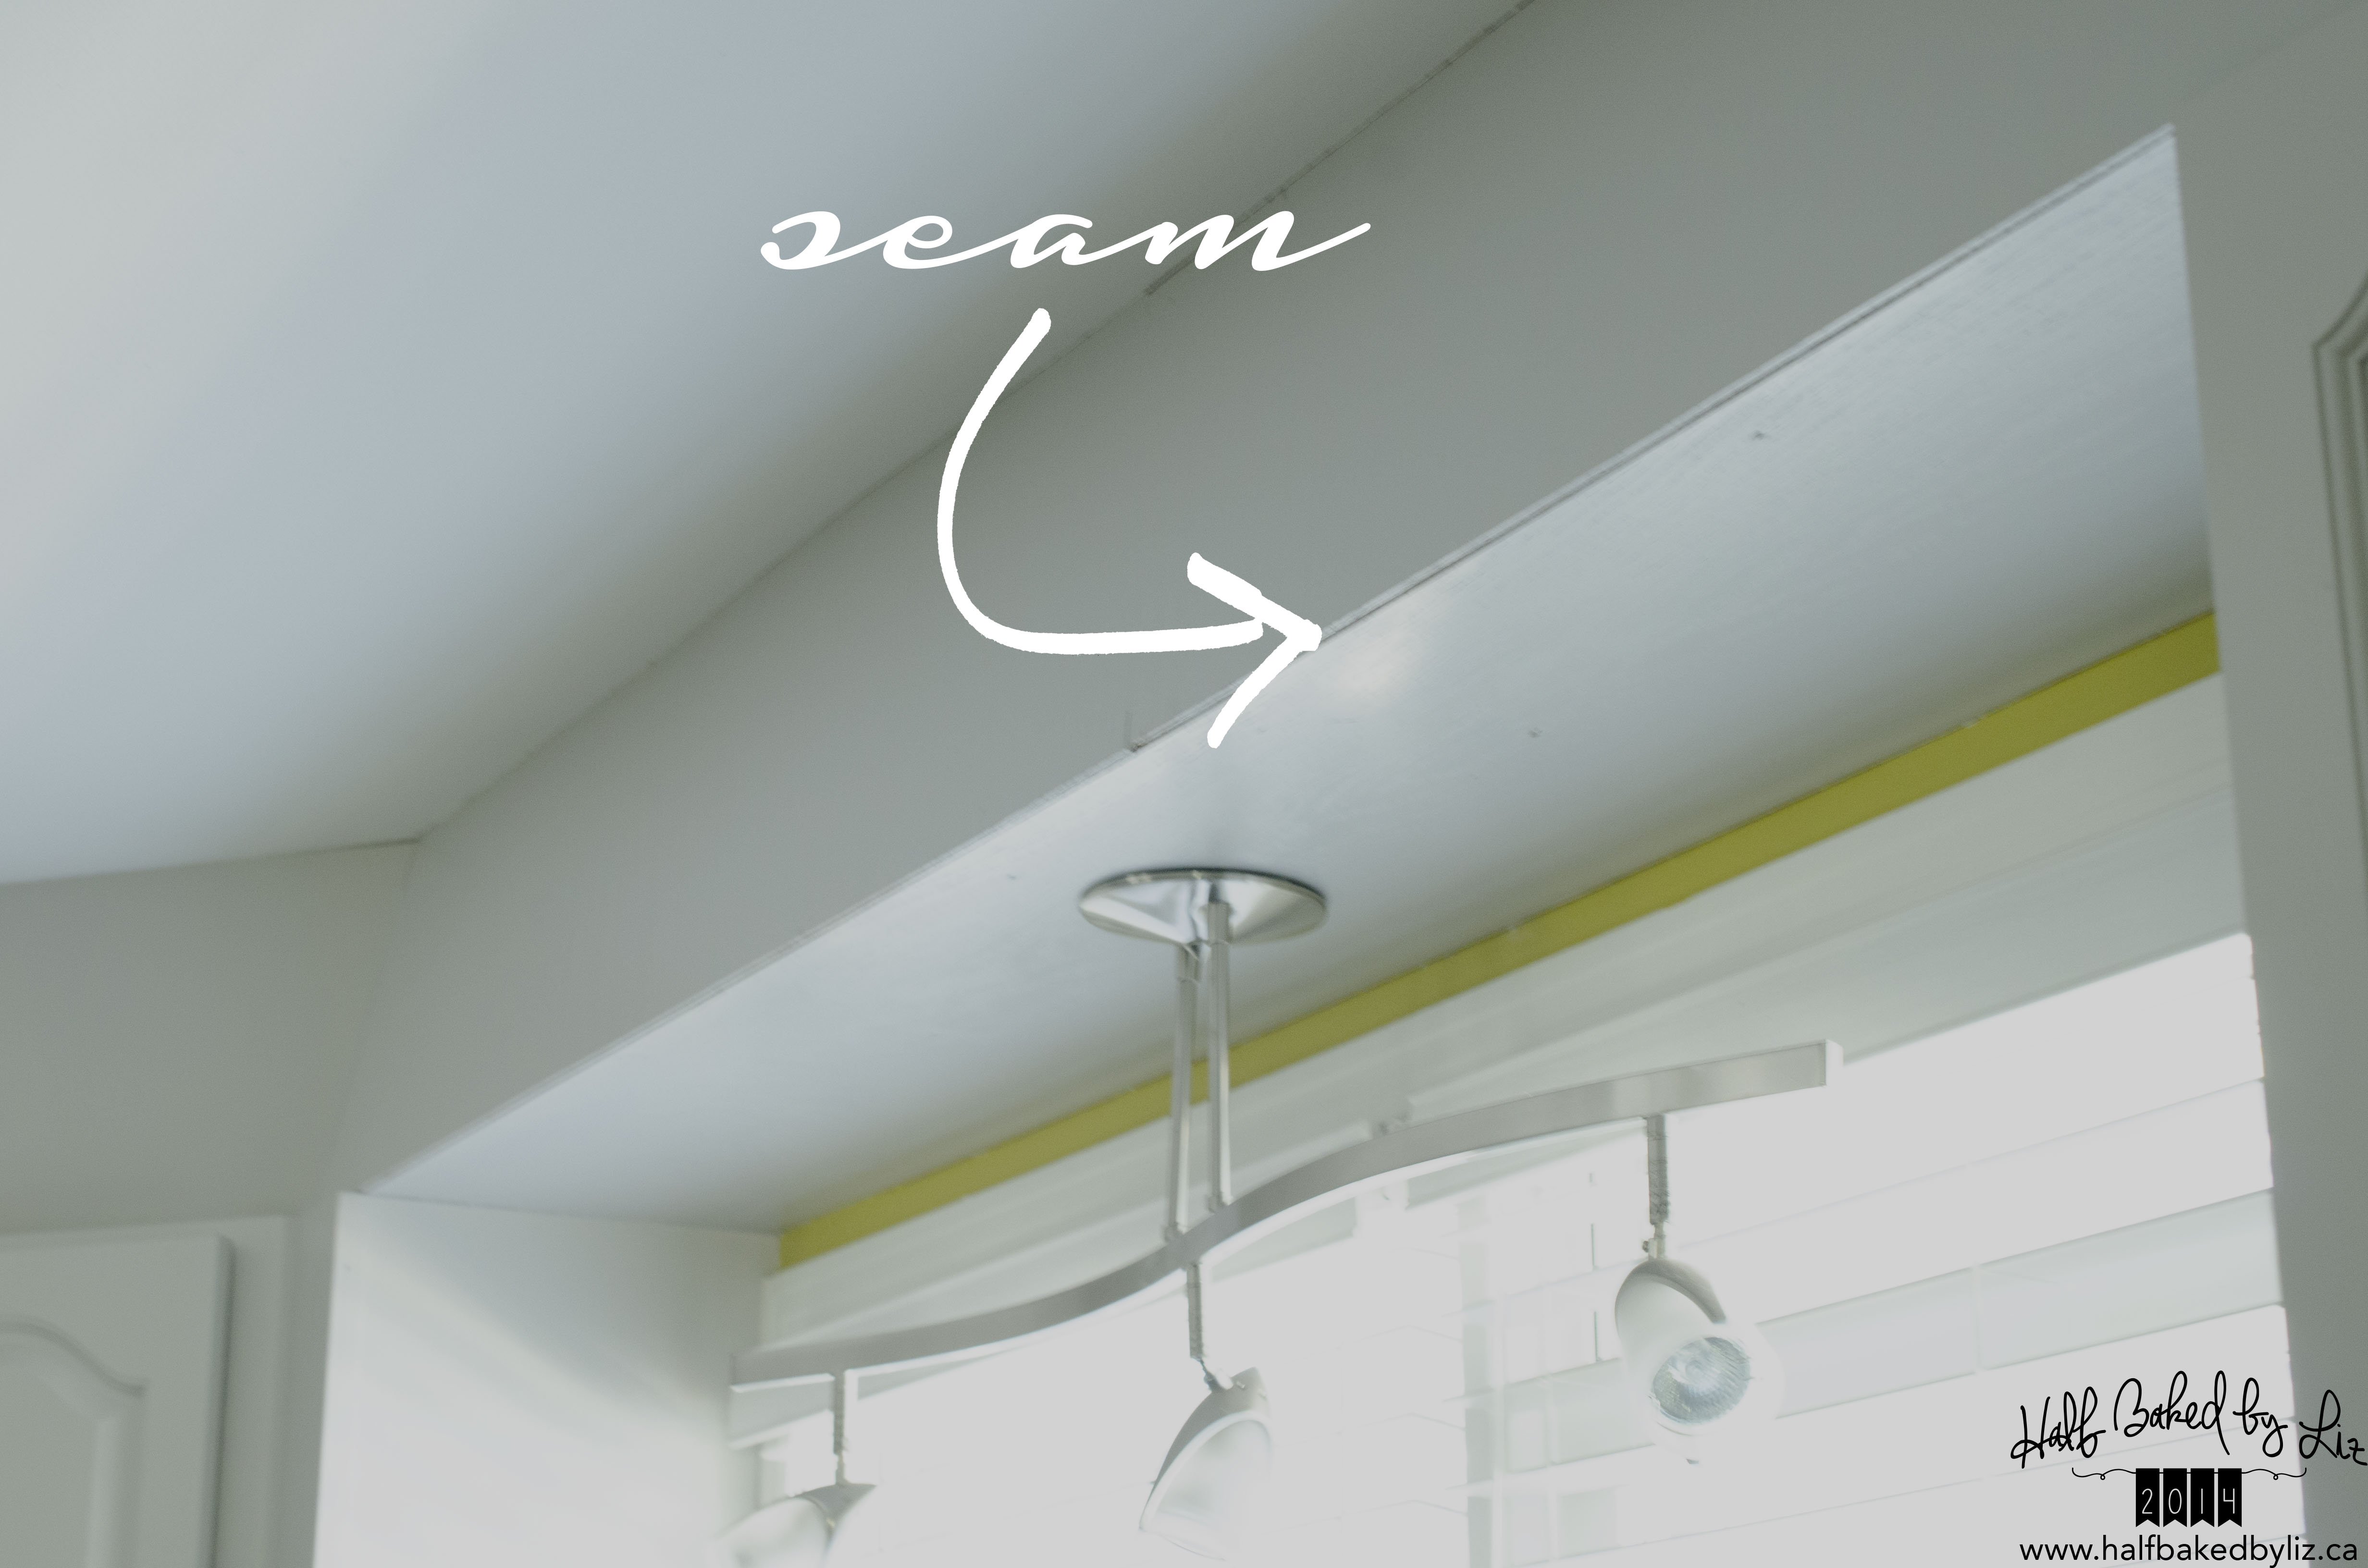
So I decided to make a new one! The new valance I put up looks really cute, covers the seam, and took about an hour to make! The materials I used were:
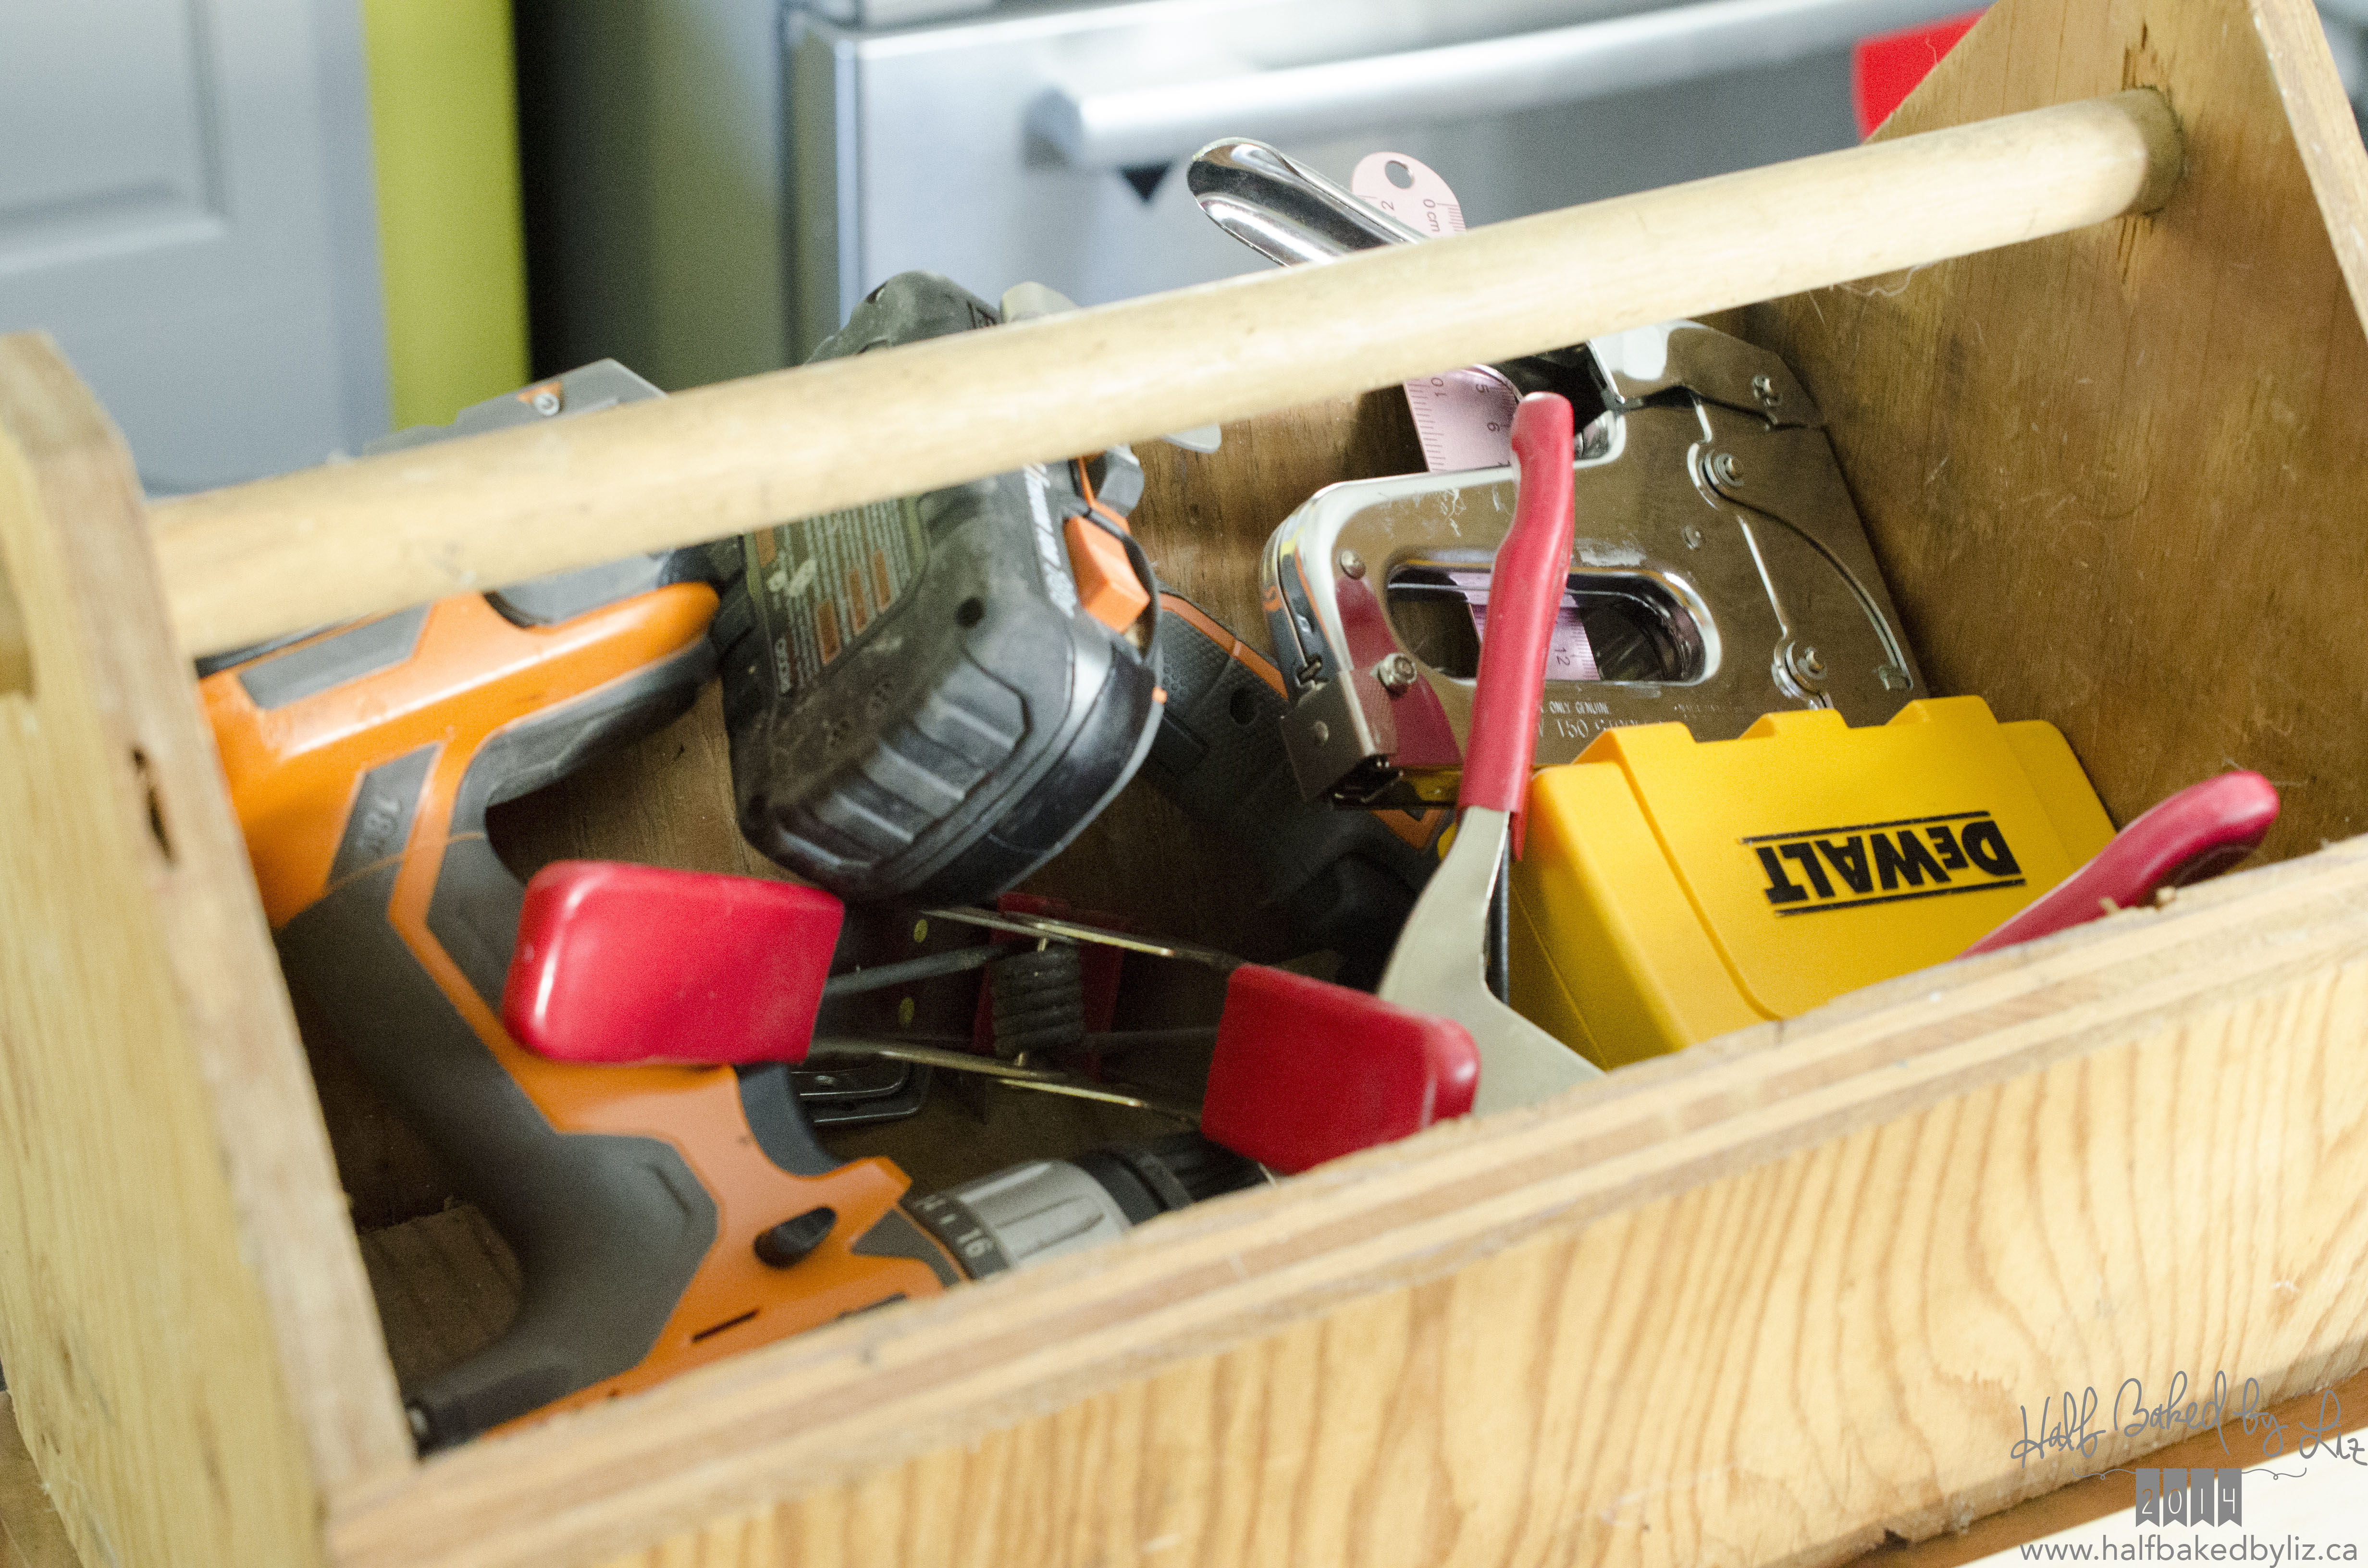
• fabric
• scissors
• a piece of 1″x6″, long enough to span the top of the window
• measuring tape
• ruler
• pencil
• hand saw
• drill
• four #8 5/8″ screws
• four #8 3/4″ screws
• four L-brackets
• staple gun
• staples
• clamps (or someone to hold stuff in place for you)
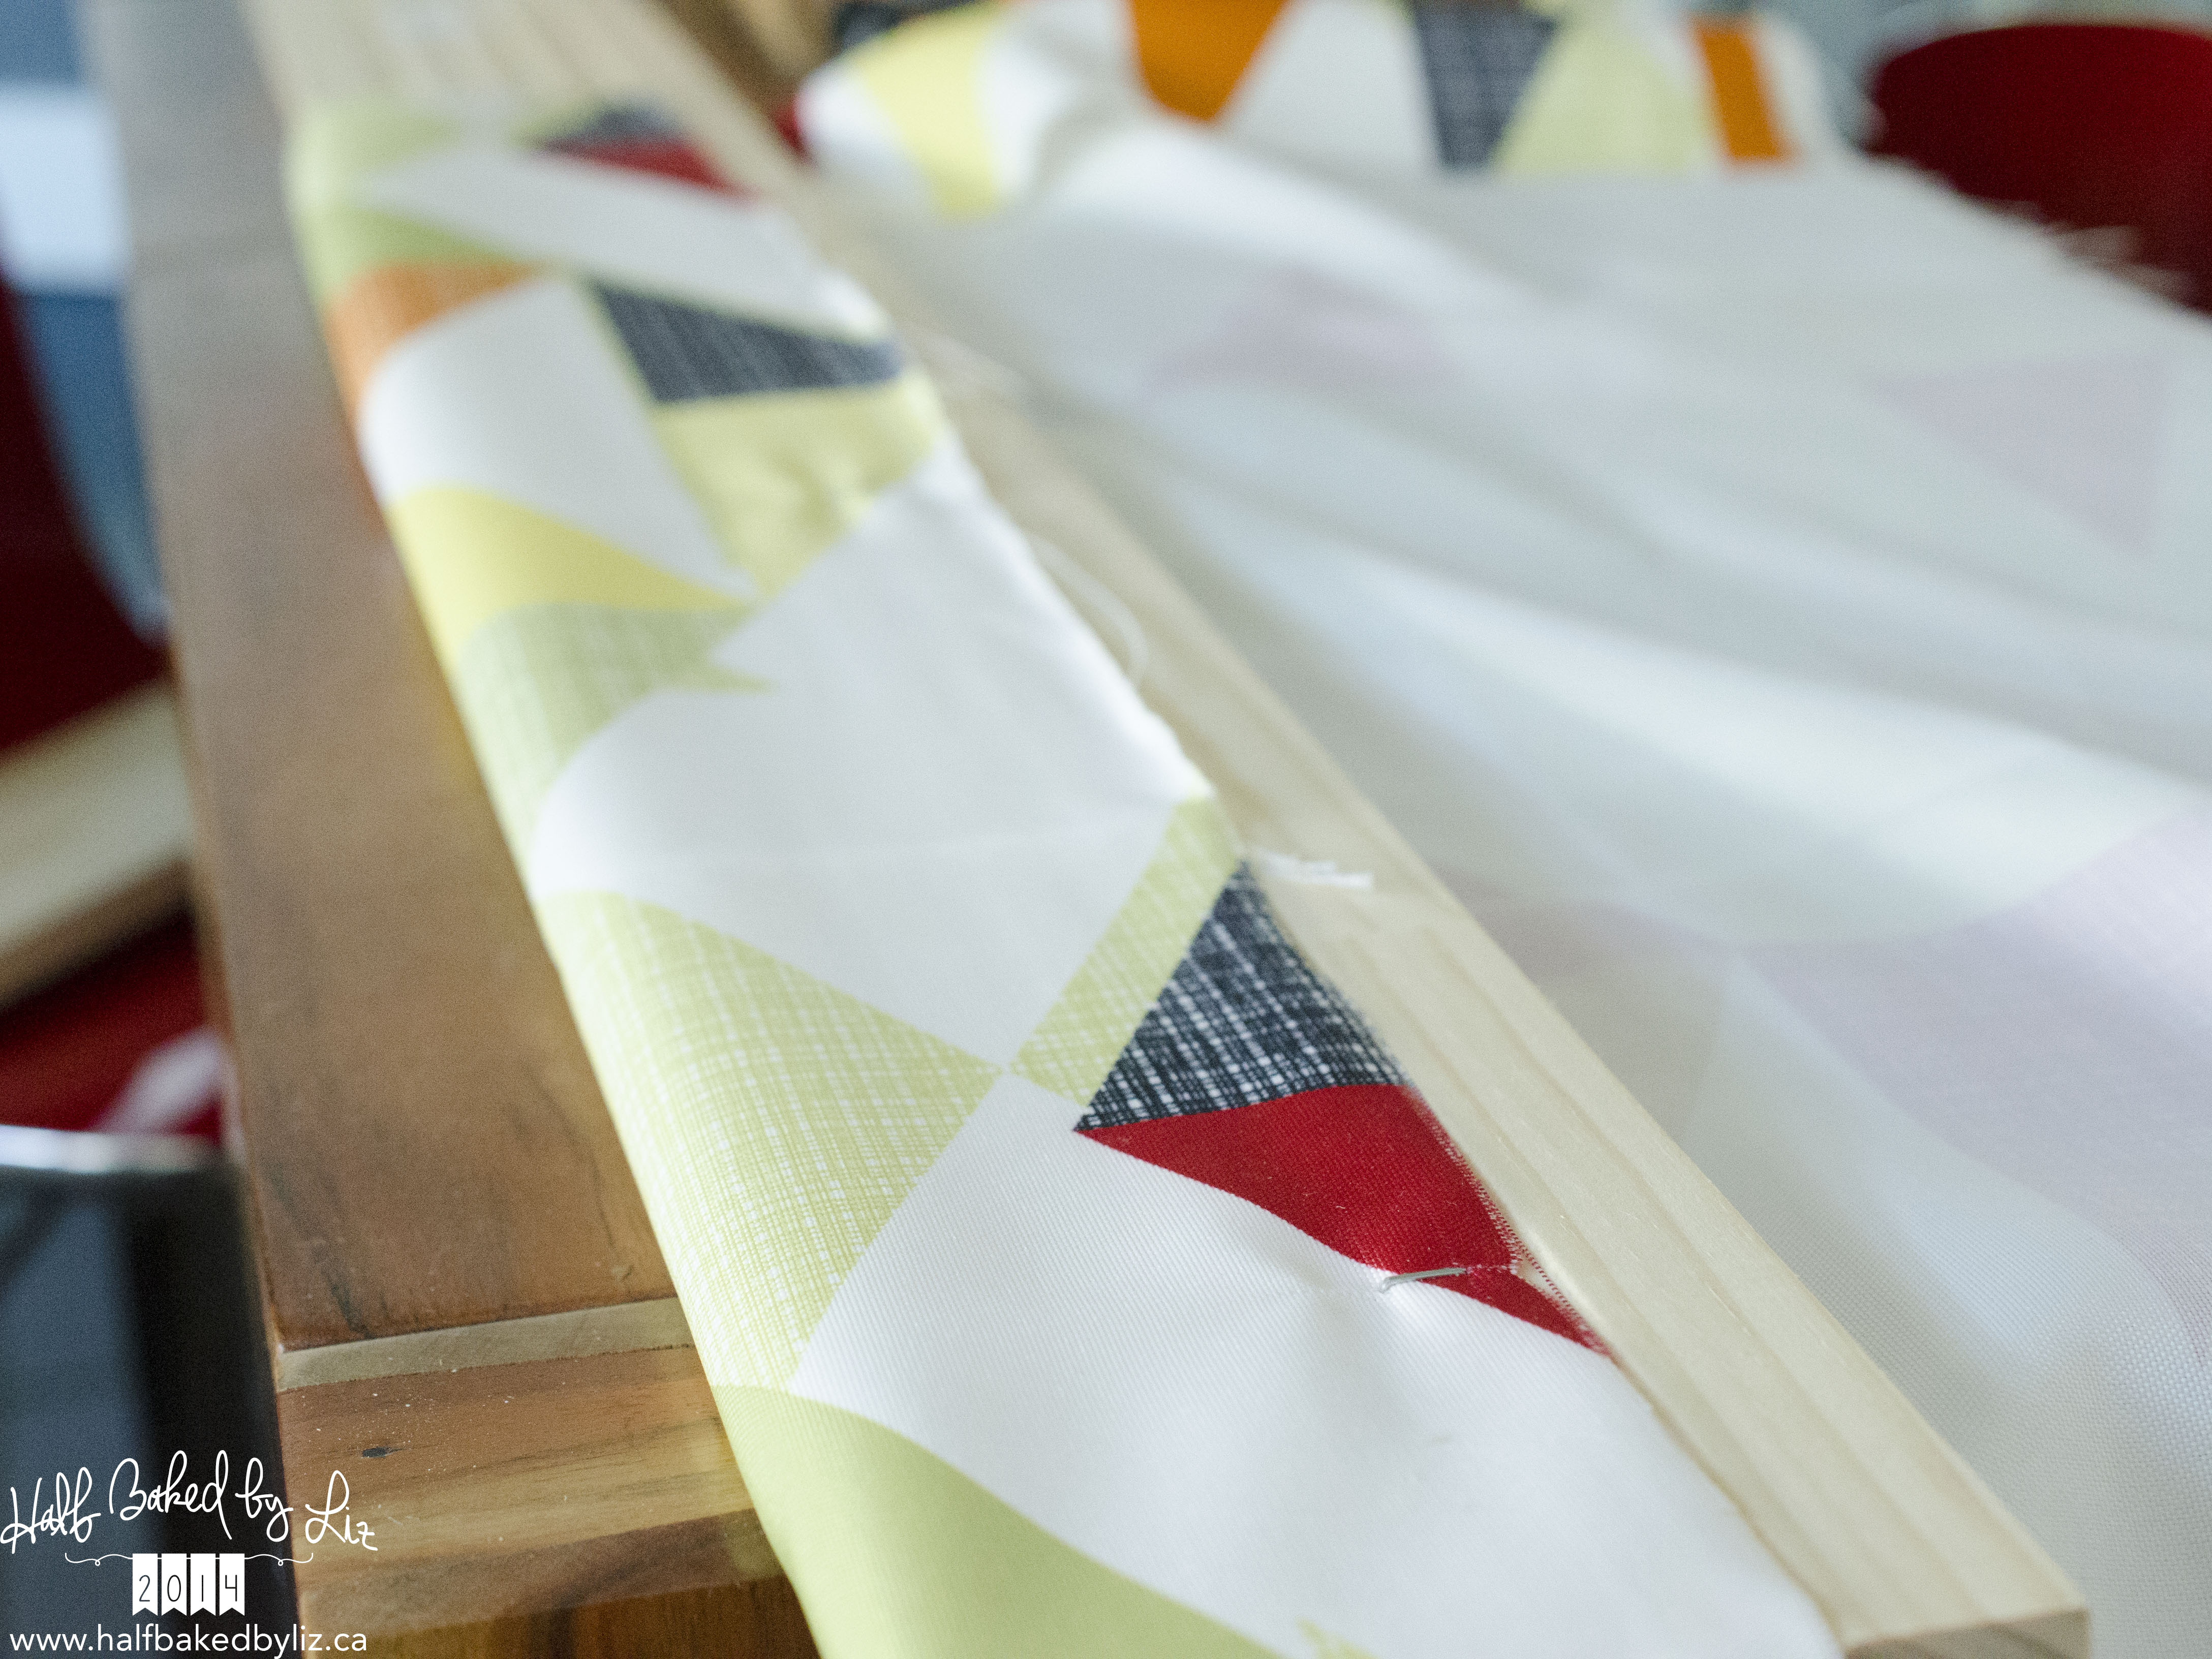
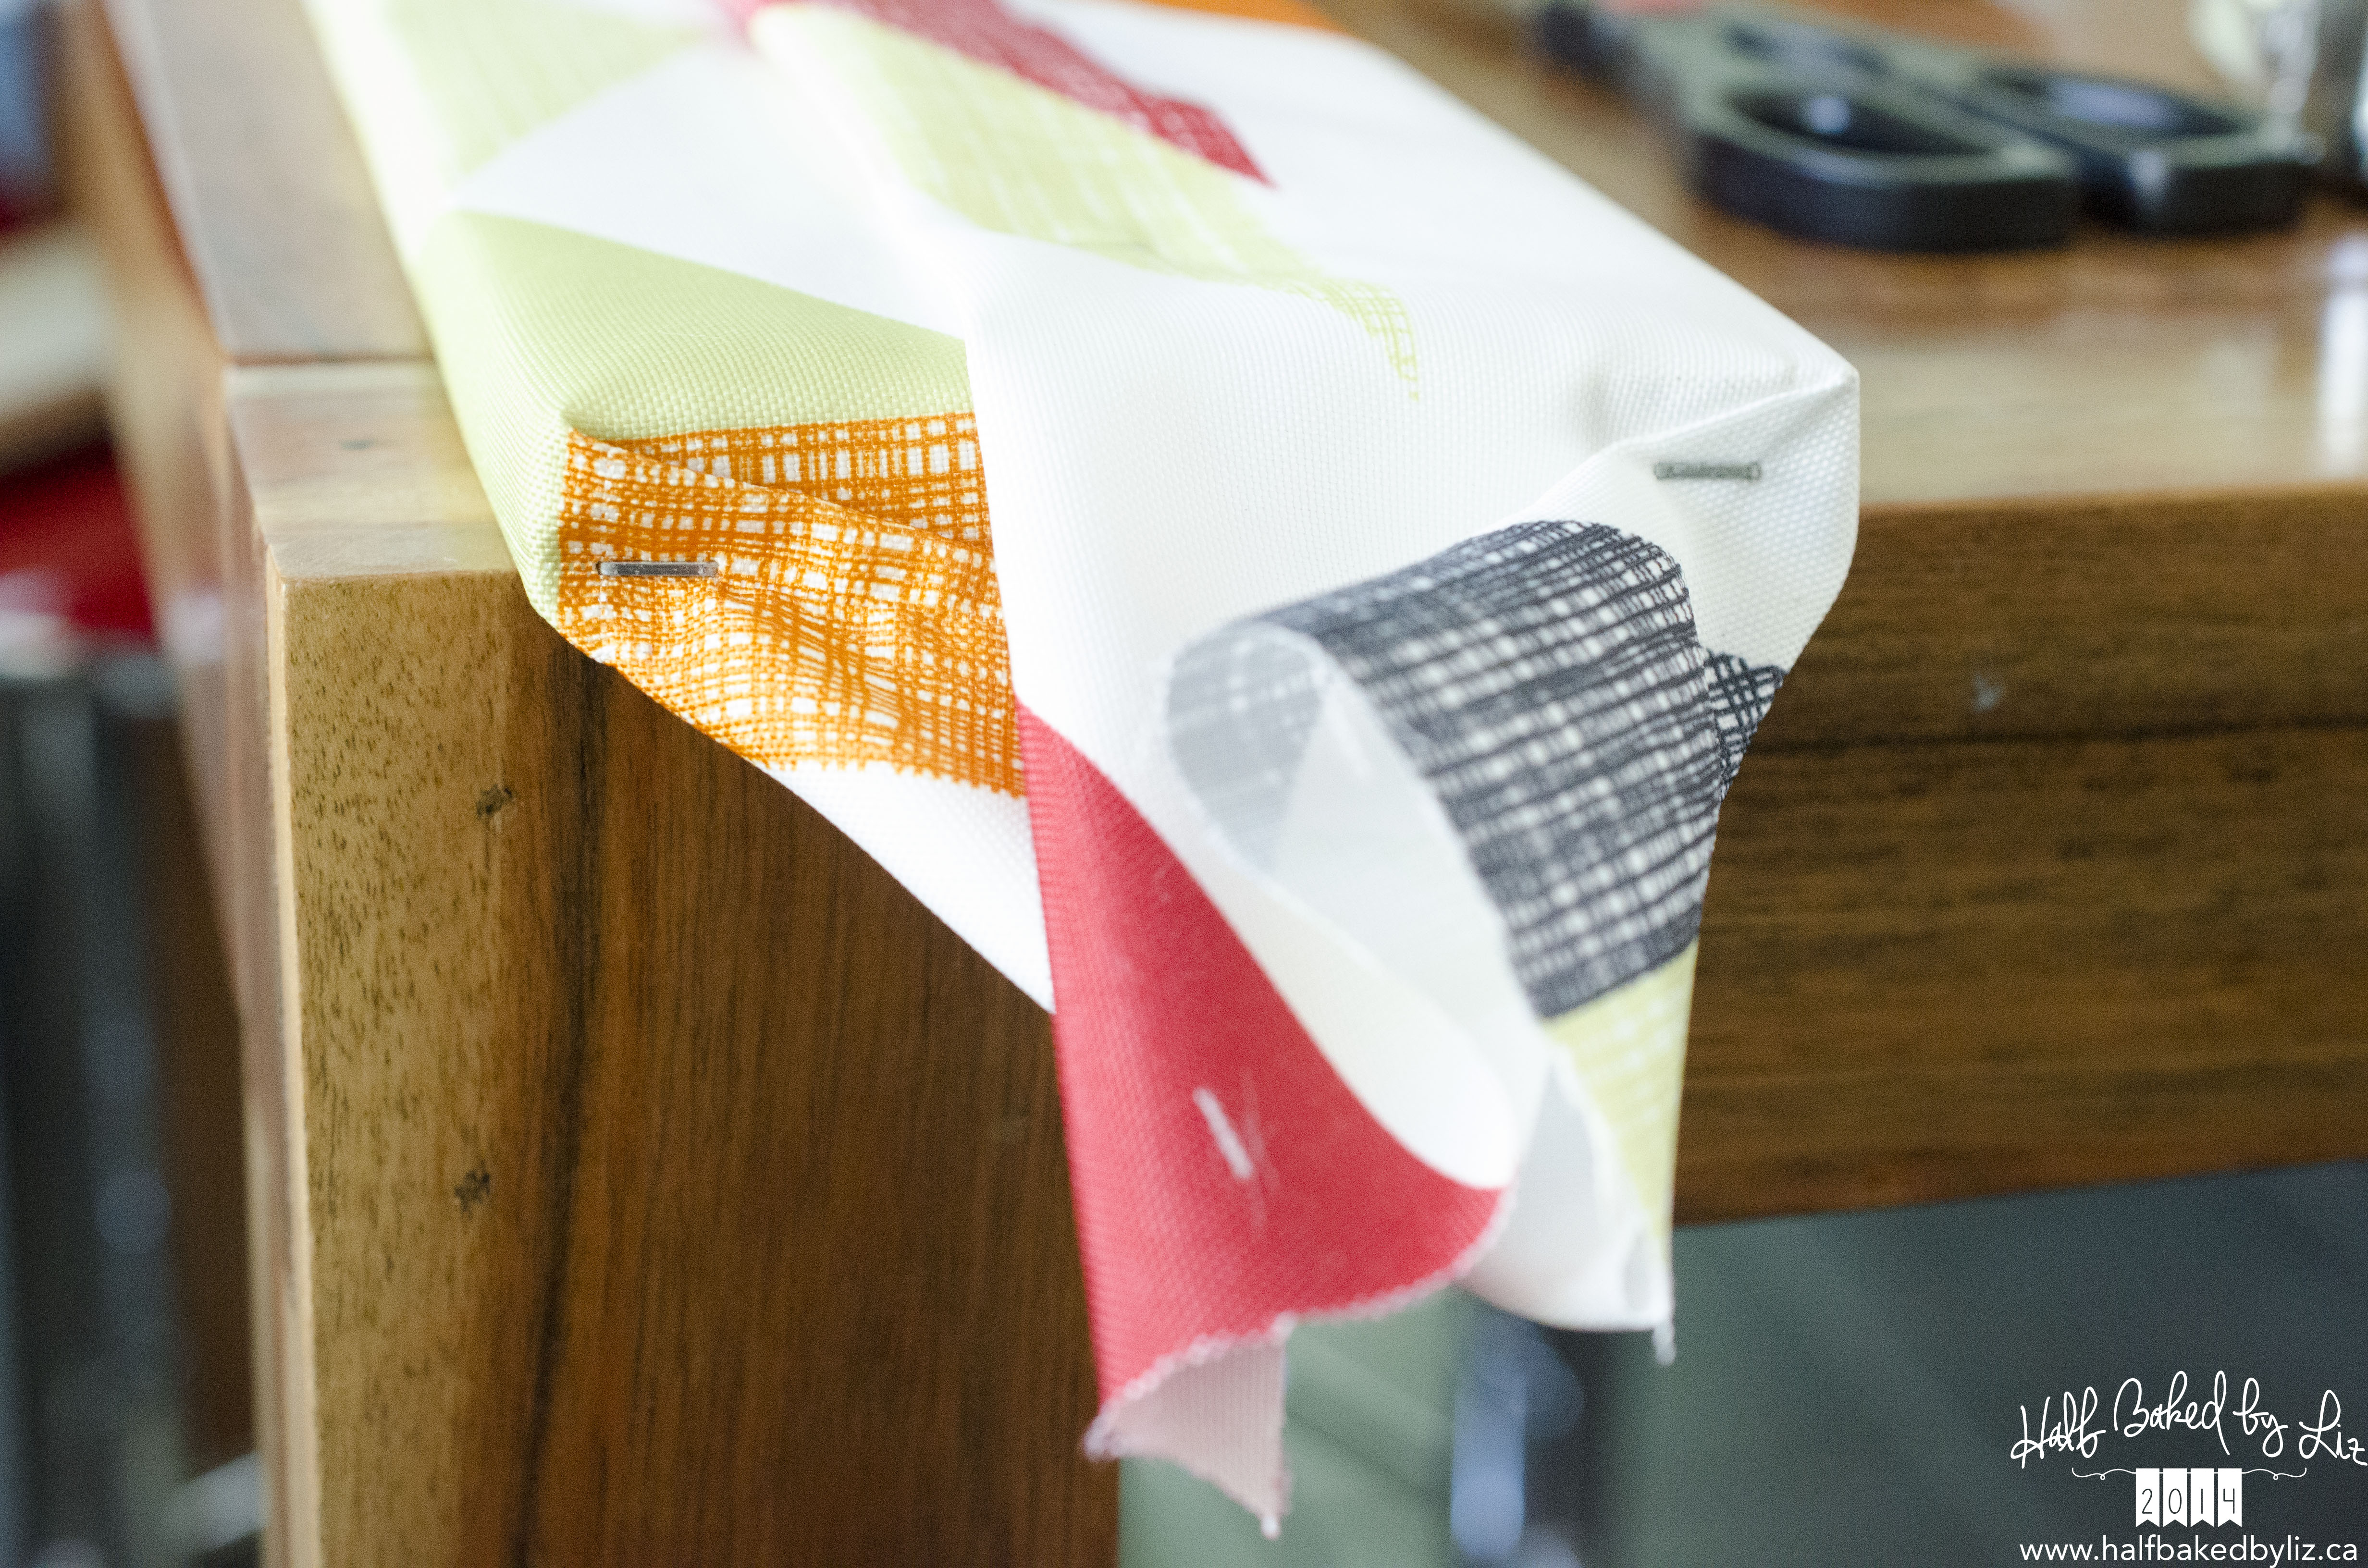
After measuring and cutting the piece of wood (cut it 1/4″ short to allow room for the fabric), I wrapped the wood in the fabric, securing it with 9/16″ staples.
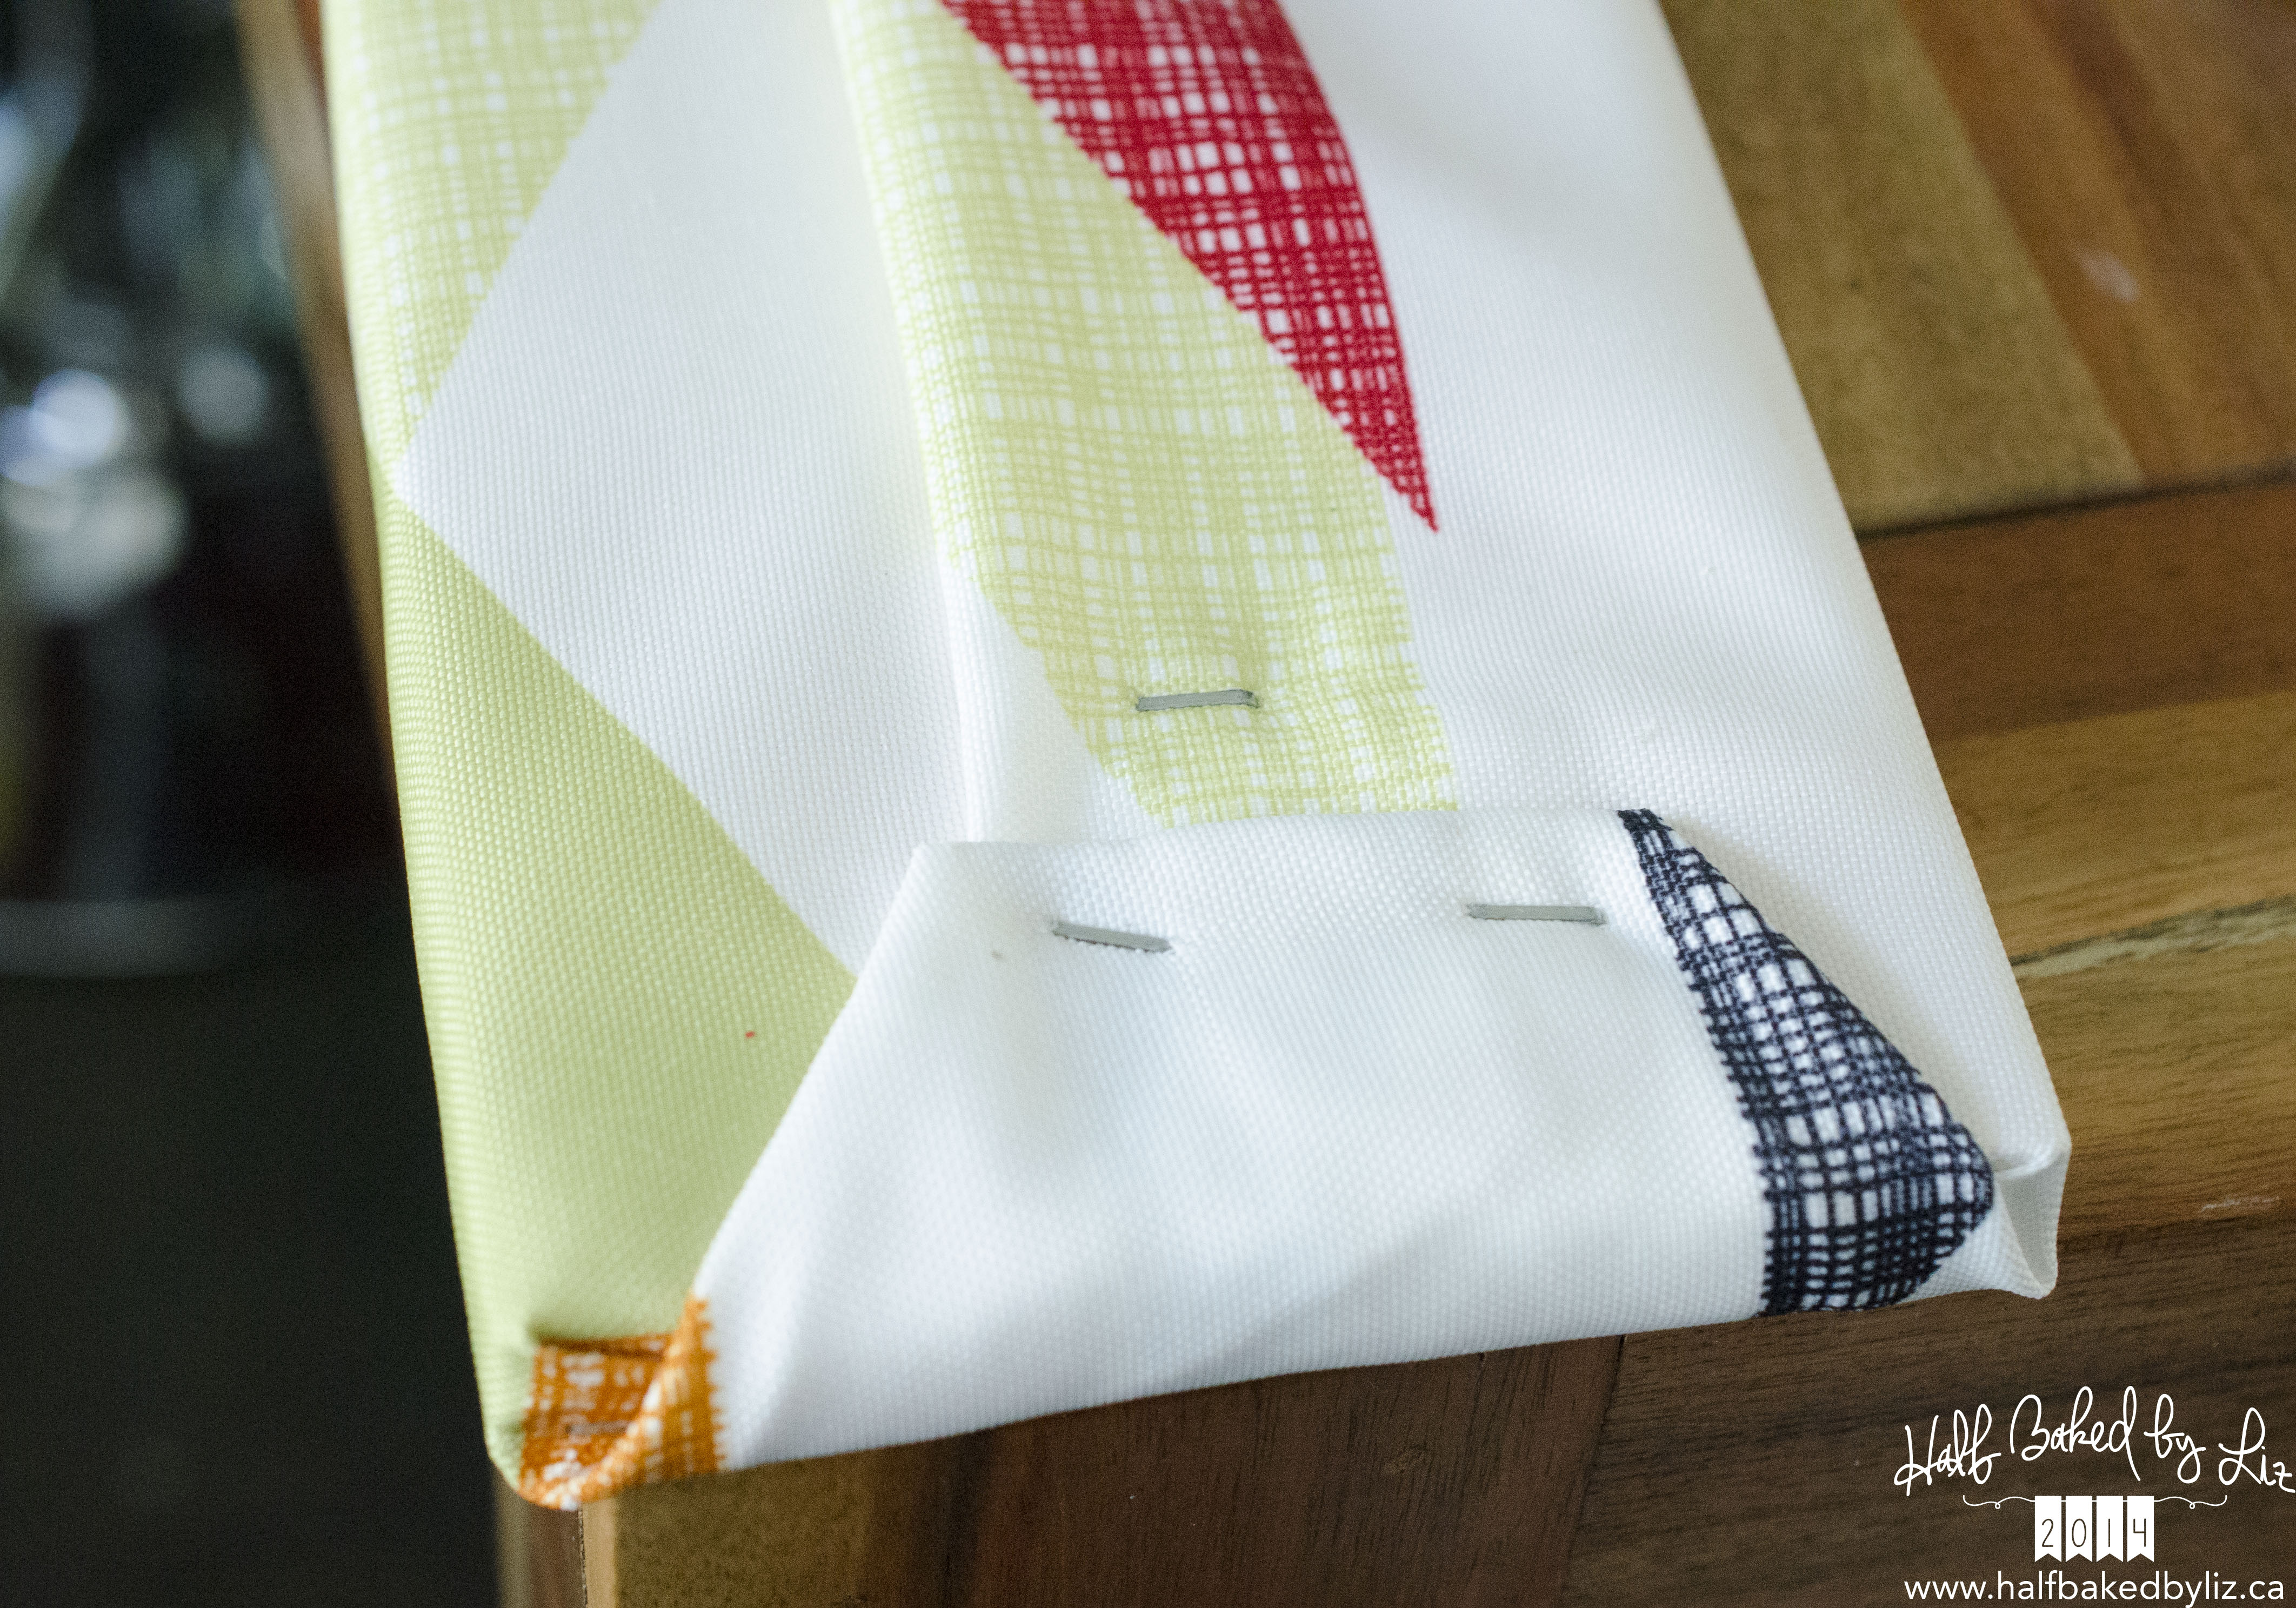
Wrap the ends much like a present…
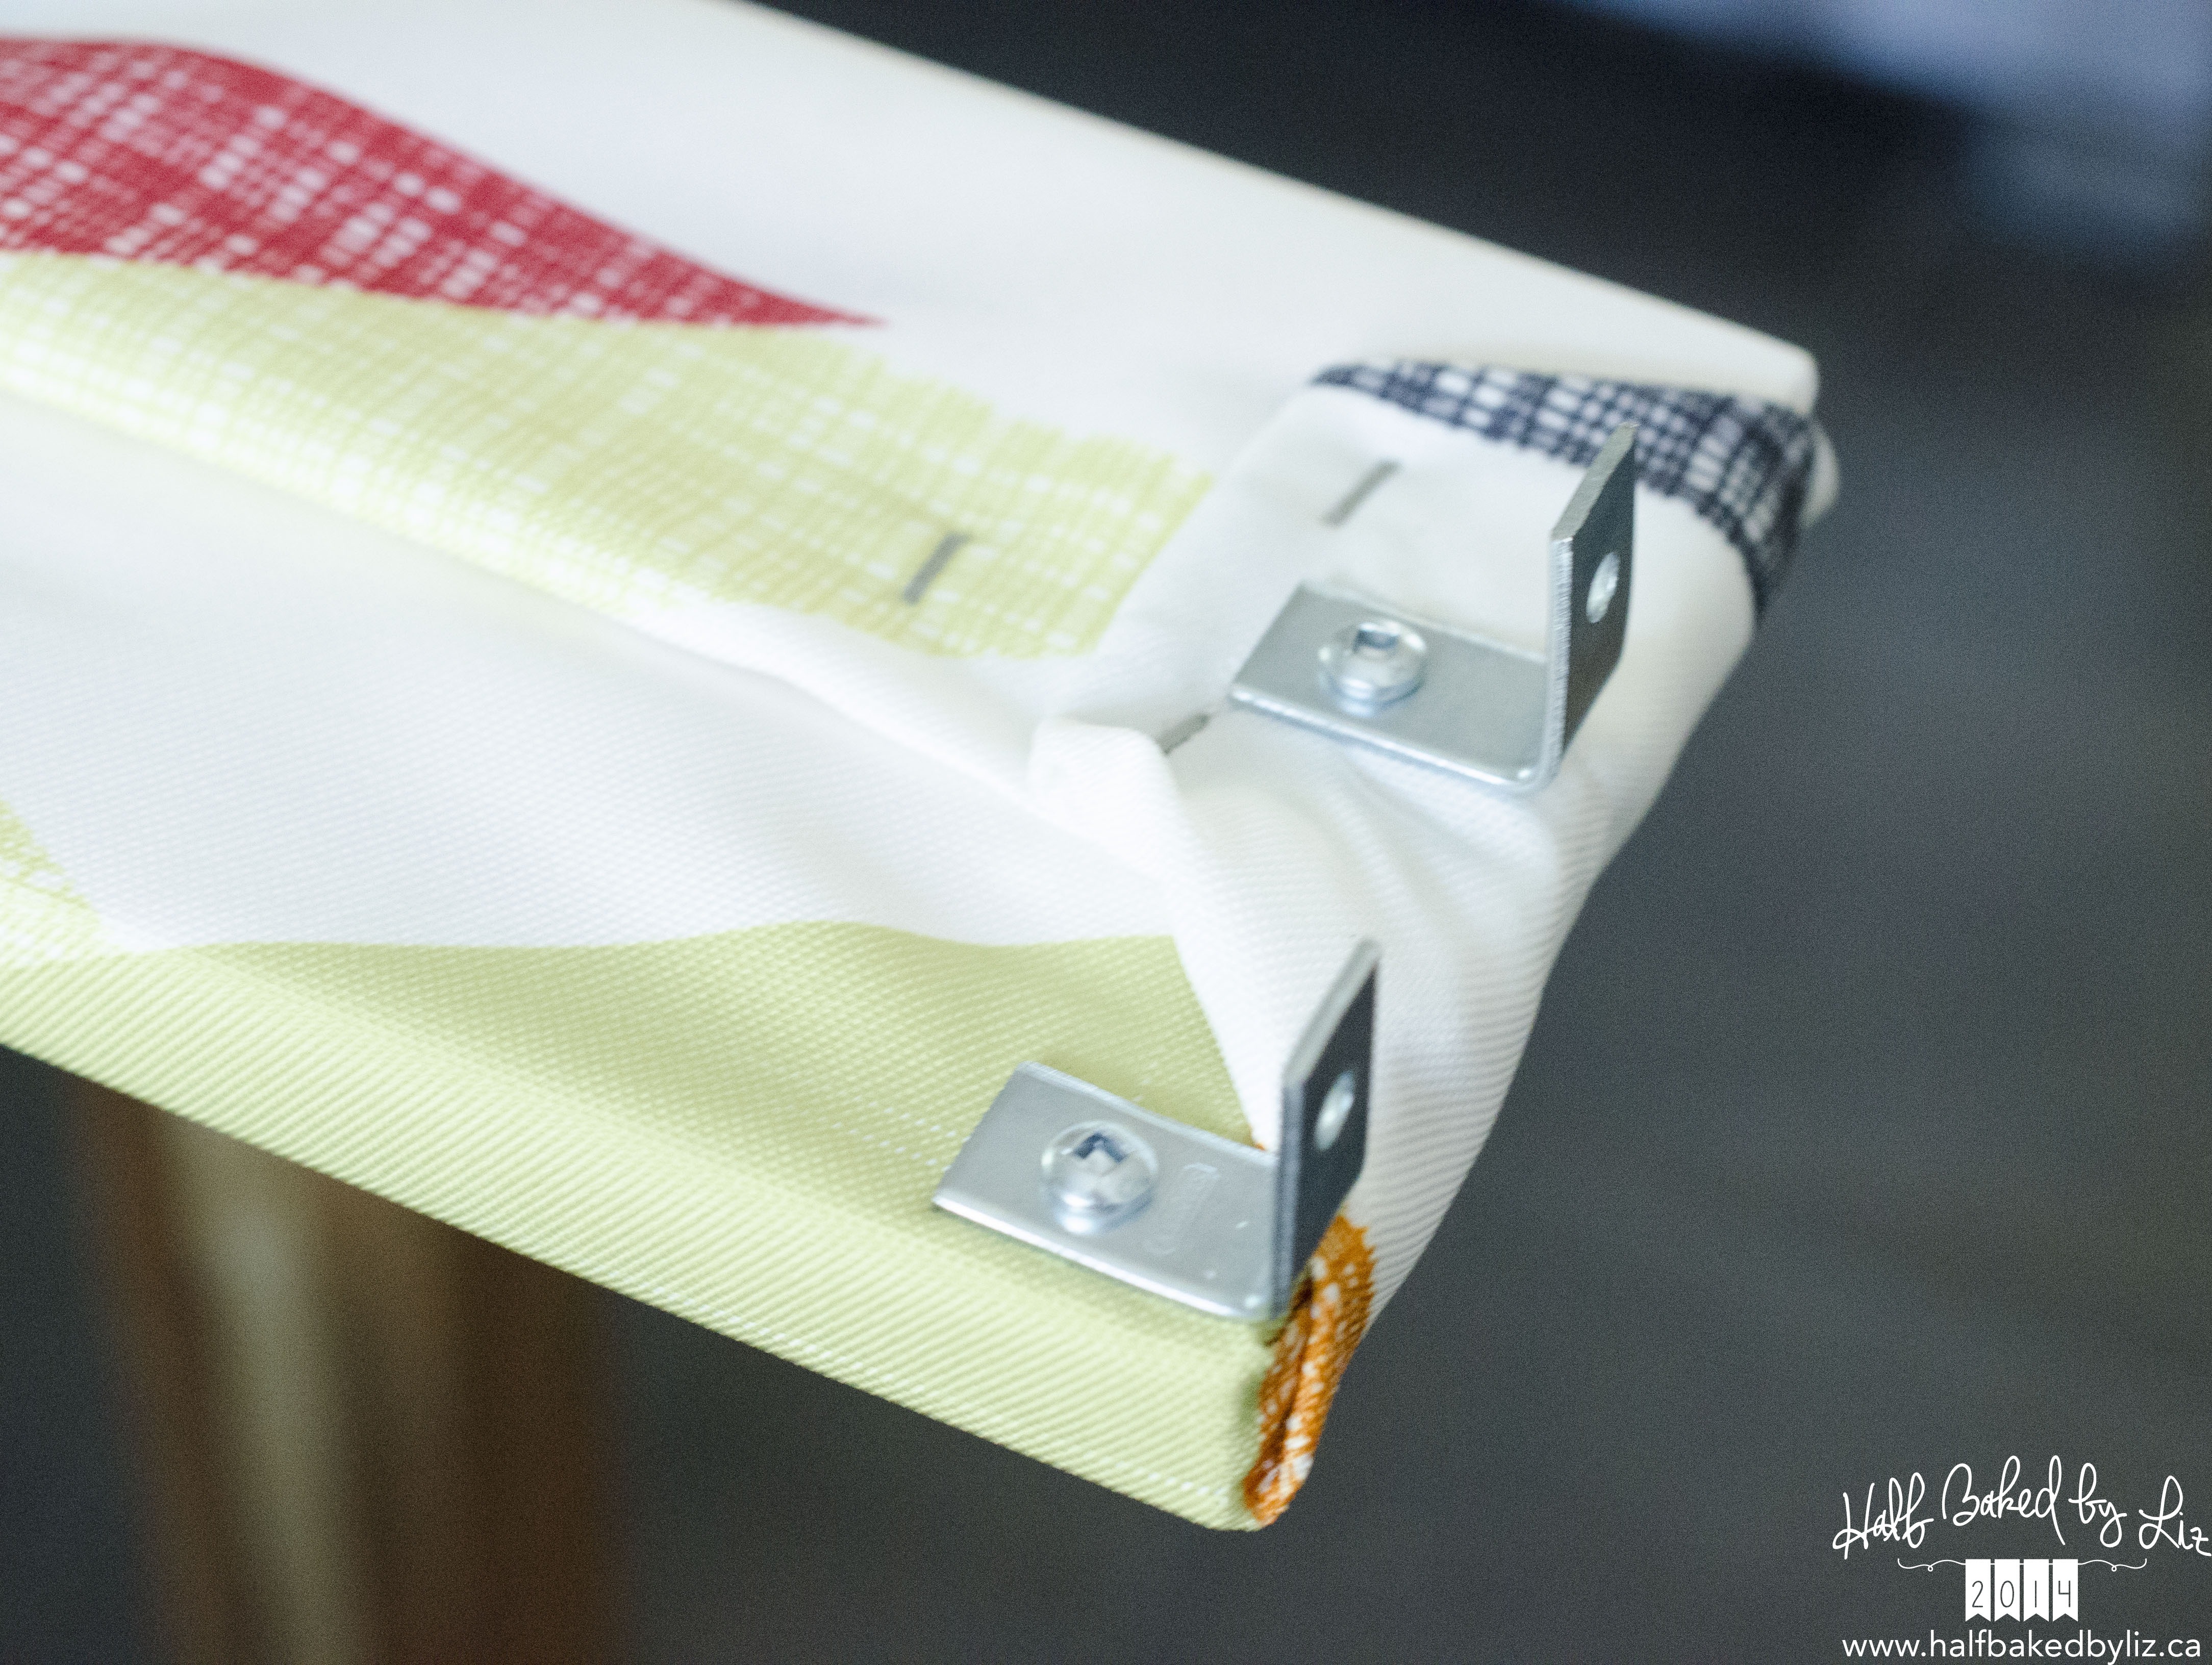
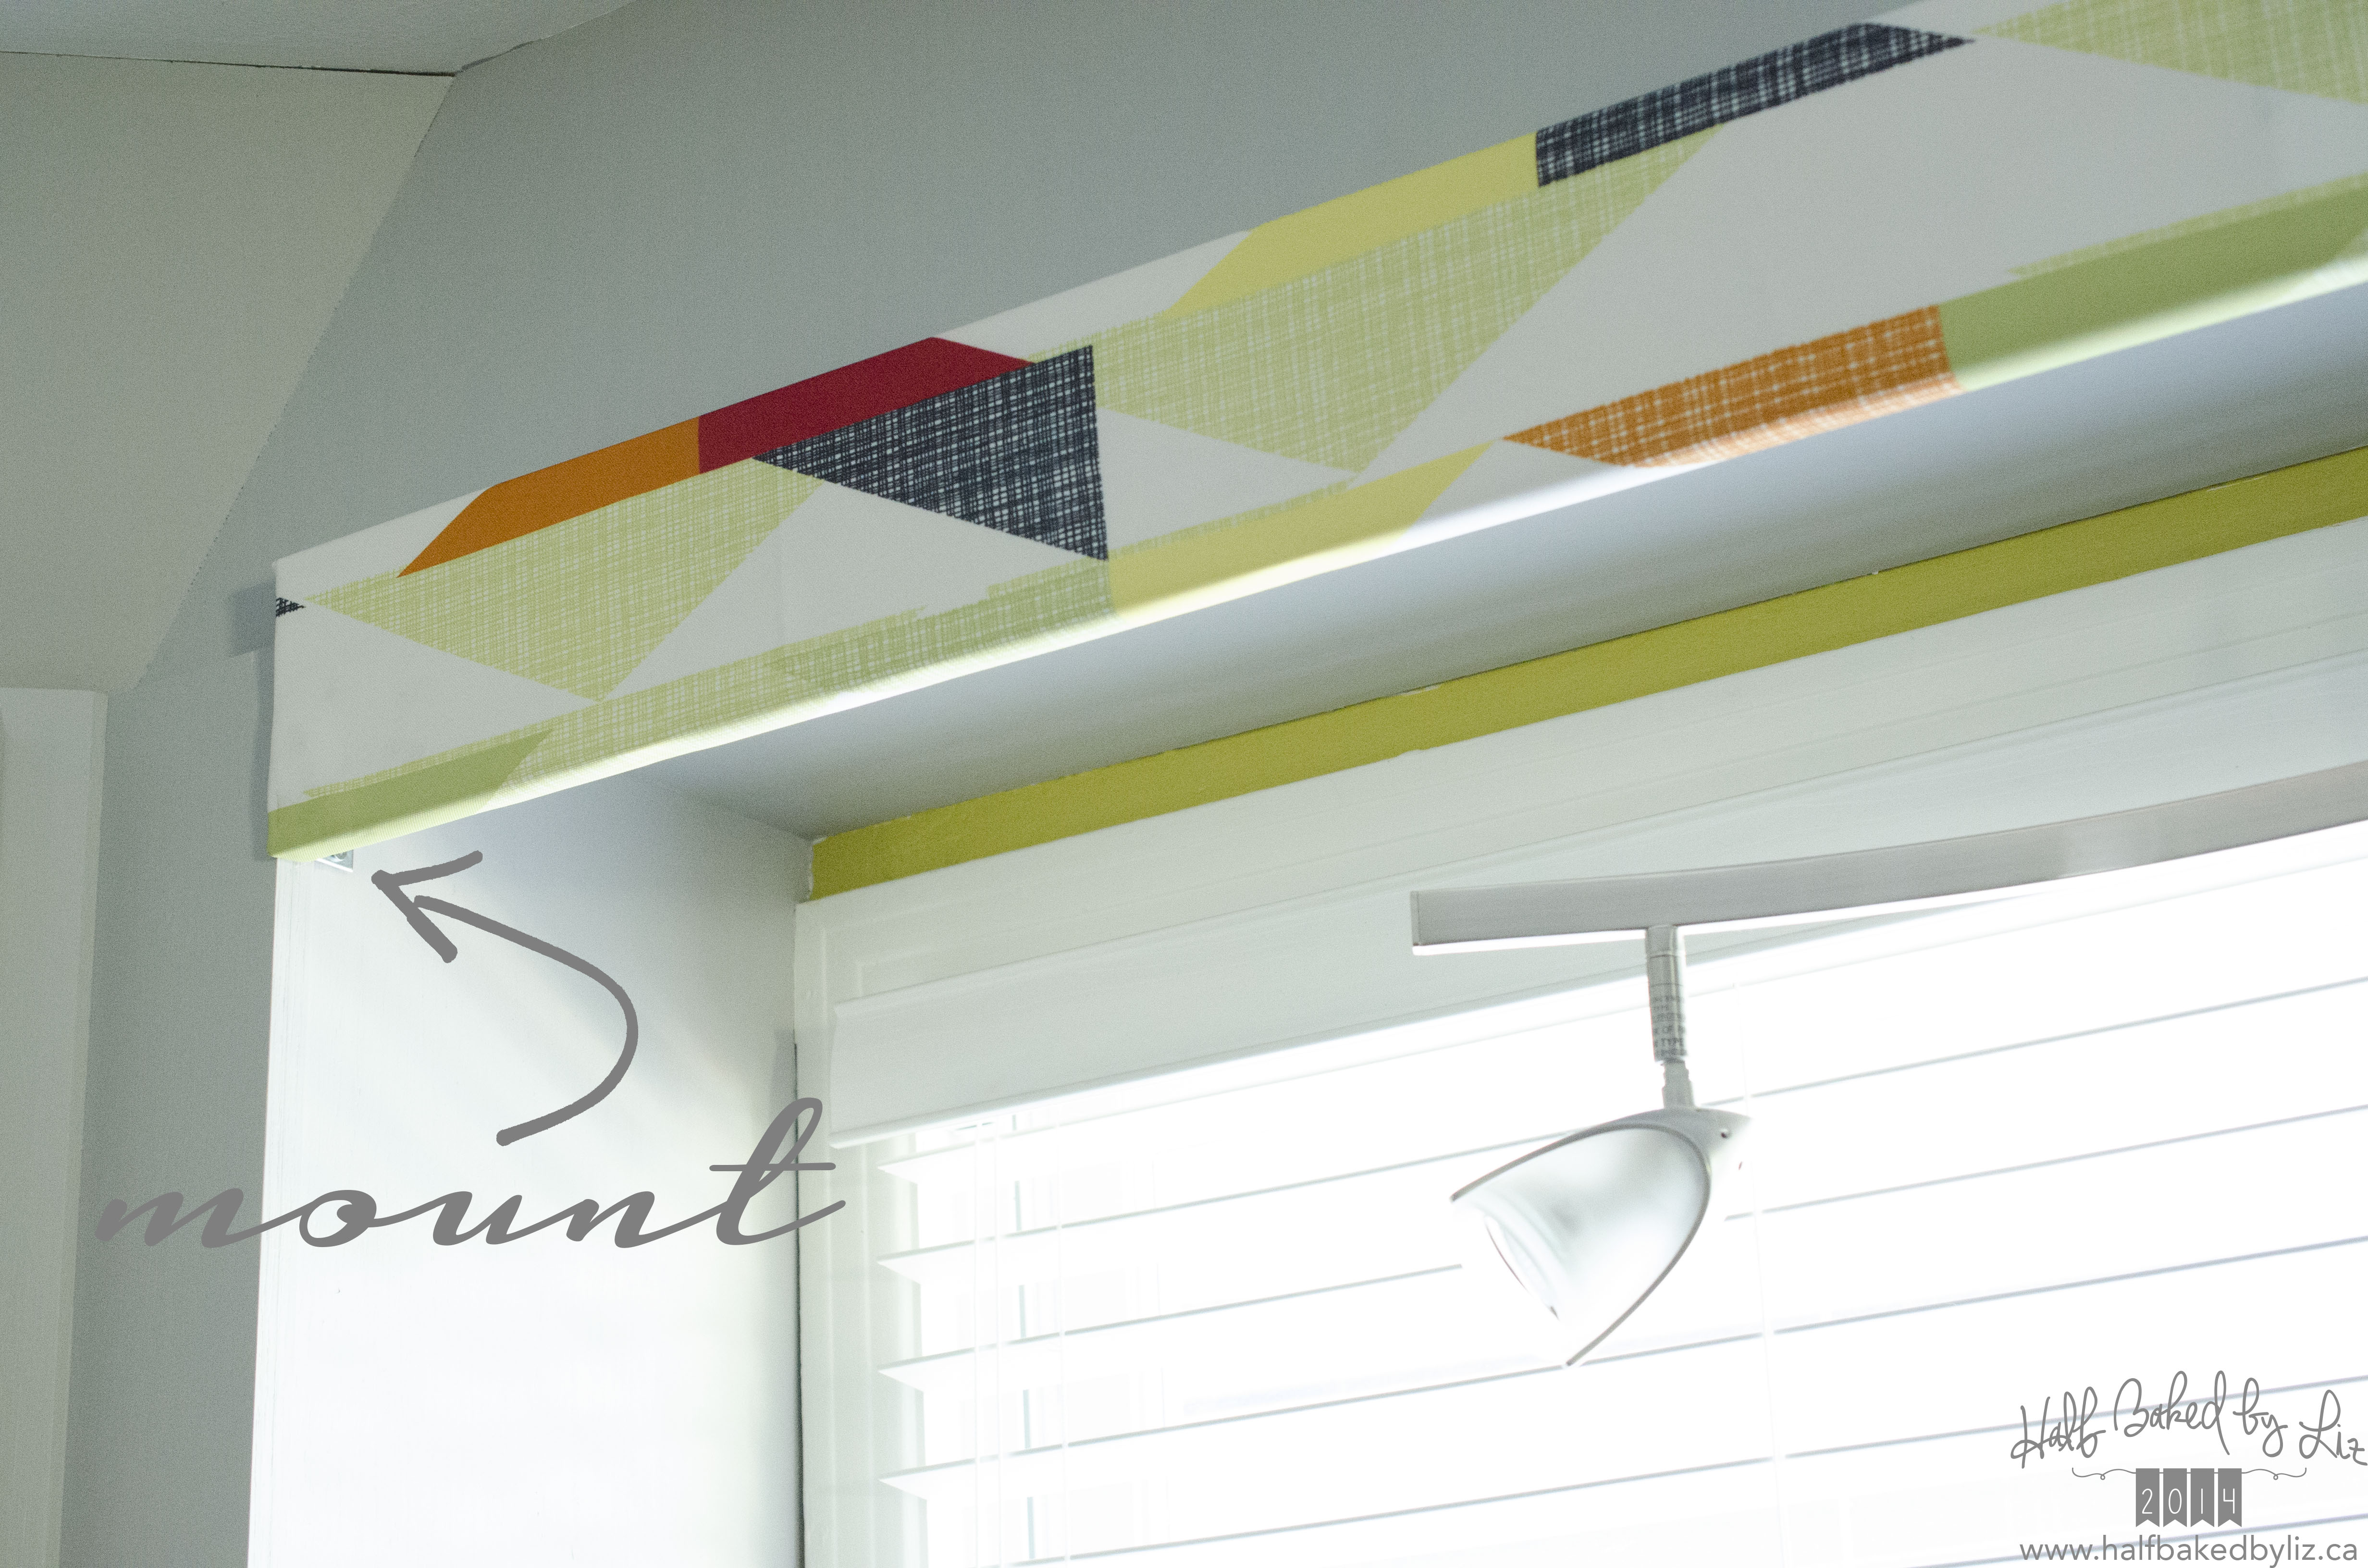
Attach two L-brackets to each end of the valance, using the 5/8″ screws (pre-drill holes first).
Then, mount over the window, using the 3/4″ screws. This is where you’ll need the clamps, or someone to hold it for you.
That’s it! Easy to do, and looks great.