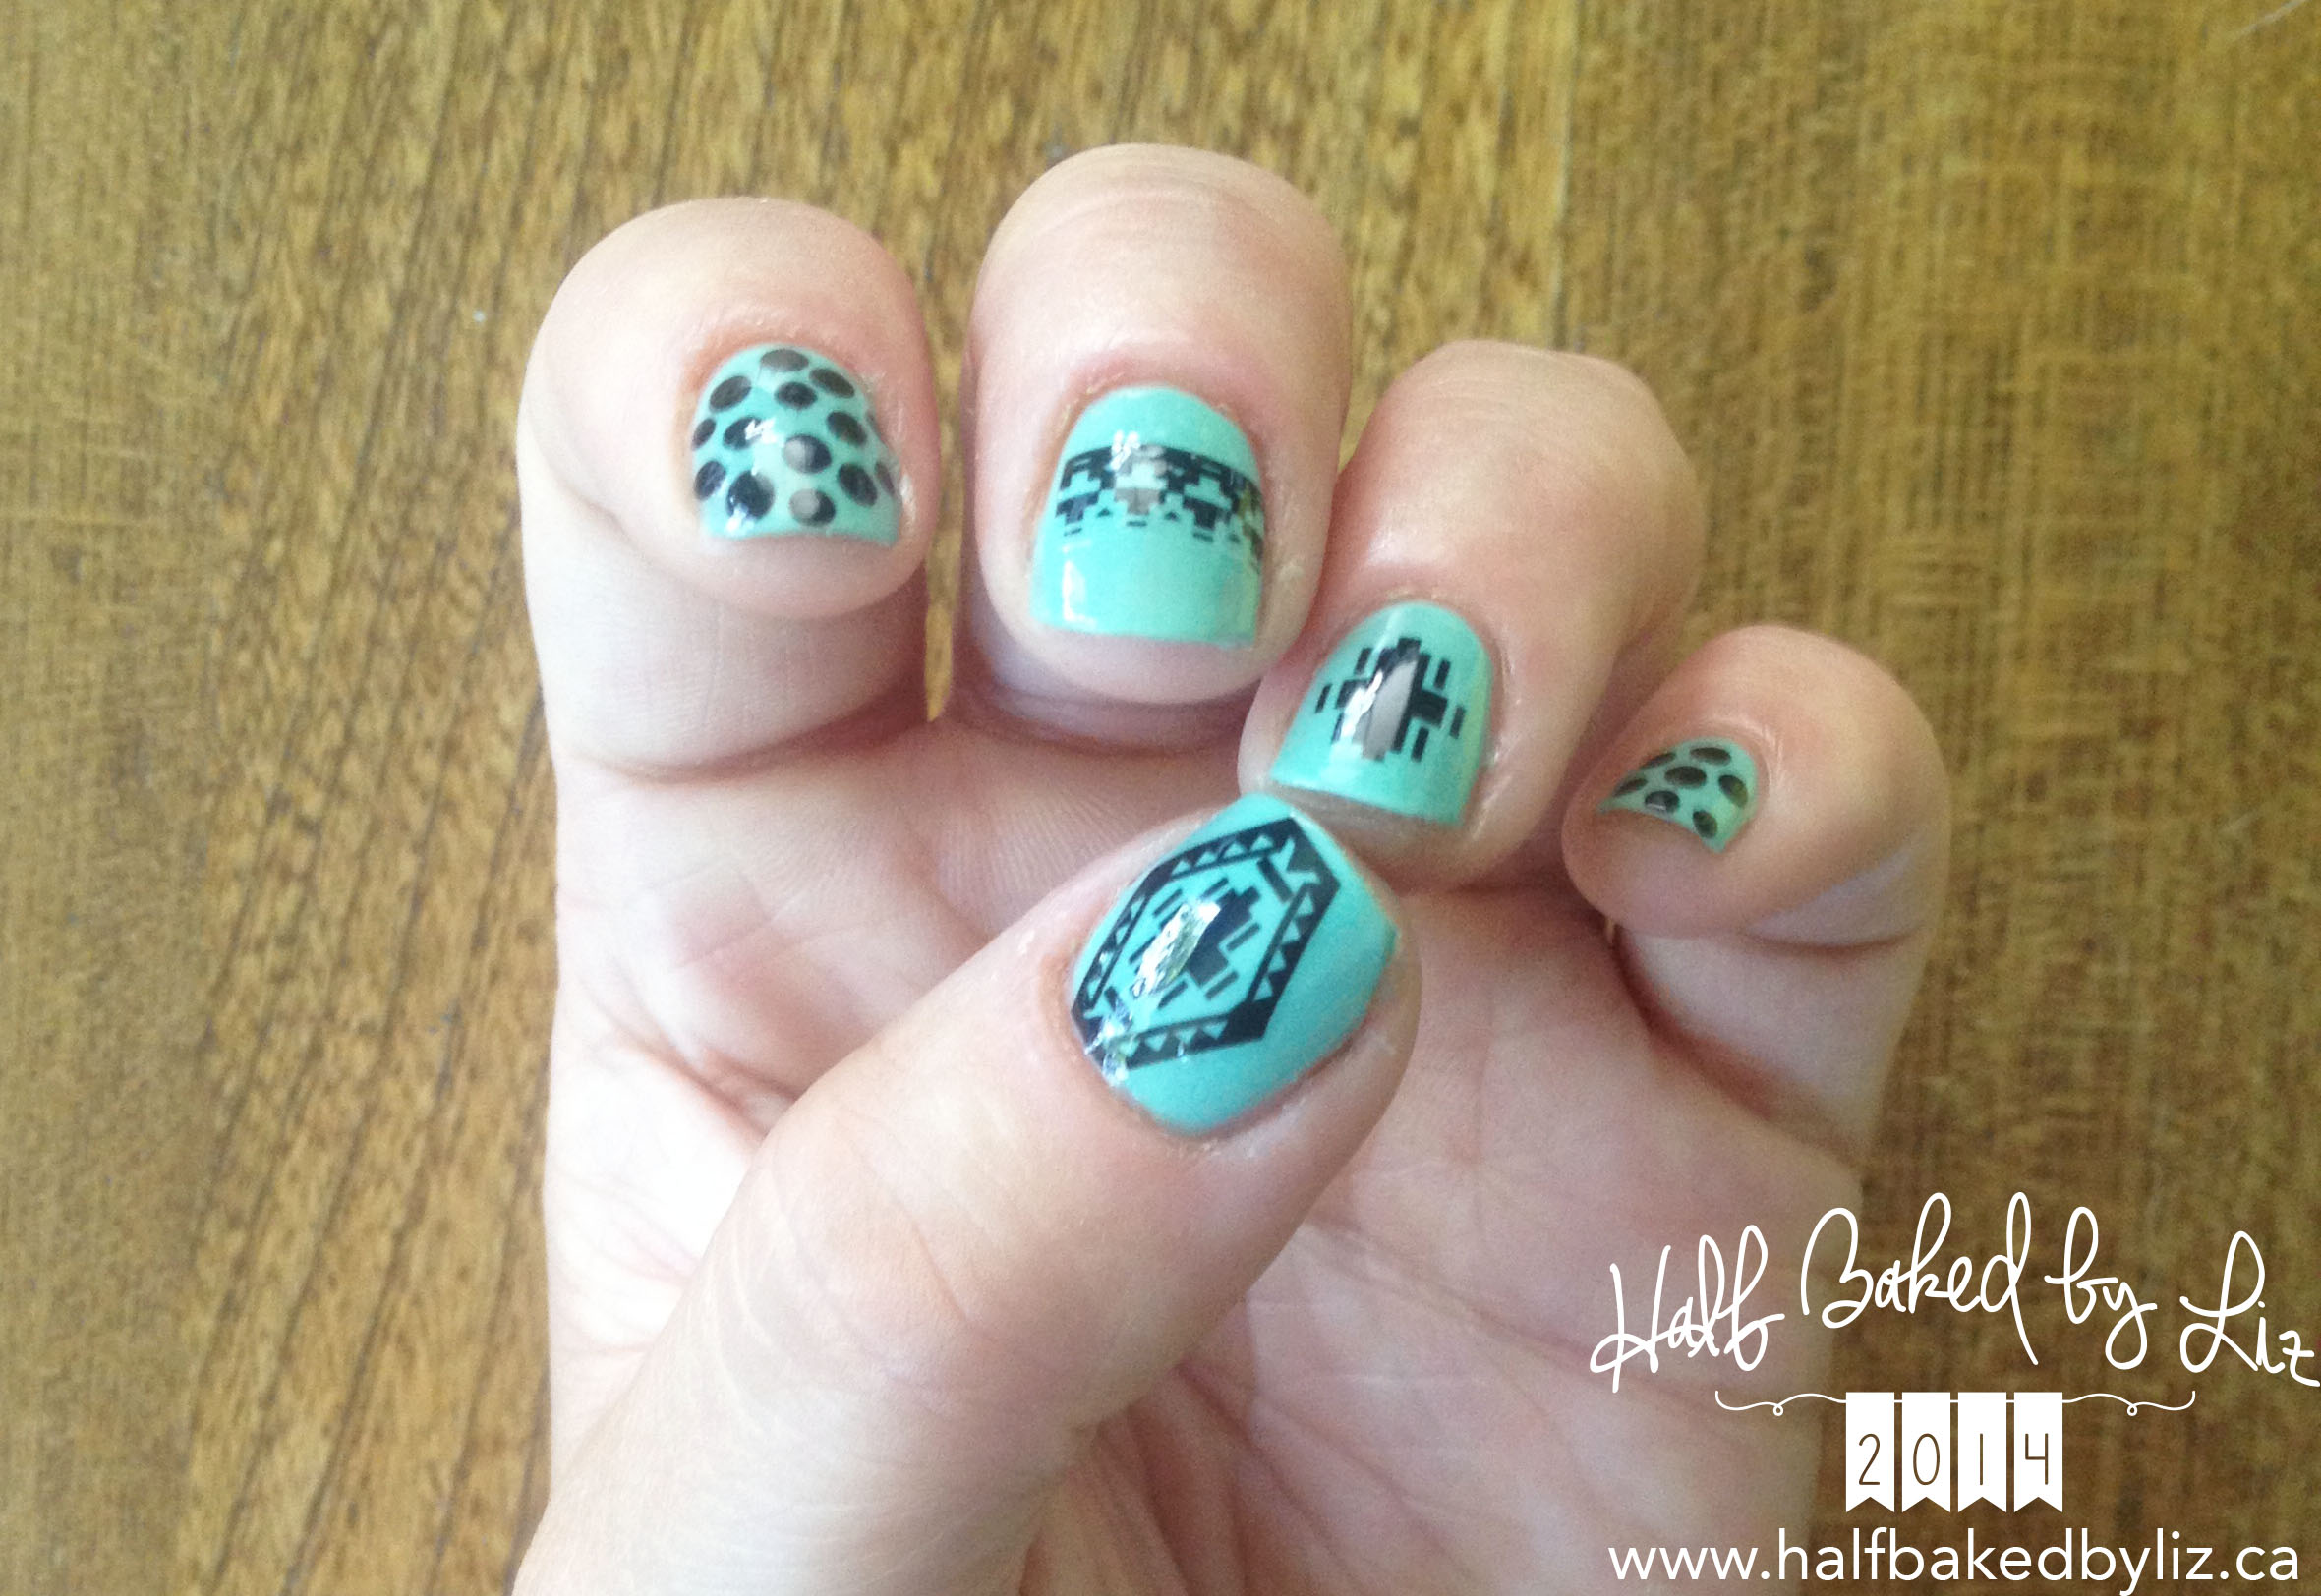
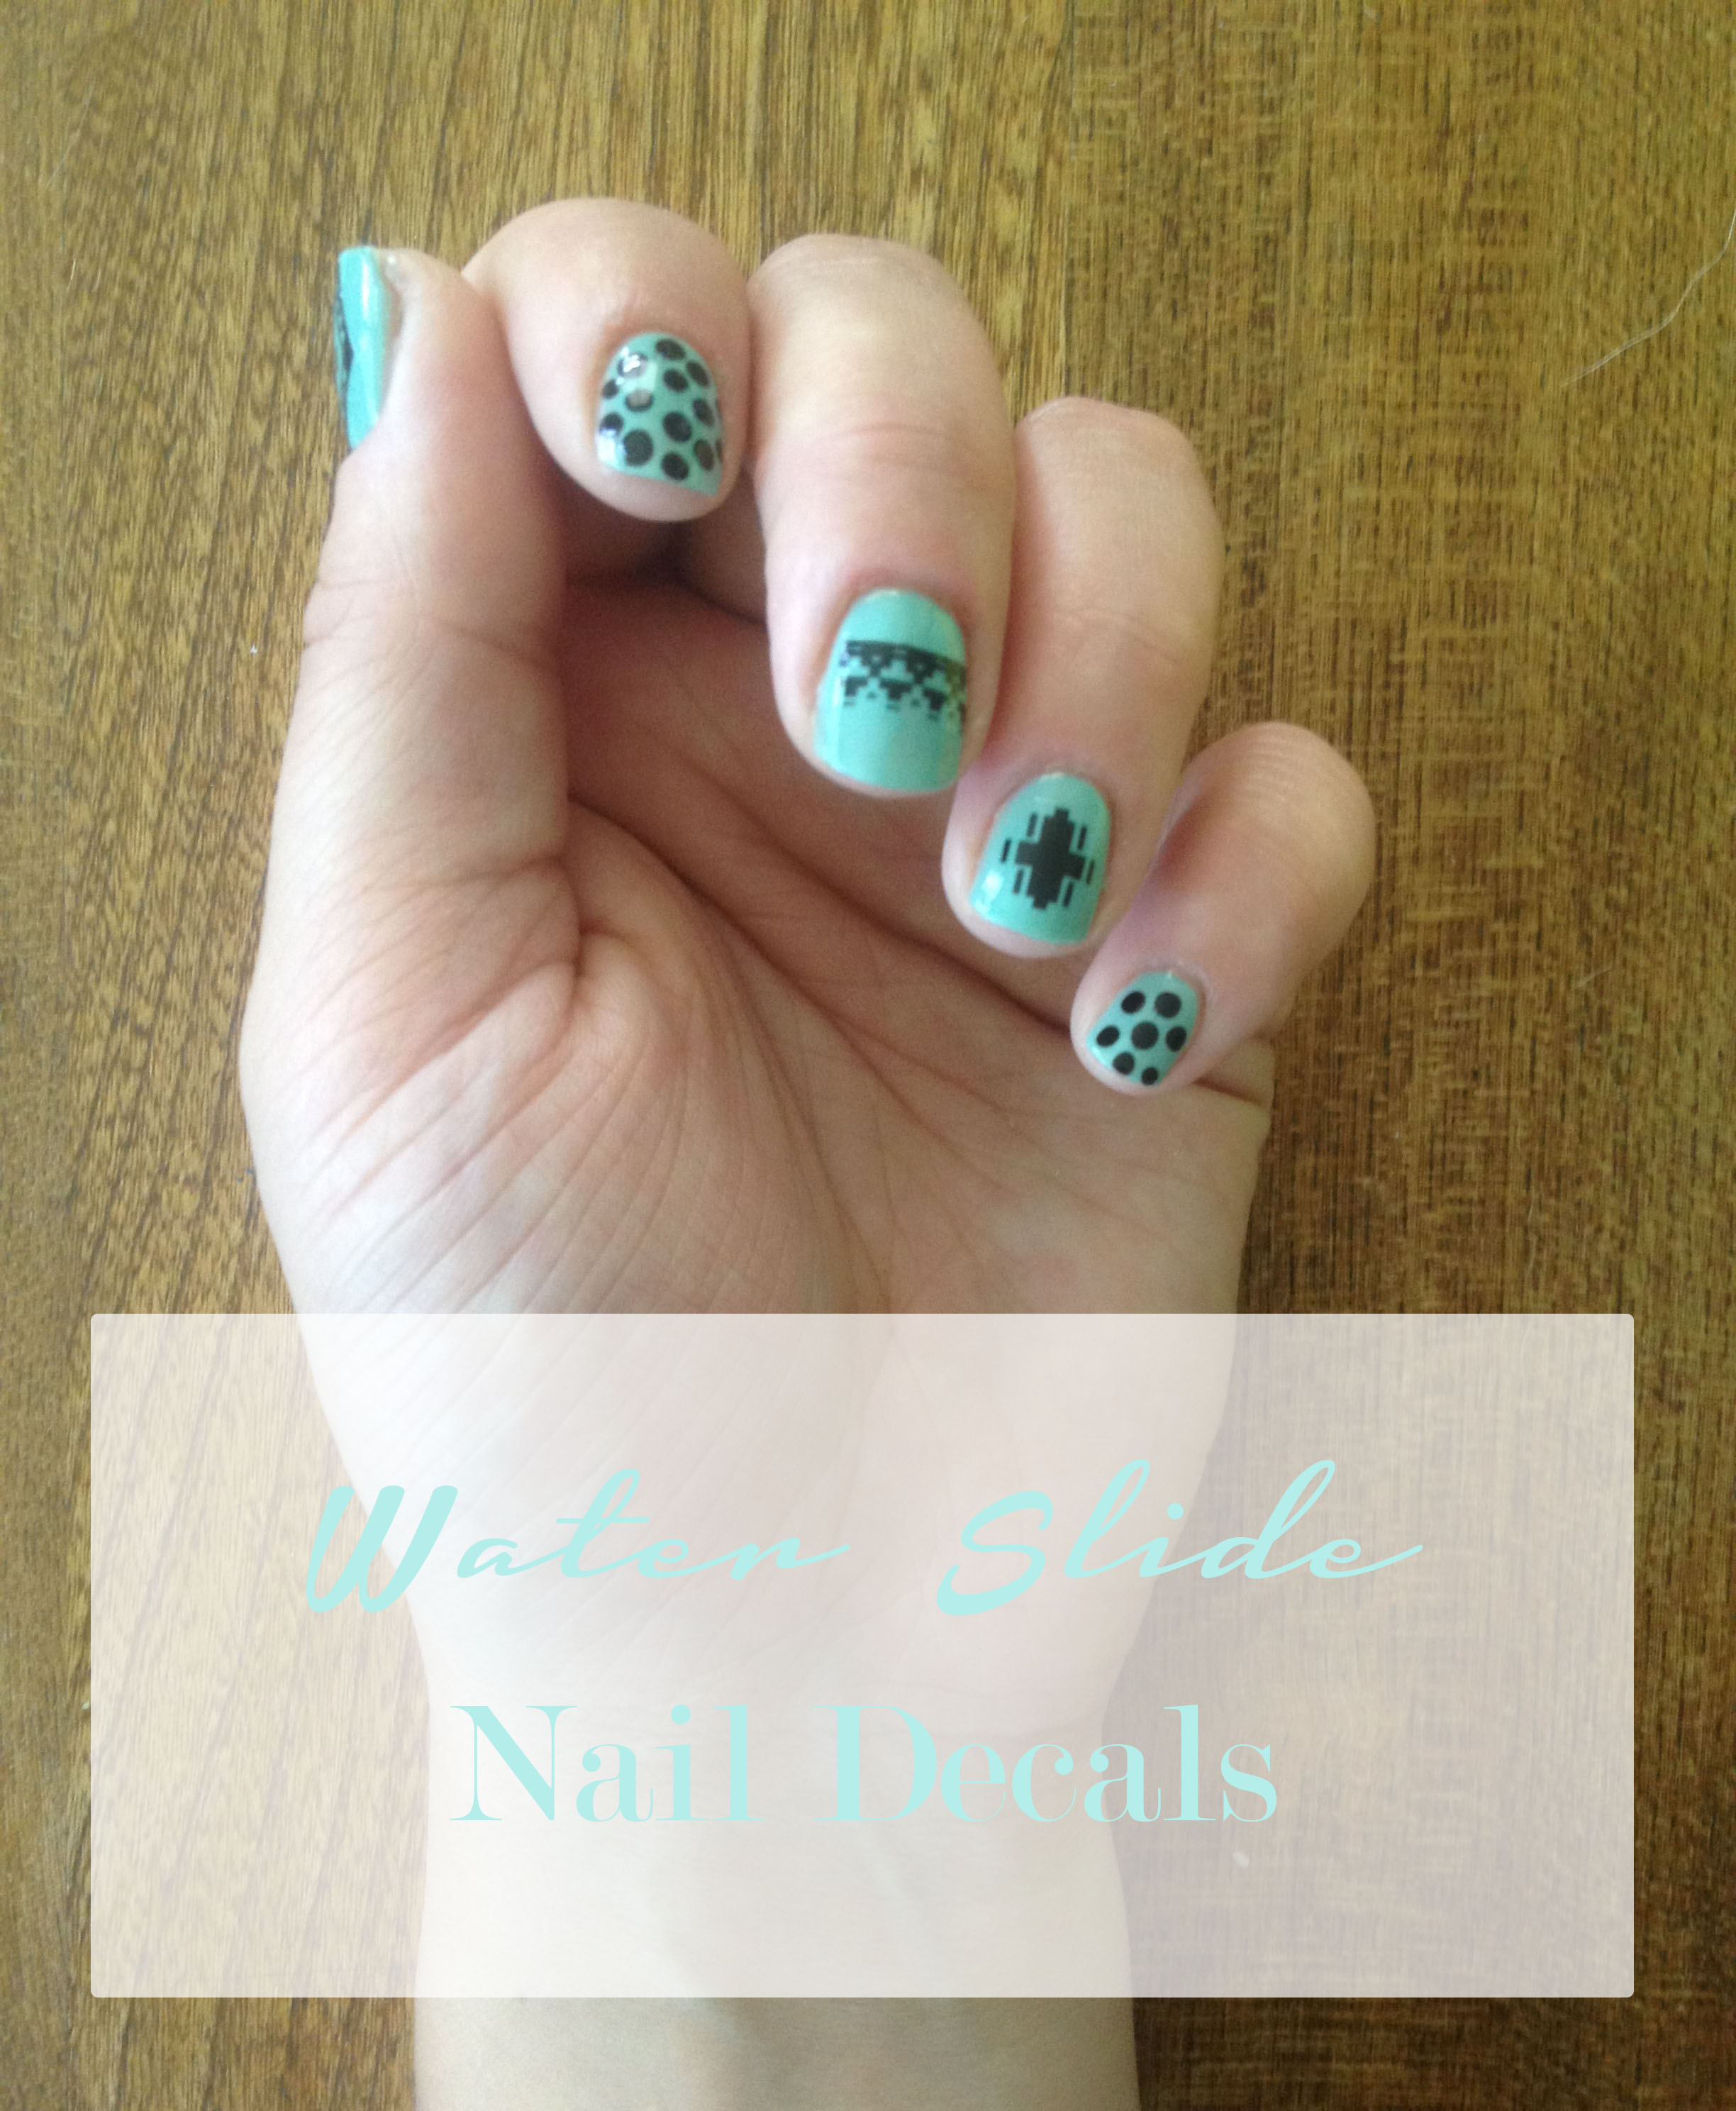
I recently joined the Nailed Kit Monthly Club , and now that I’ve had a chance to play around with these decals, I’m totally loving them! For $10 per month, you get two surprise packages of water slide decals (they work like temporary tattoos) in the mail. The decals shown in this post arrived in July.
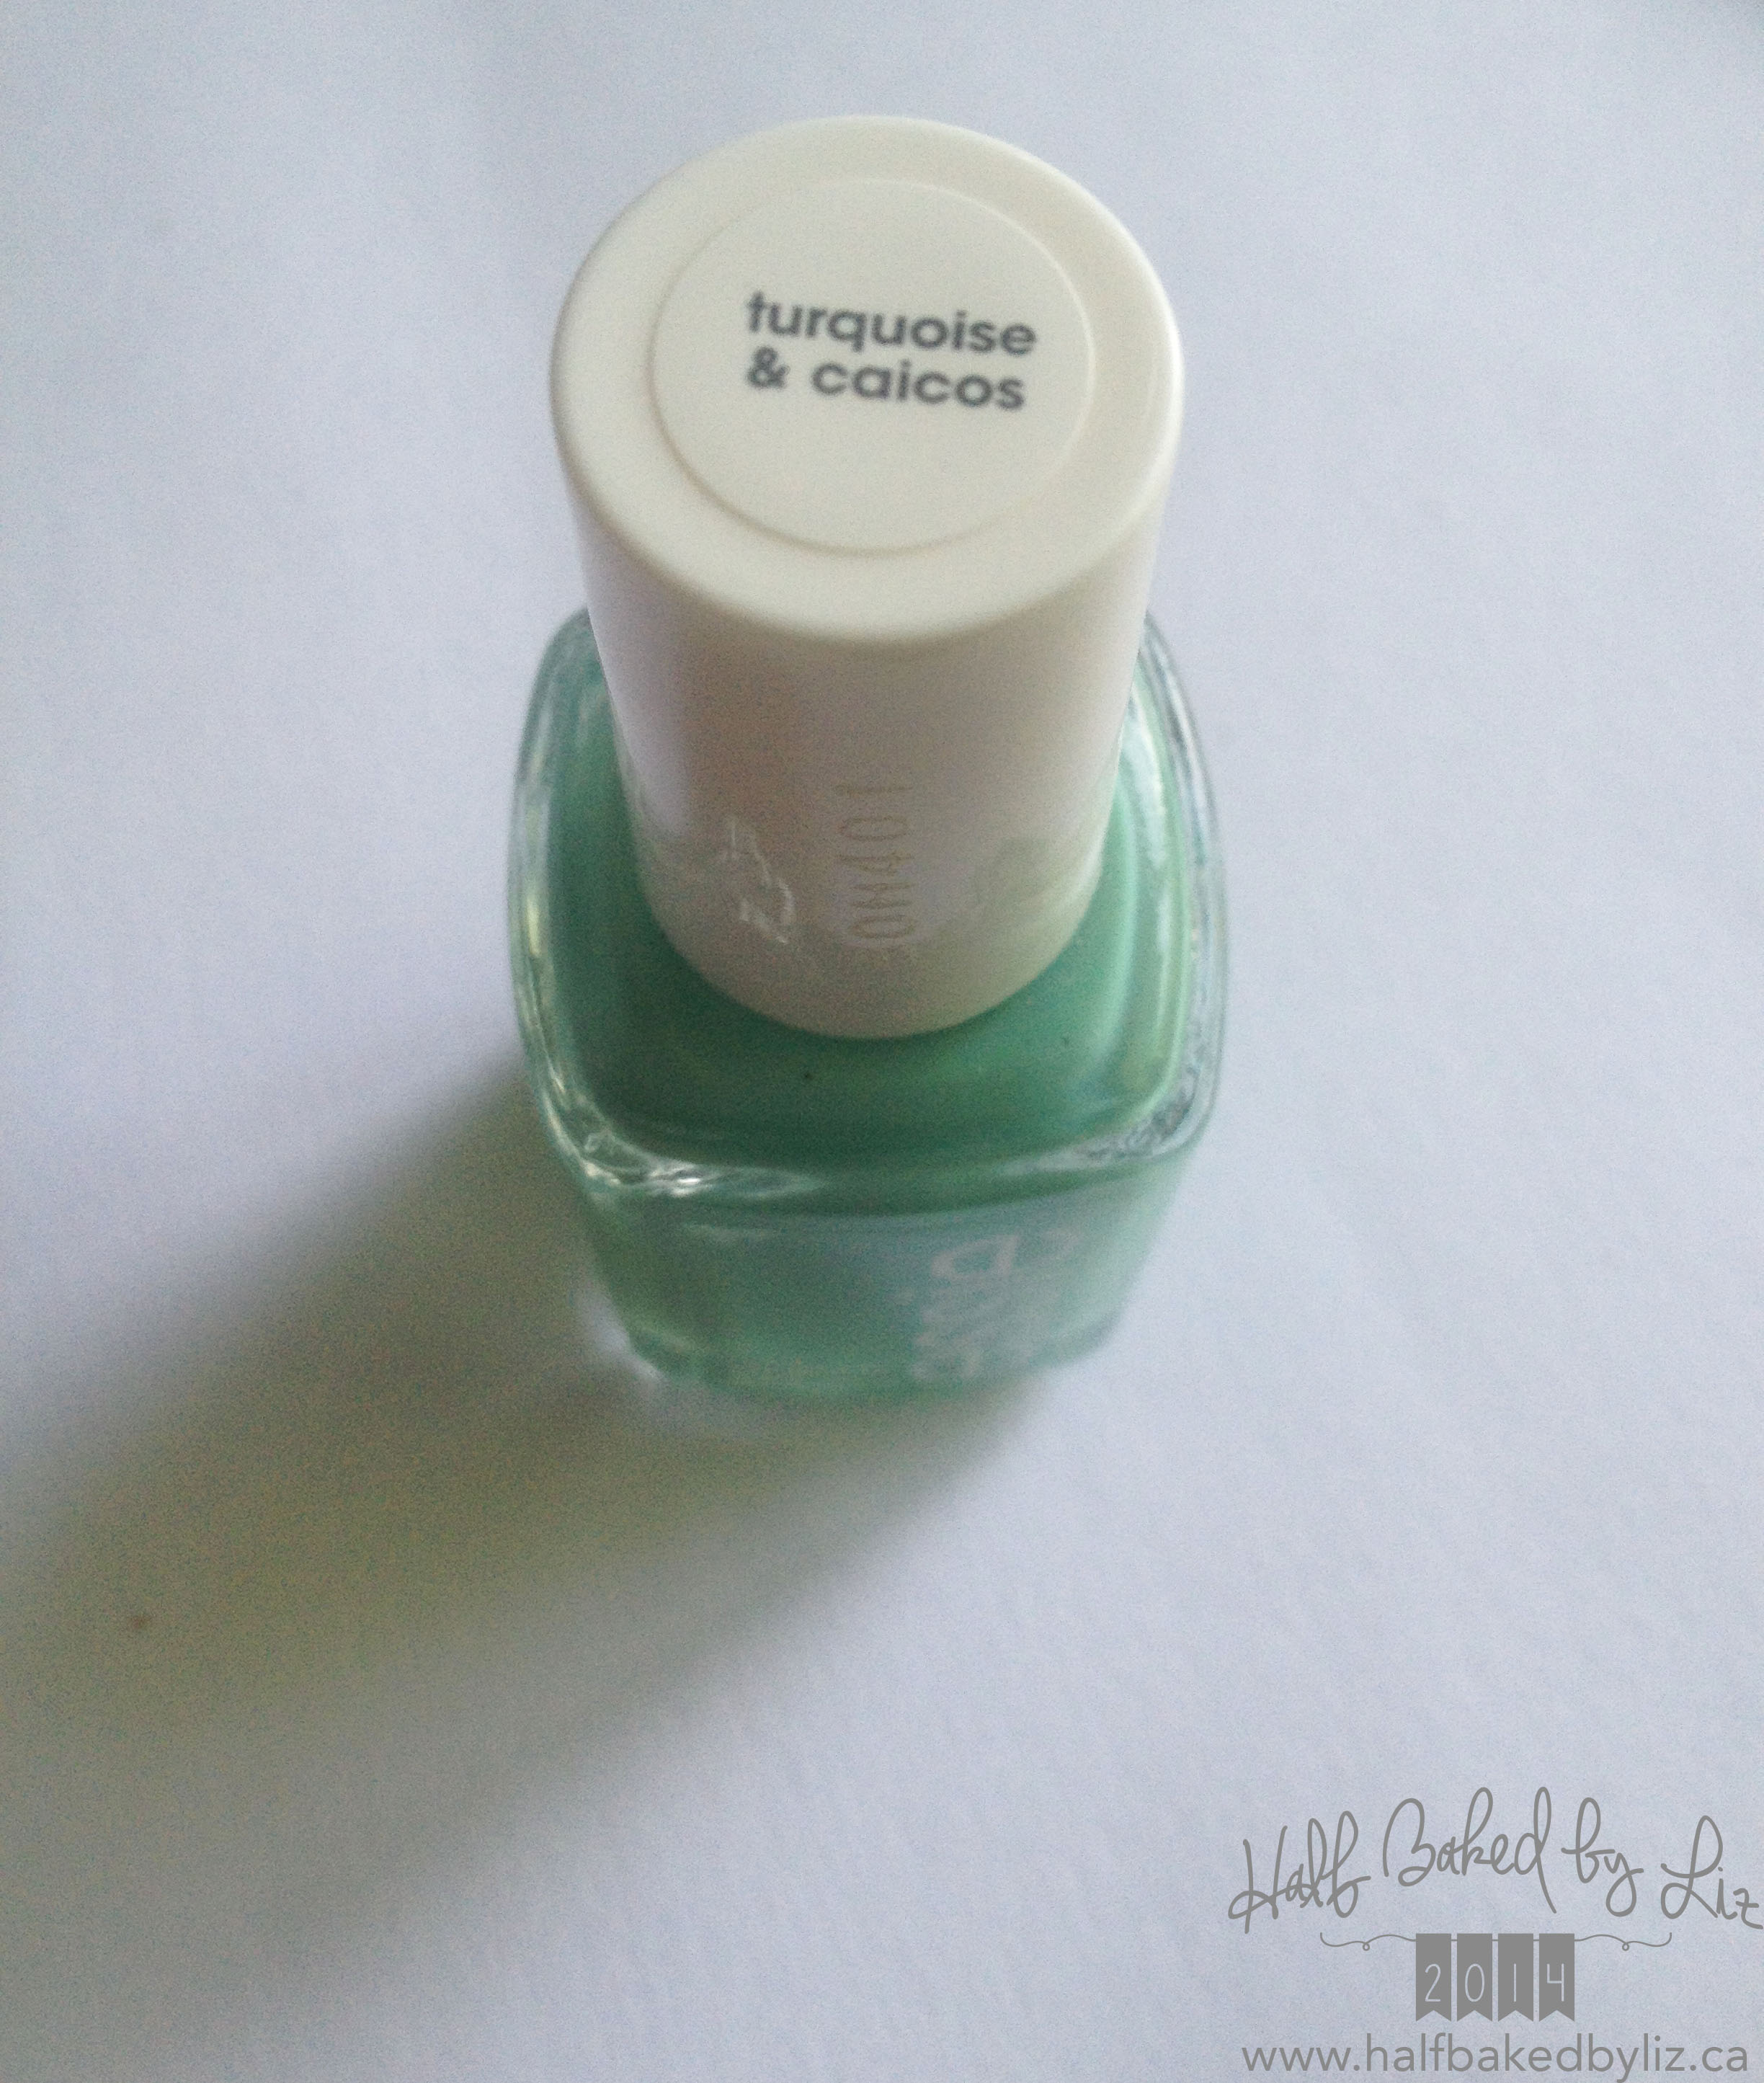
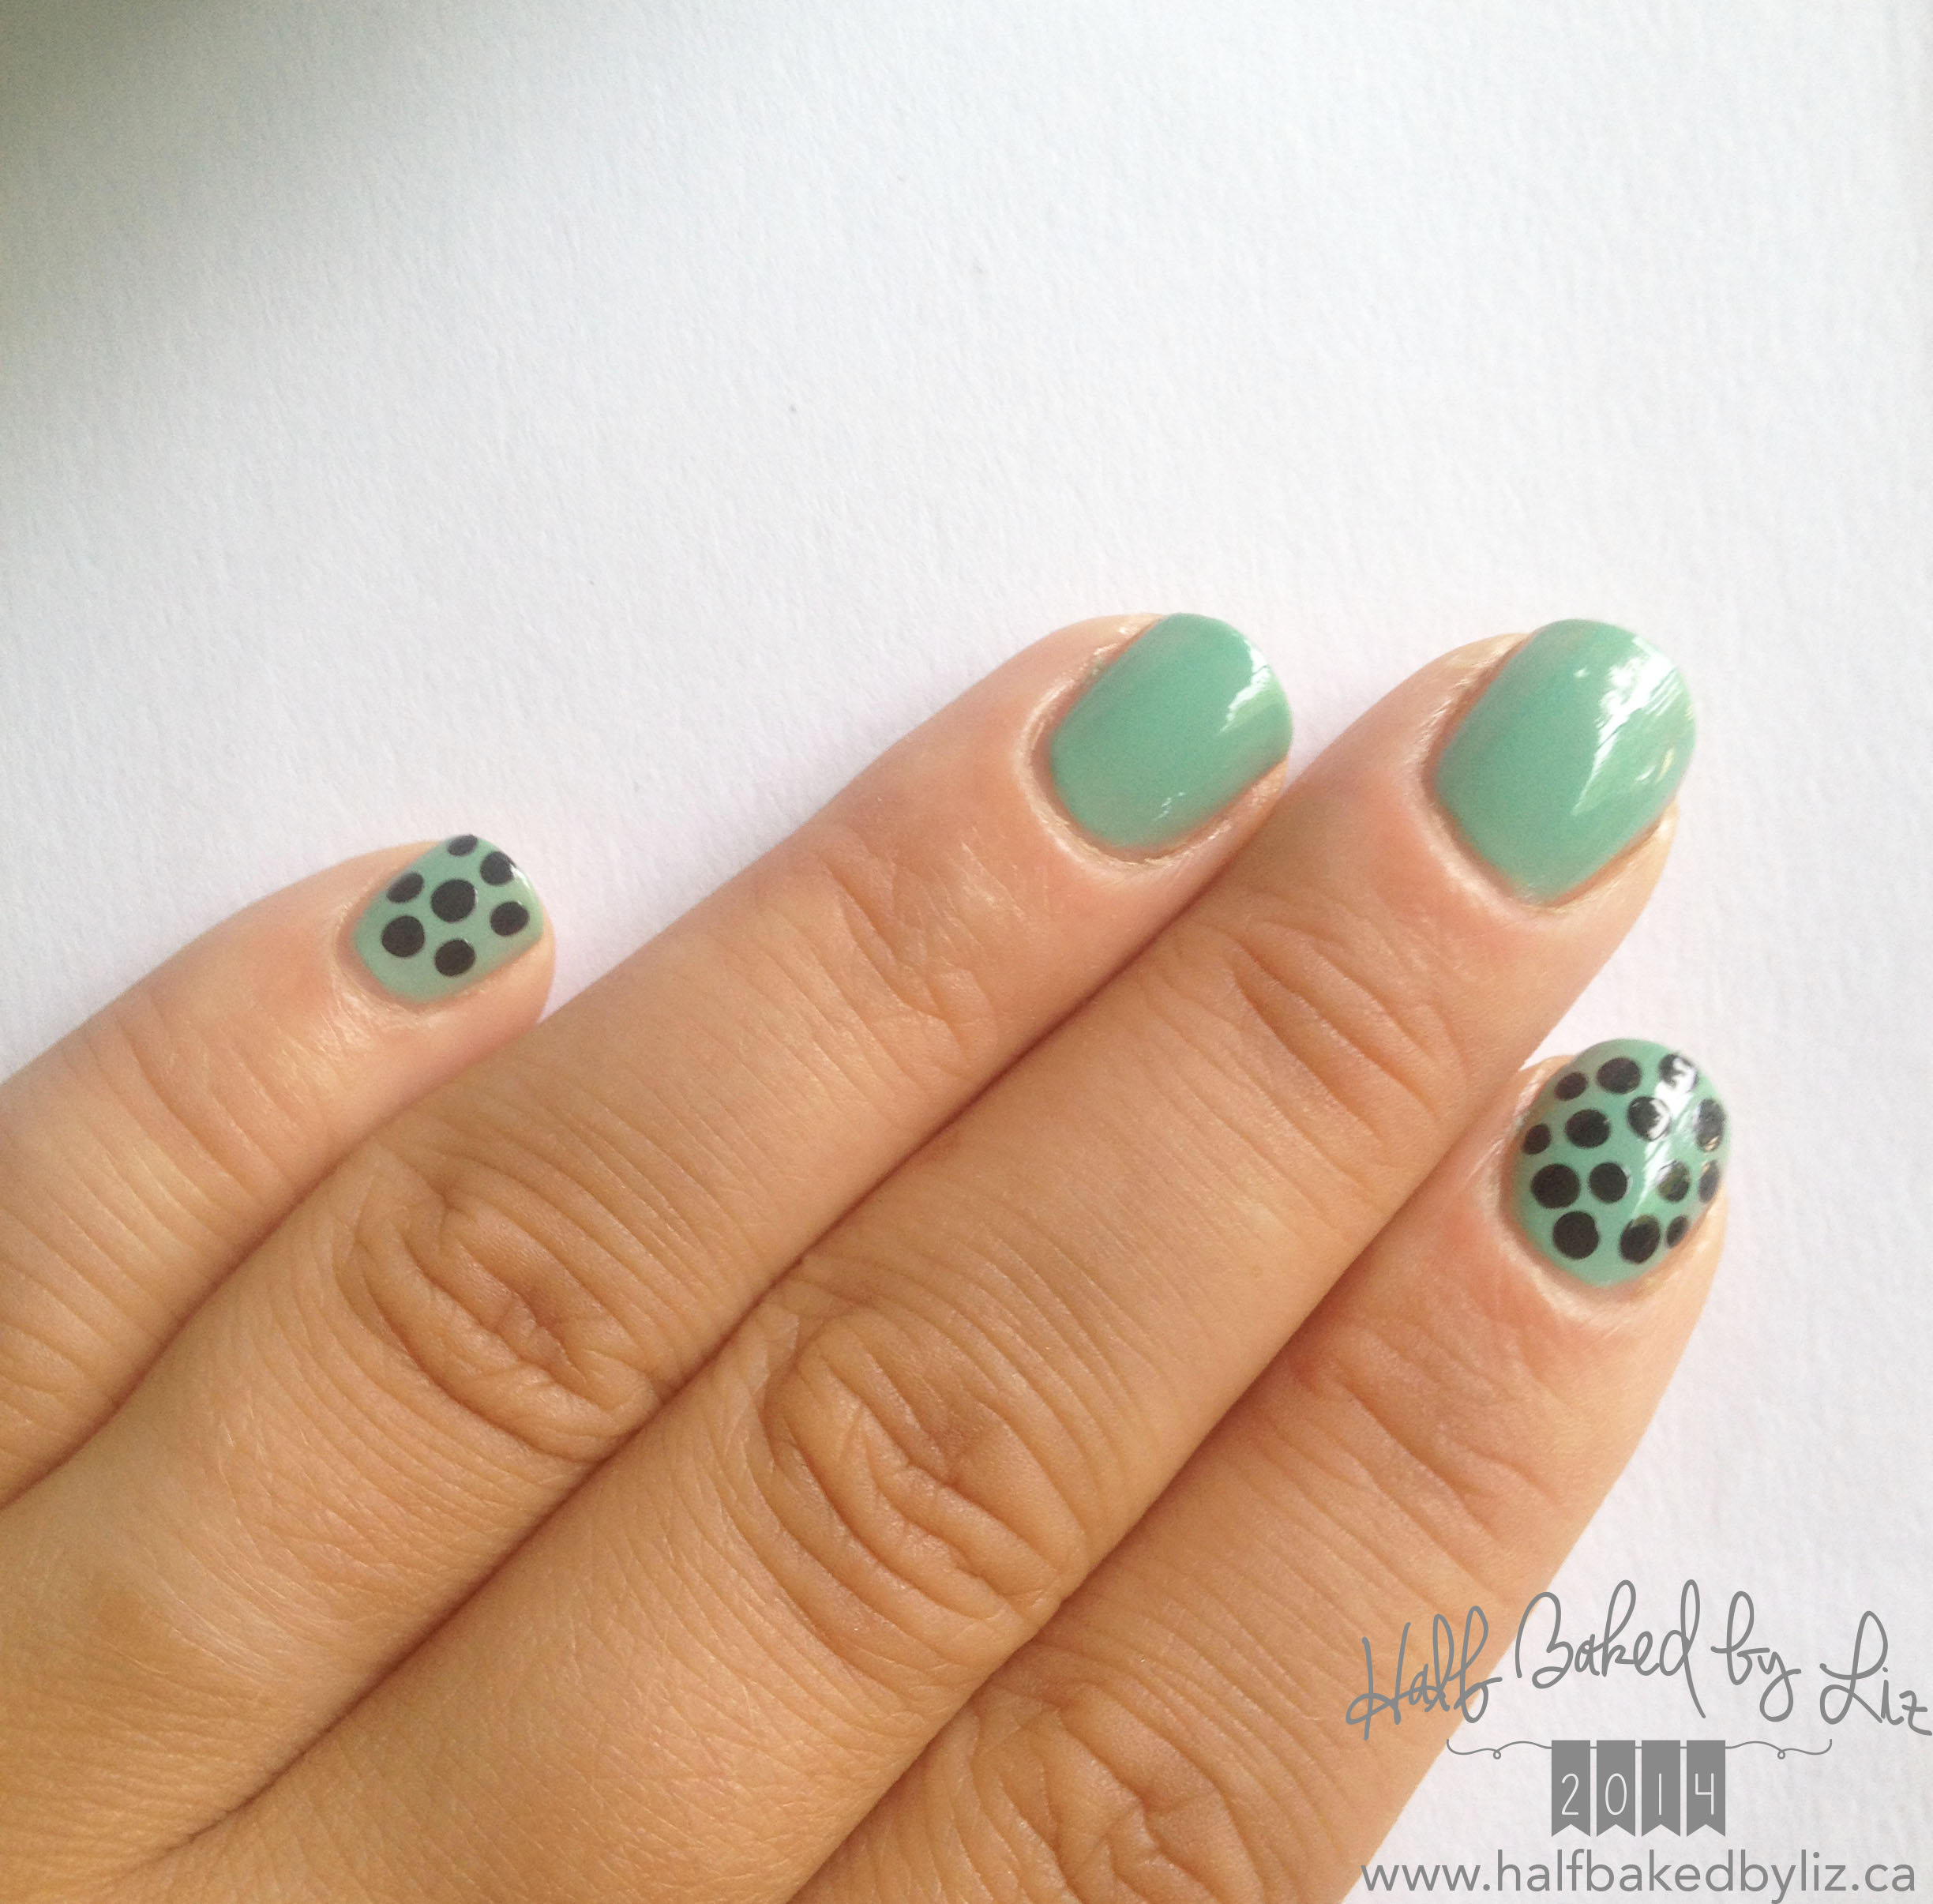
I started with a base colour of Turquoise and Caicos by Essie .
Next, I added some polka dots to my pinky and pointer fingers, using a dotting tool.

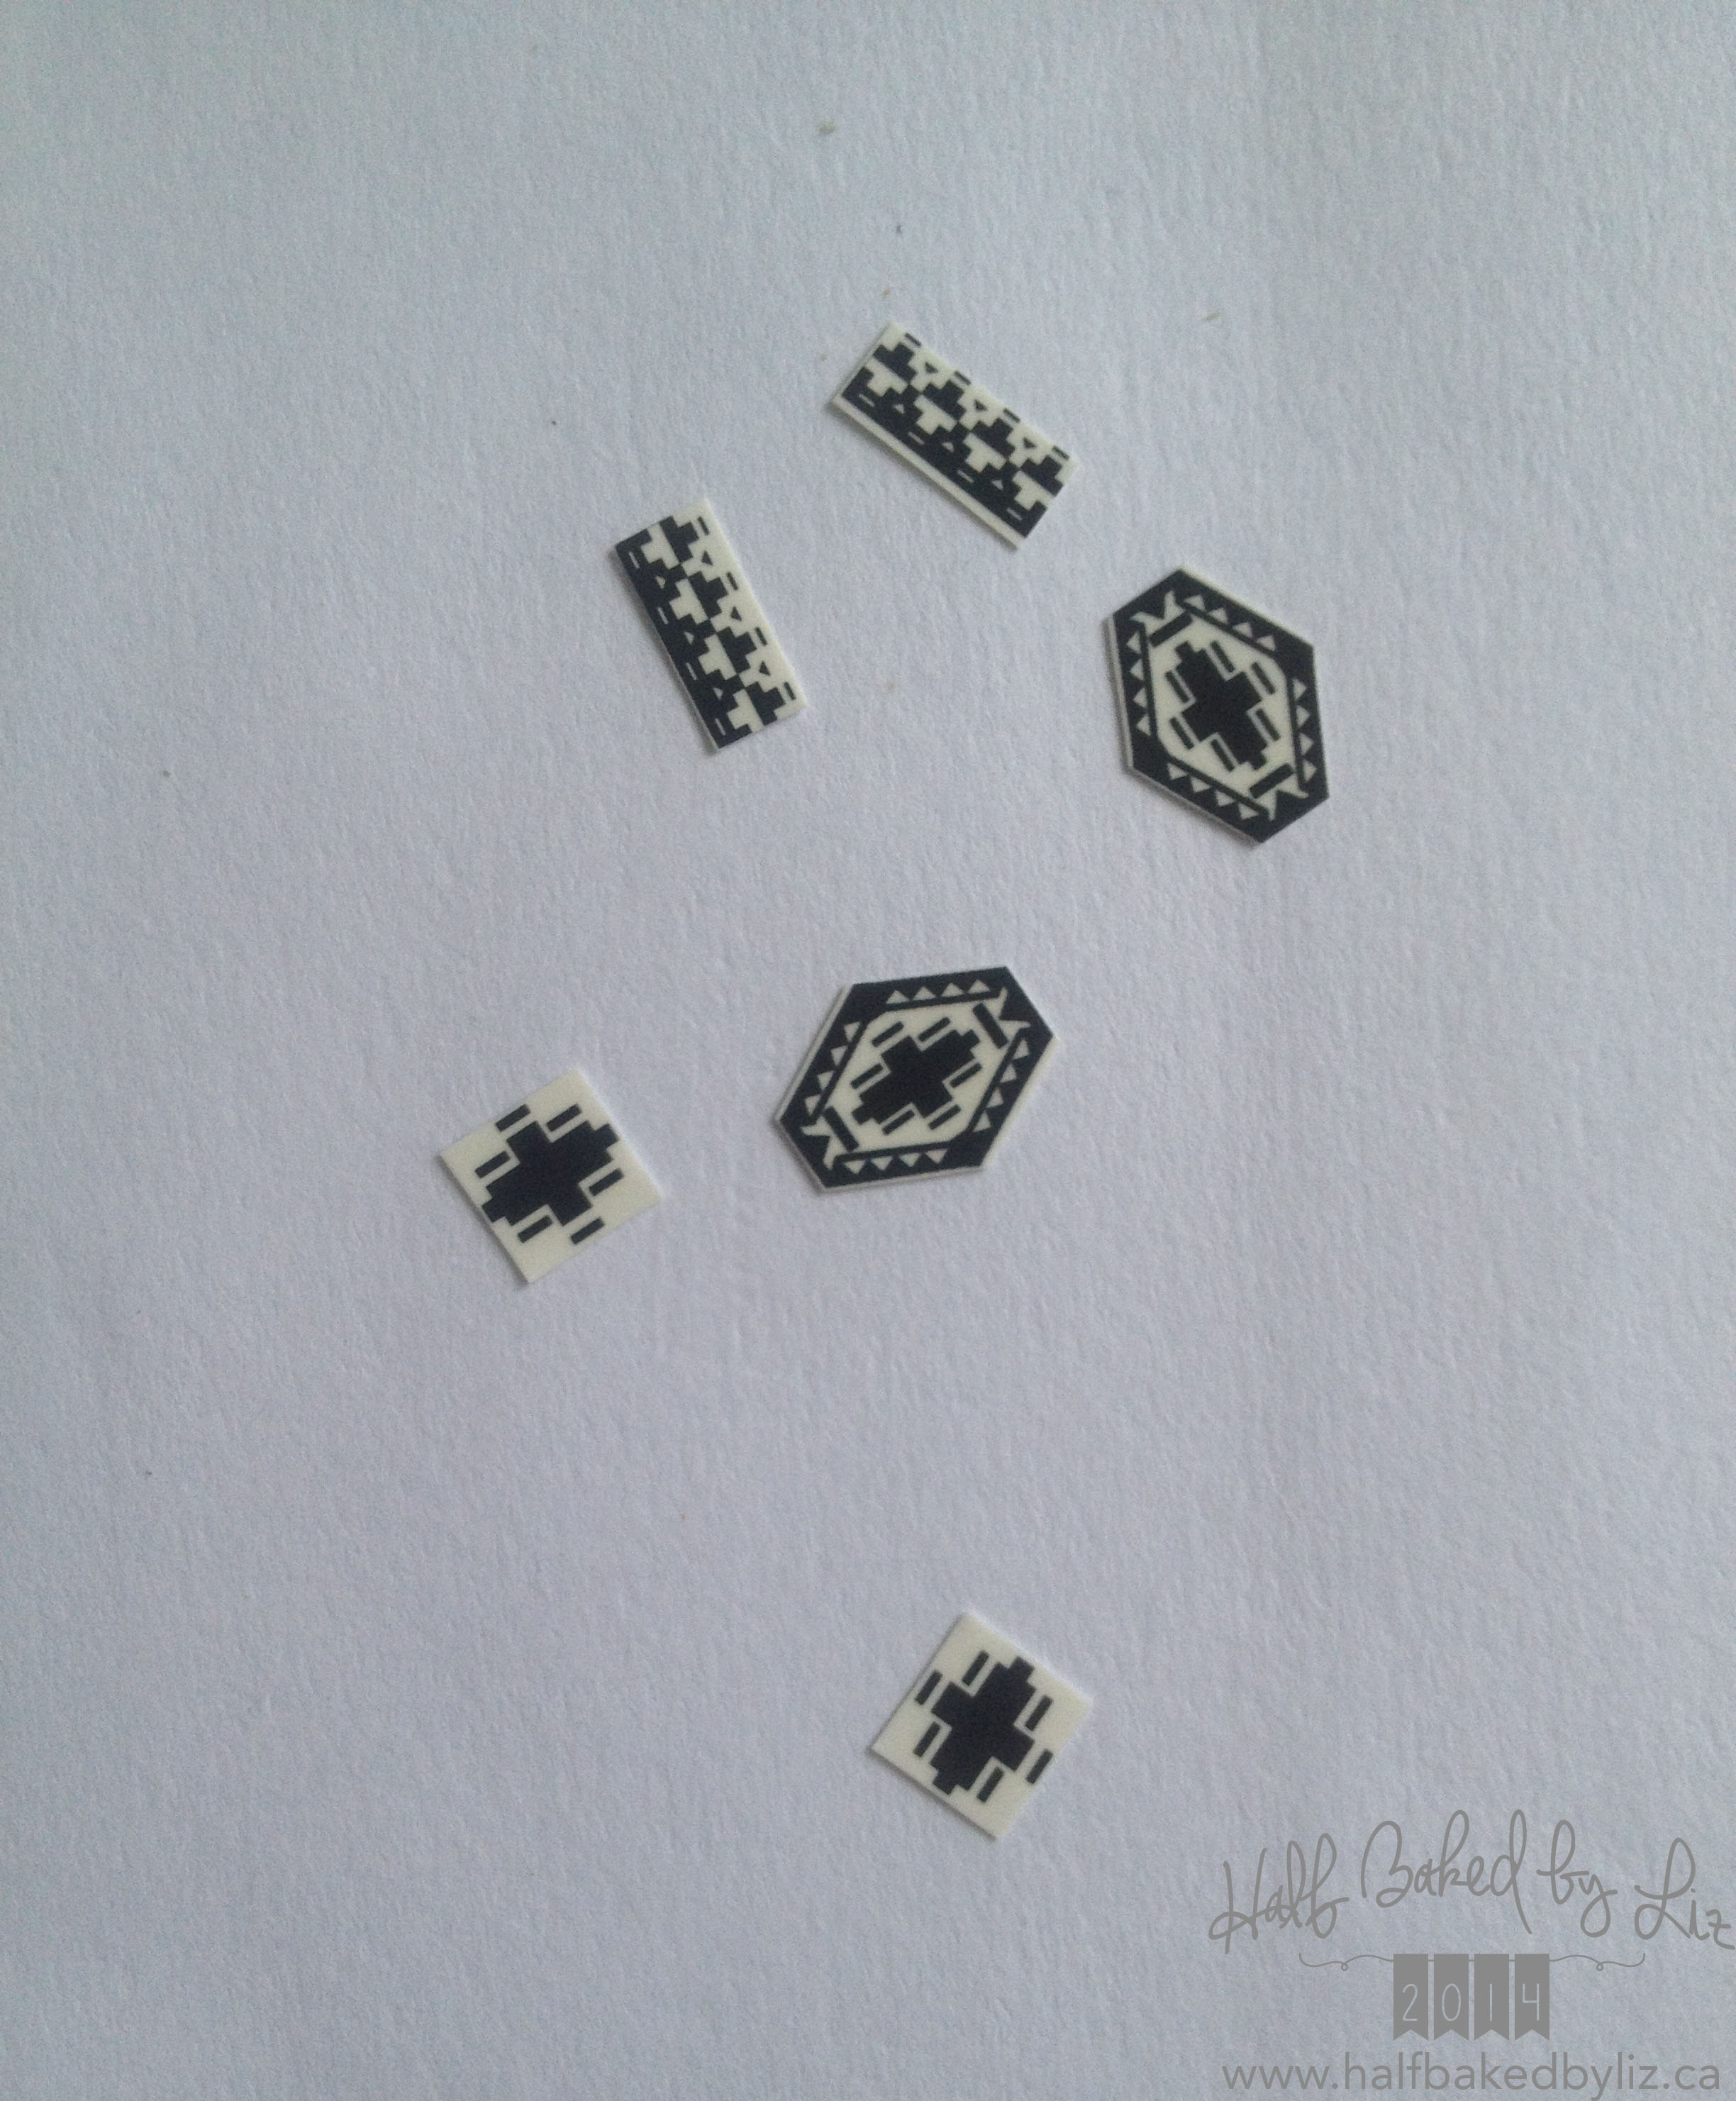
Cut out the decals, fairly close to the shape itself.
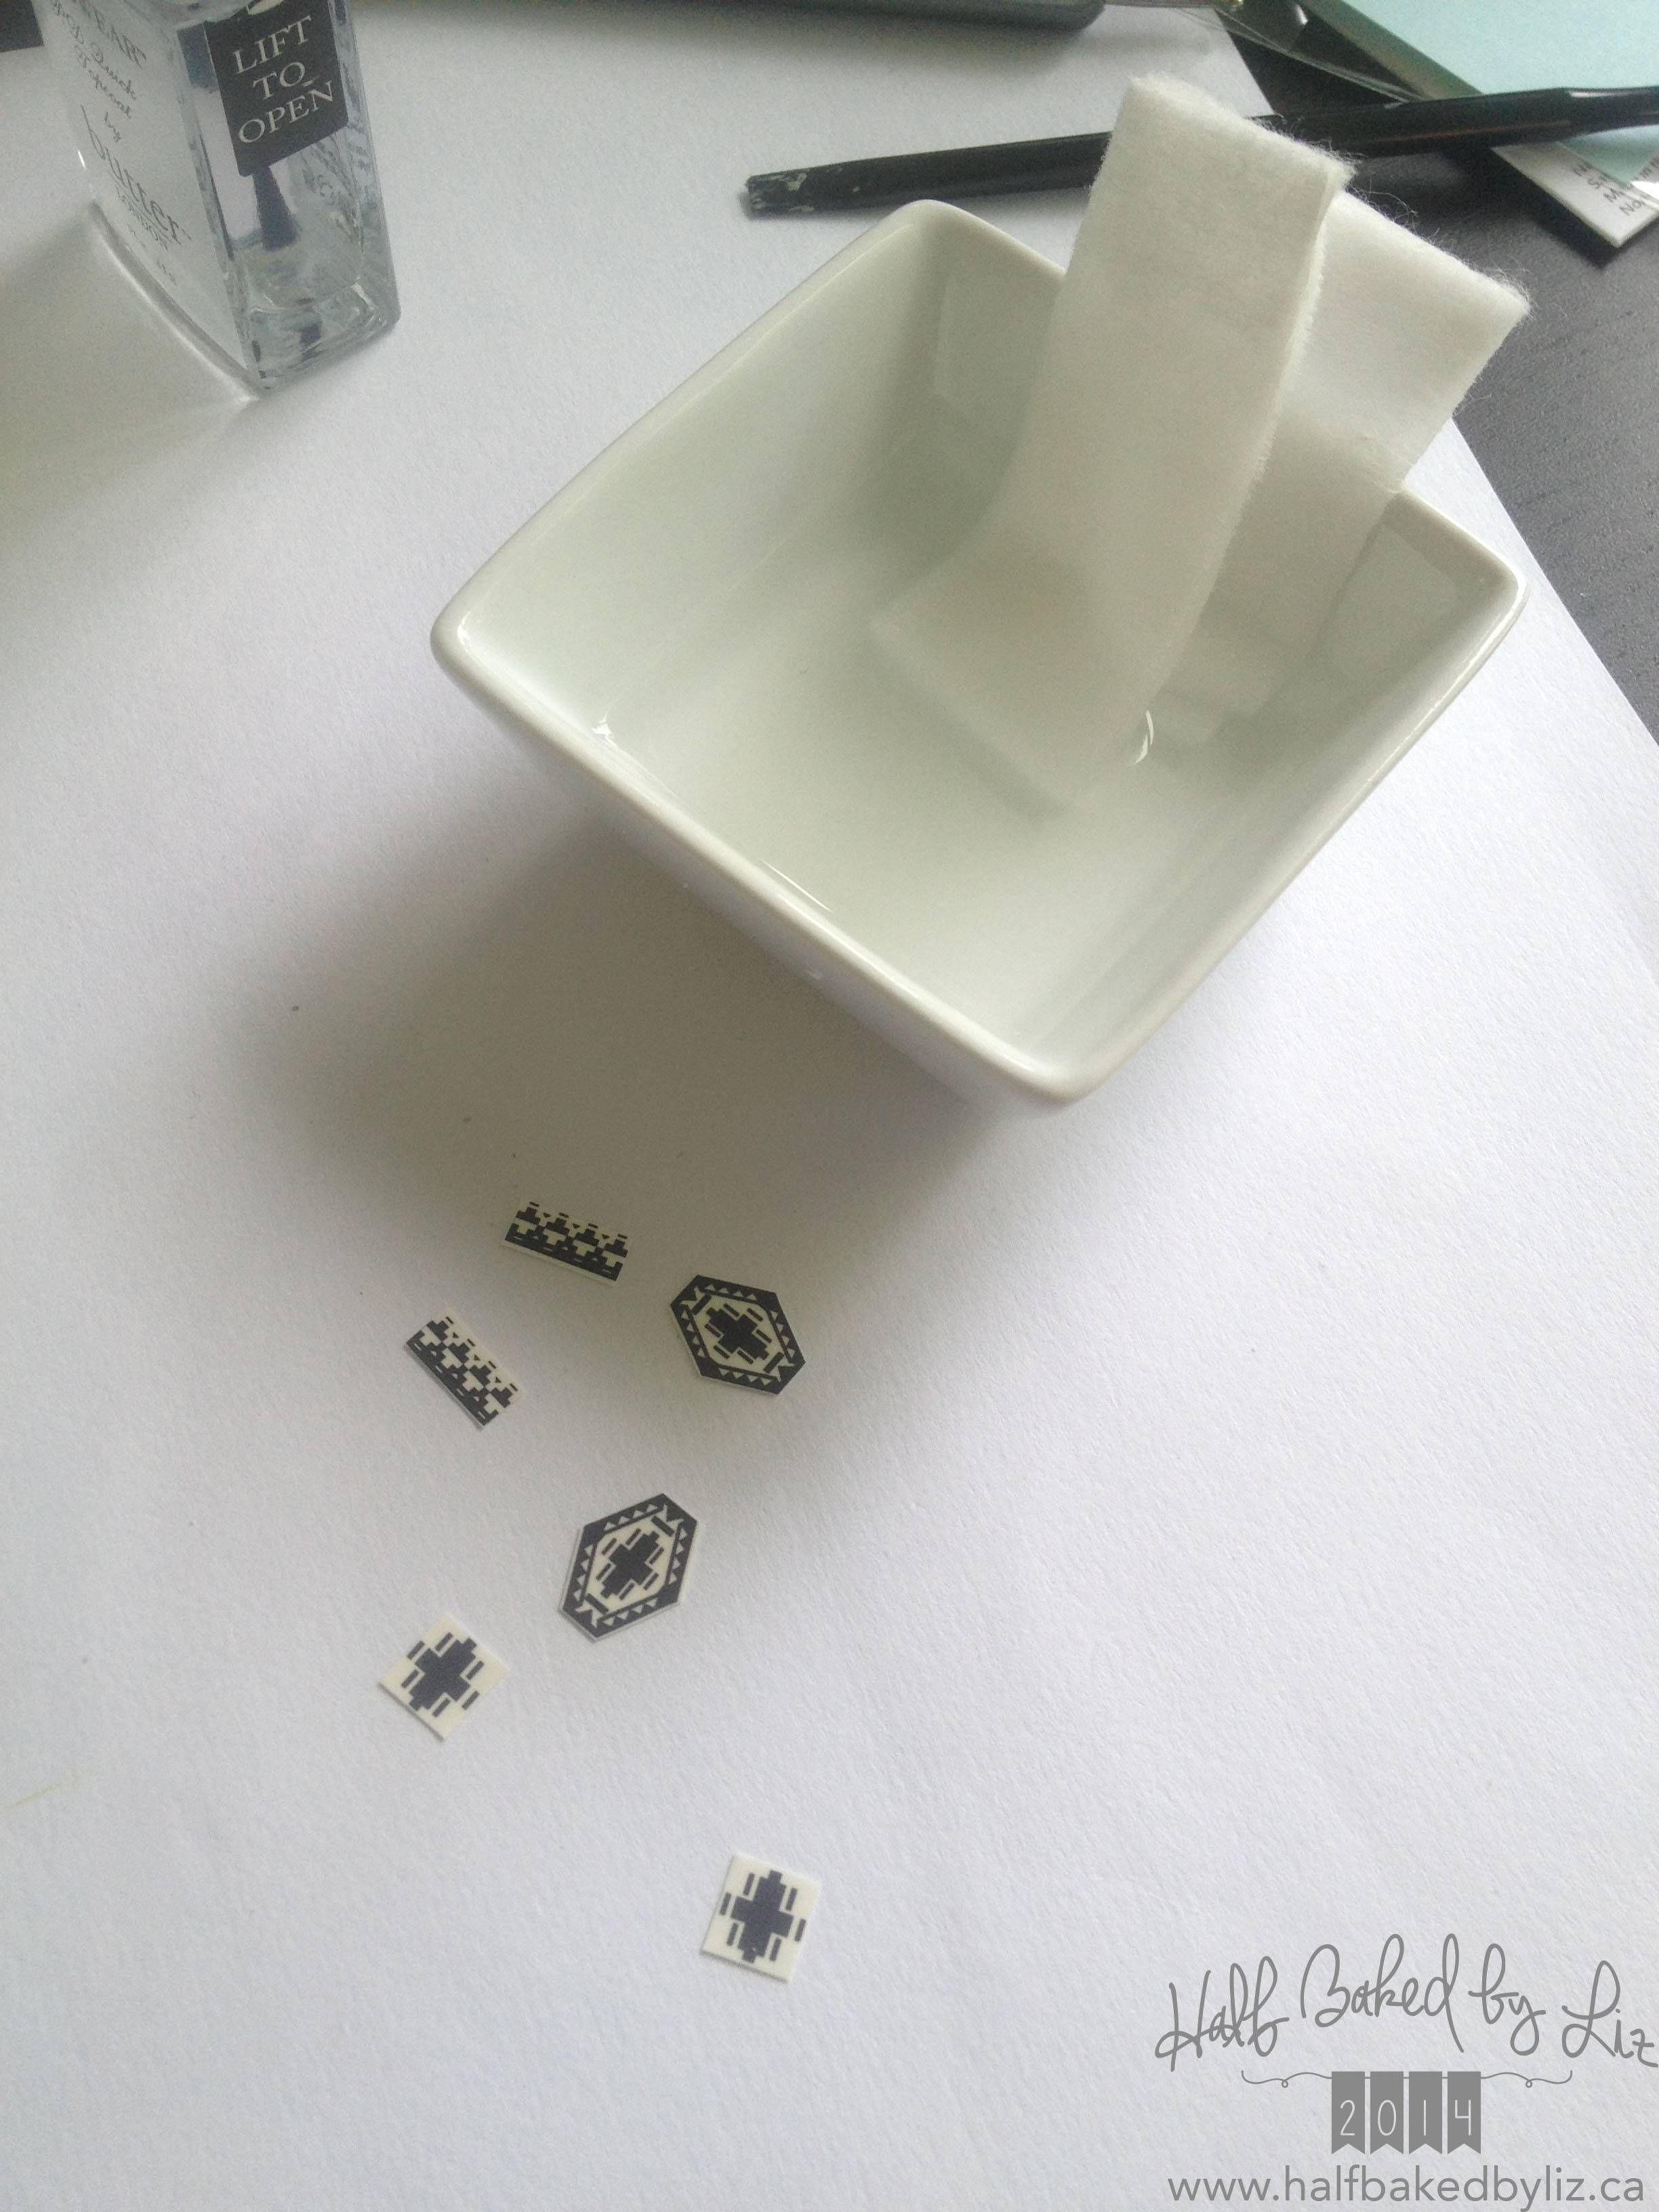
You’ll need water and a sponge / cotton ball. Place the decal face down on your nail (once the polish is dry), and wet down the paper backing. Let it sit for about 30 seconds, at which point the backing should slide right off!
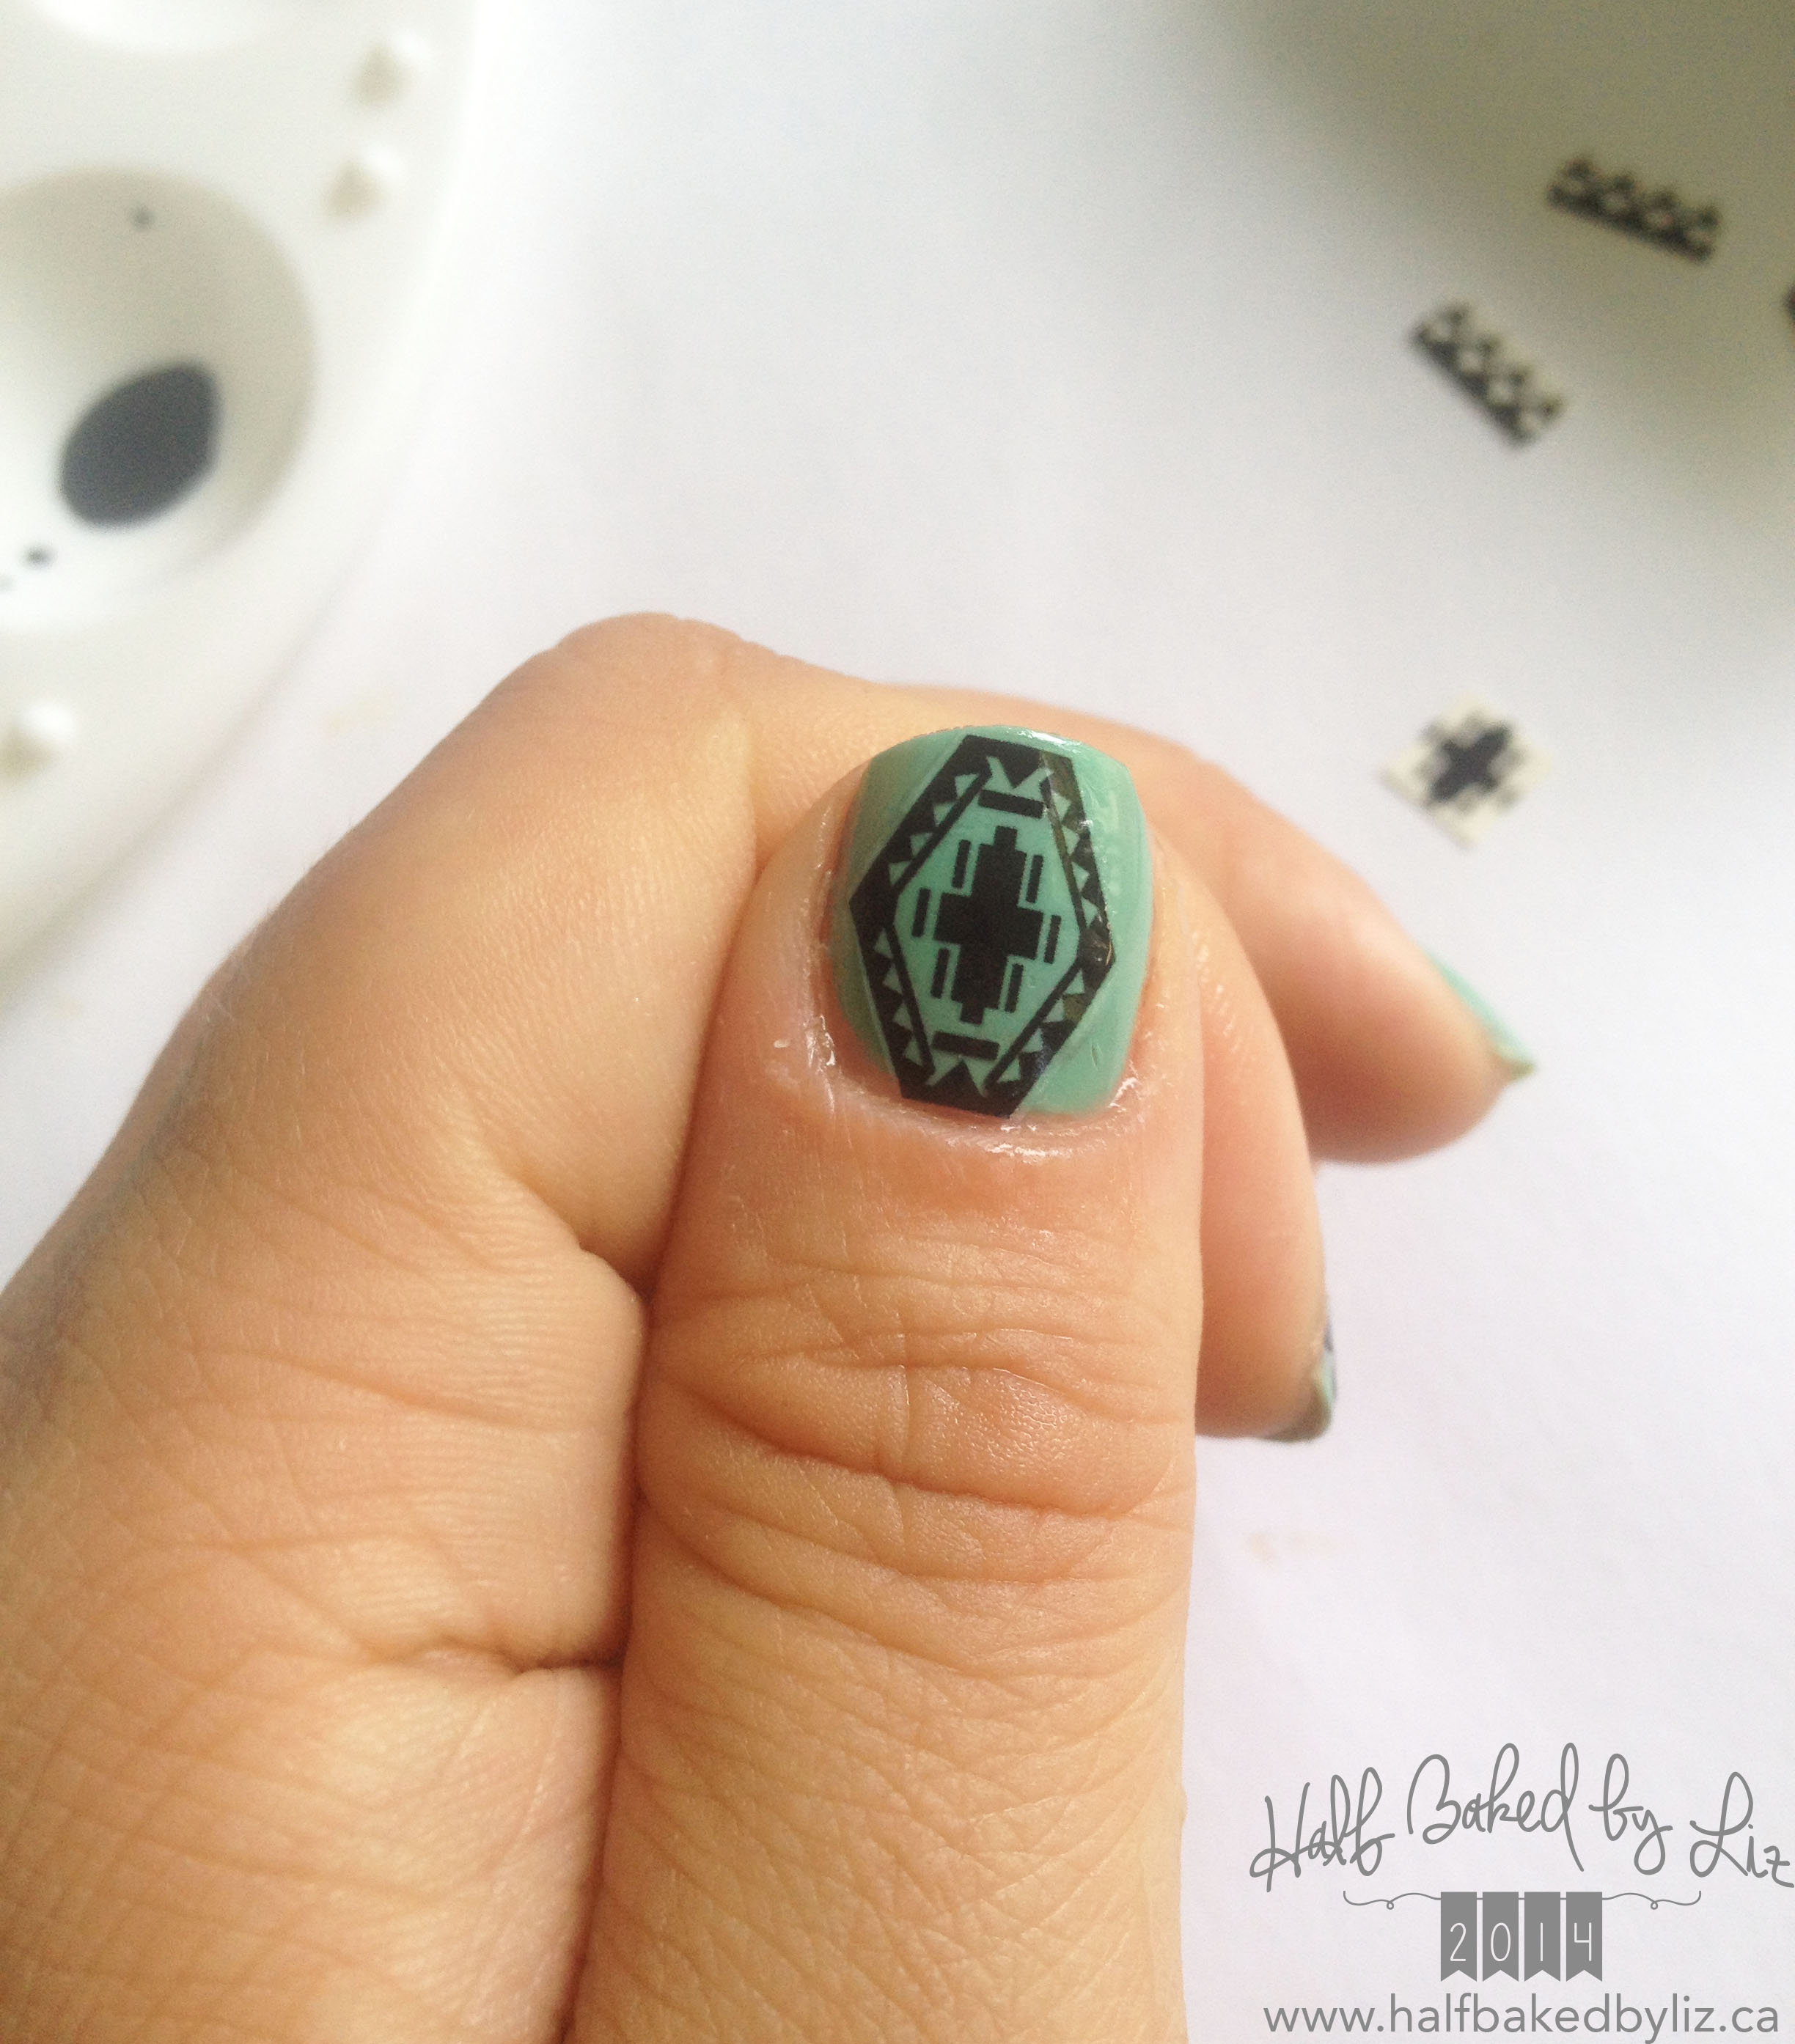

Add two layers of top coat, and you’re good to go! Super cute and easy.