
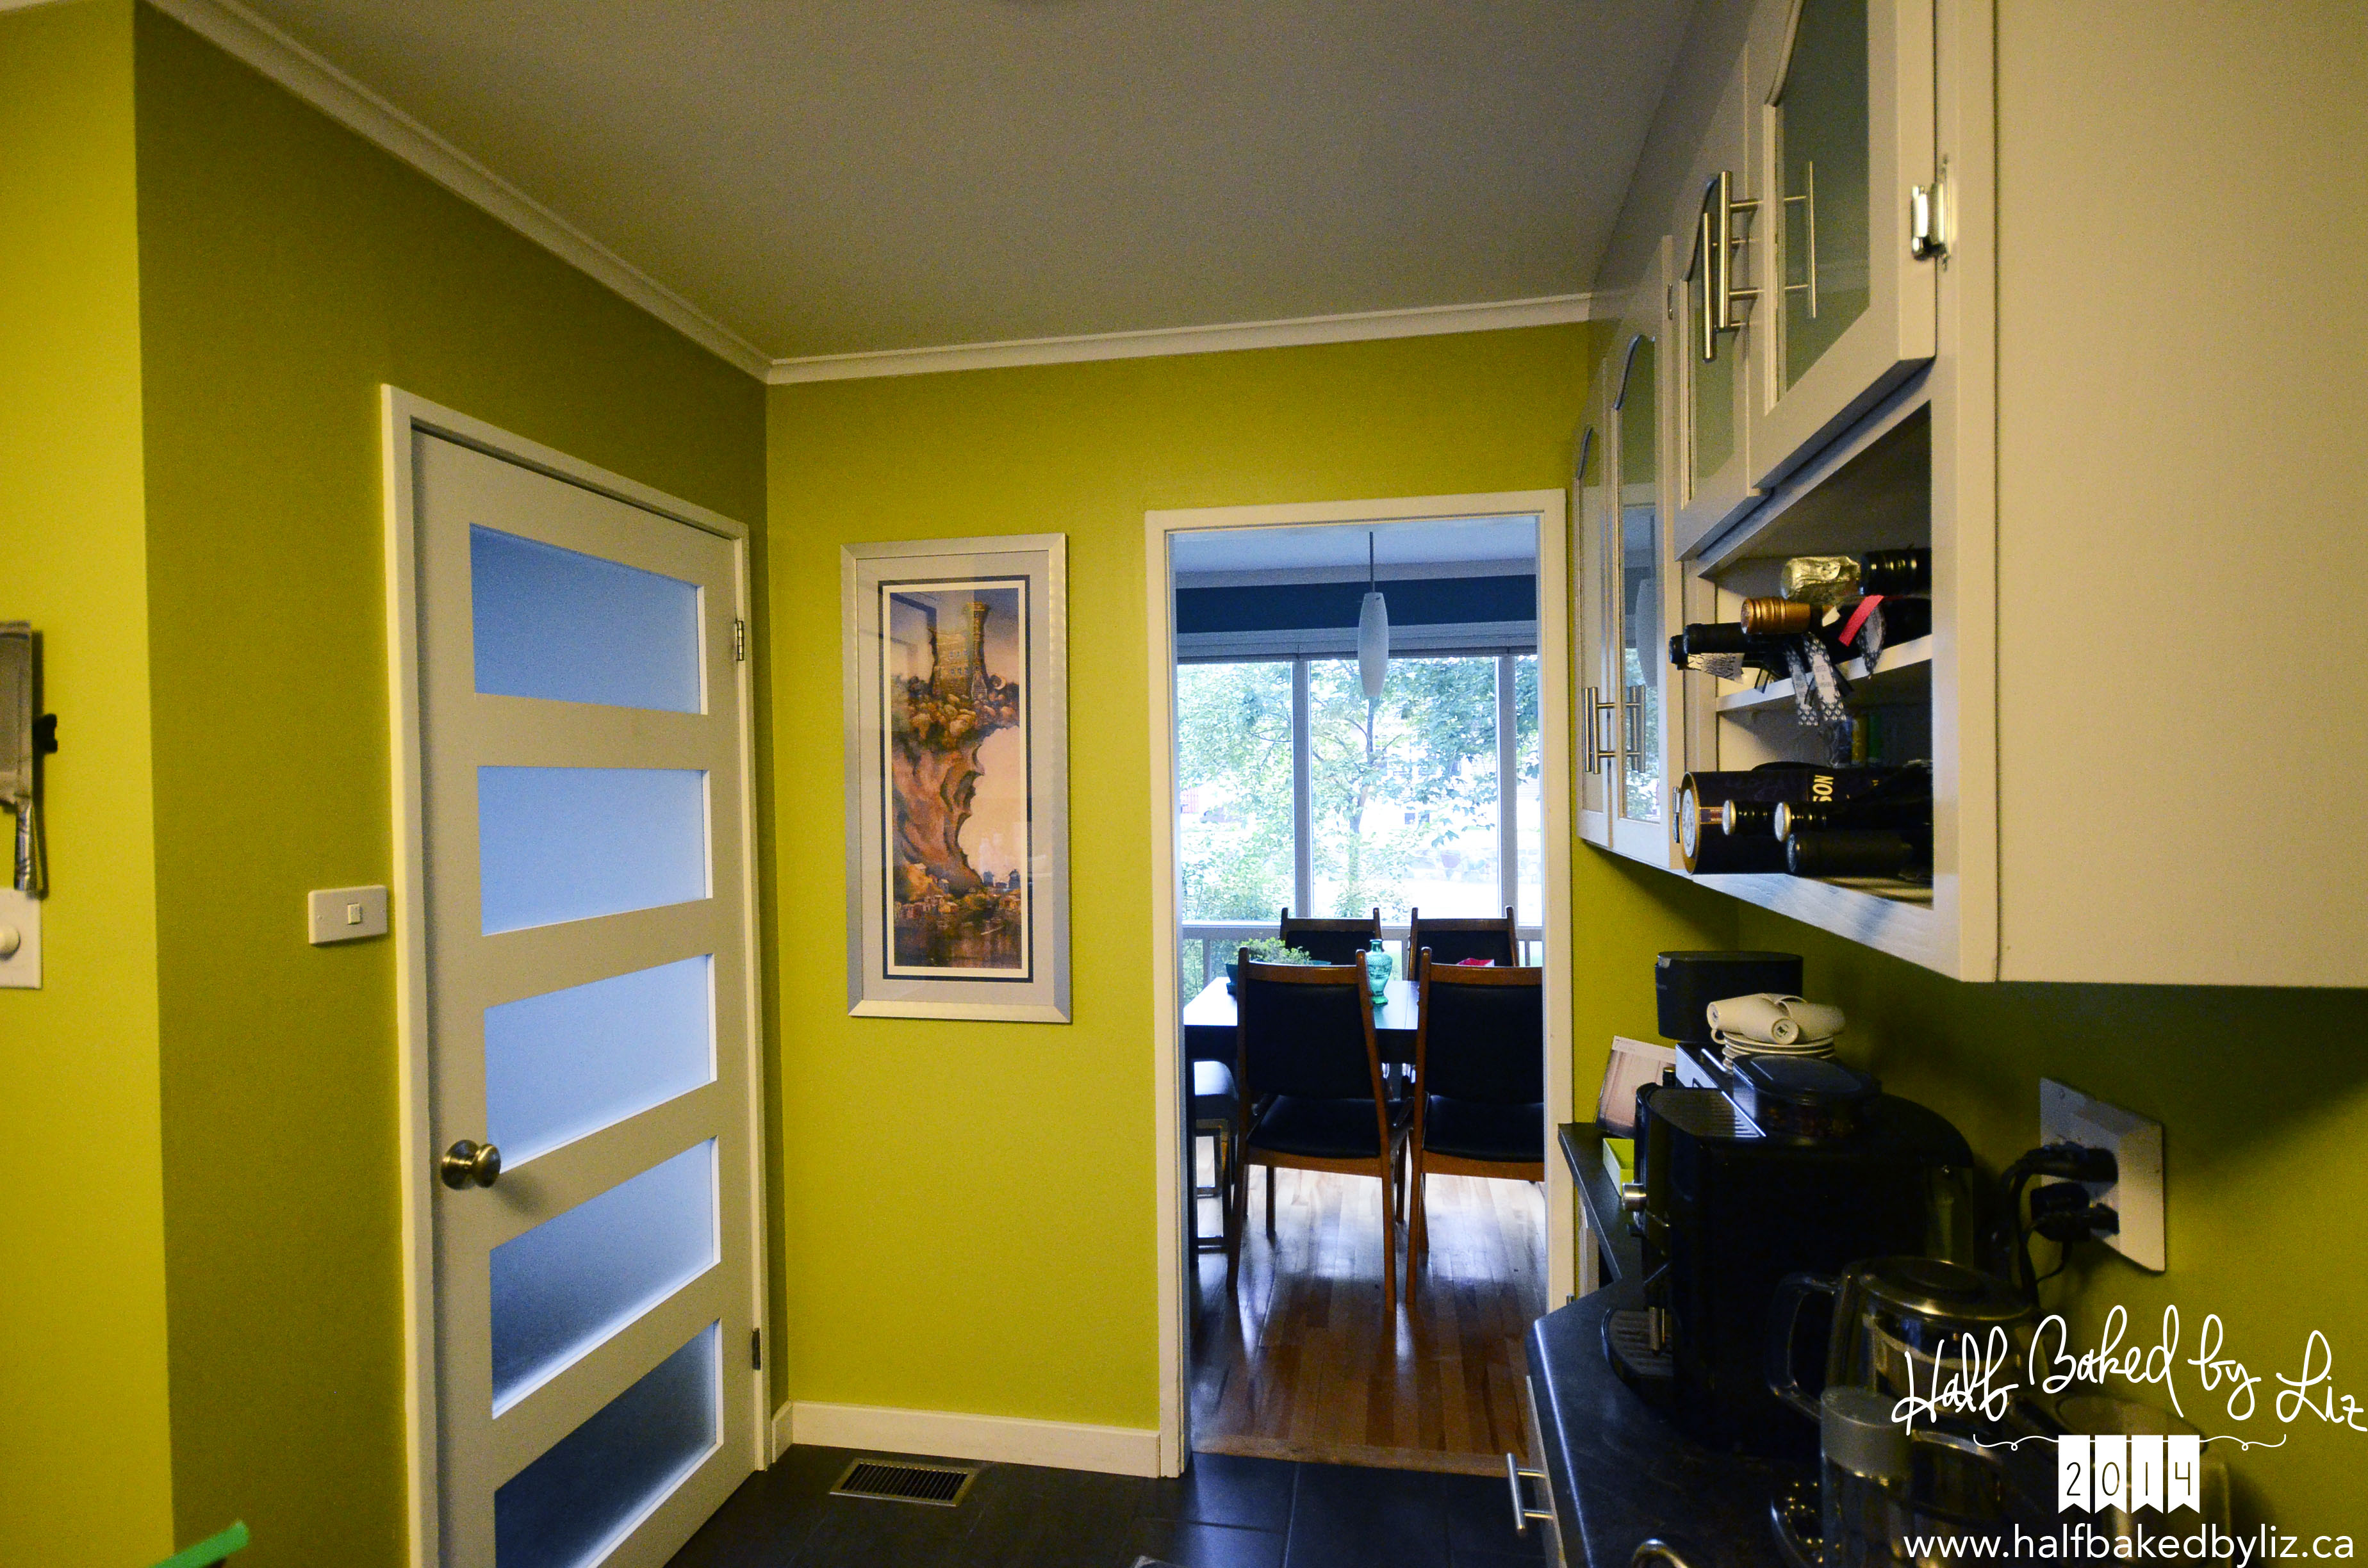
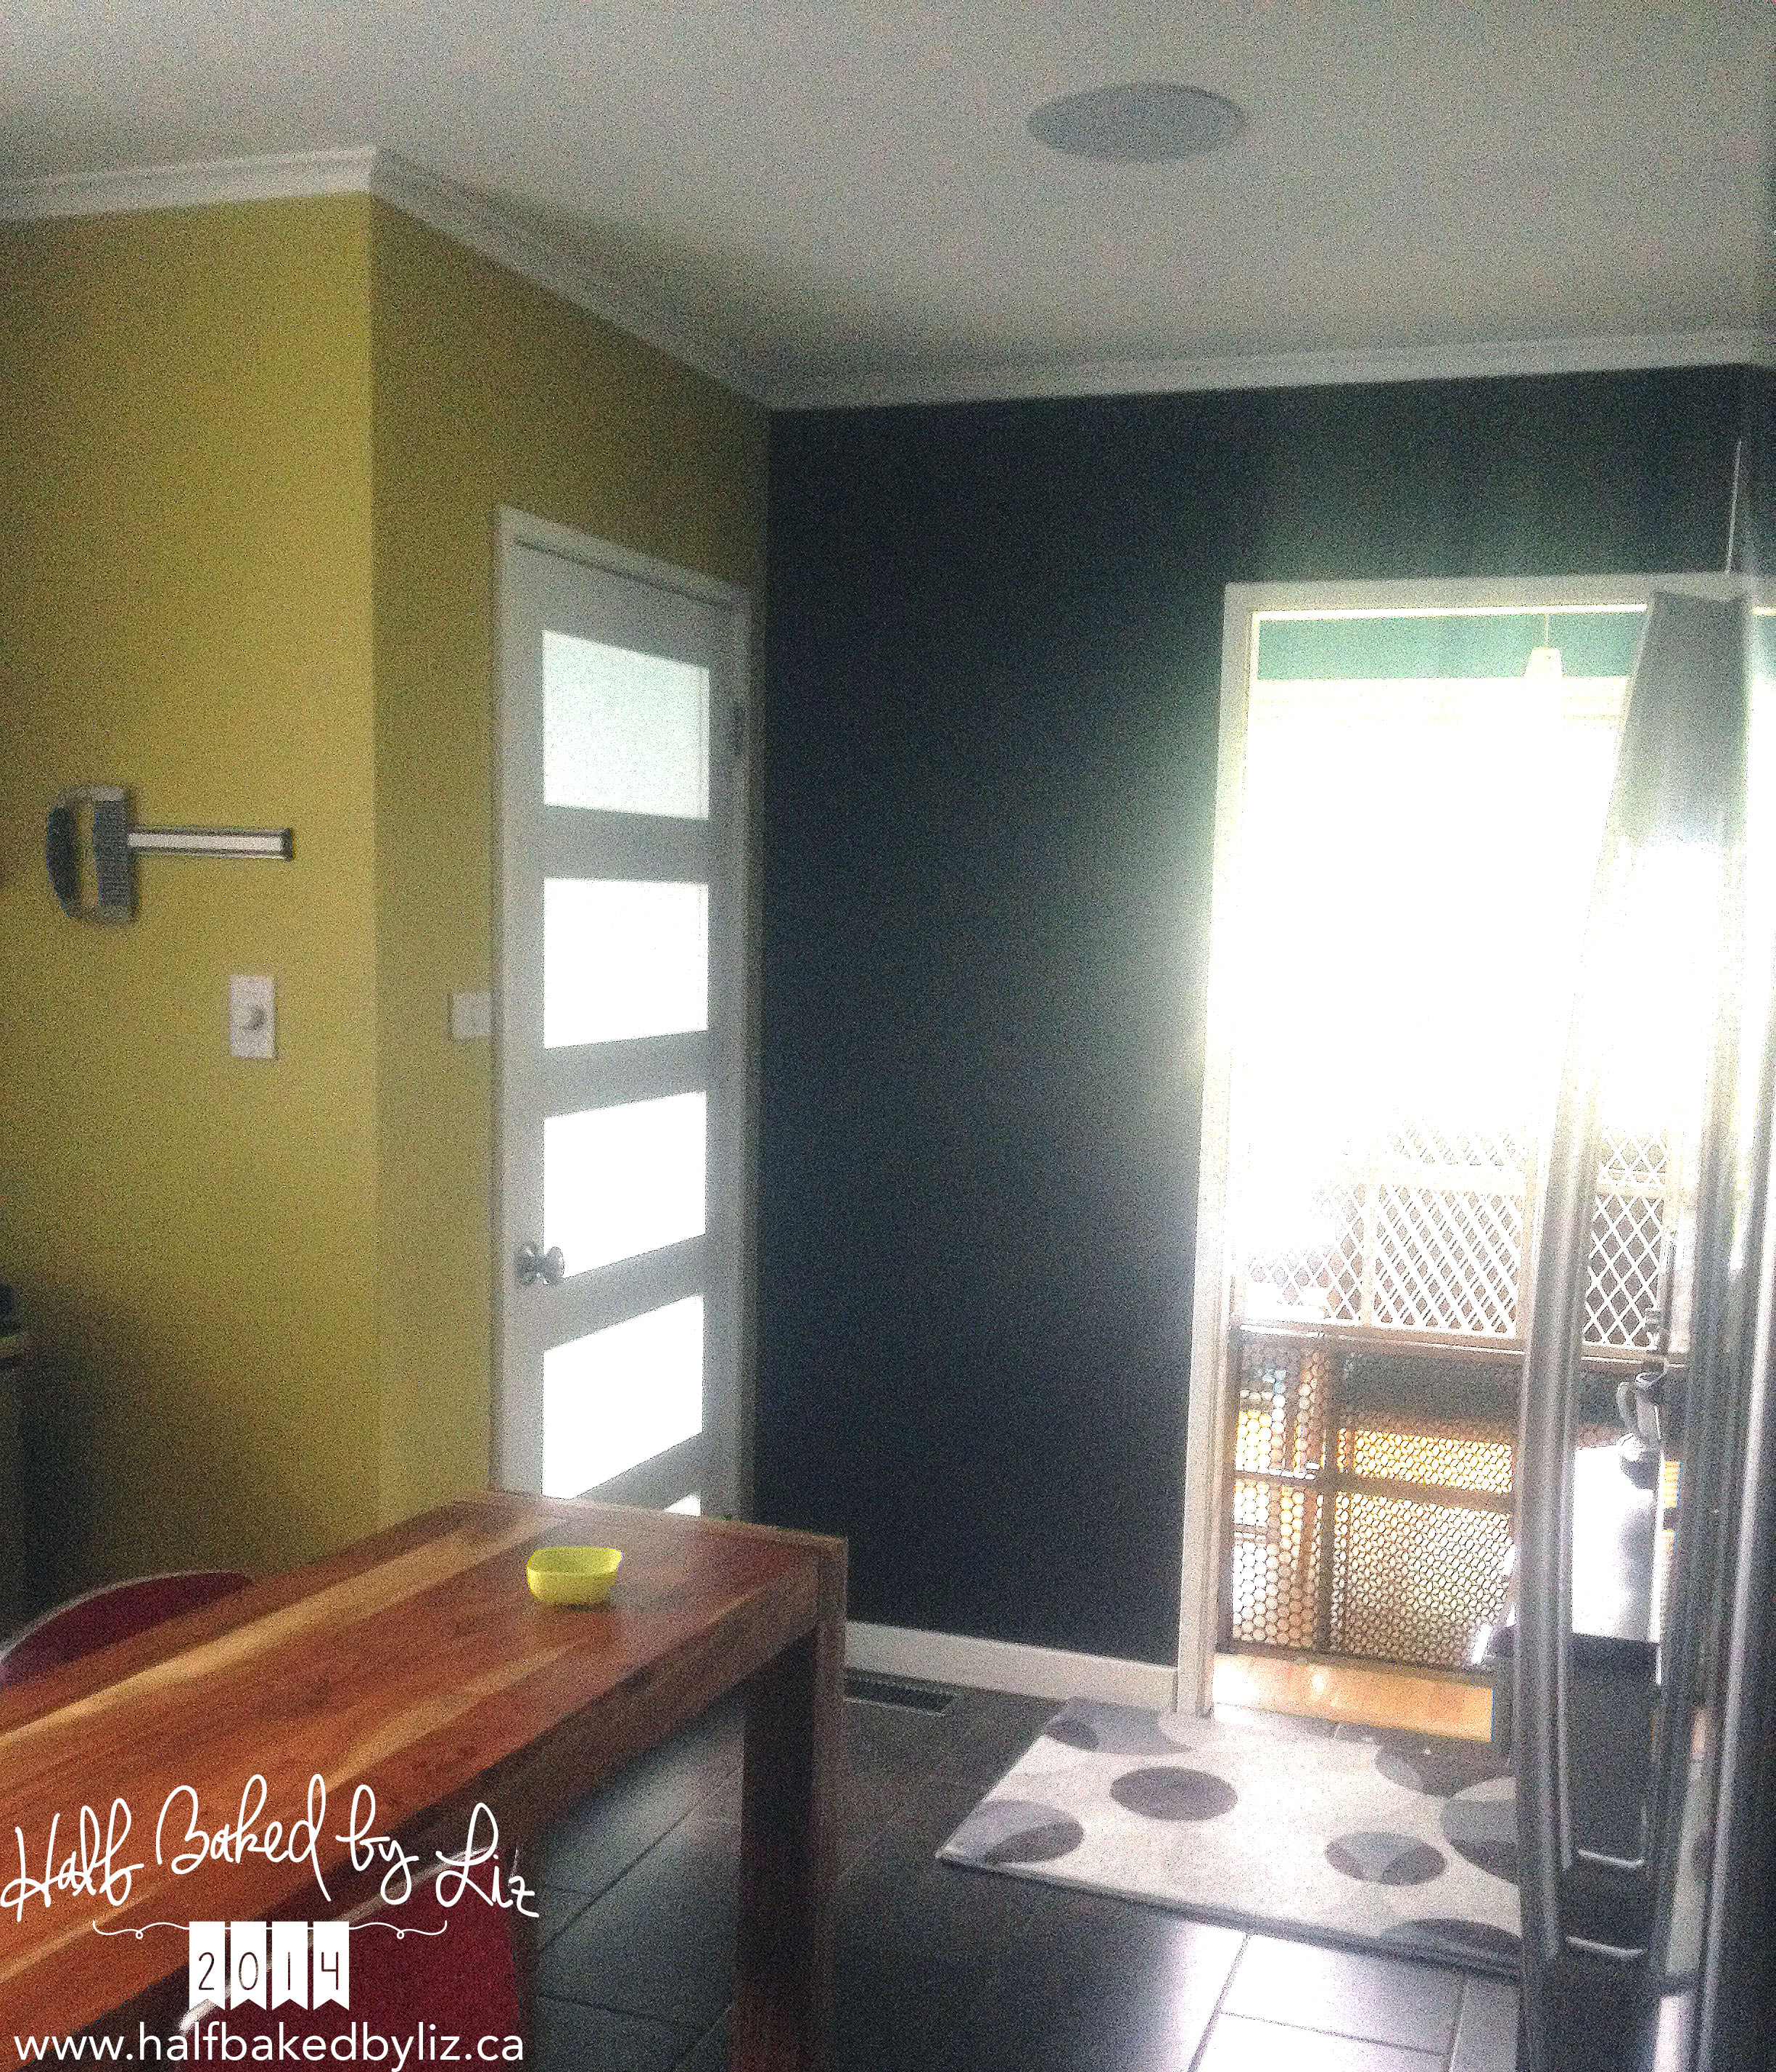
There’s very little wall space in our kitchen, with the exception of one small wall at the very end. I decided I wanted to relocate the painting that was hung there, which would have left the wall pretty bare. Why have an empty wall when you can have a chalk board wall!?
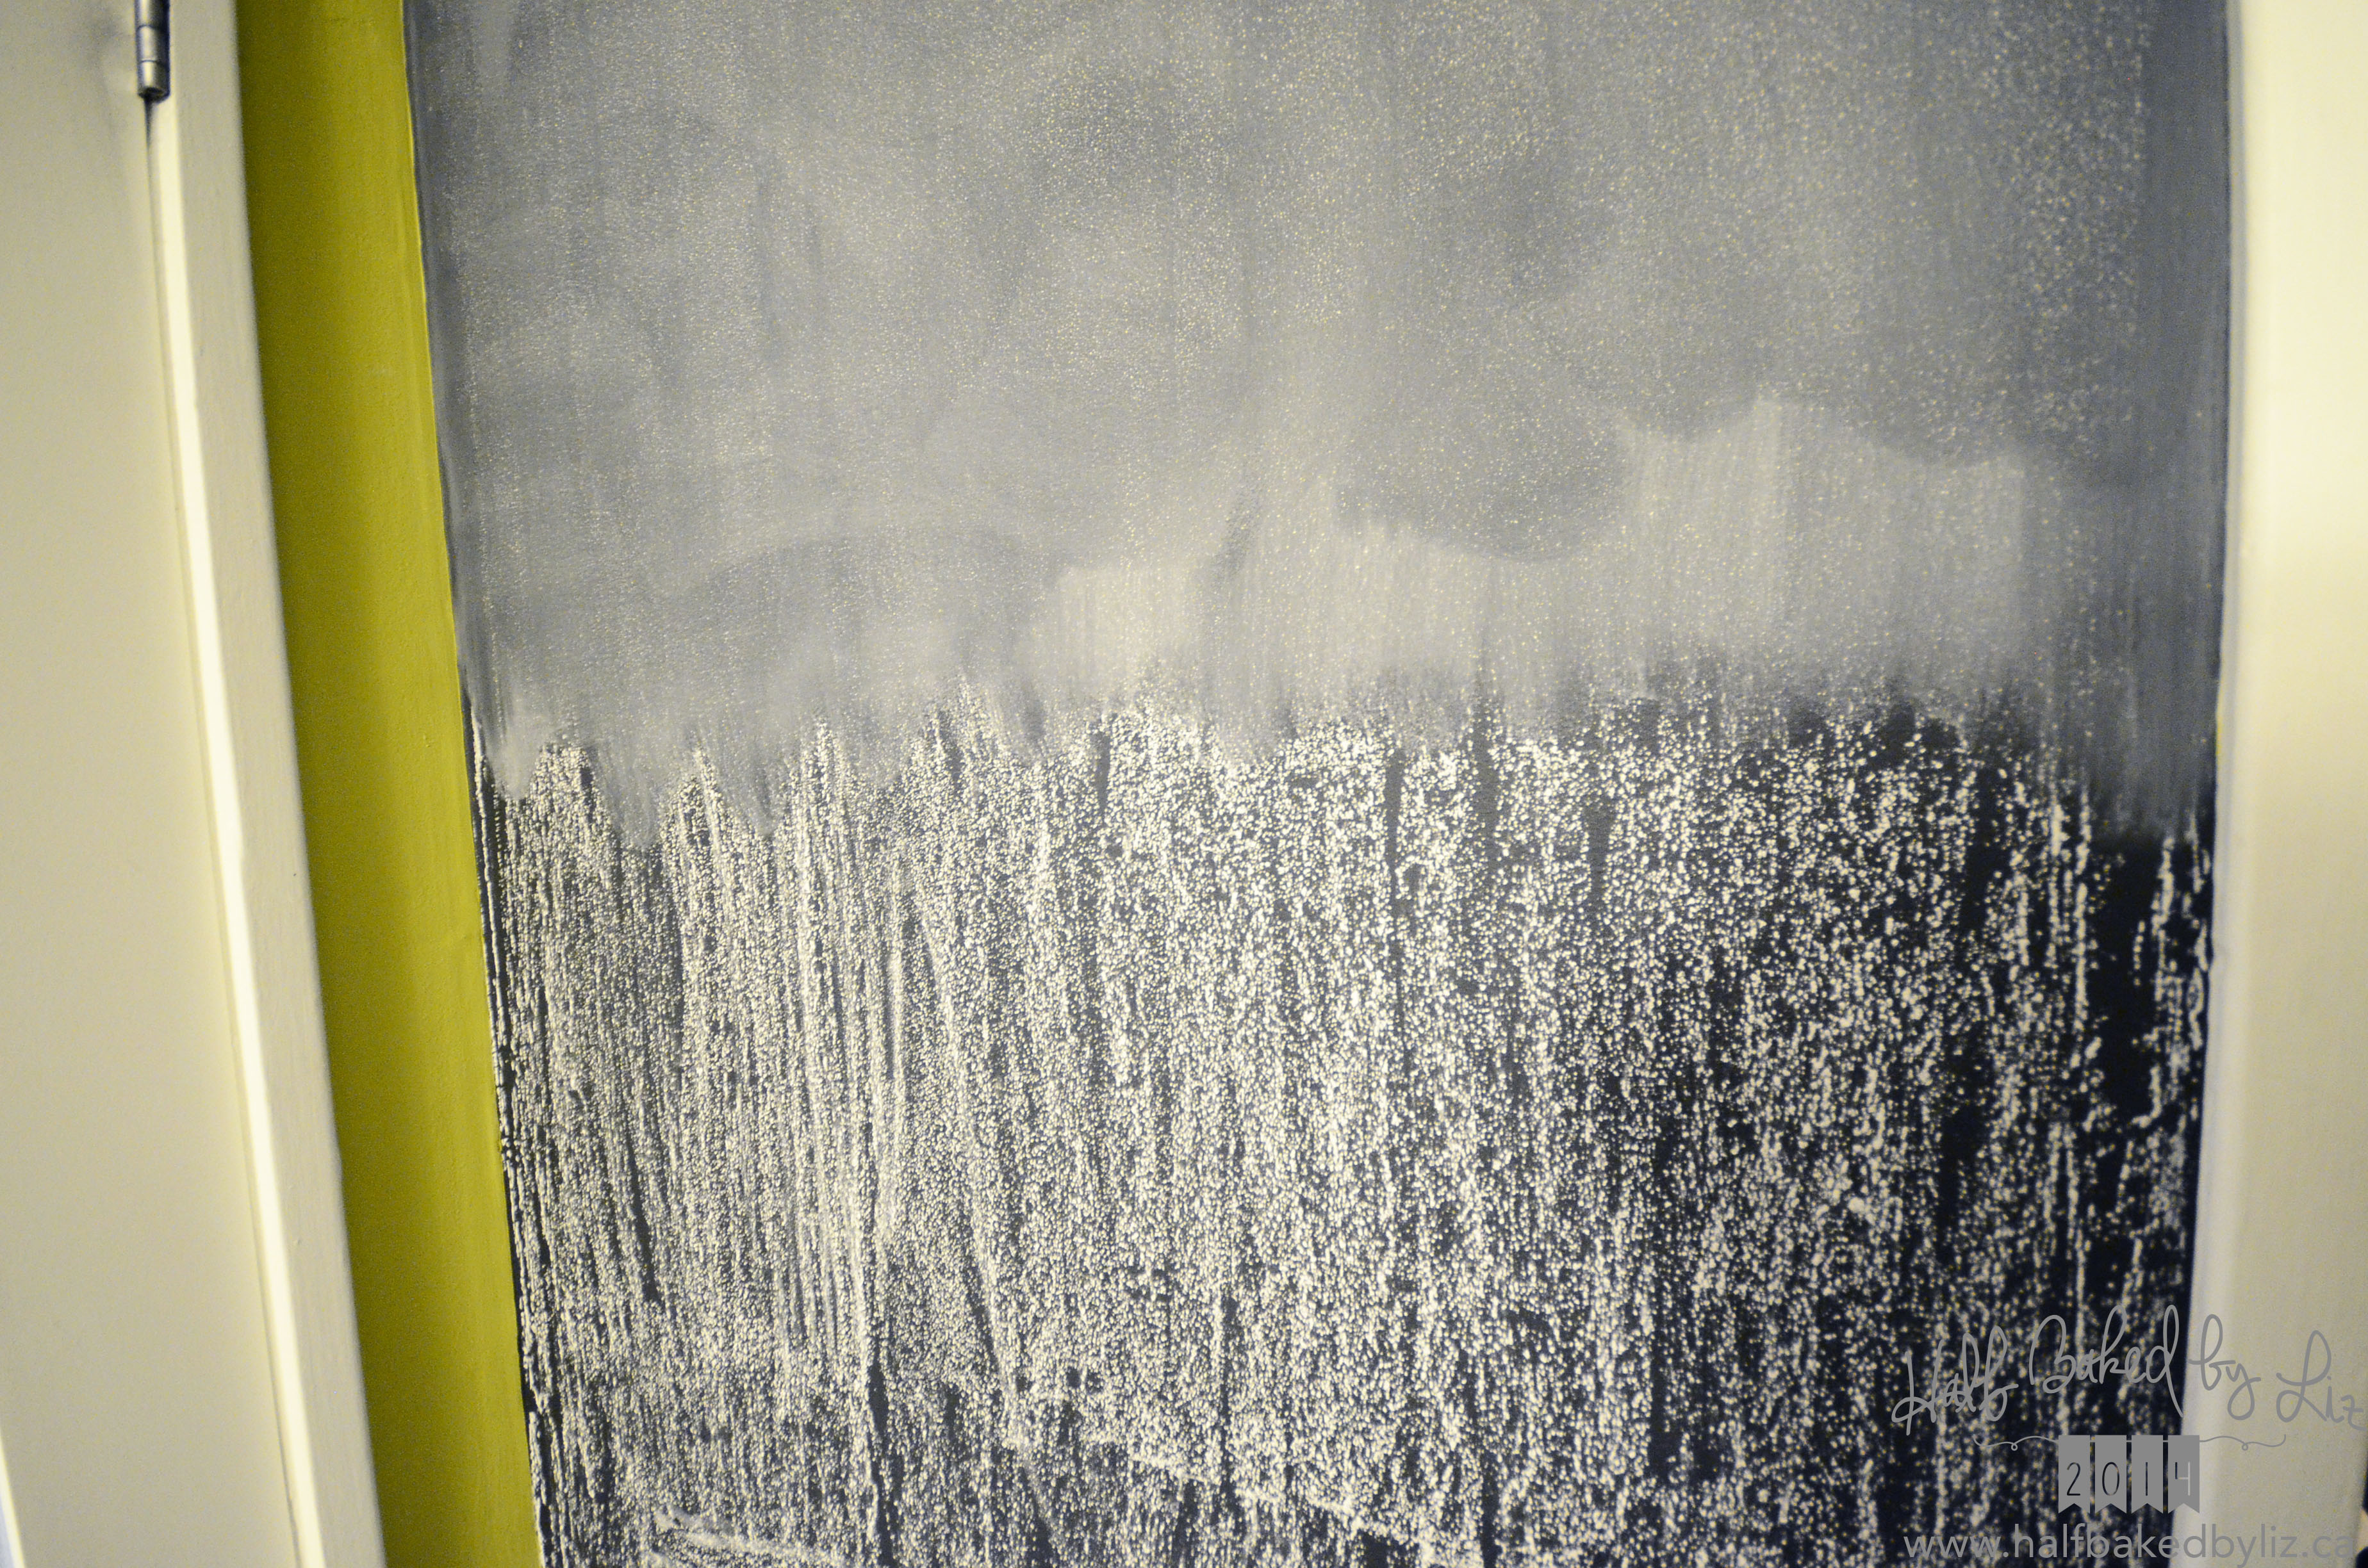
I used Rust-oleum brand chalk paint – 3 coats with a sponge roller. I then let it cure for 7 days before using any chalk on it.
Before writing on the chalk paint, it’s recommended that you season it. To do this, rub a piece of chalk on its side all over the surface, and then rub it away with a chalk board eraser. This will ensure that anything you write on it wipes away easily.
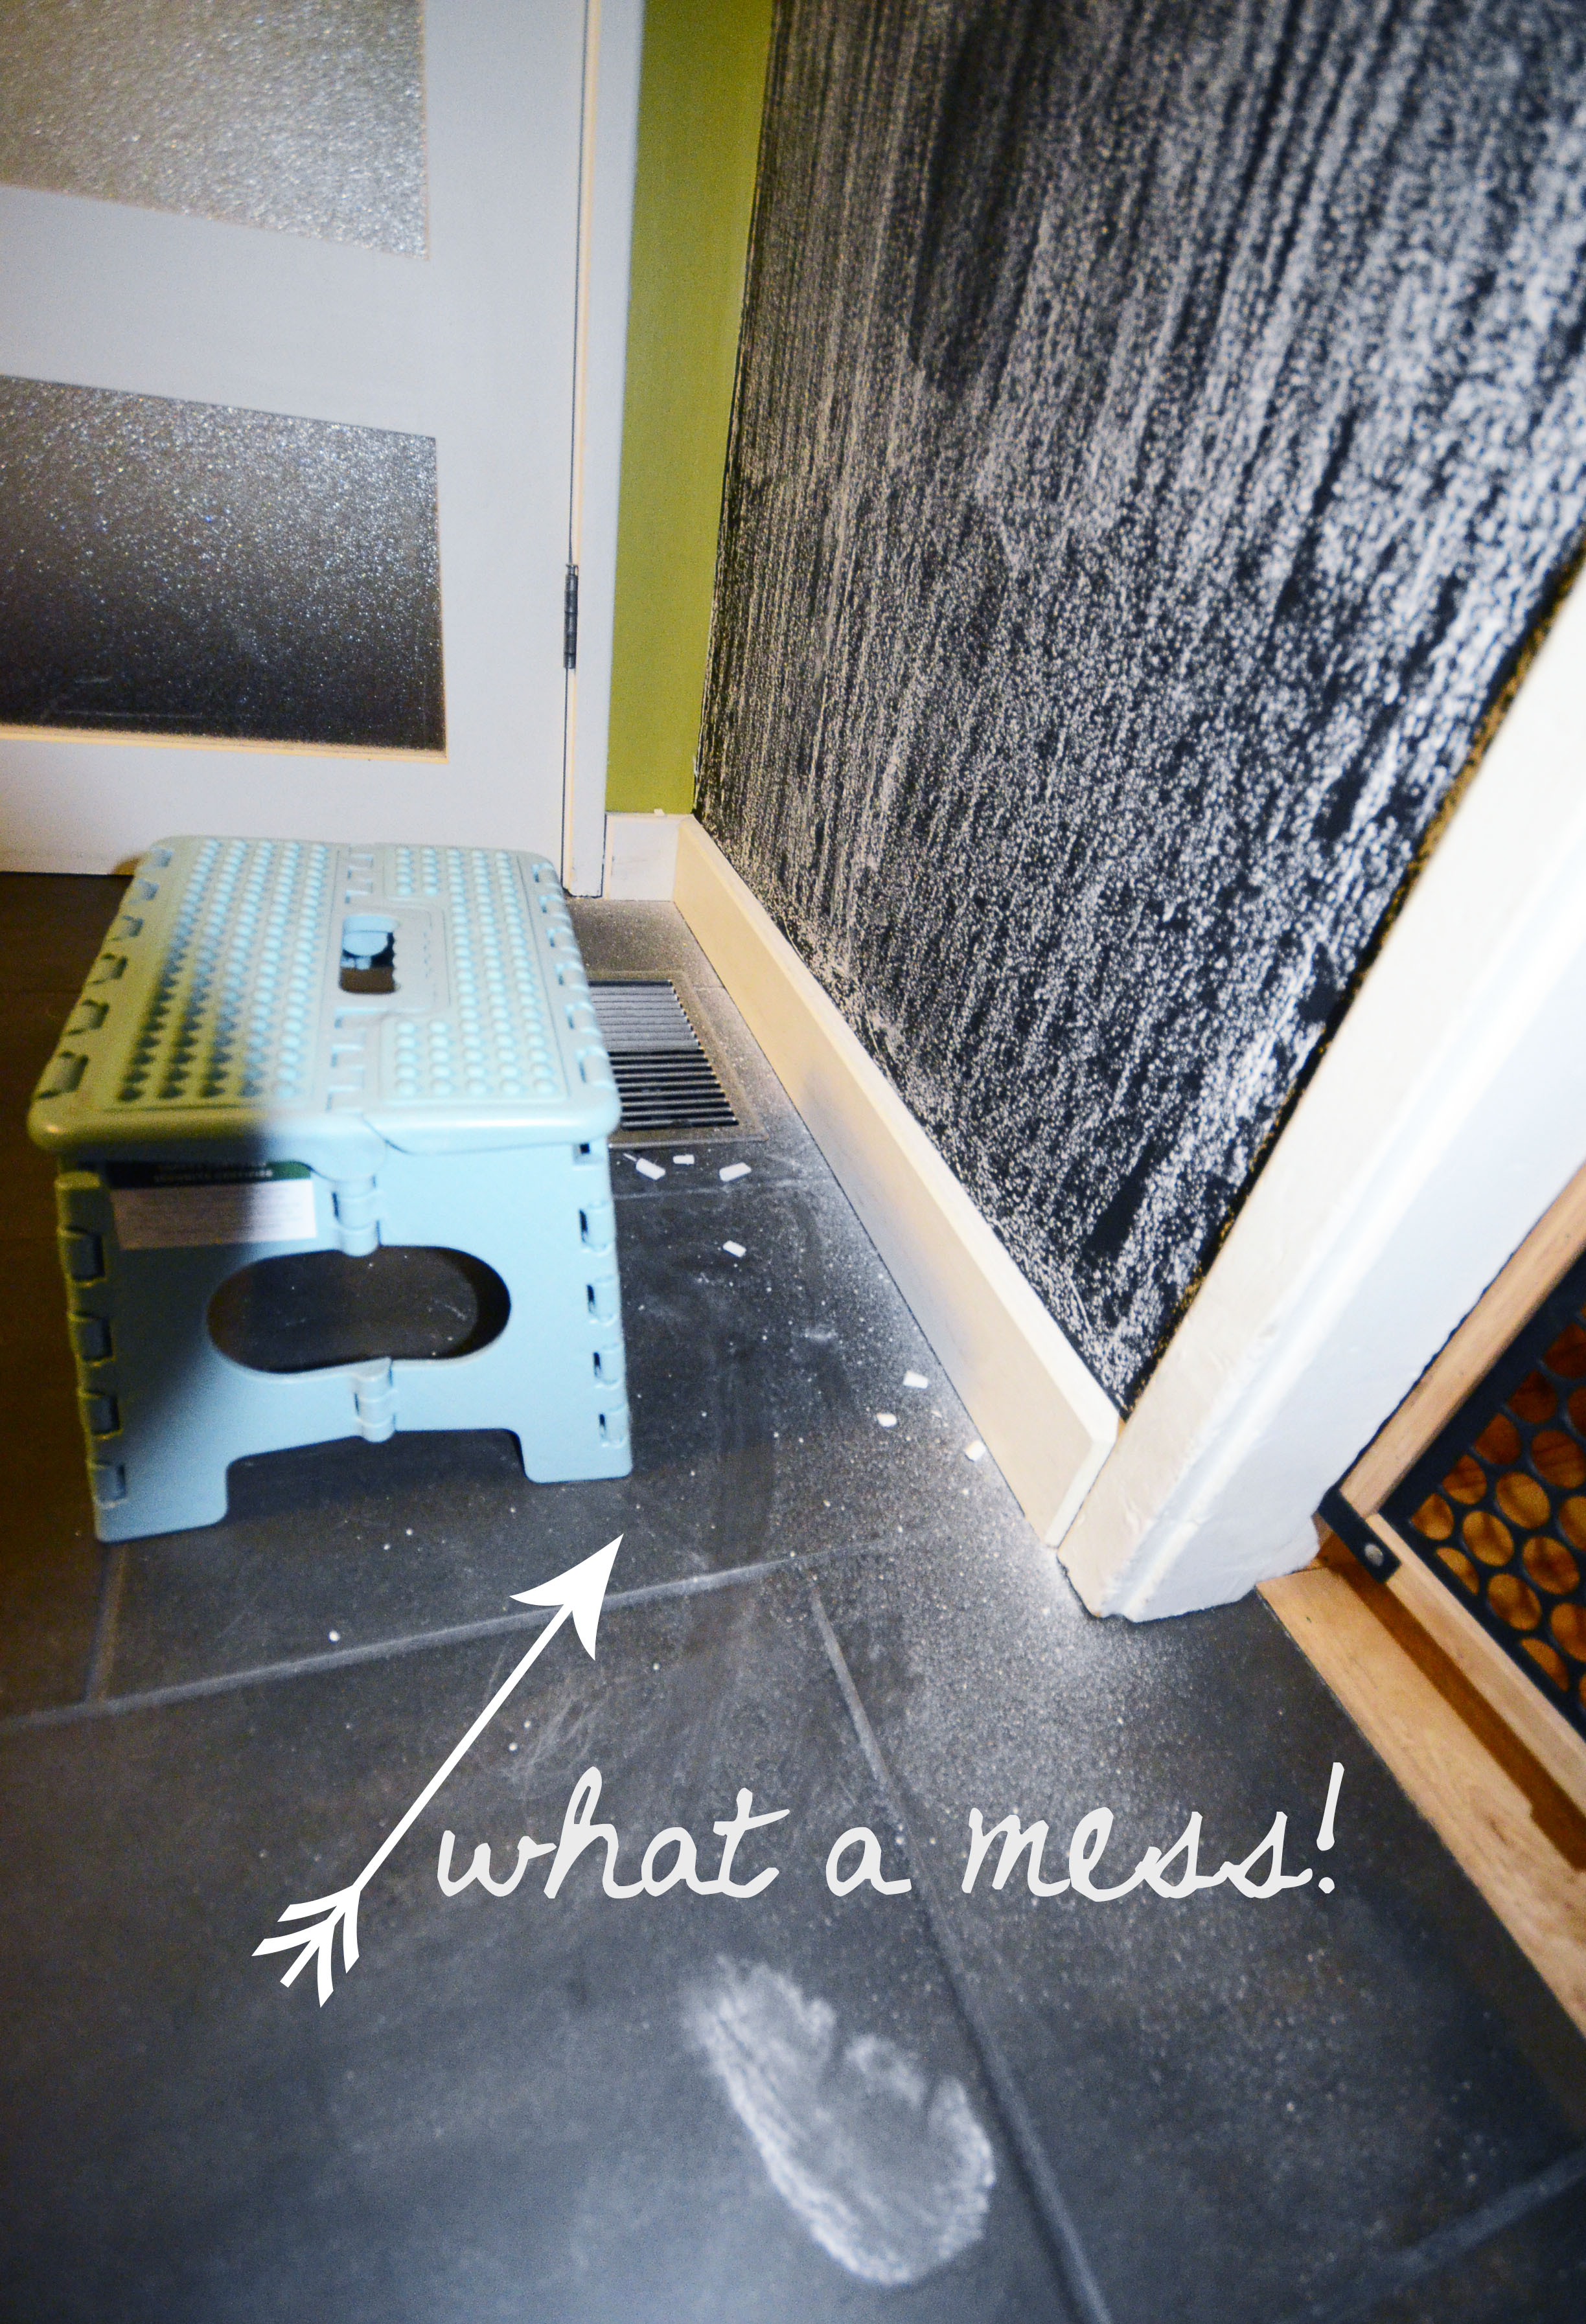
Warning: you’ll definitely need to vacuum and wash your floors after!
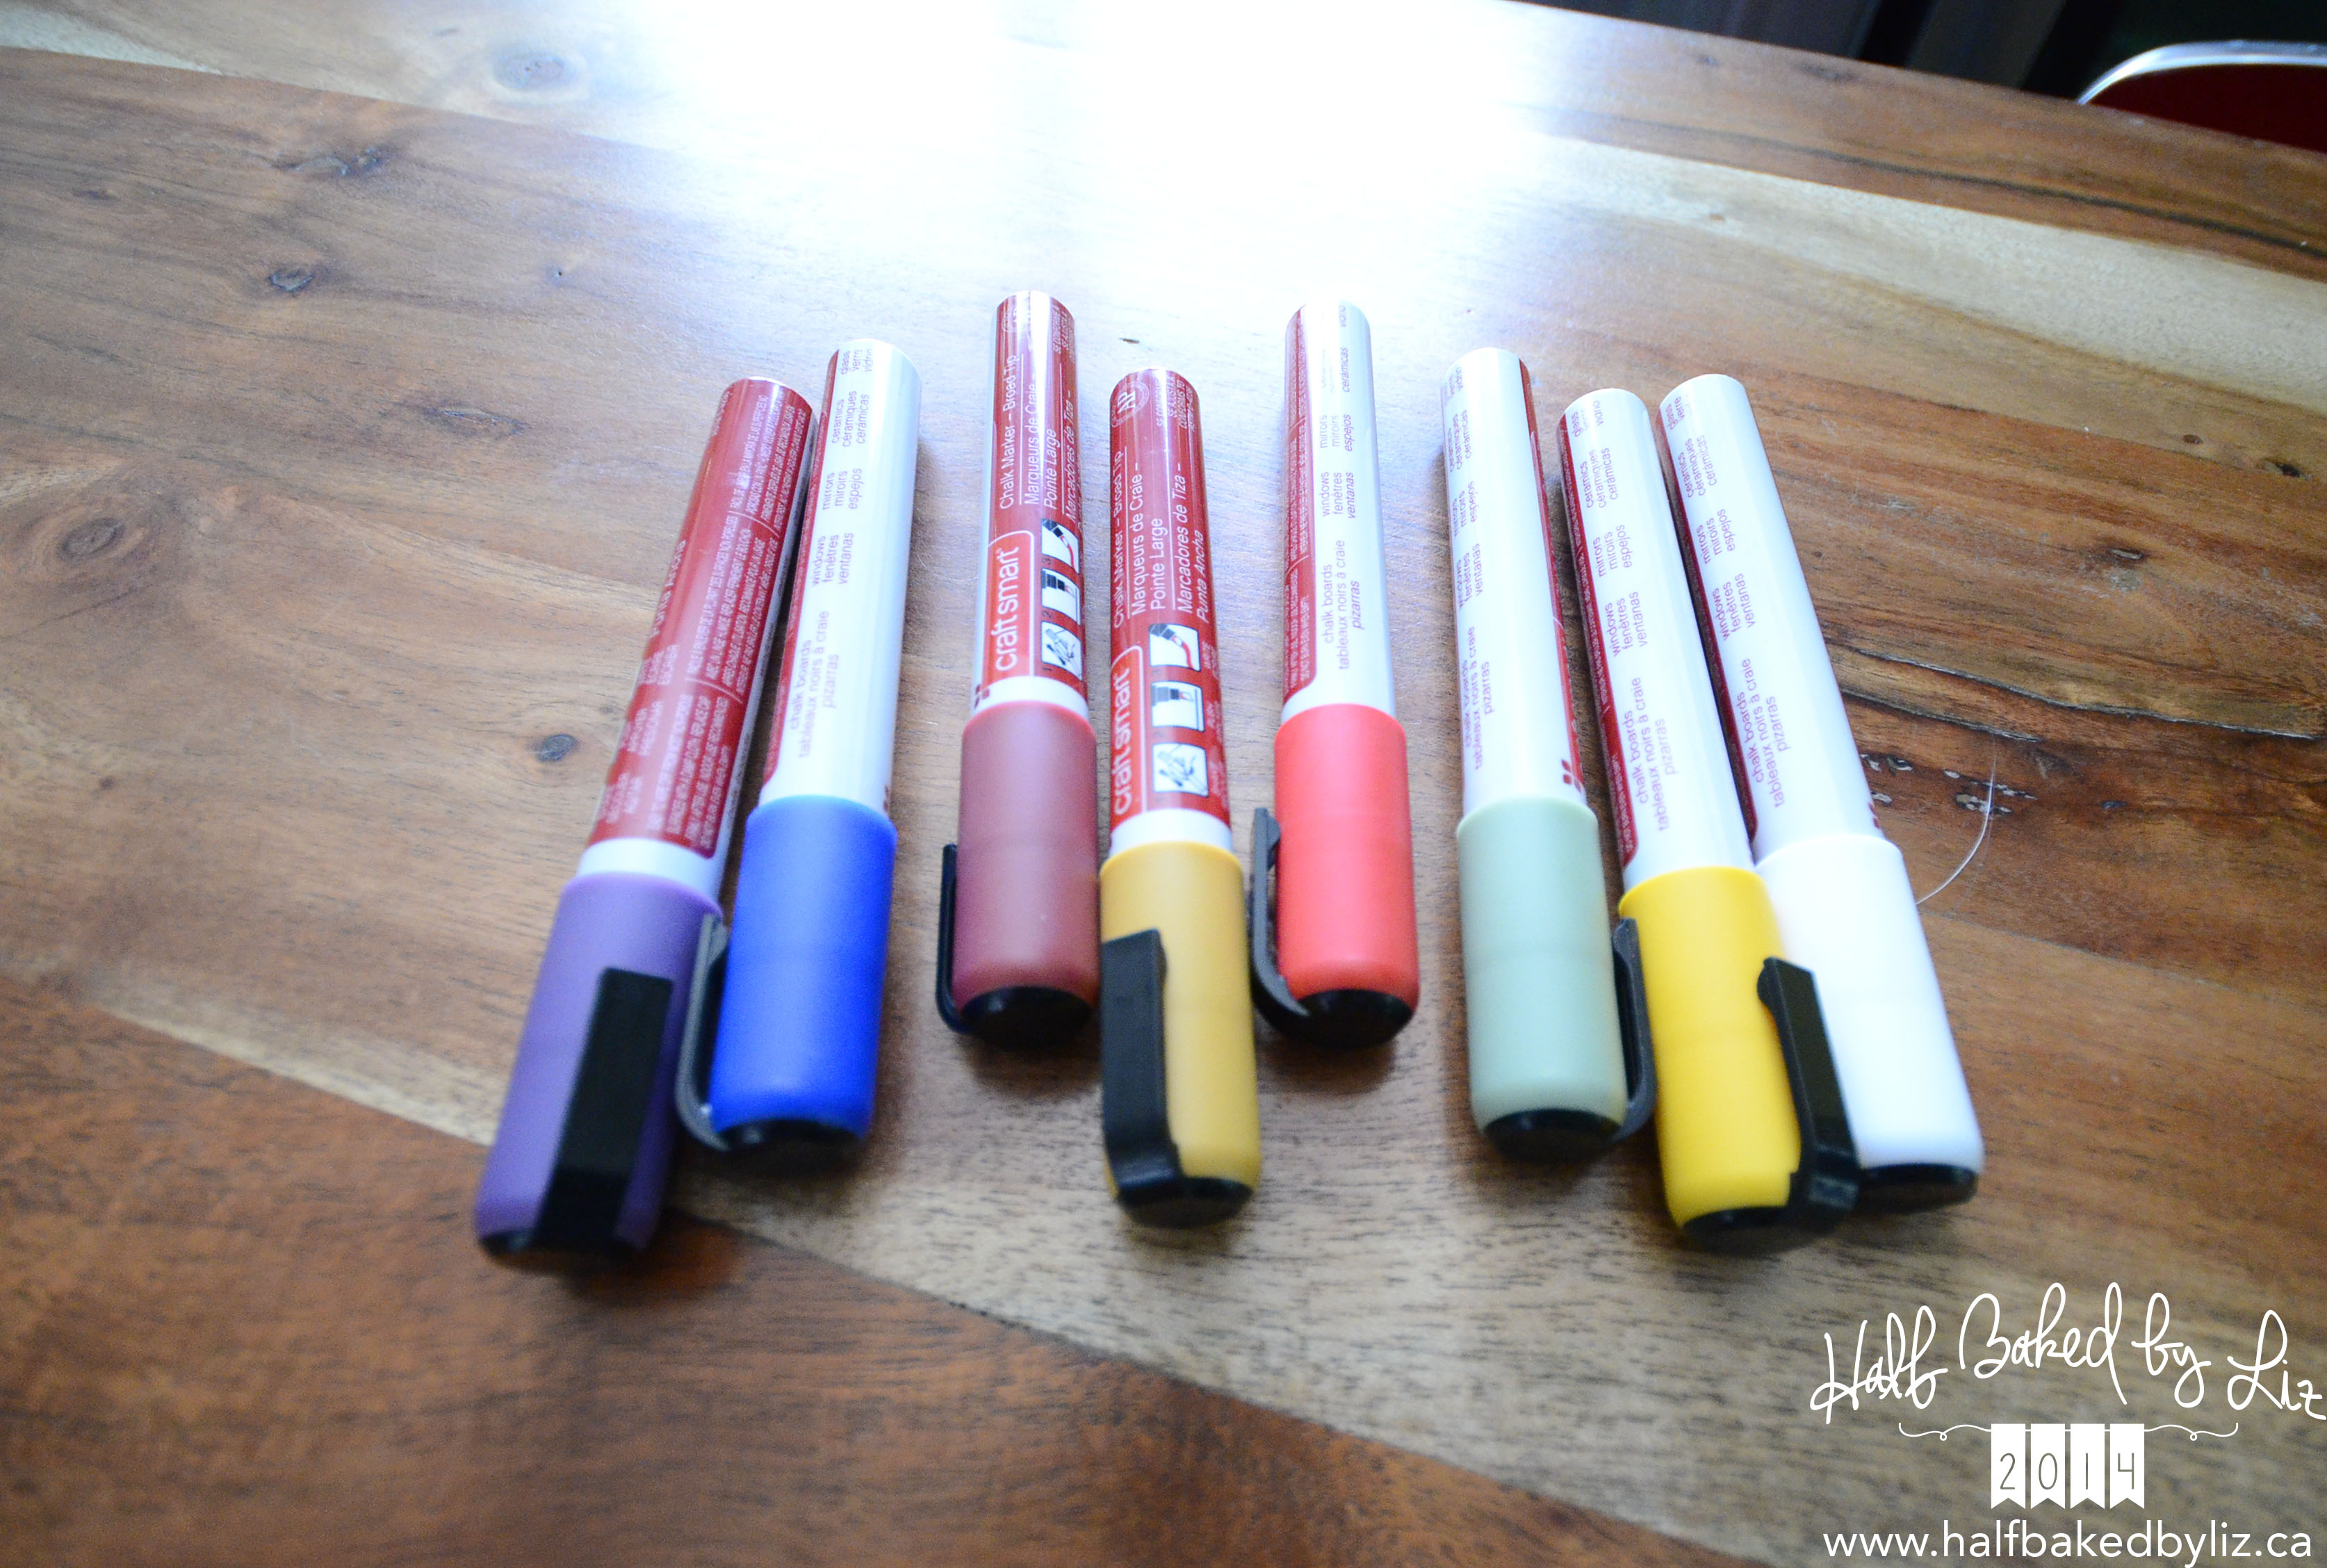
For some of the more “permanent” things on the board, I used chalk board markers. They are designed for chalk boards, but rather than wiping away, you need water to remove them.
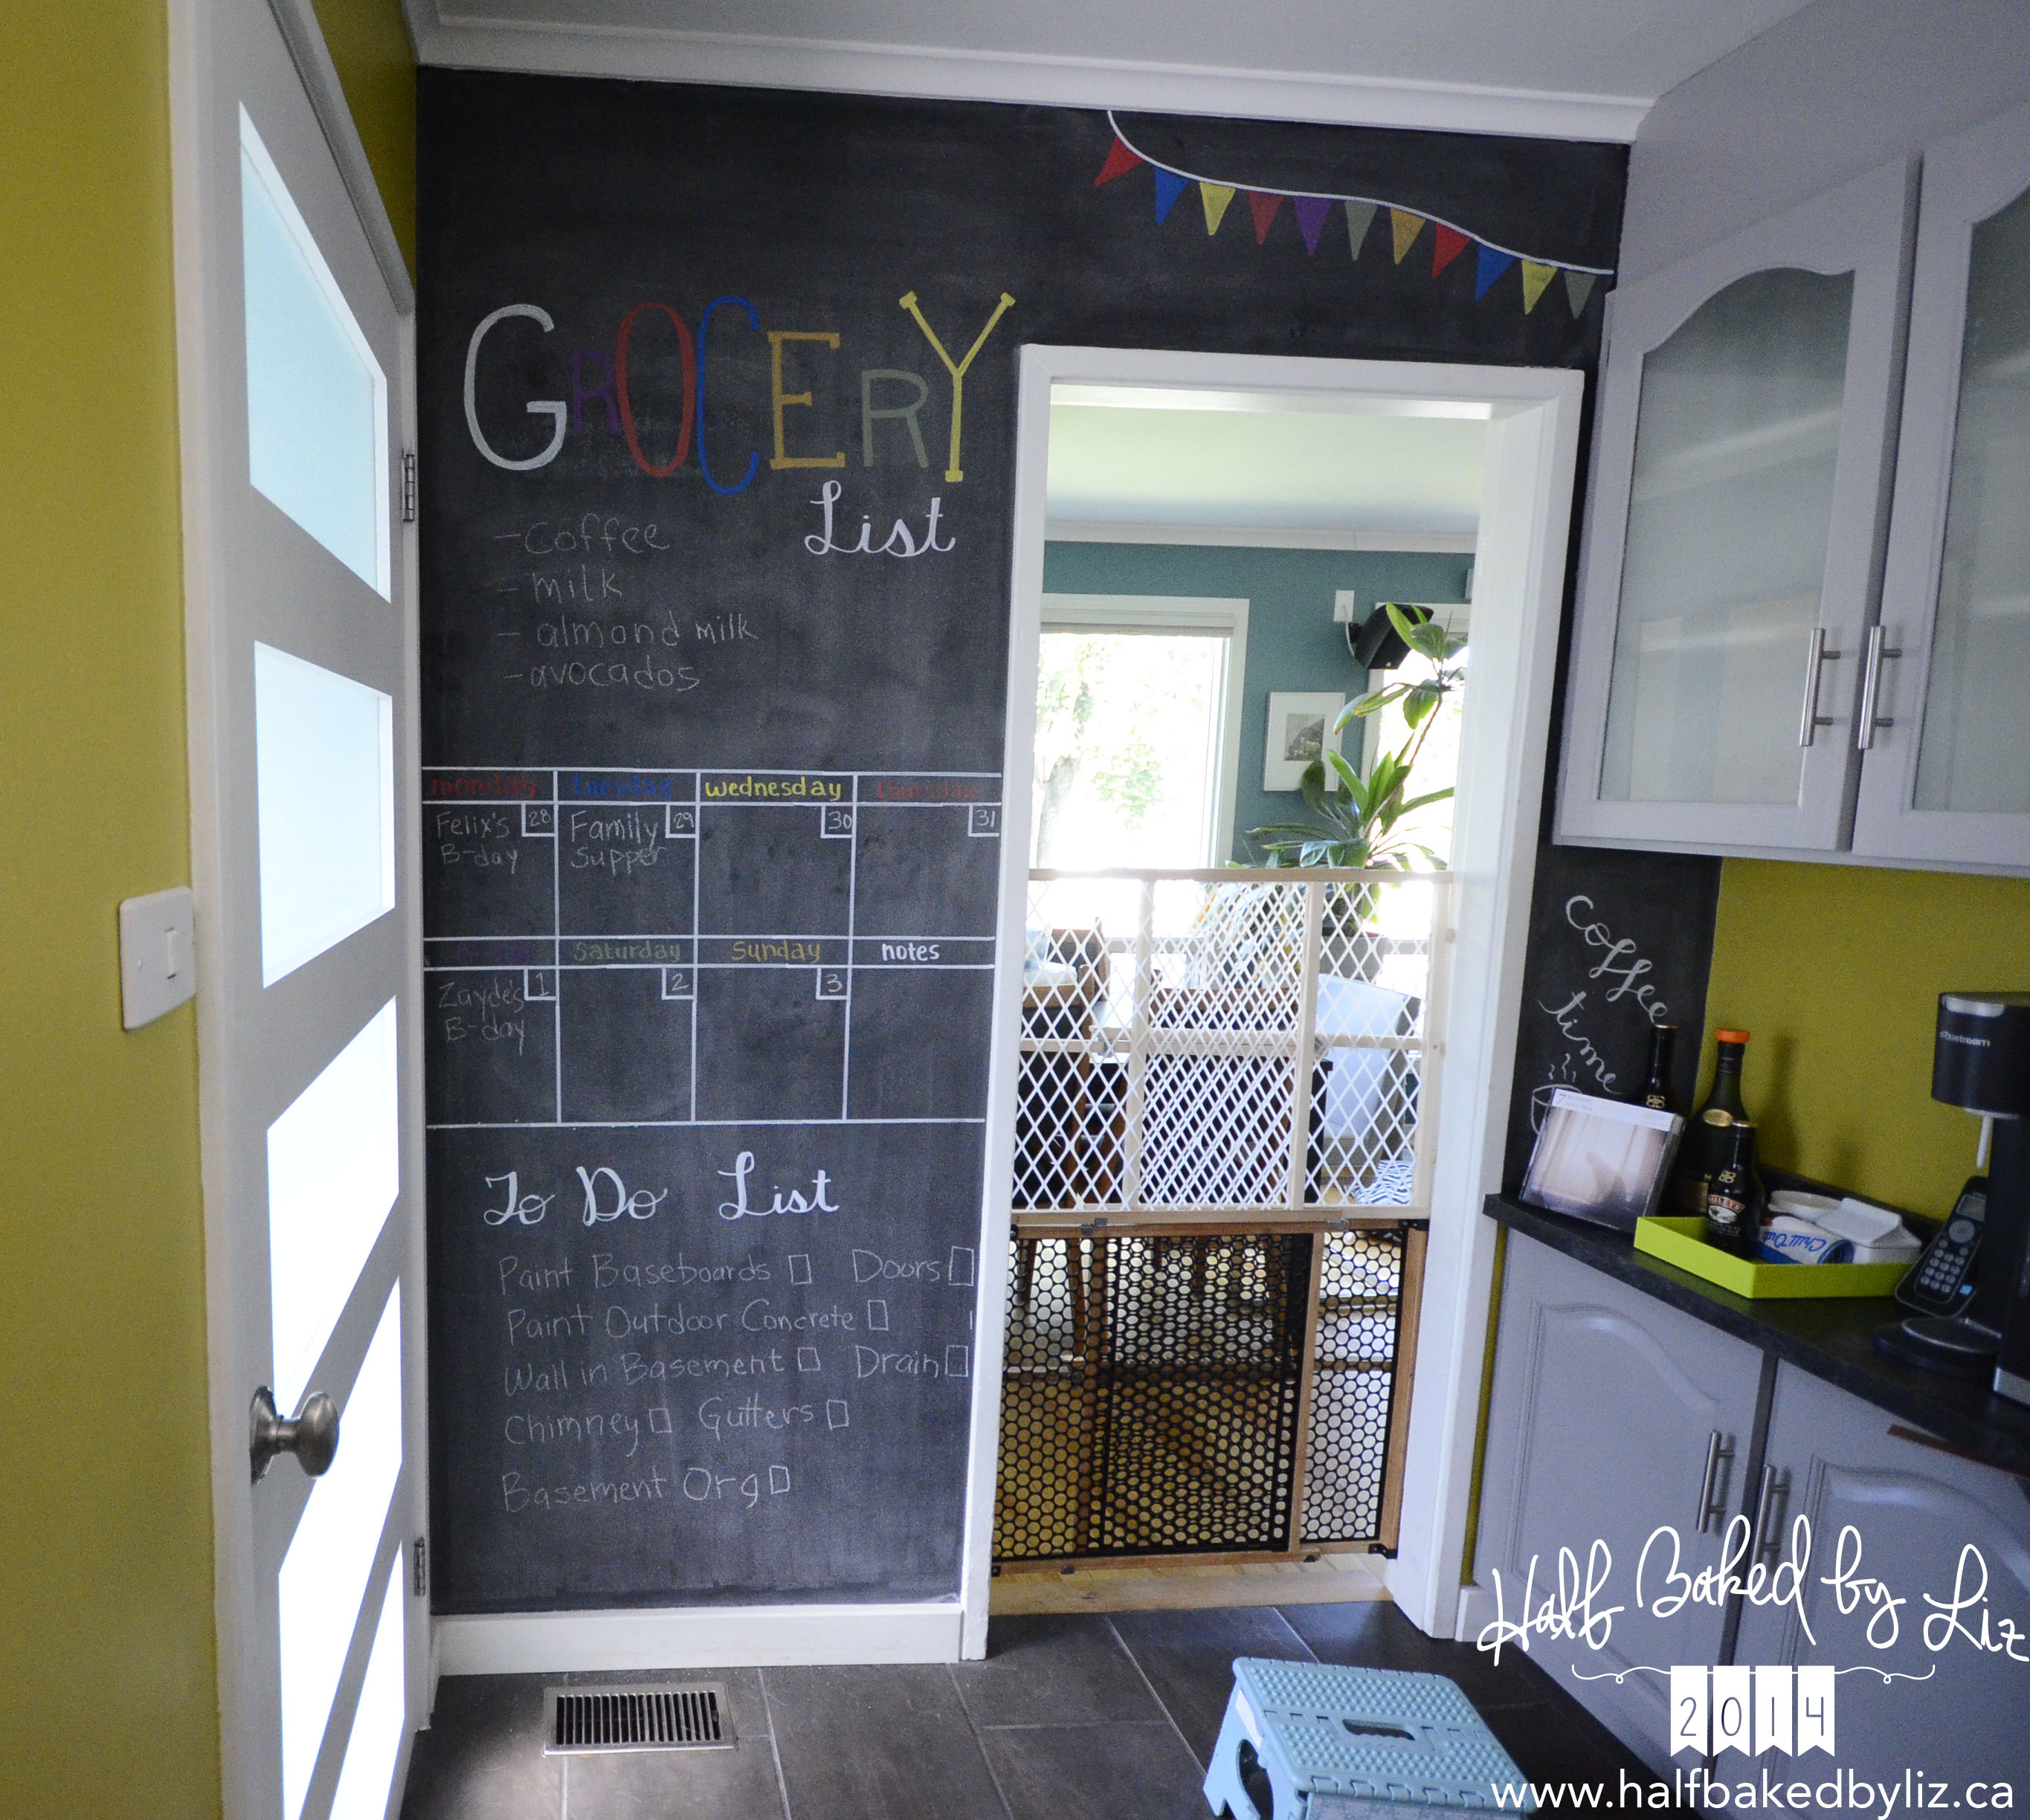
I added a space for a grocery list:
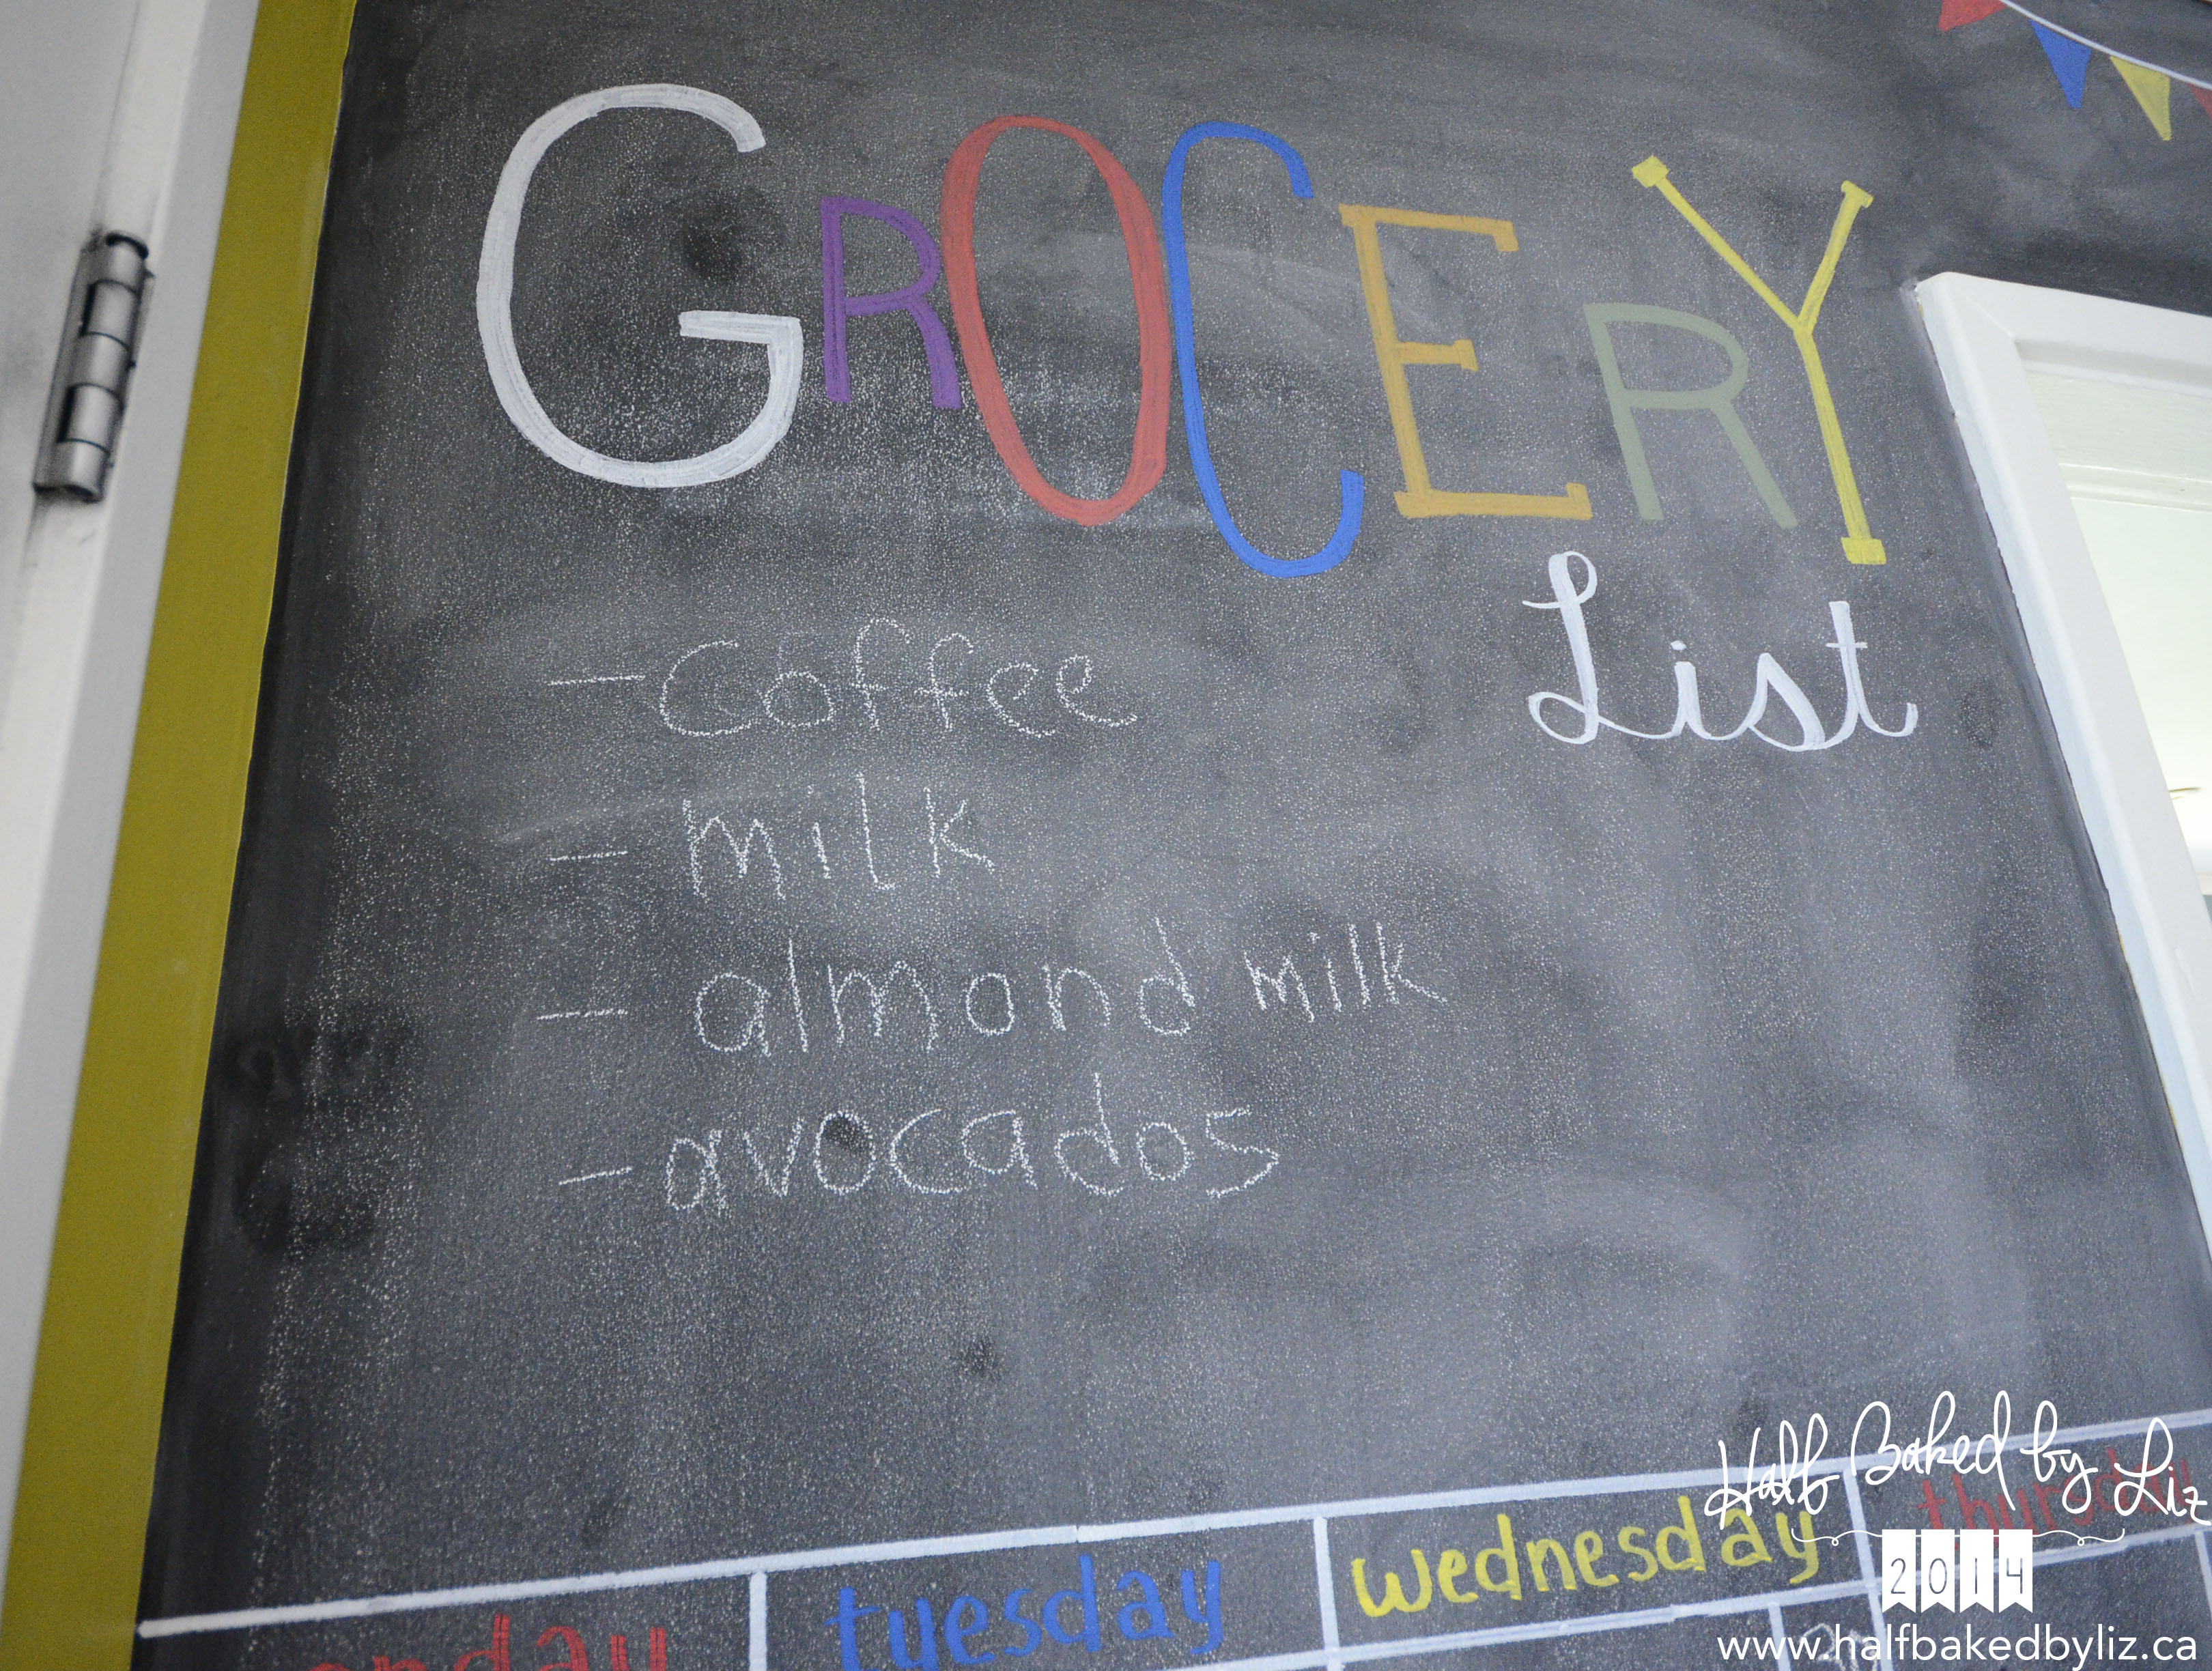
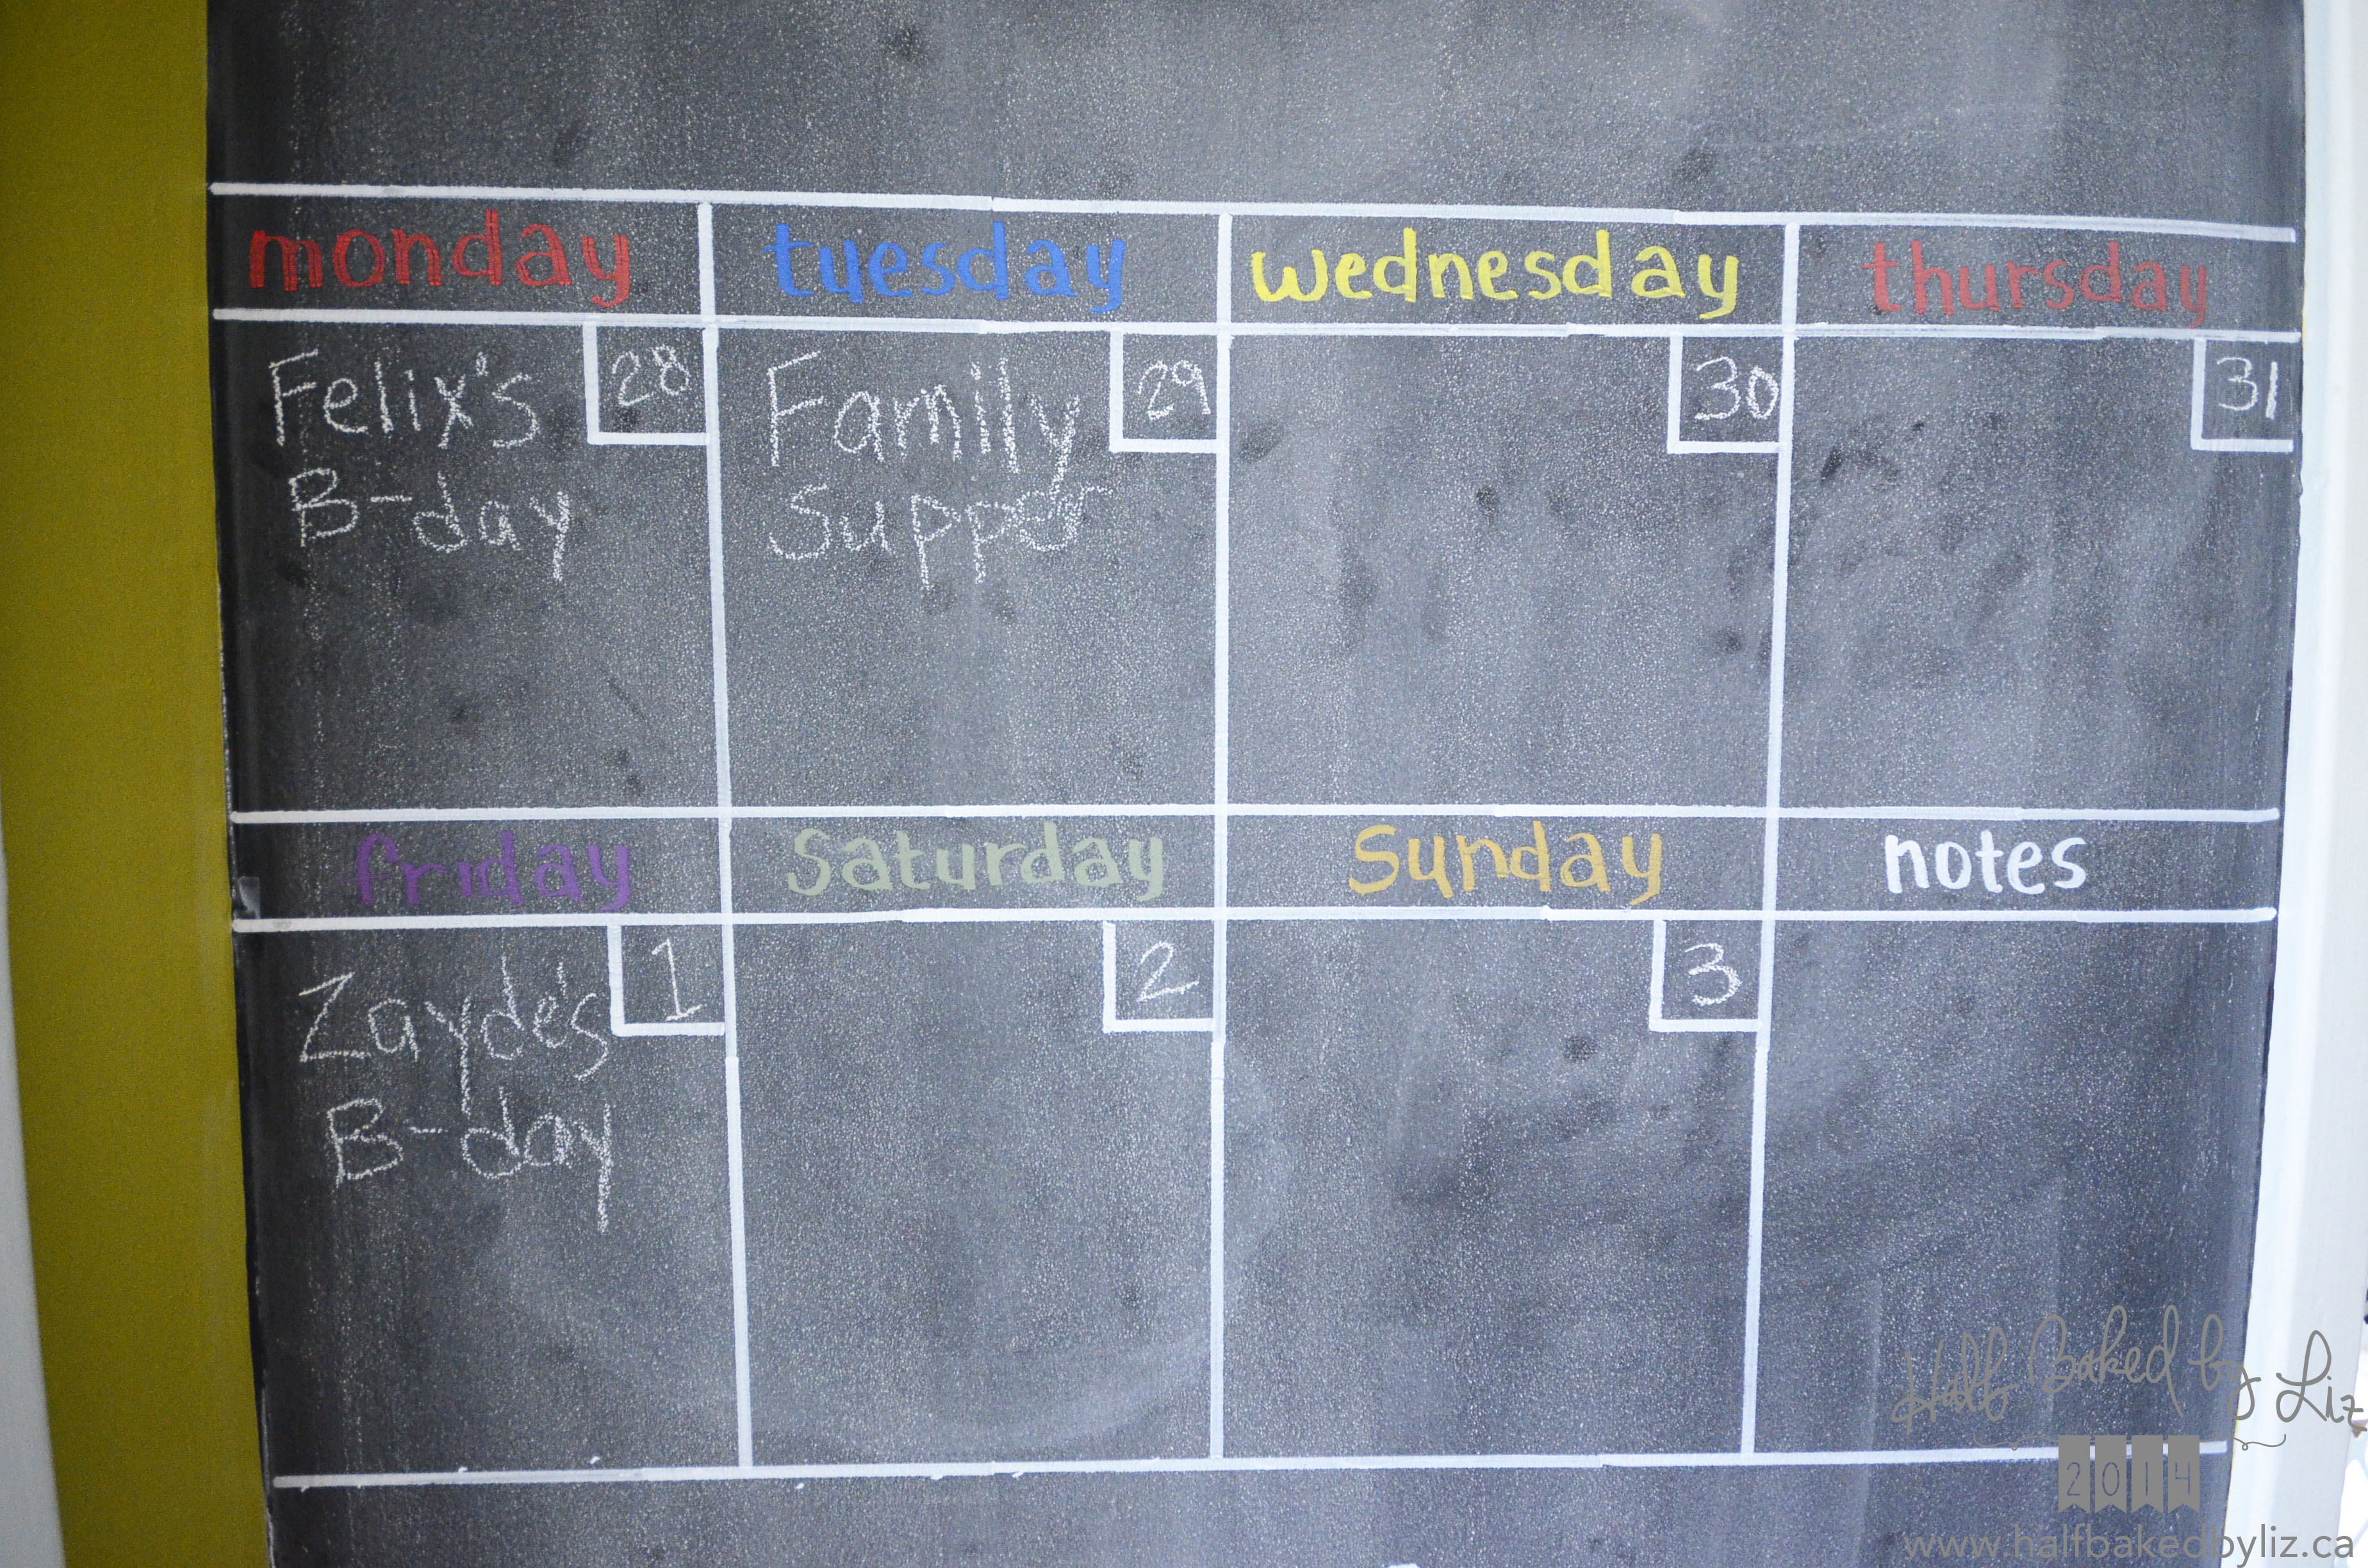
A weekly calendar:
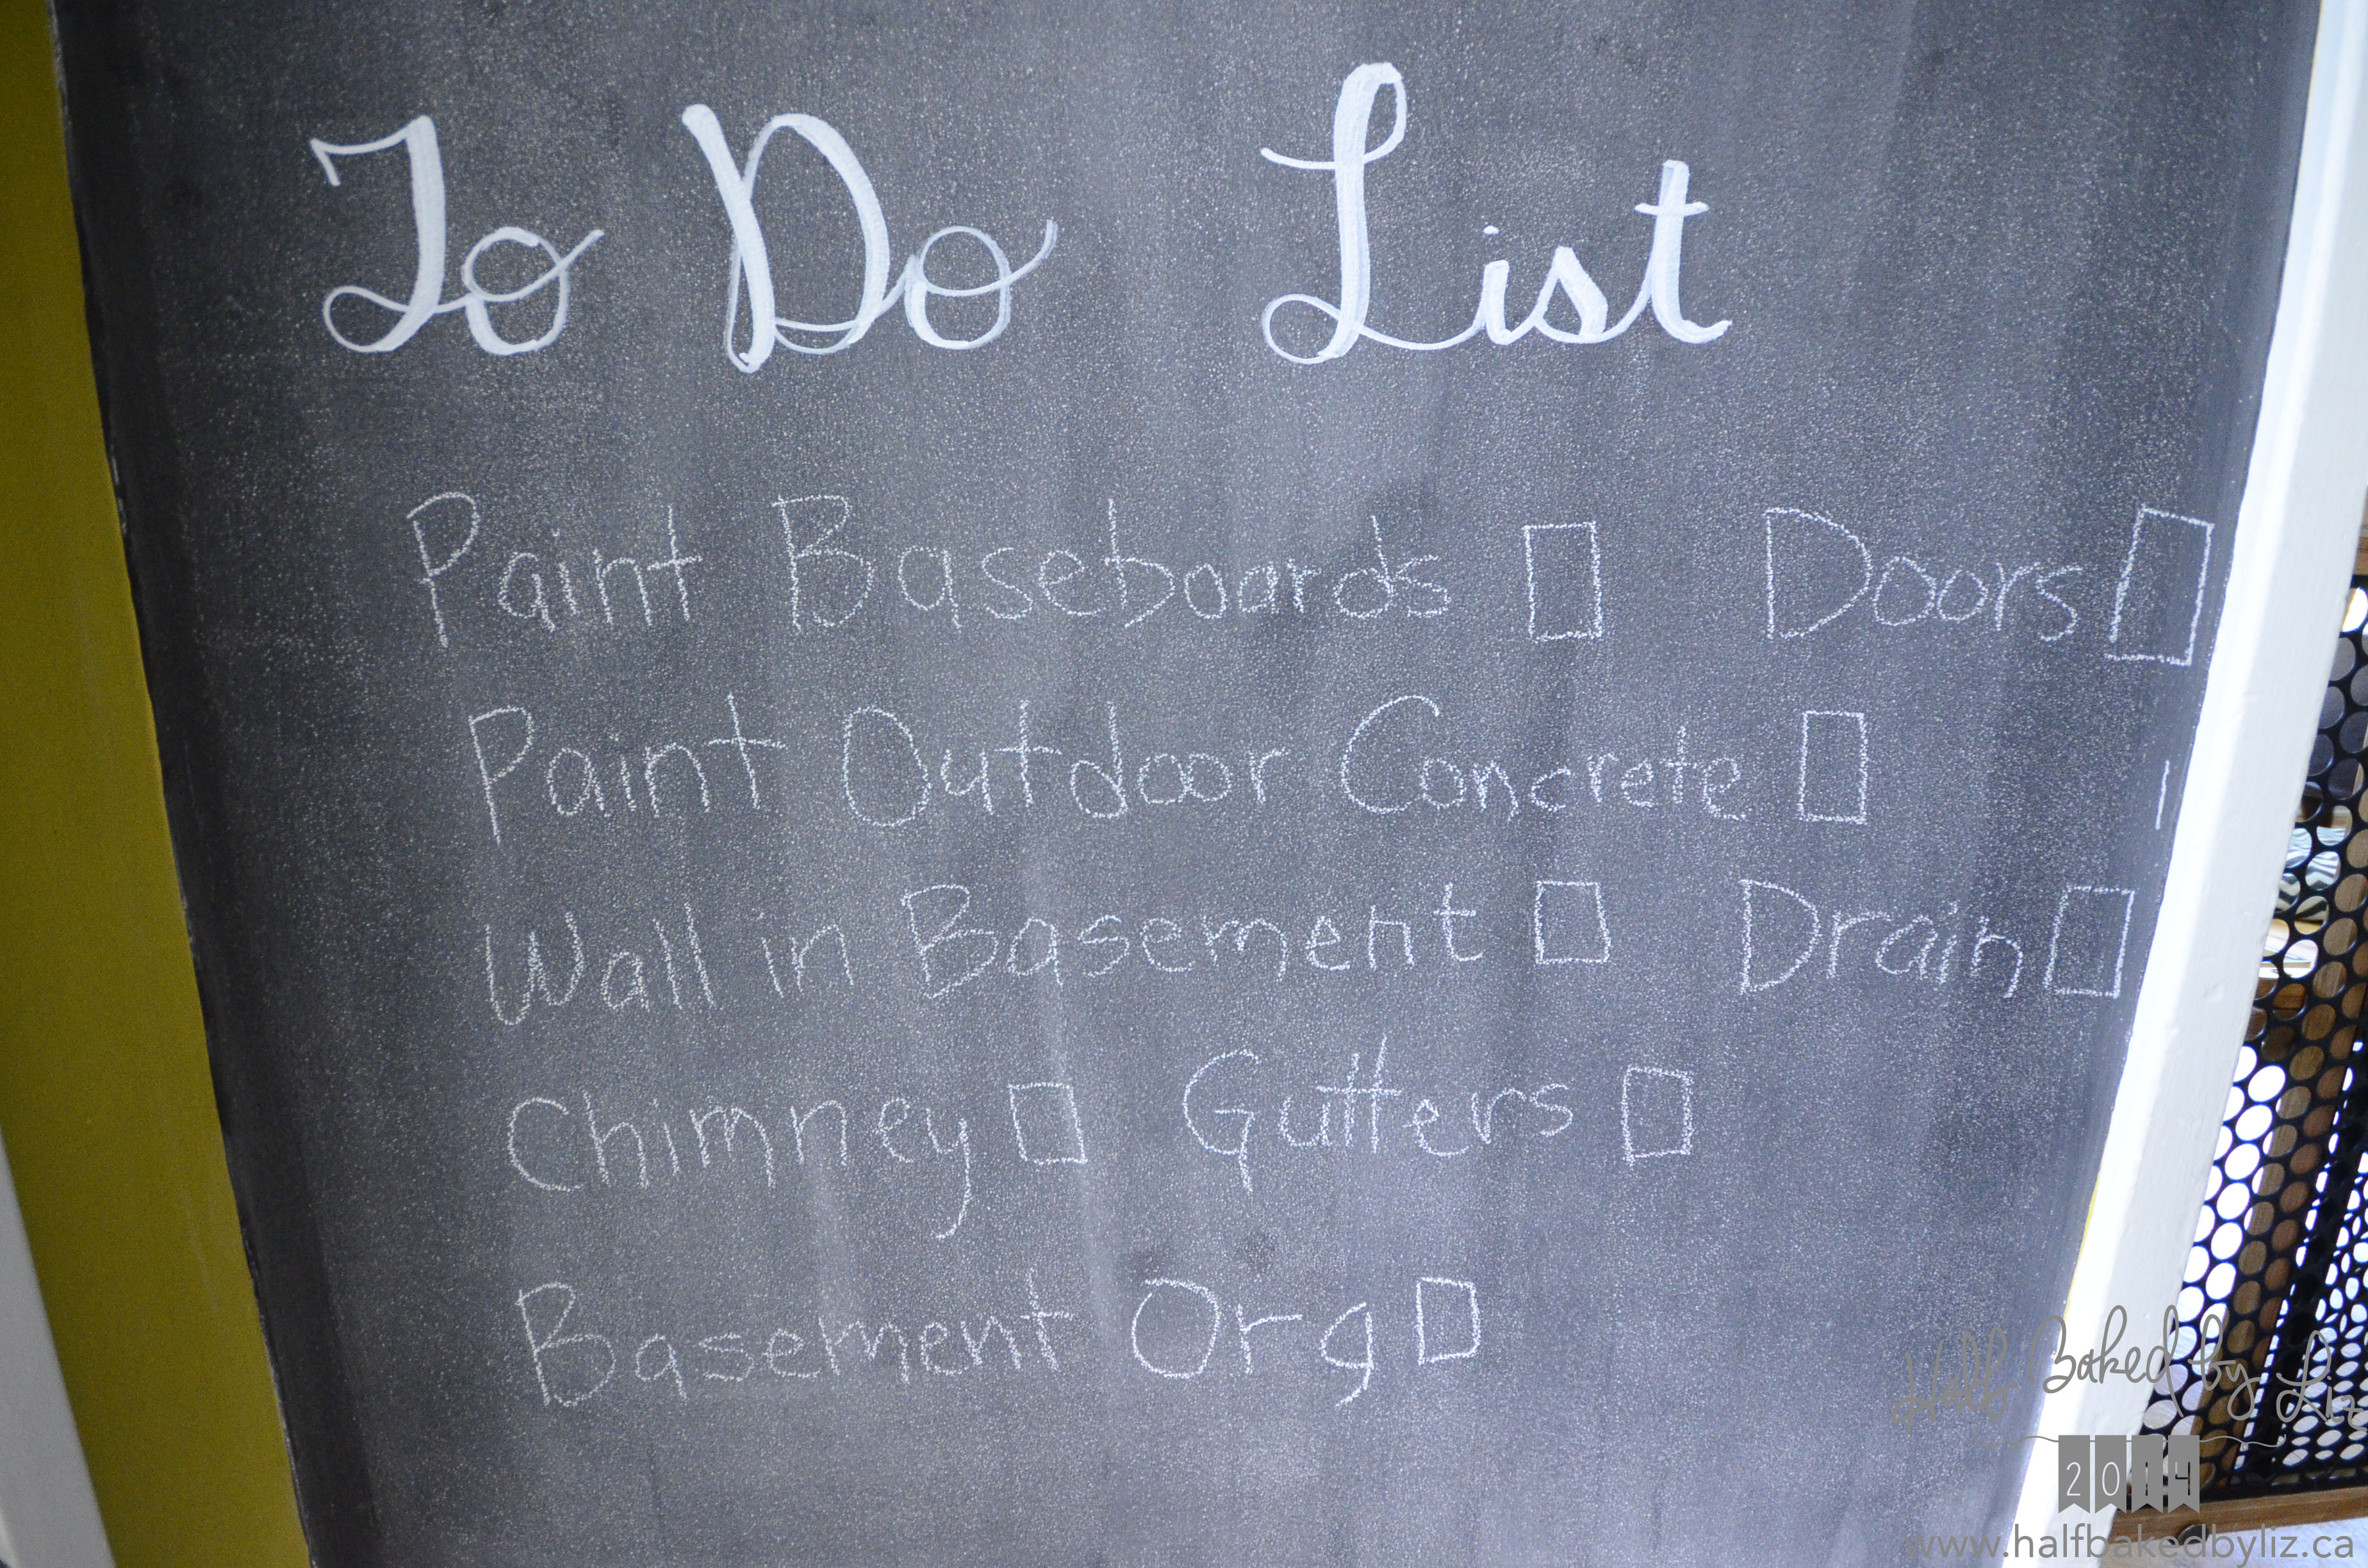
And a space for to do list items:
I love how it looks, and it’s SO useful!