
Up until recently, I had never used striping tape to create nail art… but after purchasing some from the Pshiiit Boutique , I decided to give it a go. It was surprisingly easy to use, and I was super happy with the result! Here’s how I created this manicure.
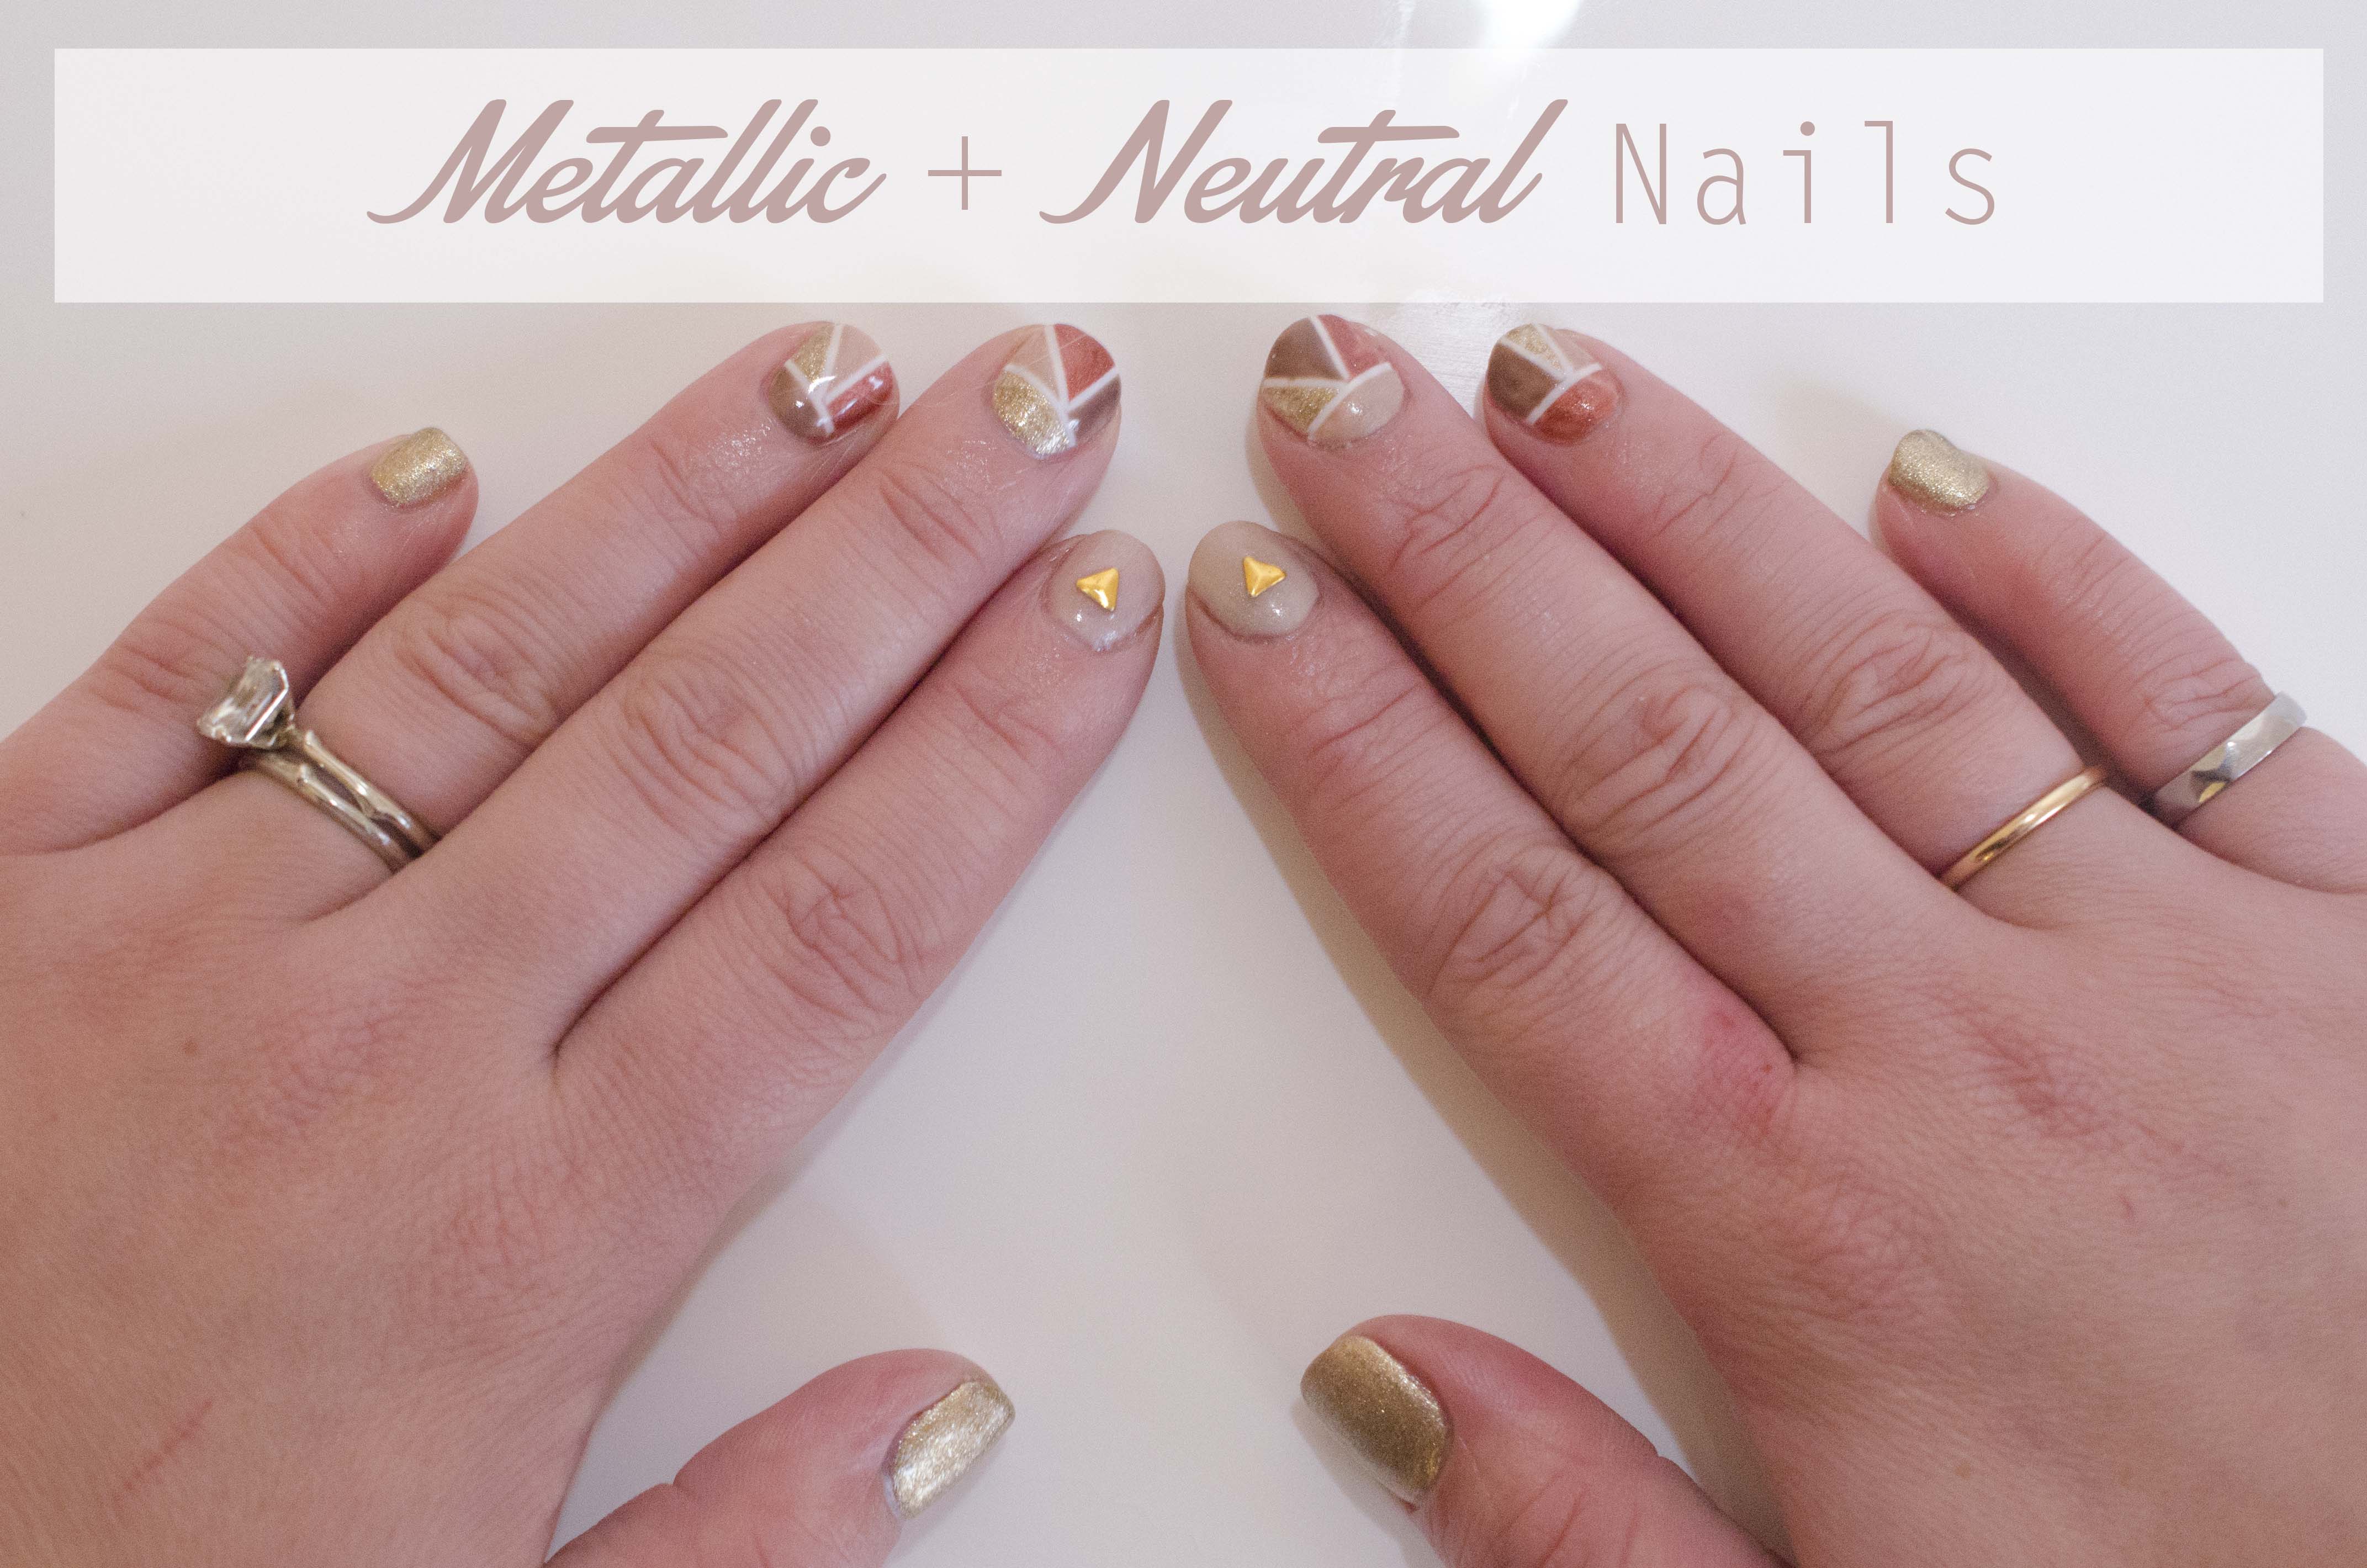
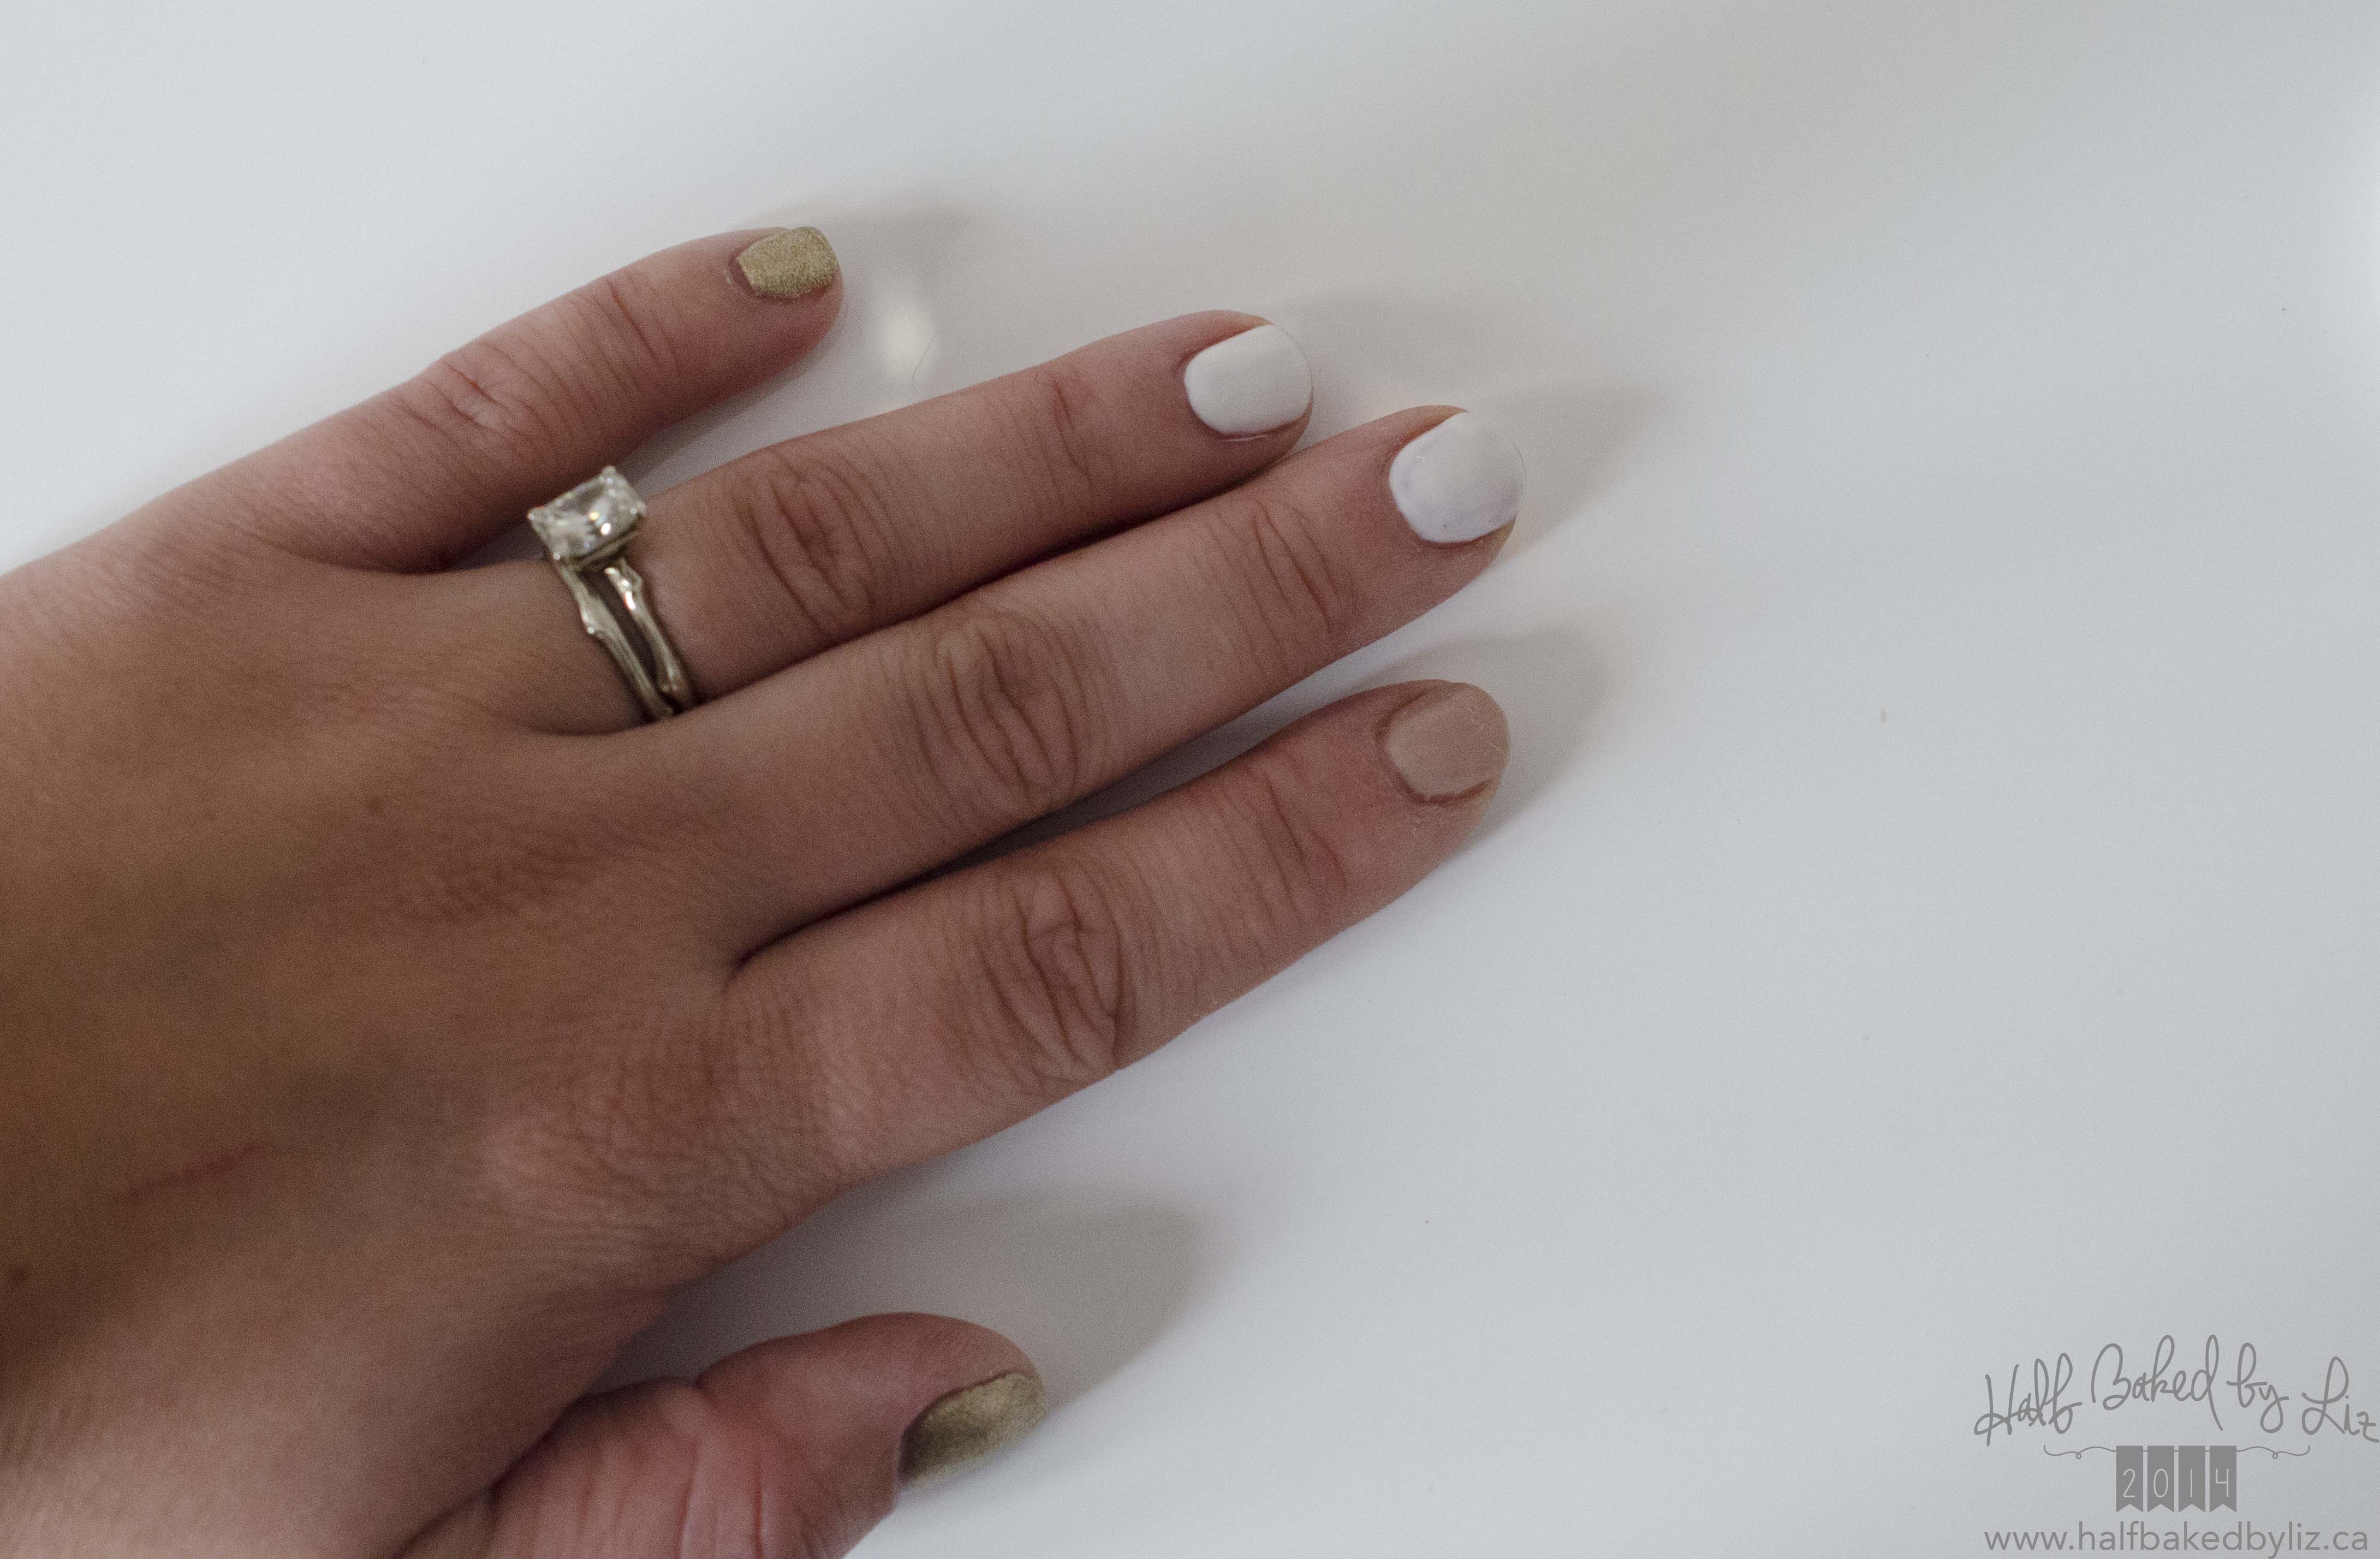
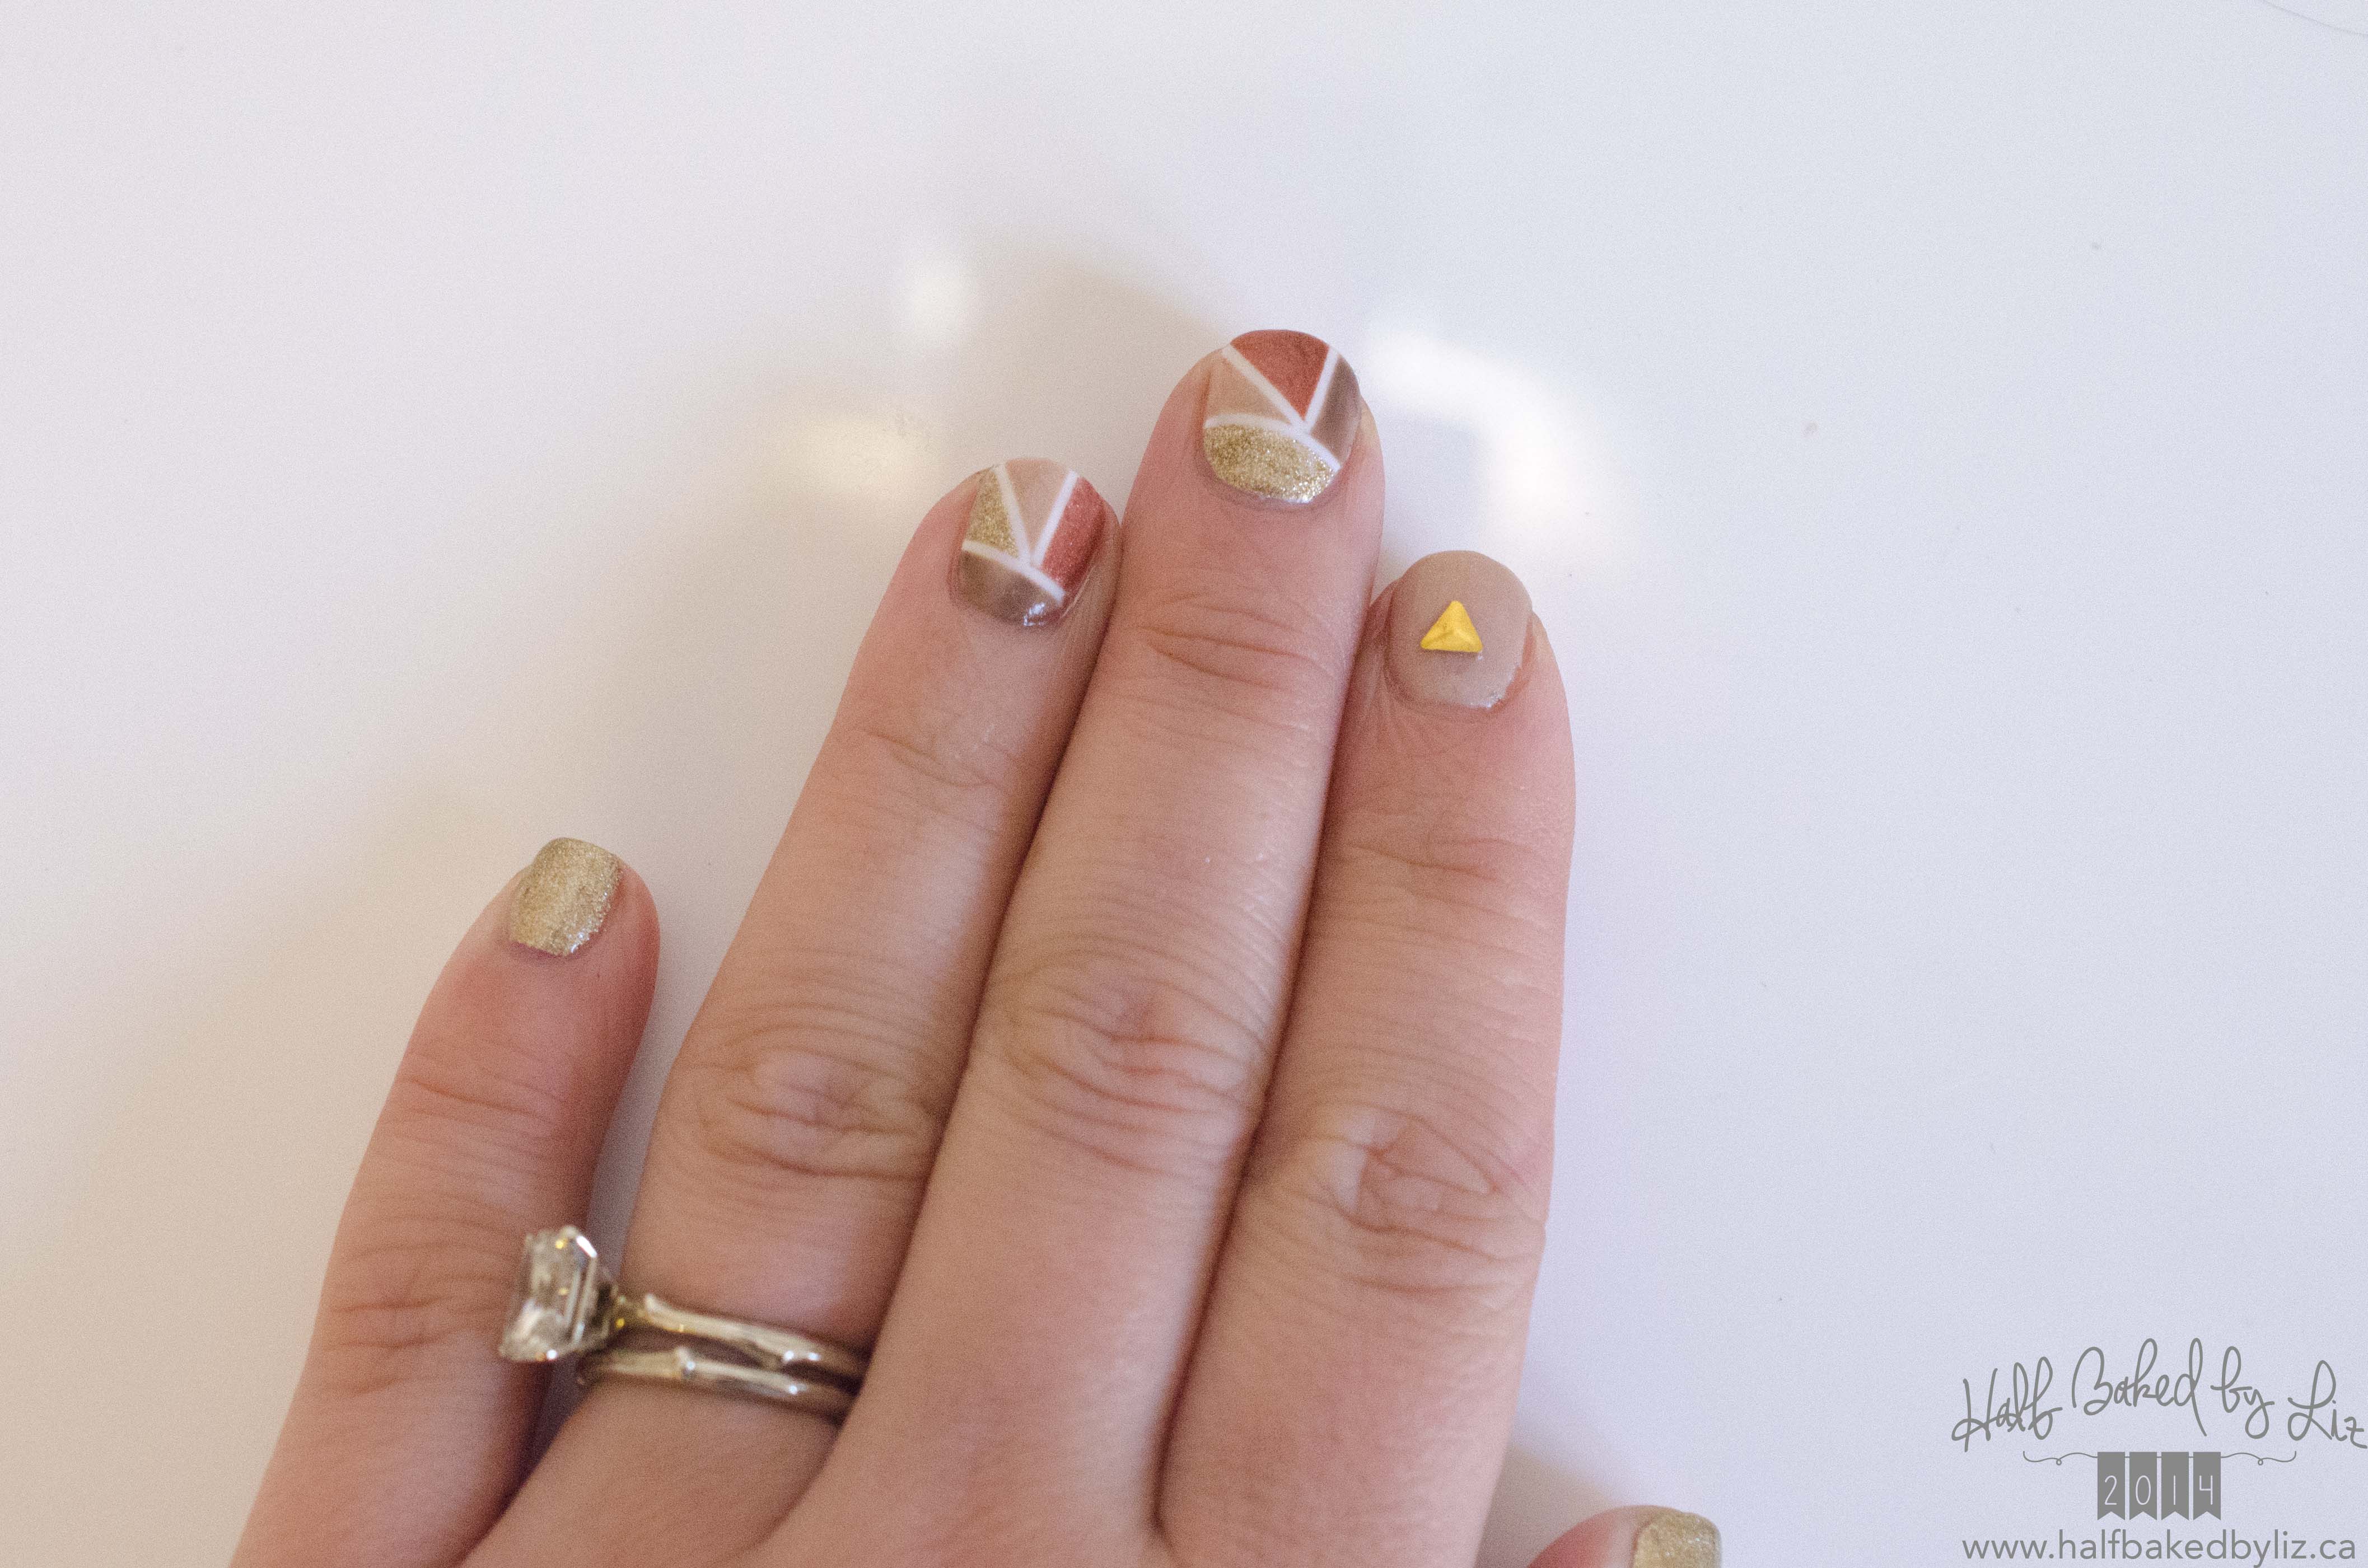
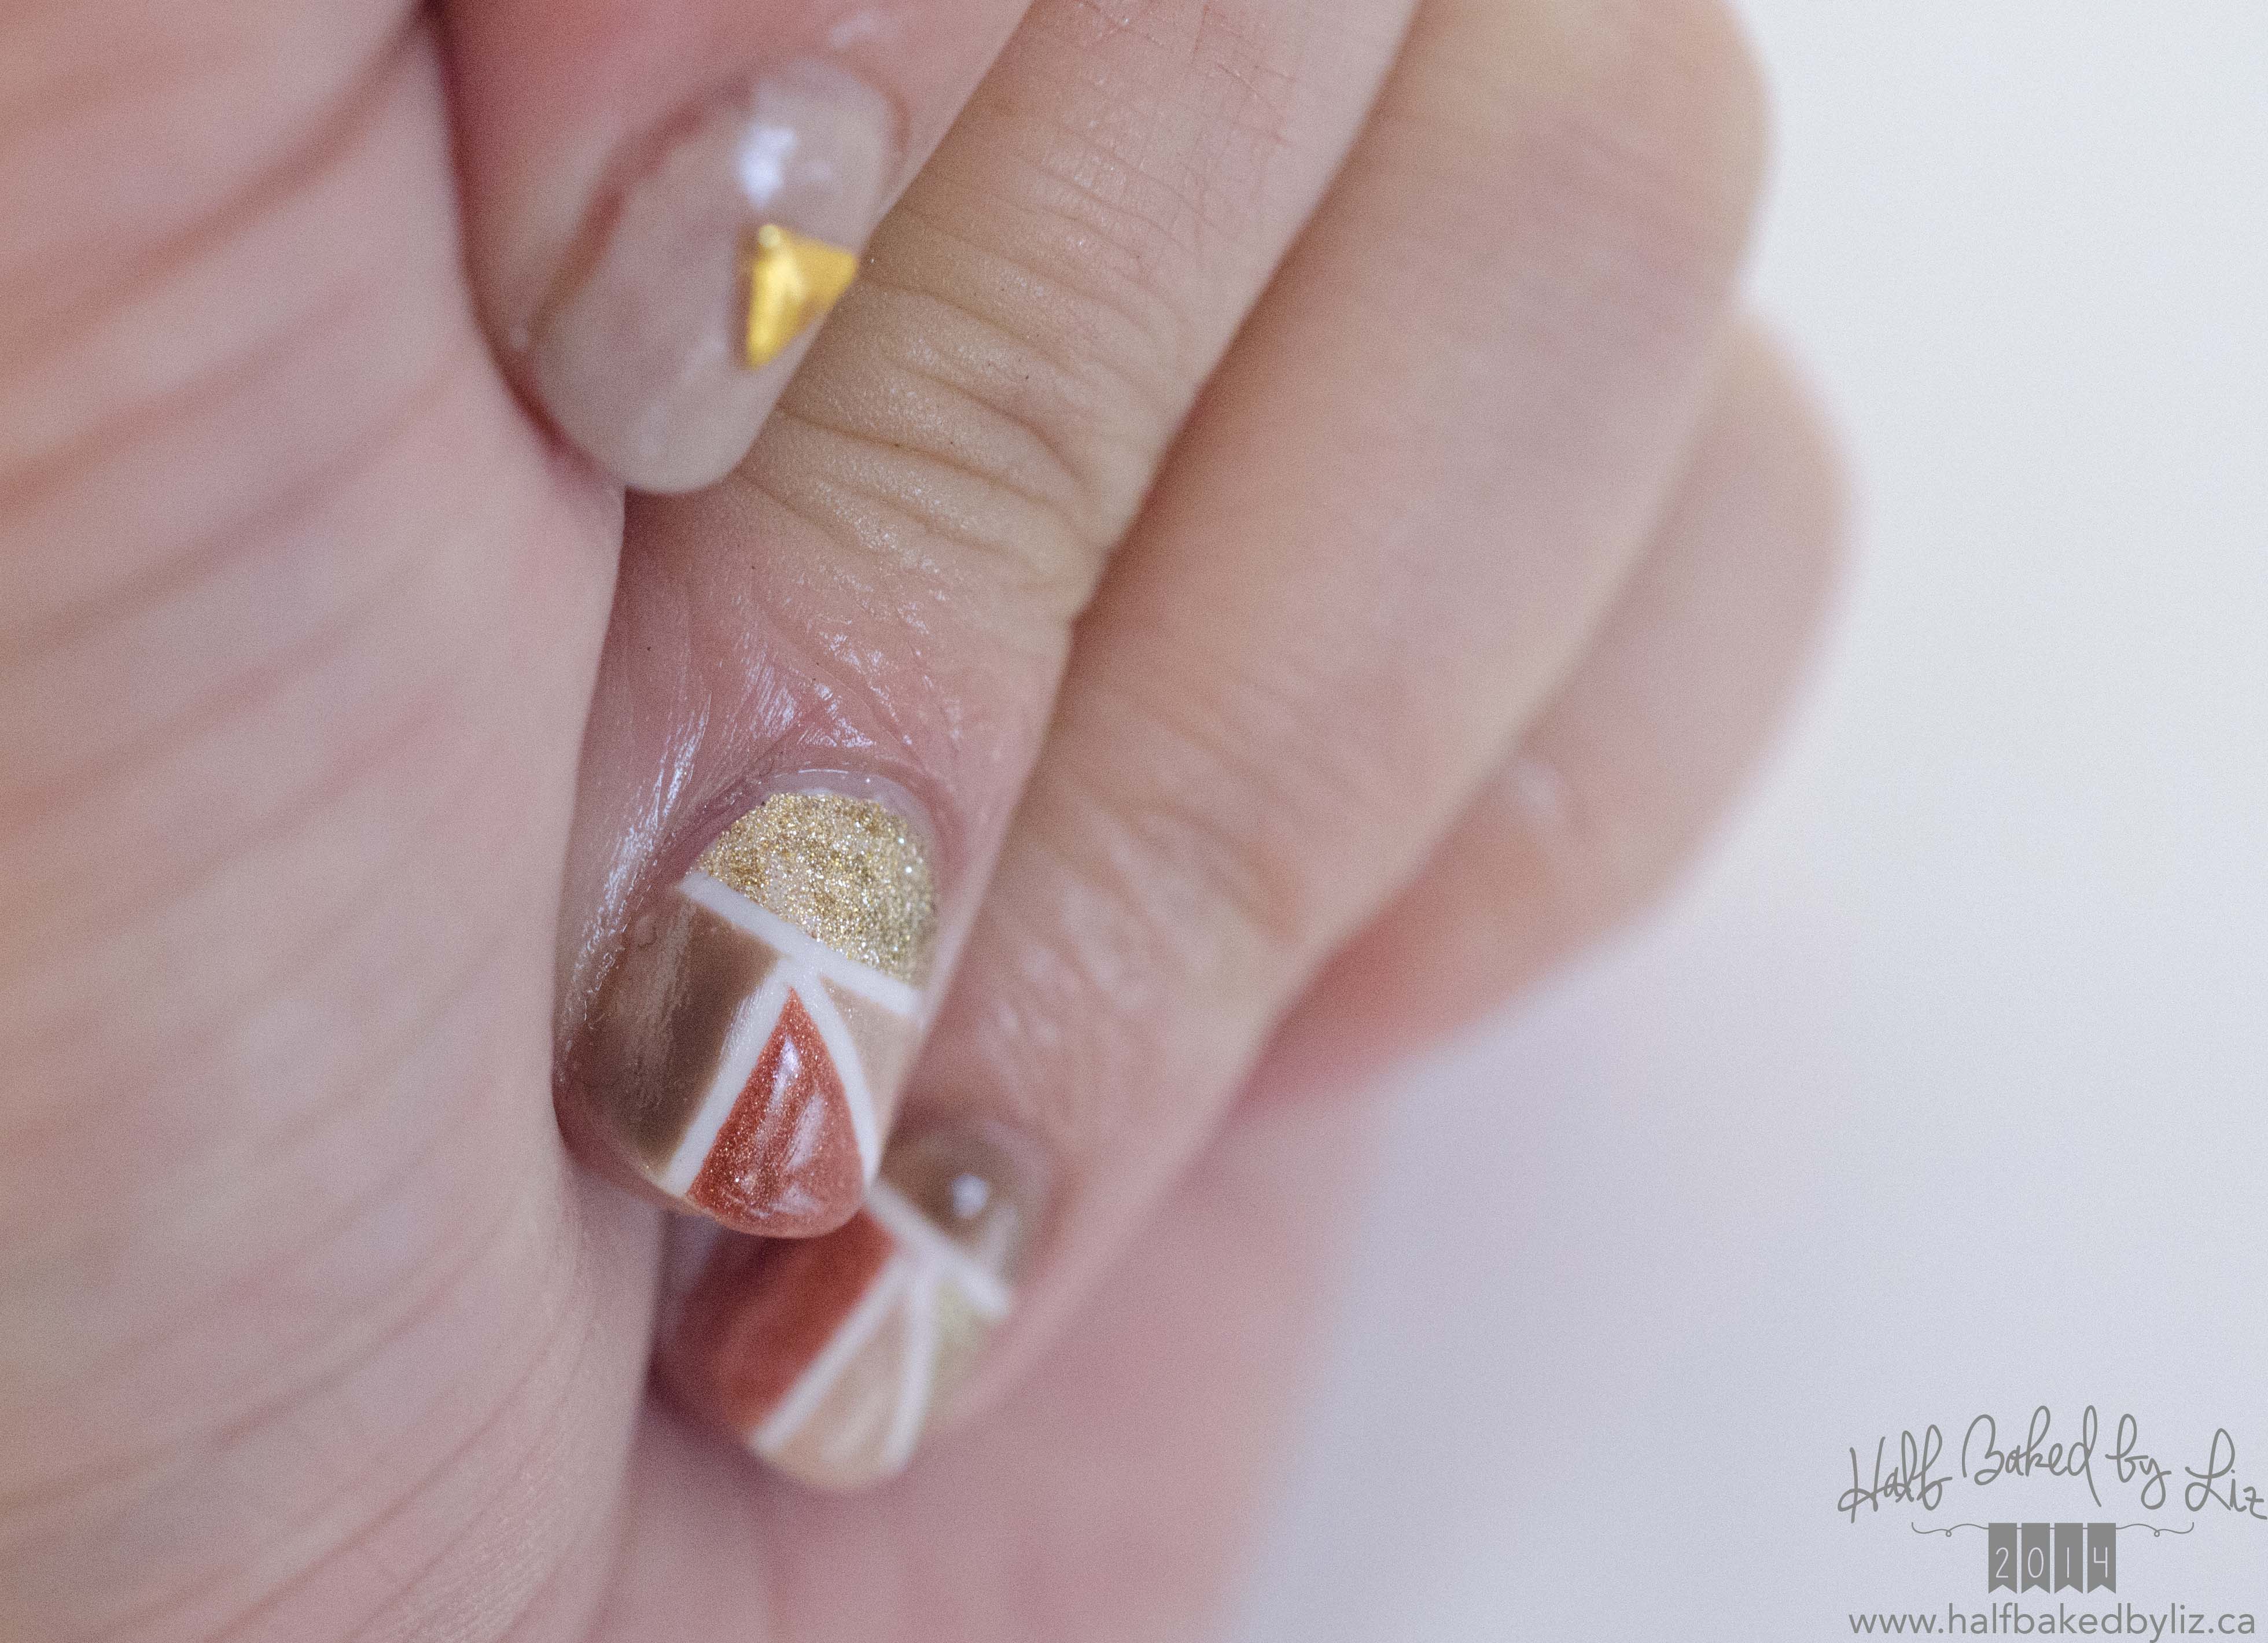
After prepping my nails and applying a base coat, I added three different base colours – gold on my thumbs and pinkies, nude on my pointer fingers, and white on my middle and ring fingers.
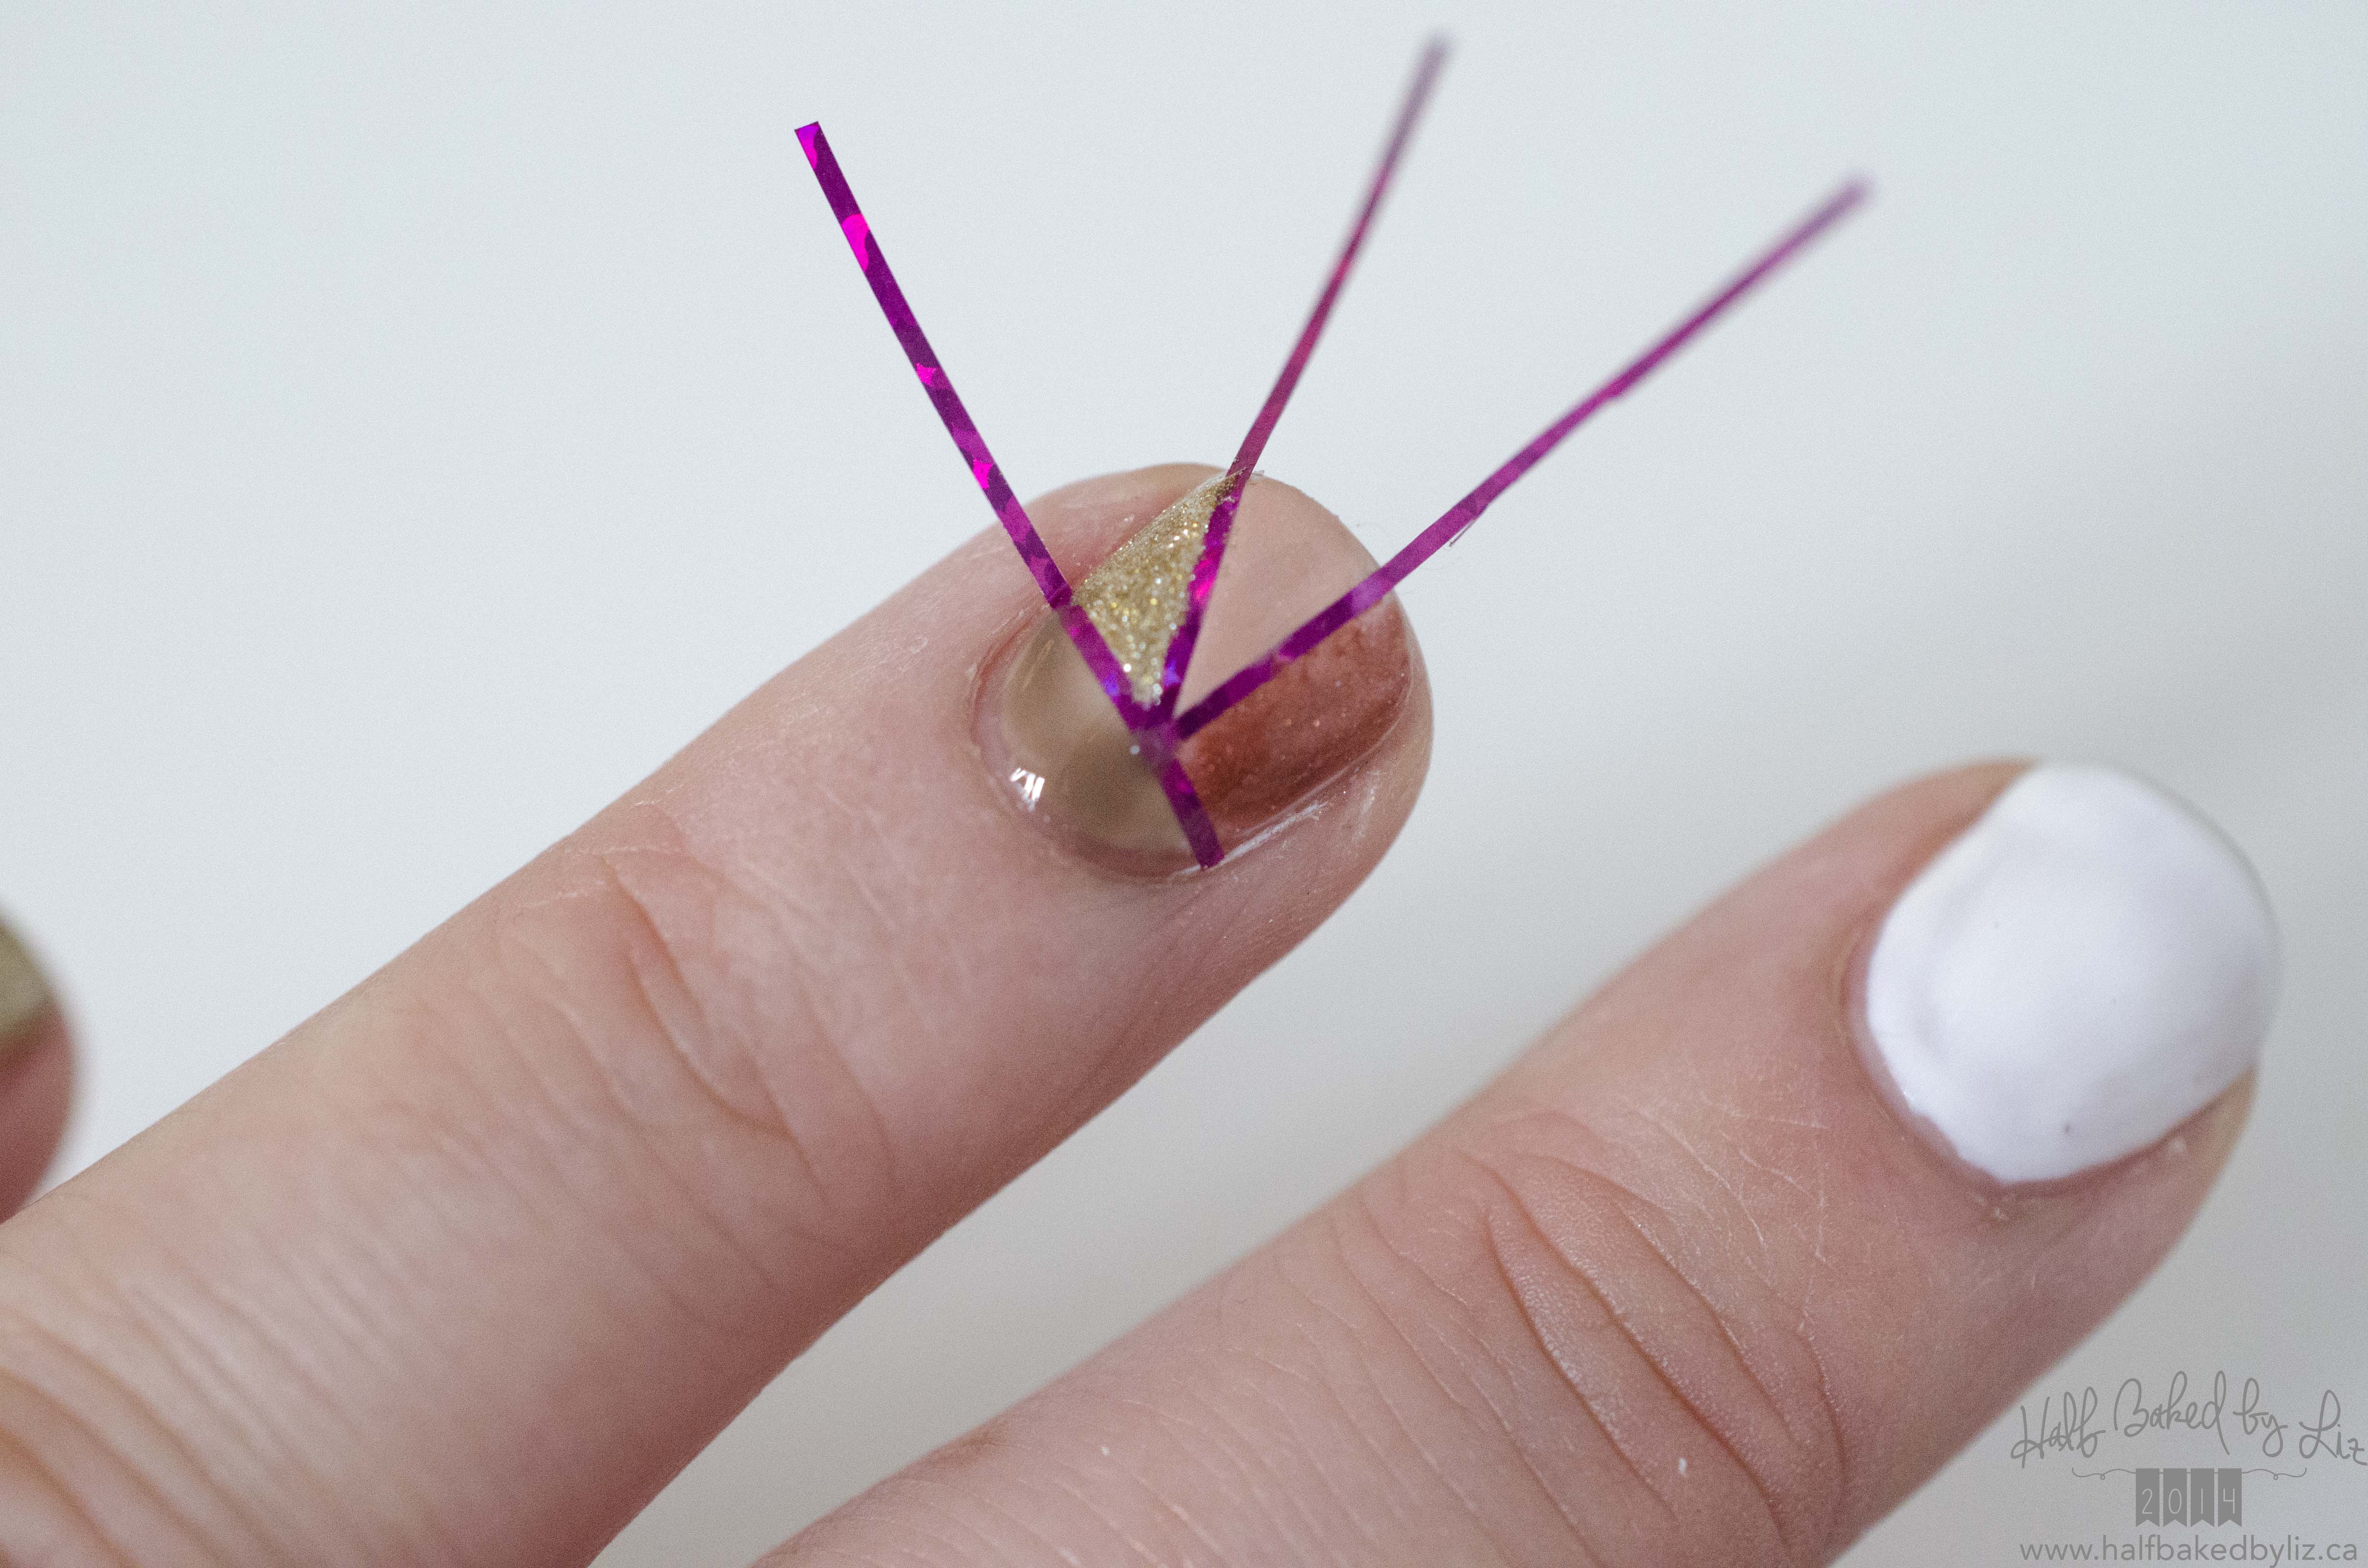
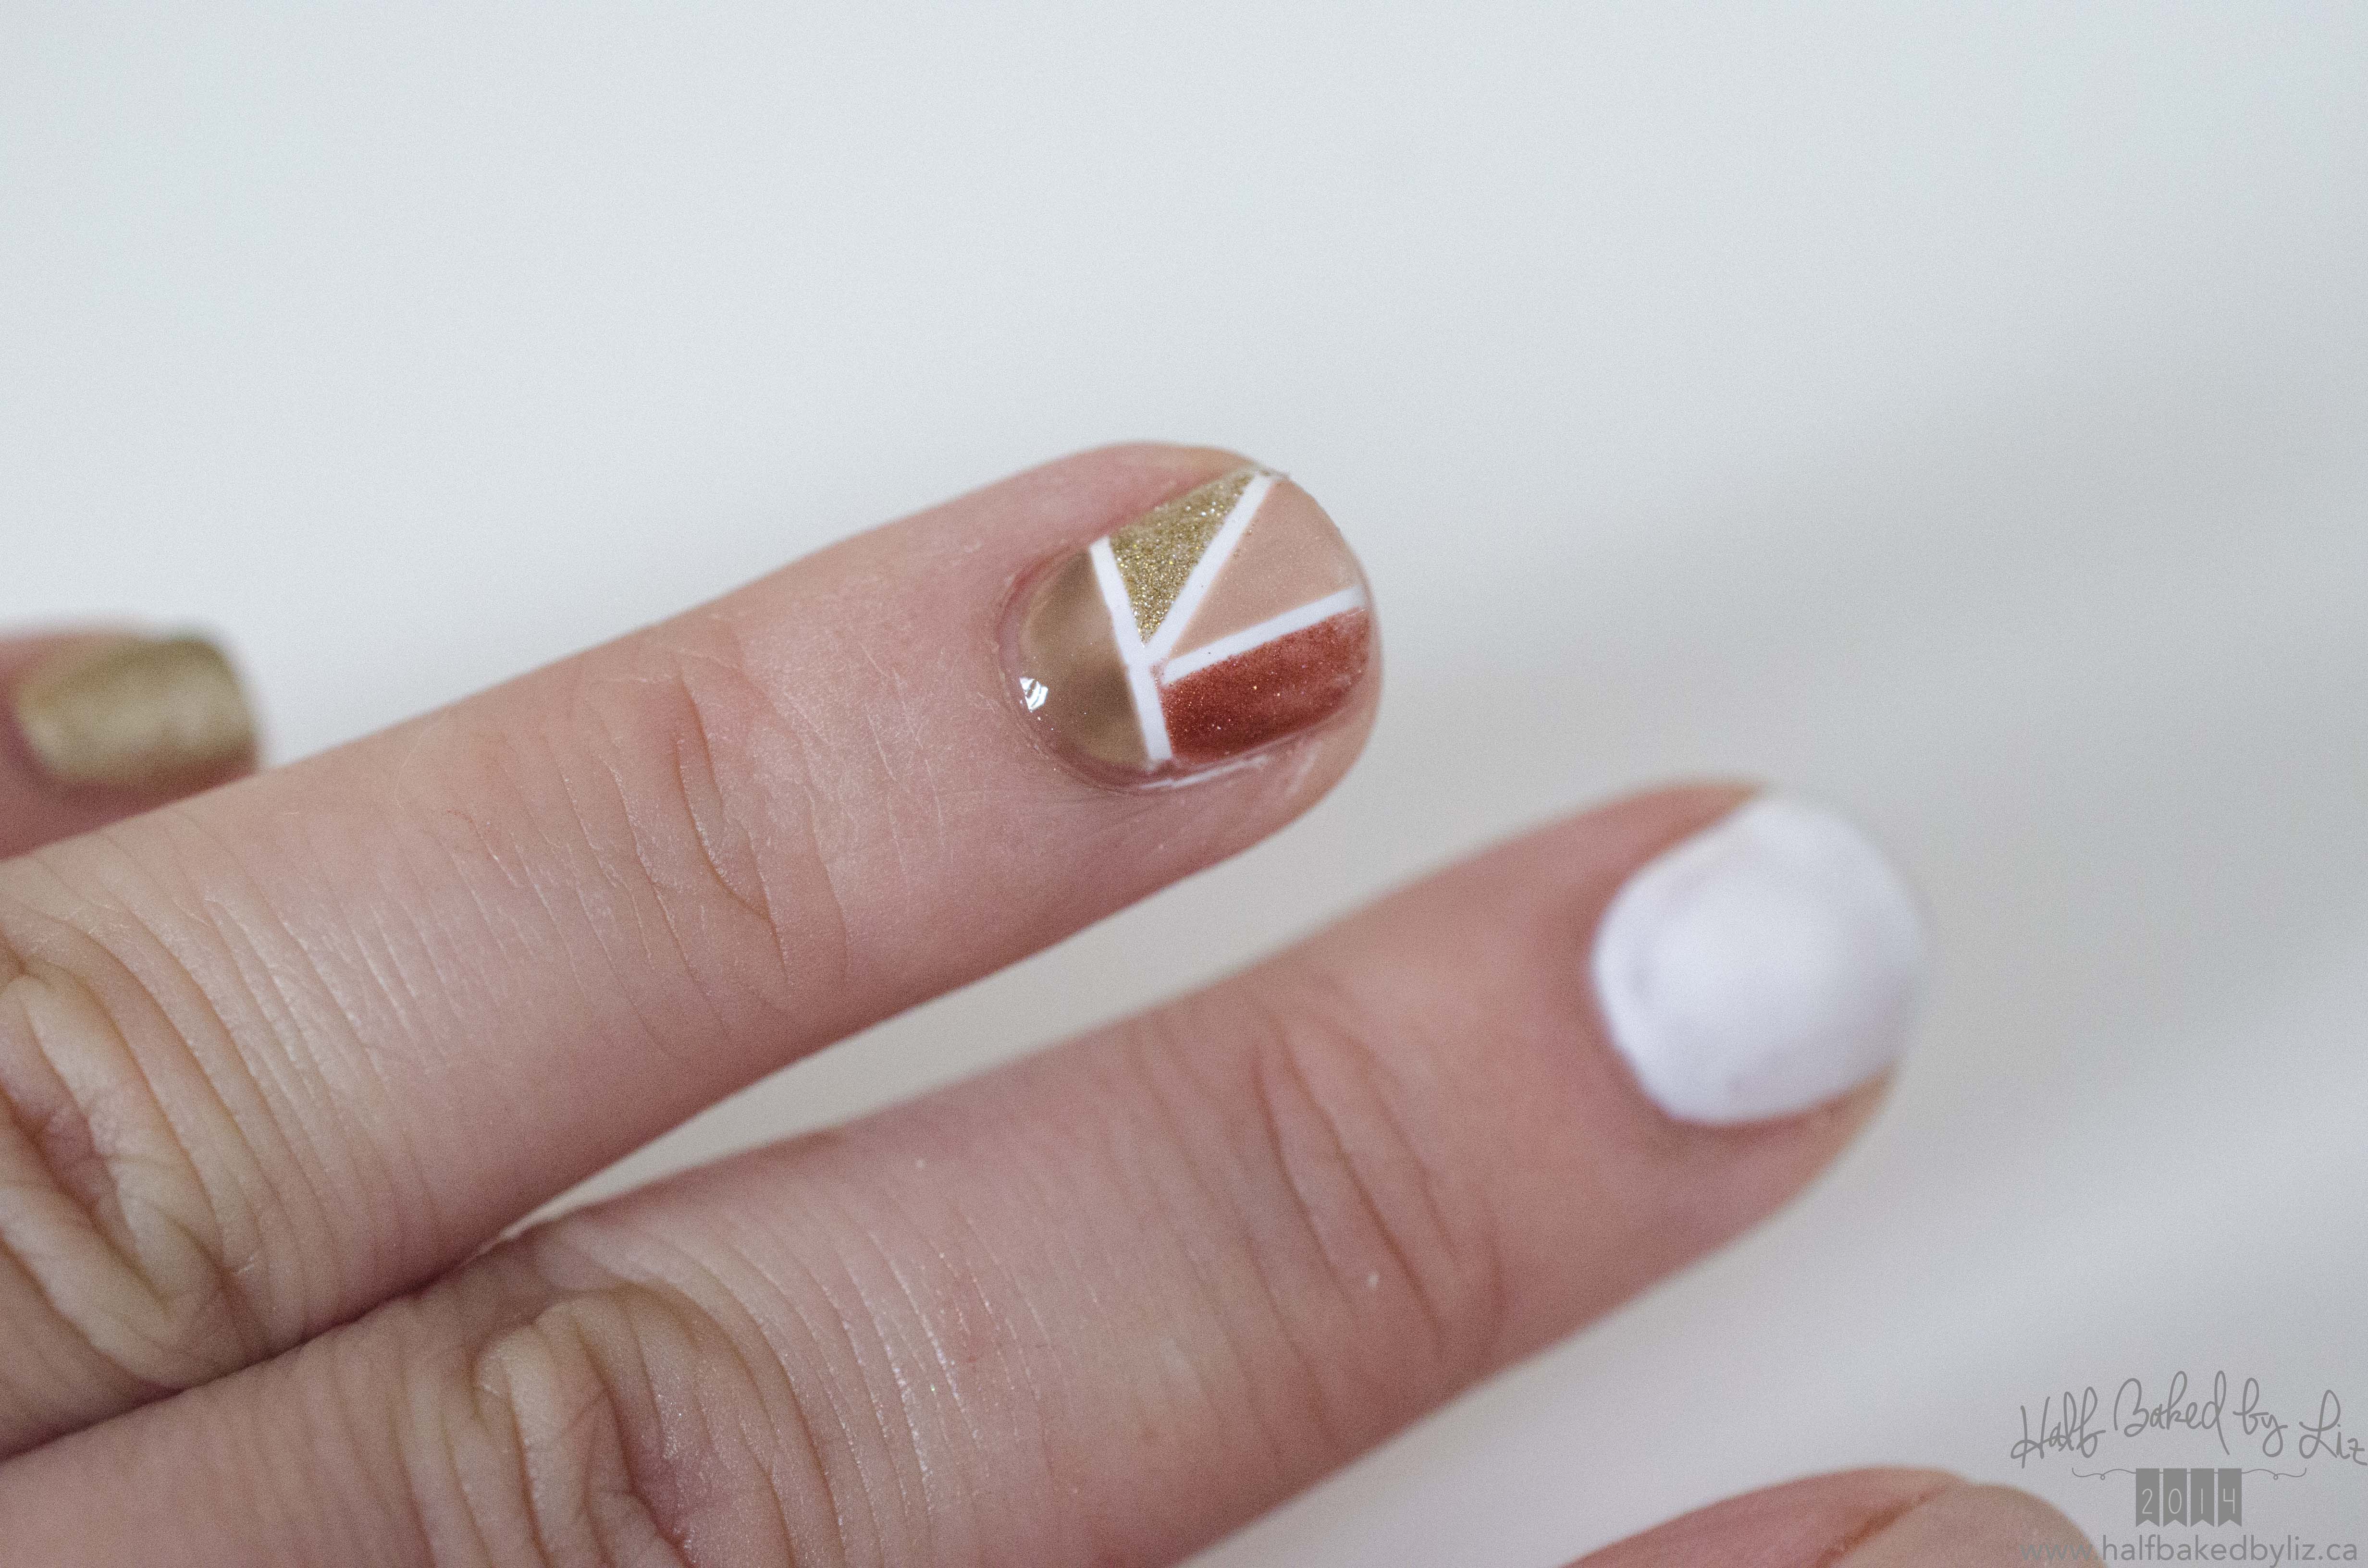
Since I used shellac, I wiped away the residue from my nails after curing the base colours, before applying the tape. If you’re using regular polish, just make sure it’s dry first. I used three pieces of tape per nail, each about an inch long, and placed them in a mosaic pattern on the nails with a white base colour. Make sure to press the tape onto your nails really well, and all the way to the edges.

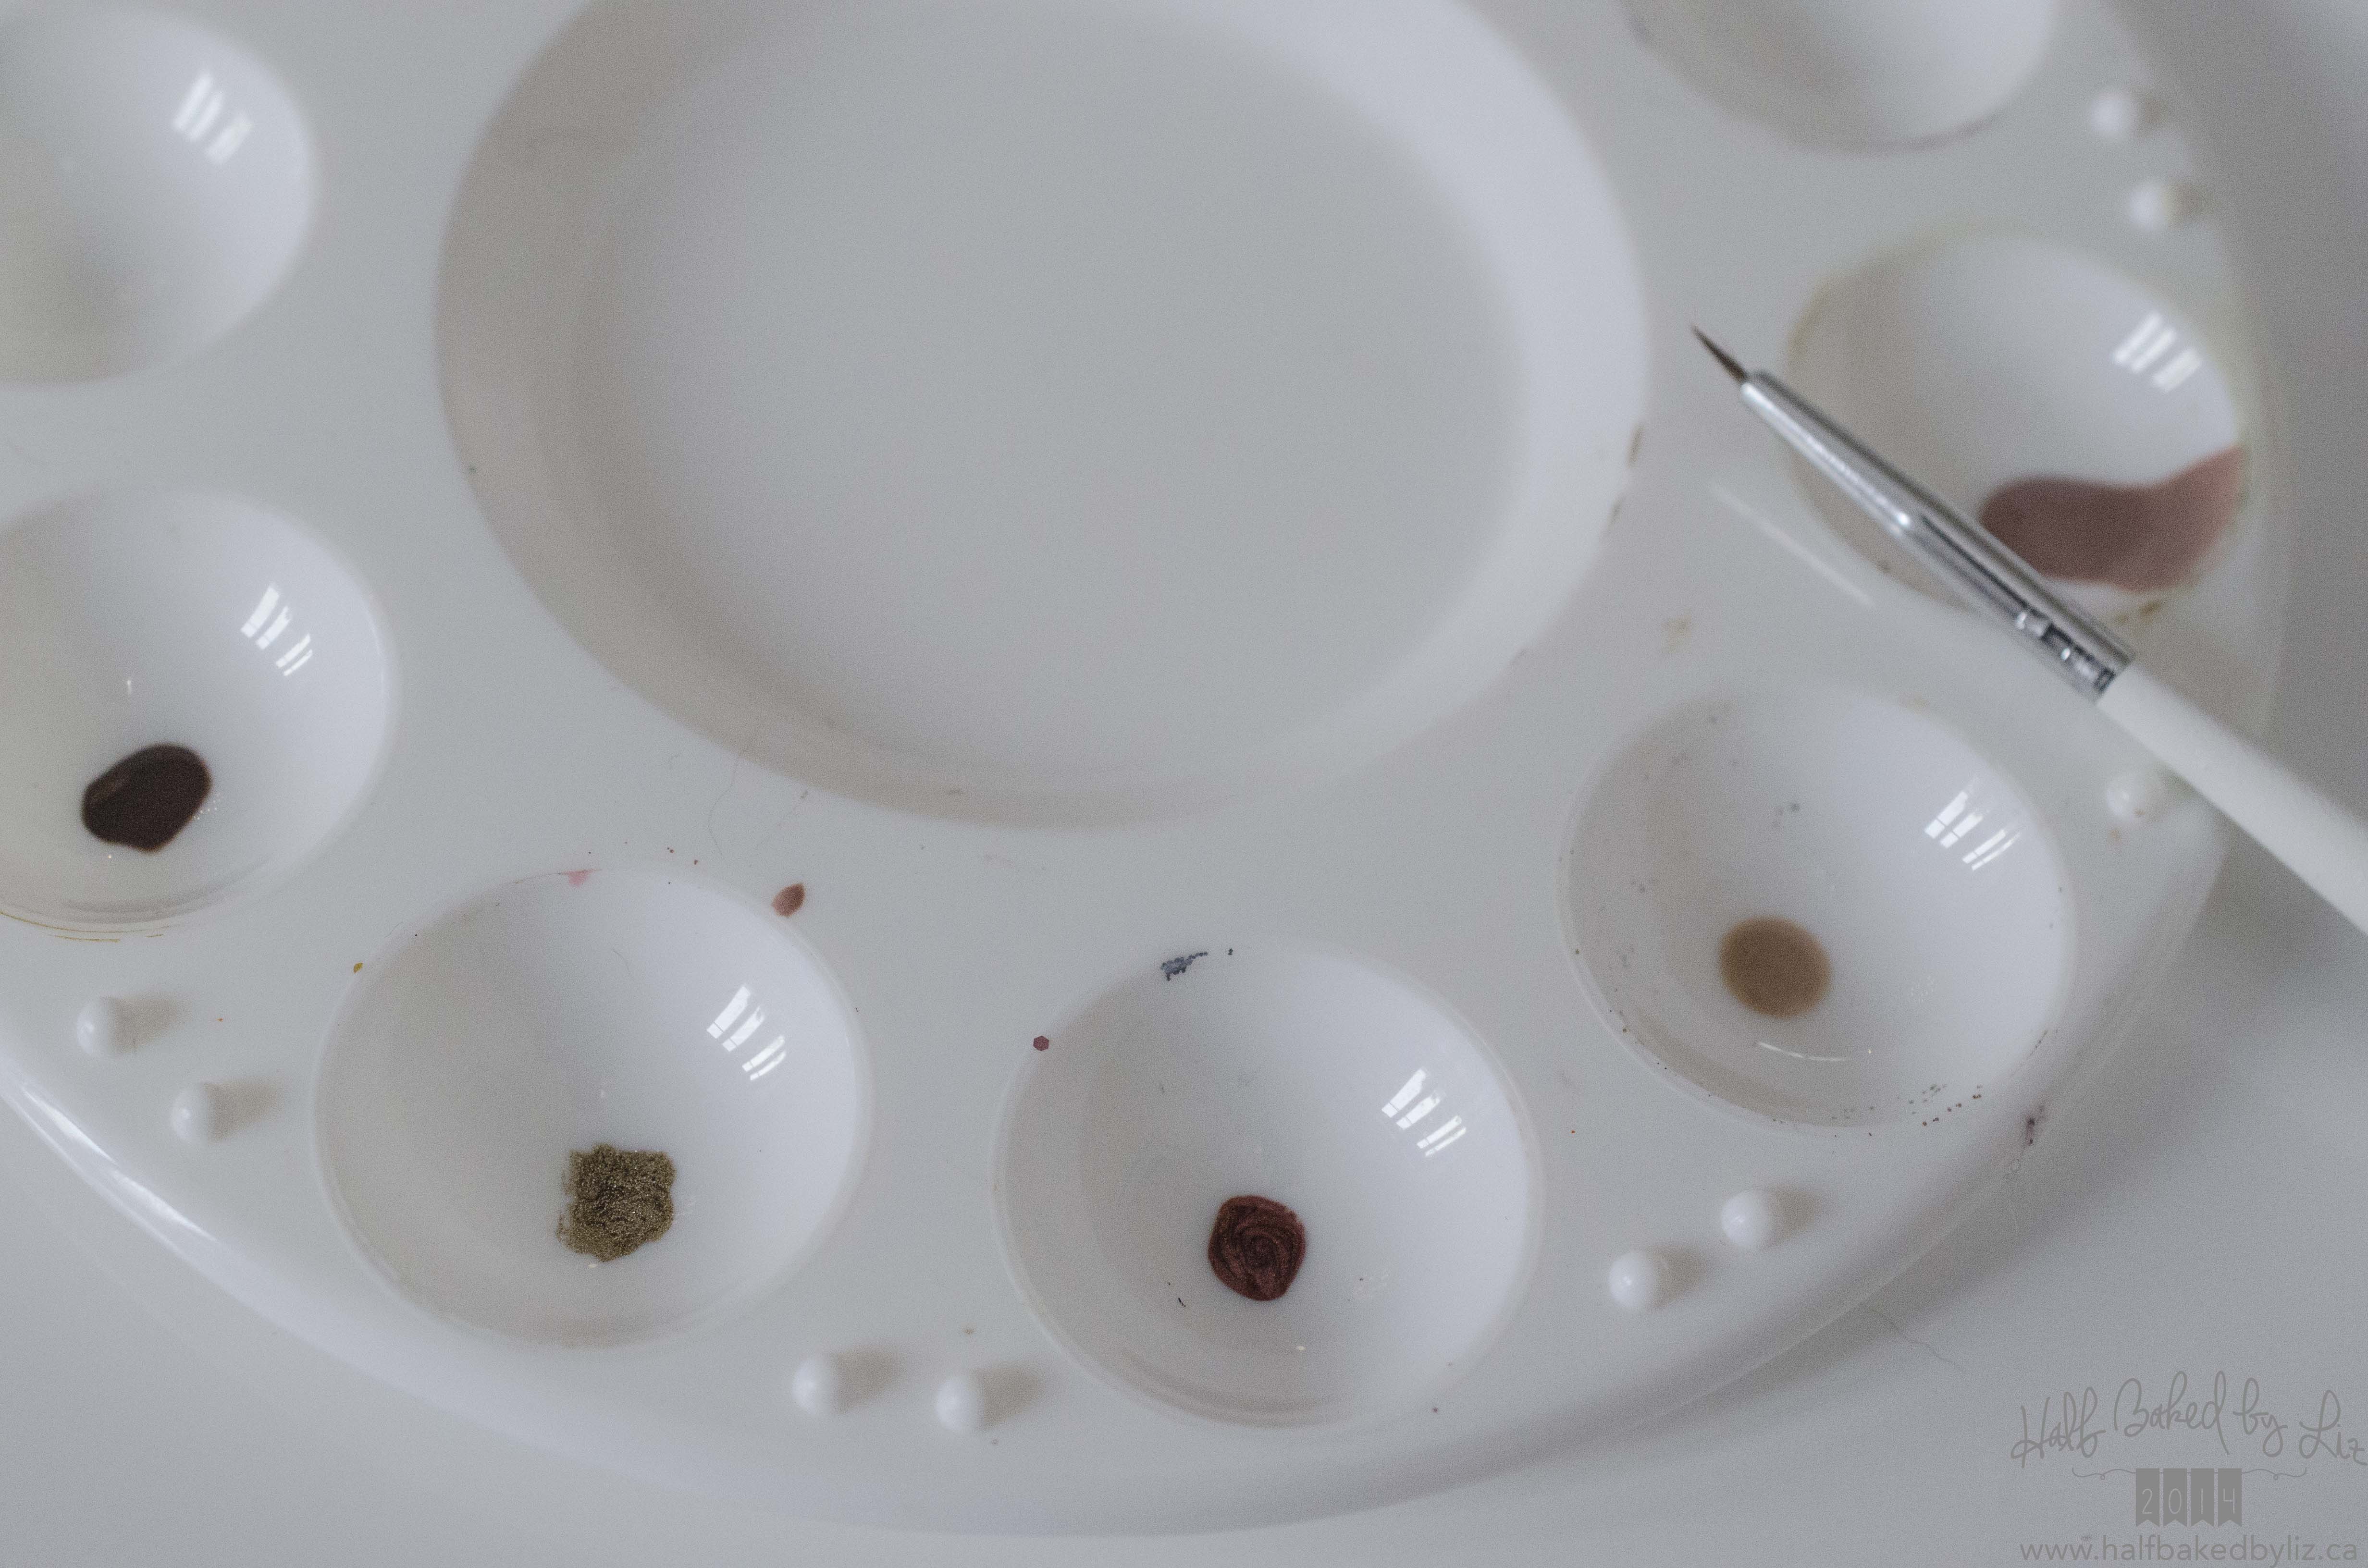
Be sure to have the colours that you want to use with the striping tape ready to go, along with a fine brush.
Then just carefully paint each of the colours between the pieces of tape, and immediately remove the tape. (Take each piece off in the opposite order of application.)
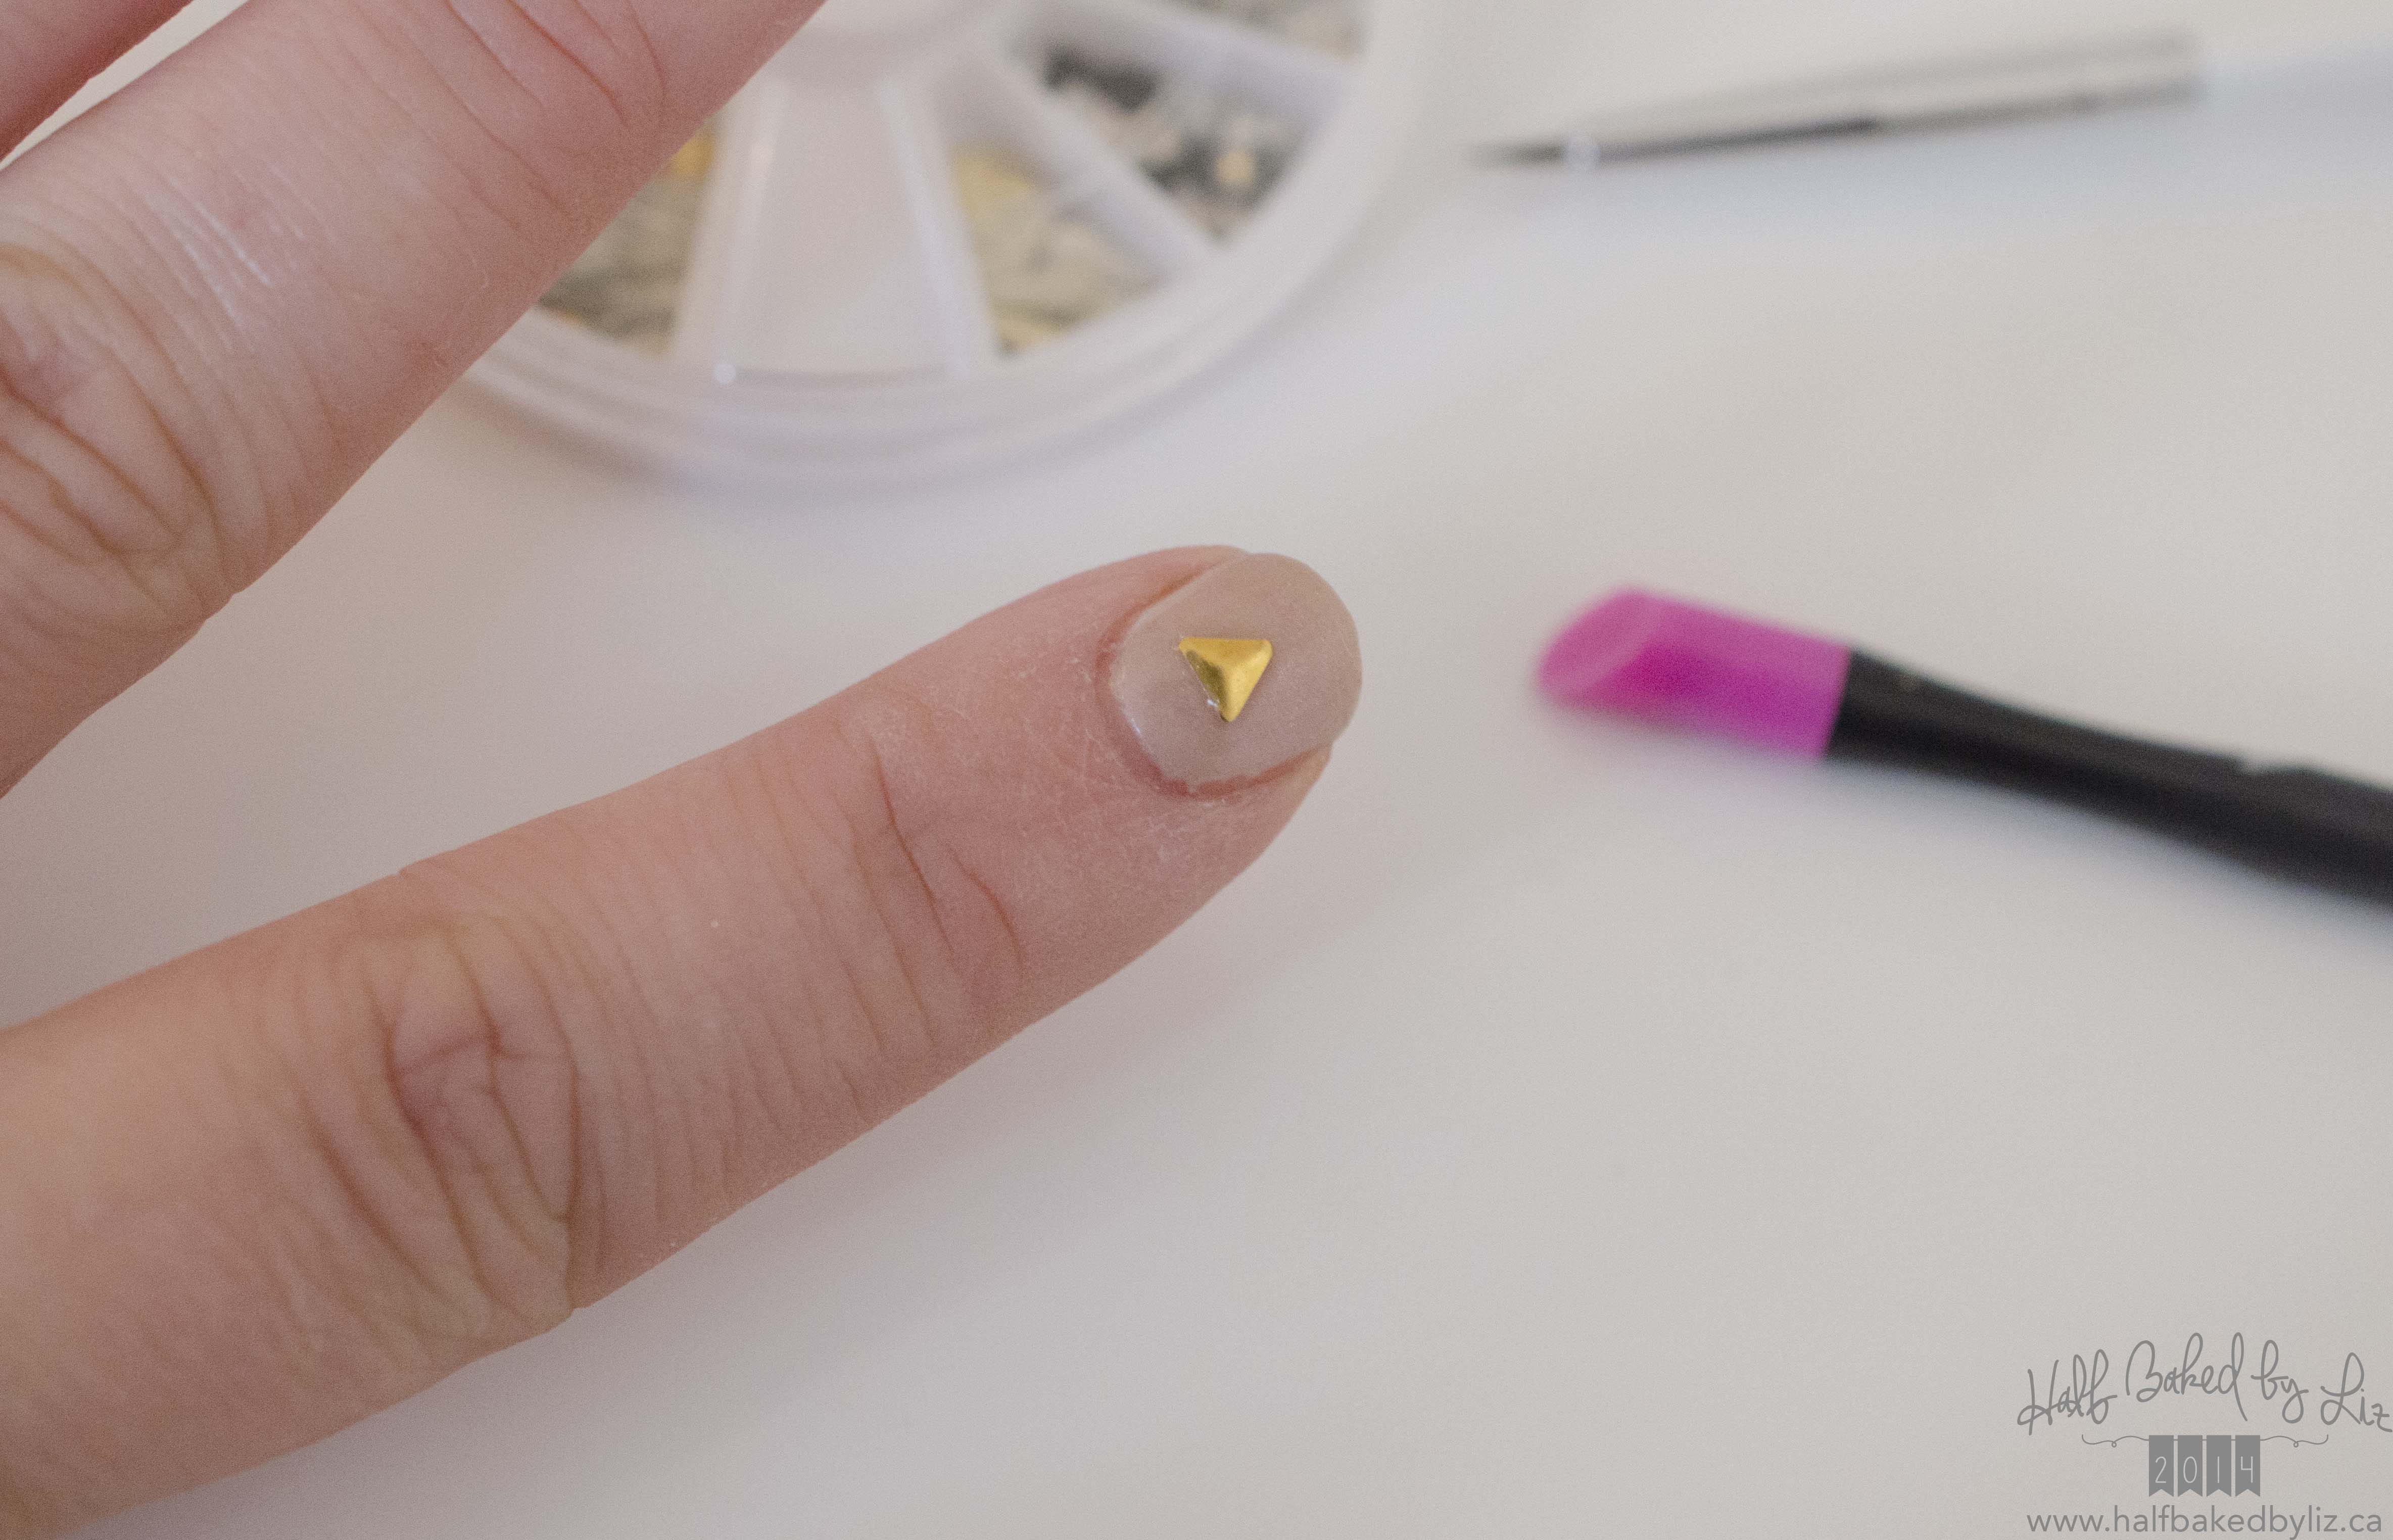
Finally, I added a small gold-coloured stud to my pointer fingers.
* To add a stud with shellac, I’ll first place a small dab of top coat on the nail, and place the stud into it. Cure this under the light briefly. Then paint around the edges of the stud with top coat, and cure again. Then apply the top coat as usual.
* To add a stud with regular polish, I’ll adhere it using nail glue, and then apply a top coat as usual.
Apply a top coat to each nail, and you’re done.
Love these!


