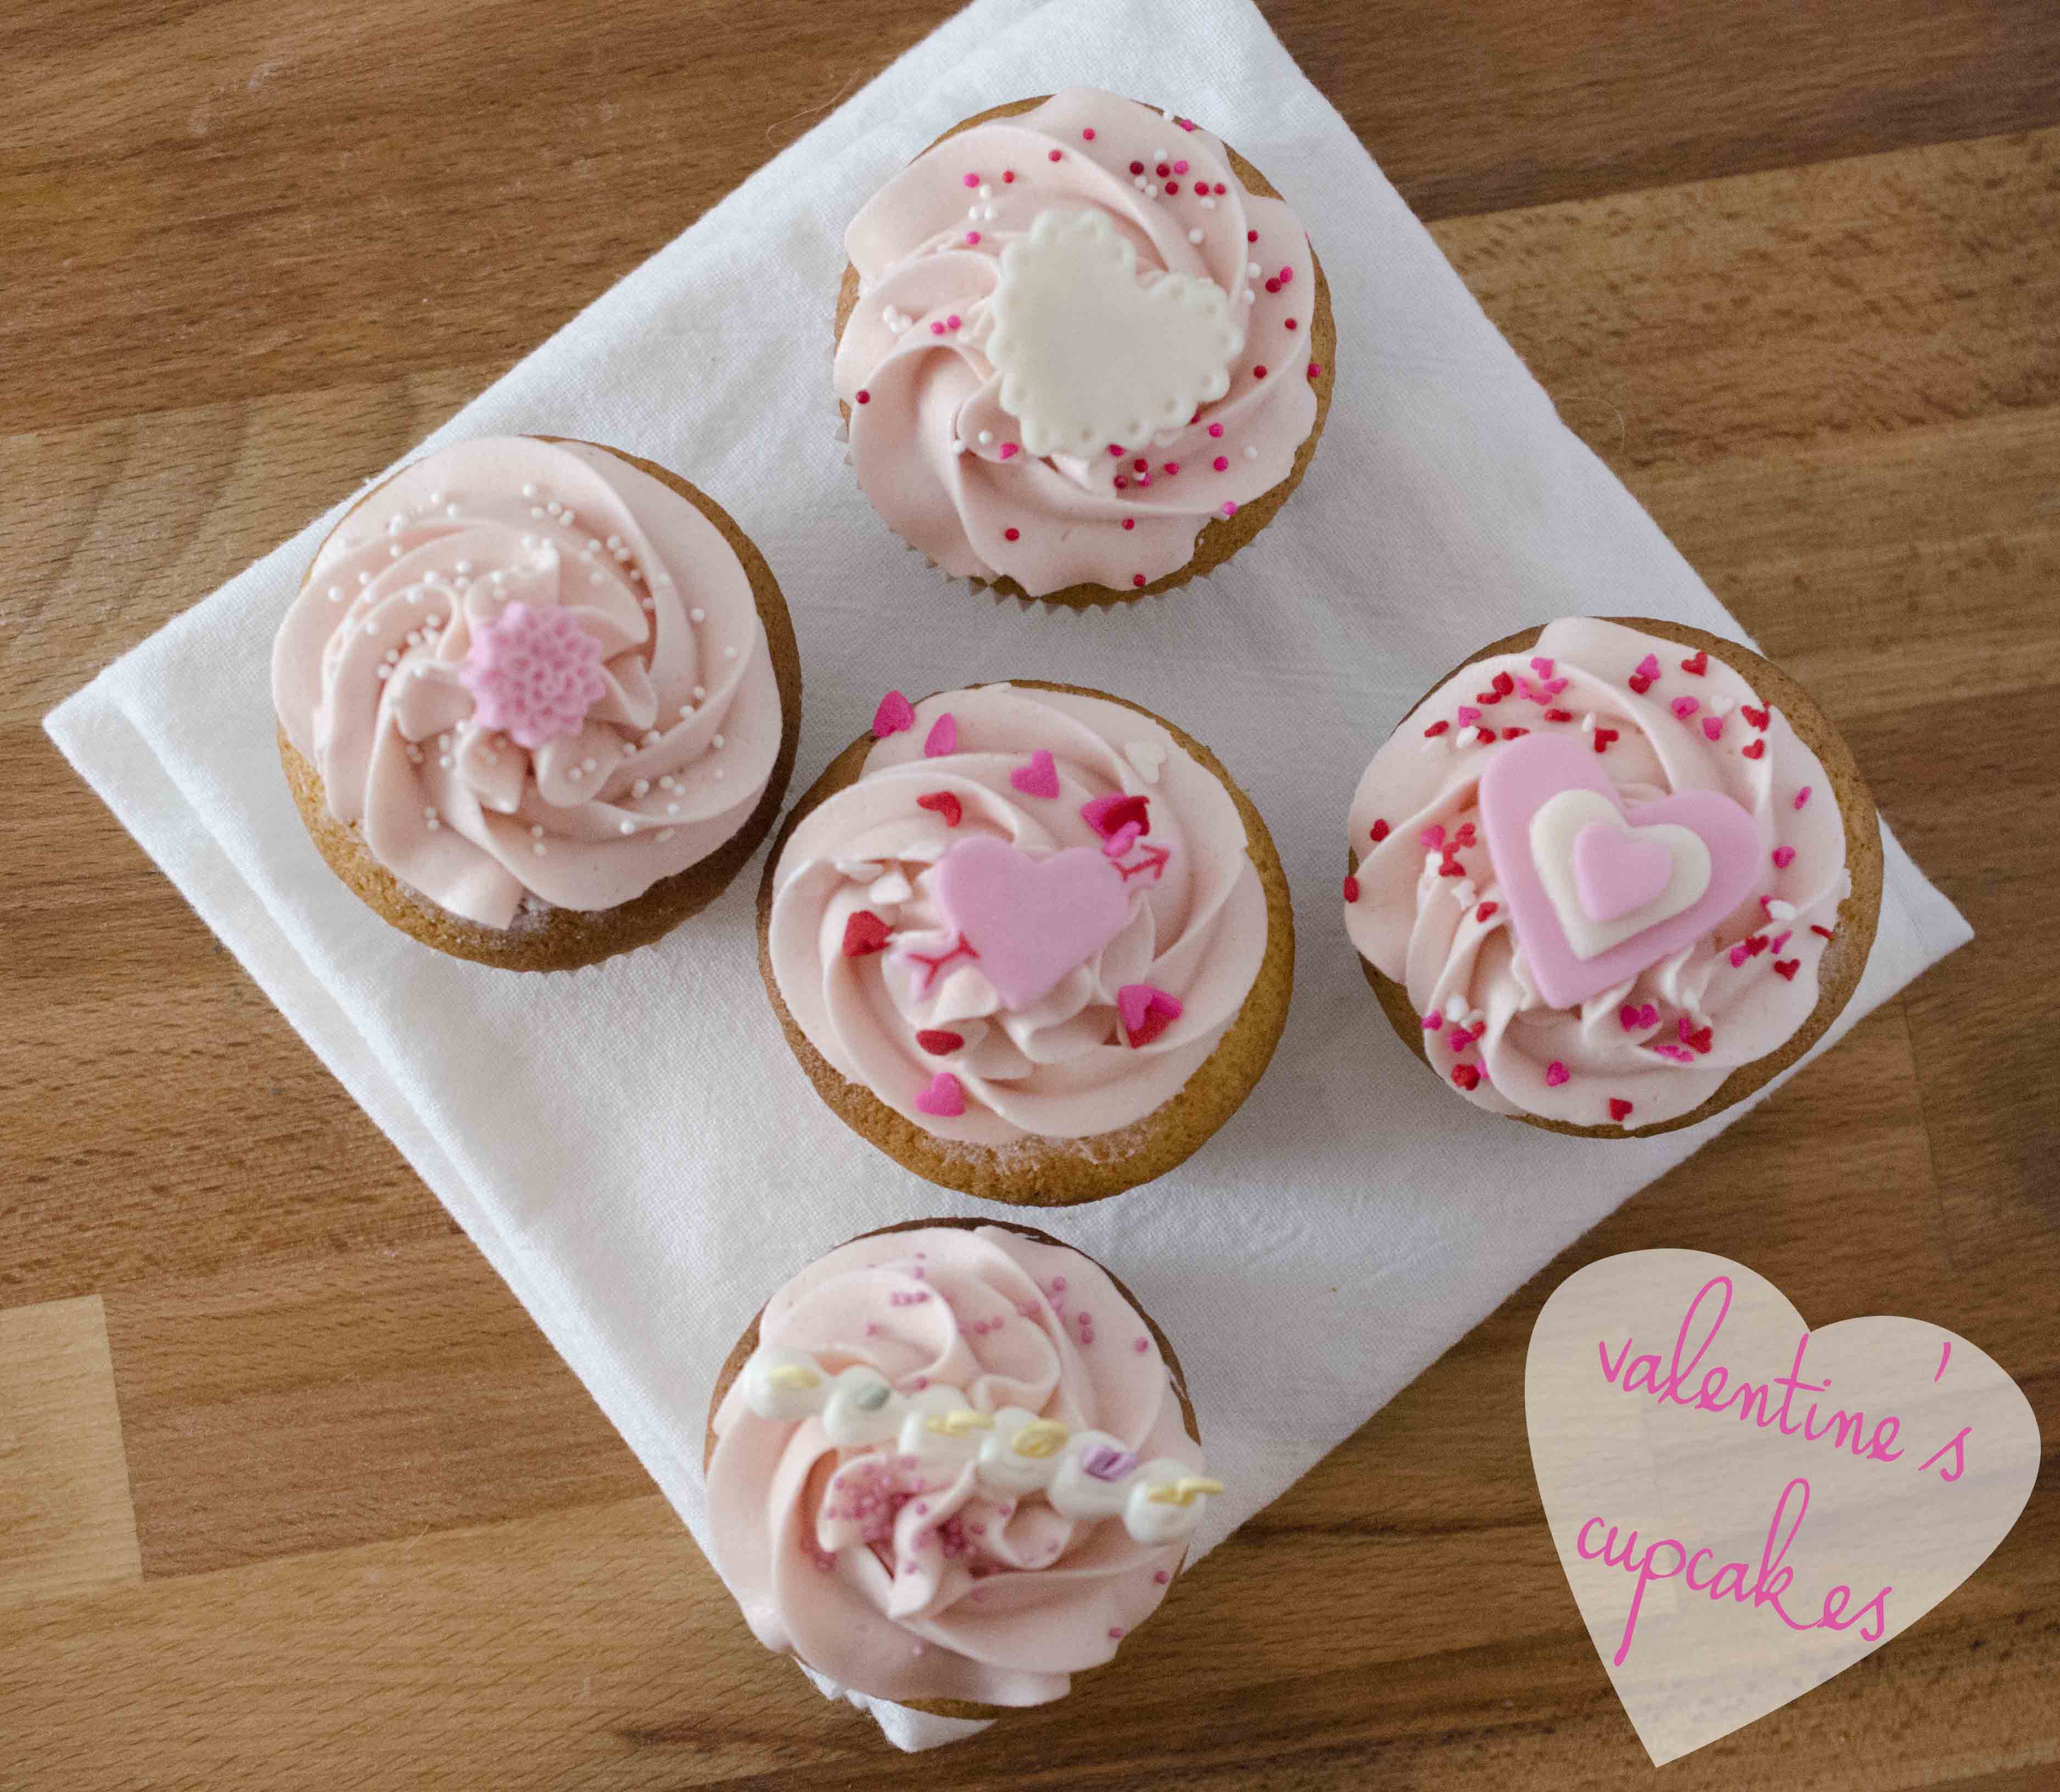
Since Saturday is Valentine’s Day, I thought it was high-time for some themed cupcakes :) So, I made vanilla cupcakes with raspberry frosting… and I had a bit of a hard time deciding how to decorate them, so I went with five different designs! Here are the recipes, and how I made the decos.
INGREIDENTS
makes ~18 cupcakes
235 g flour
2 ½ teaspoons baking powder
1/2 teaspoon salt
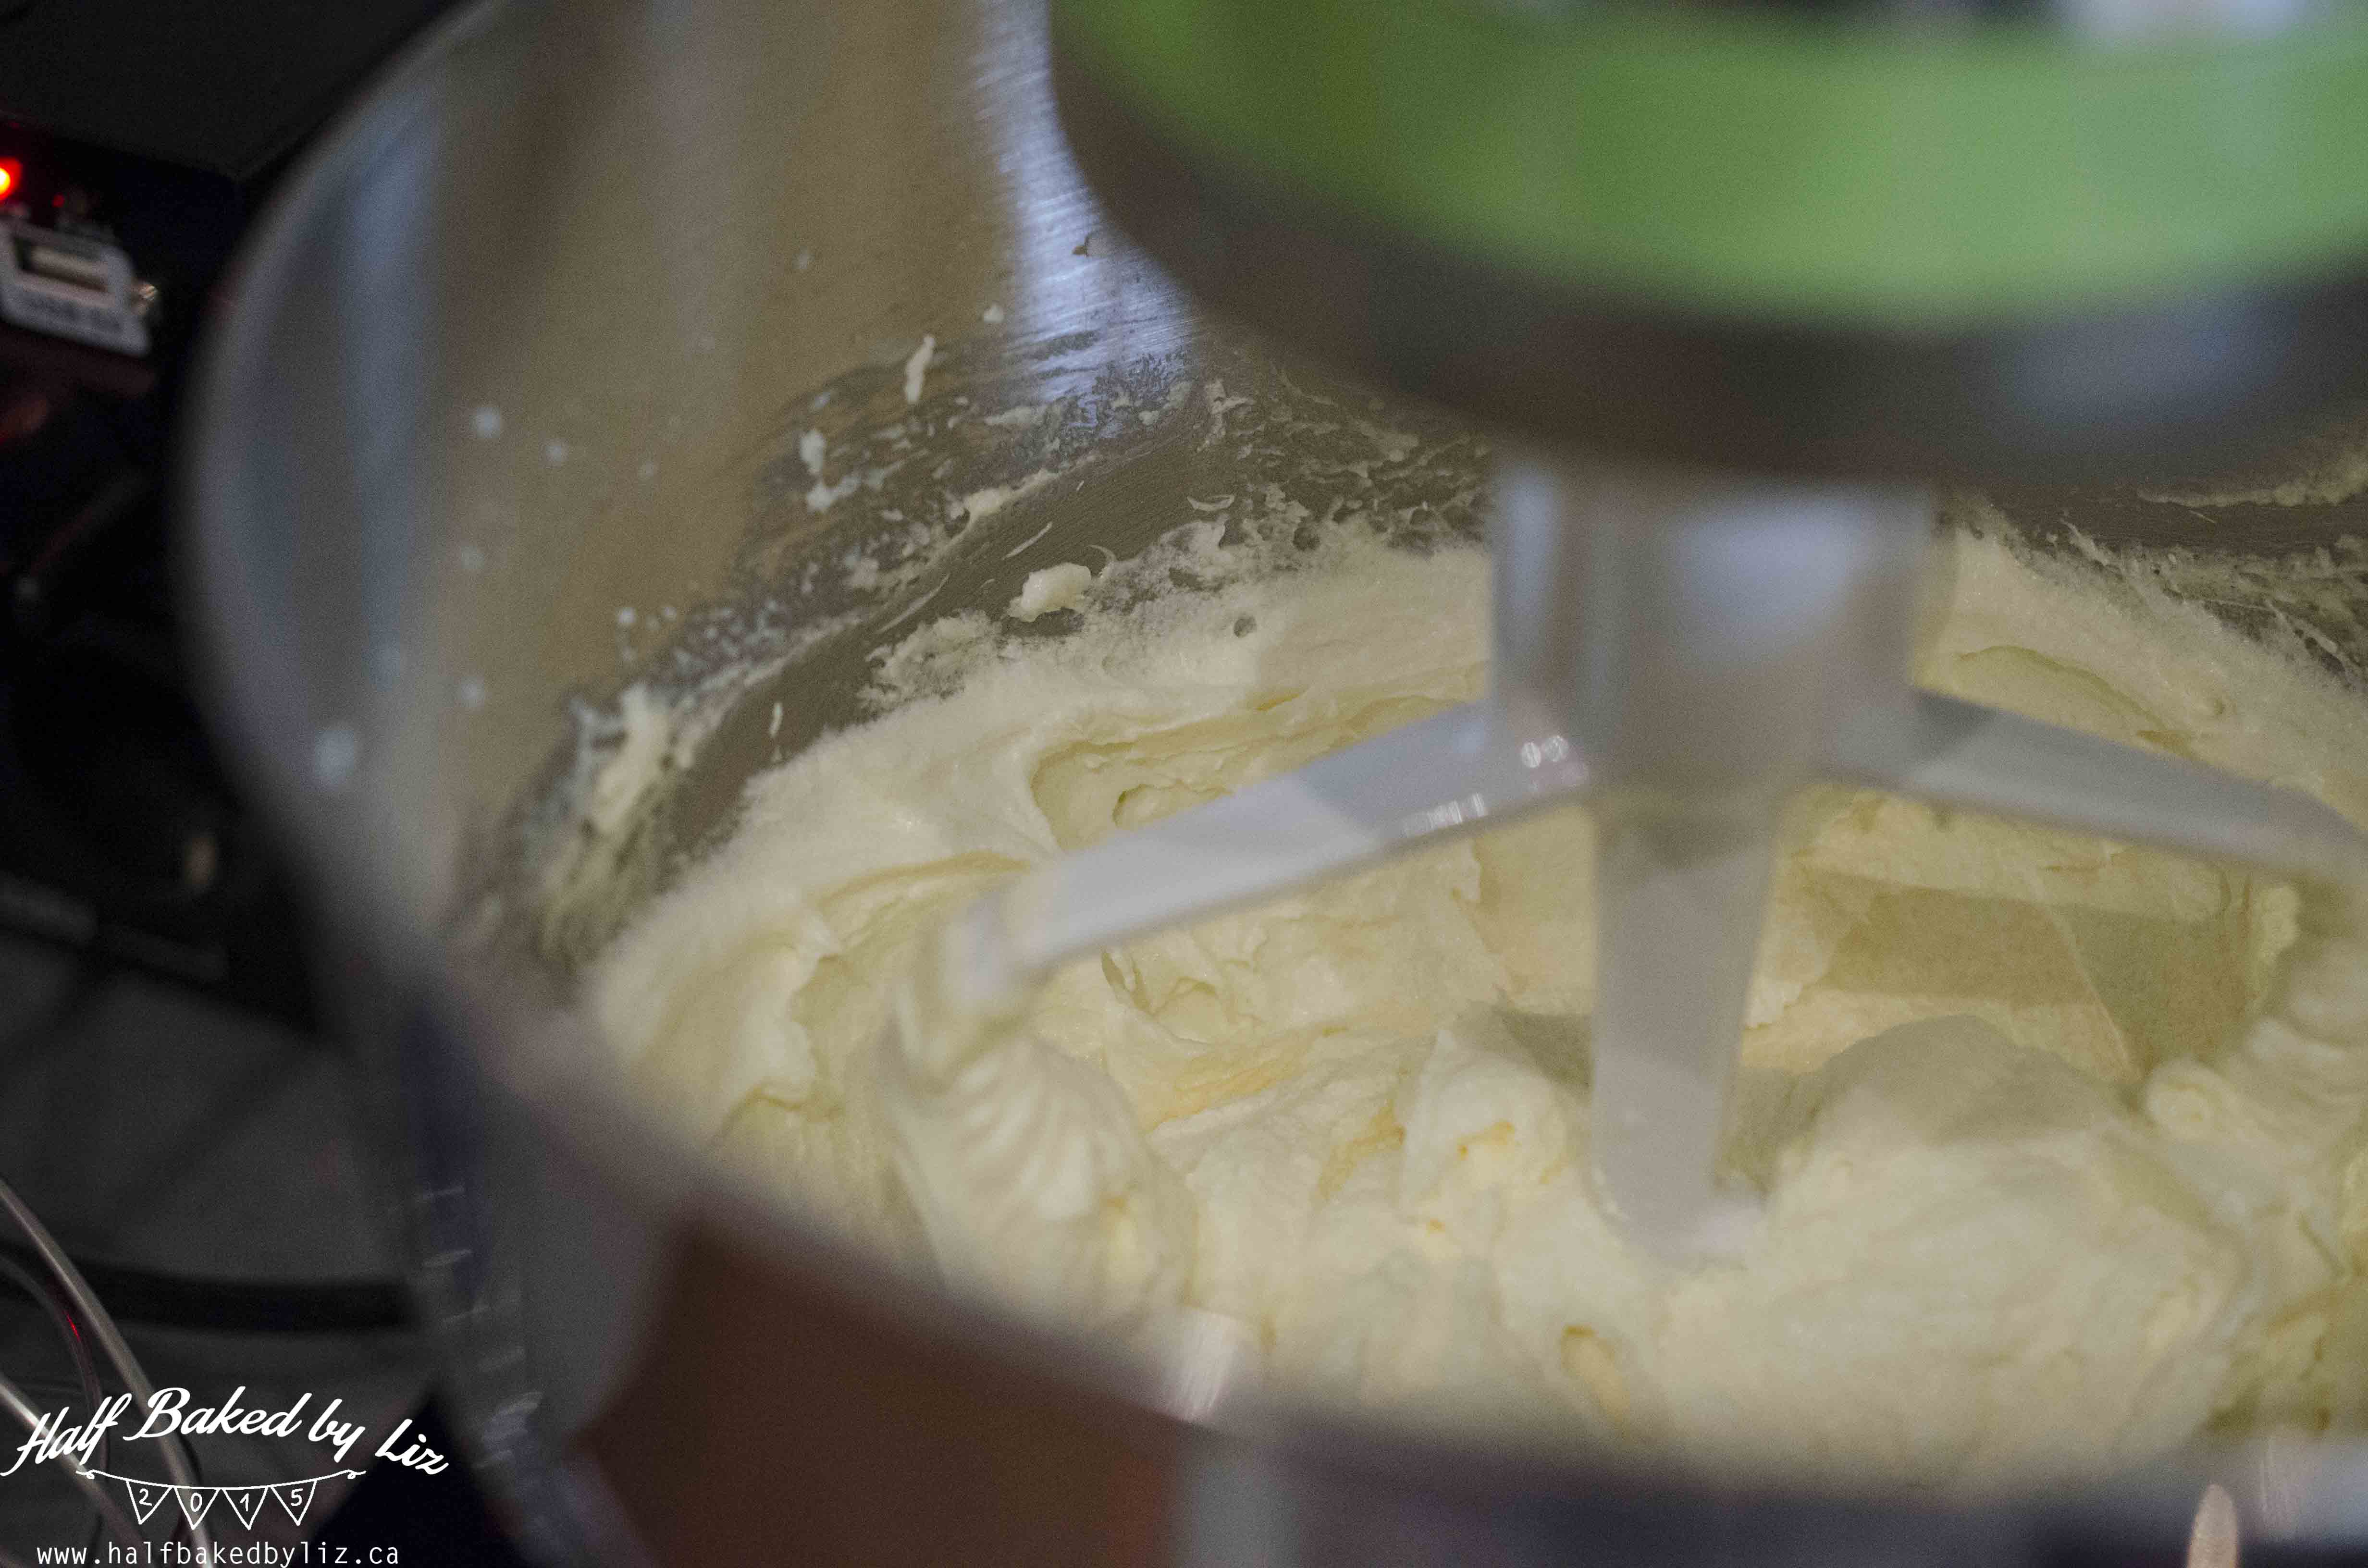
125 g unsalted butter, room temperature
250 g sugar
3 eggs, room temperature
1 tablespoon vanilla
200 mL milk, room temperature
1 teaspoon lemon juice
for the frosting;
250 g unsalted butter, room temperature
300 g icing sugar
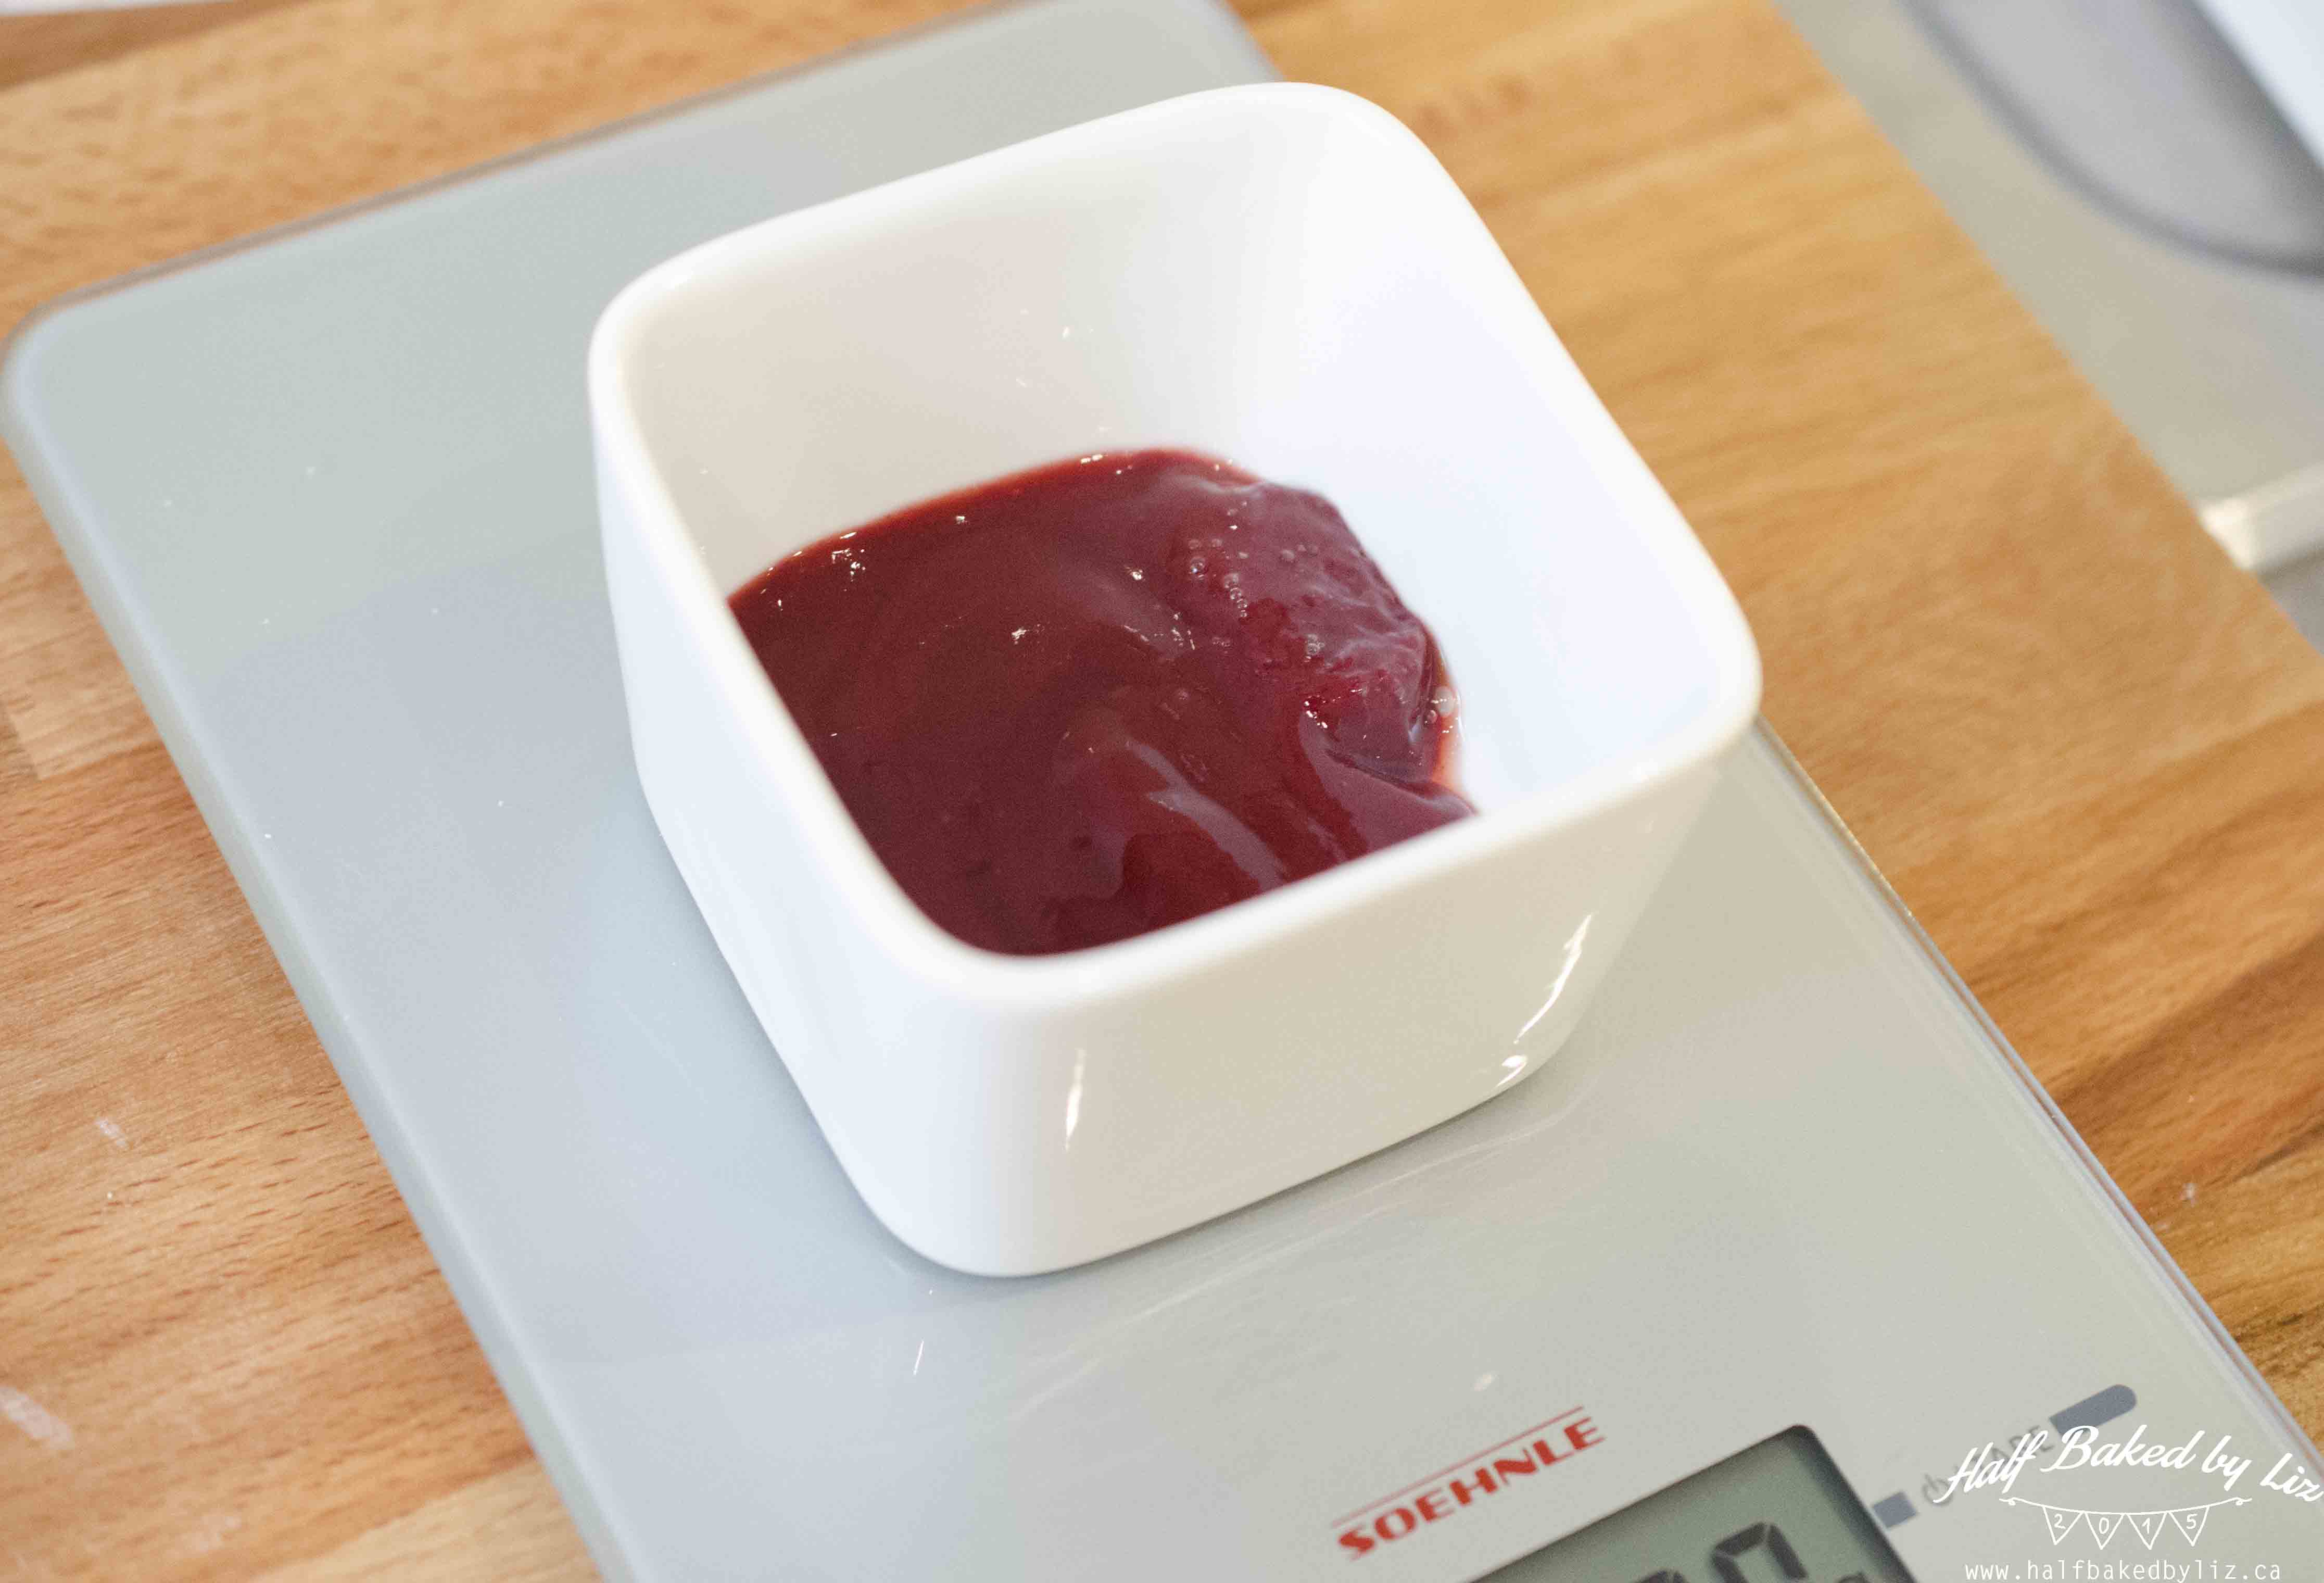
25 g raspberry sauce
DIRECTIONS
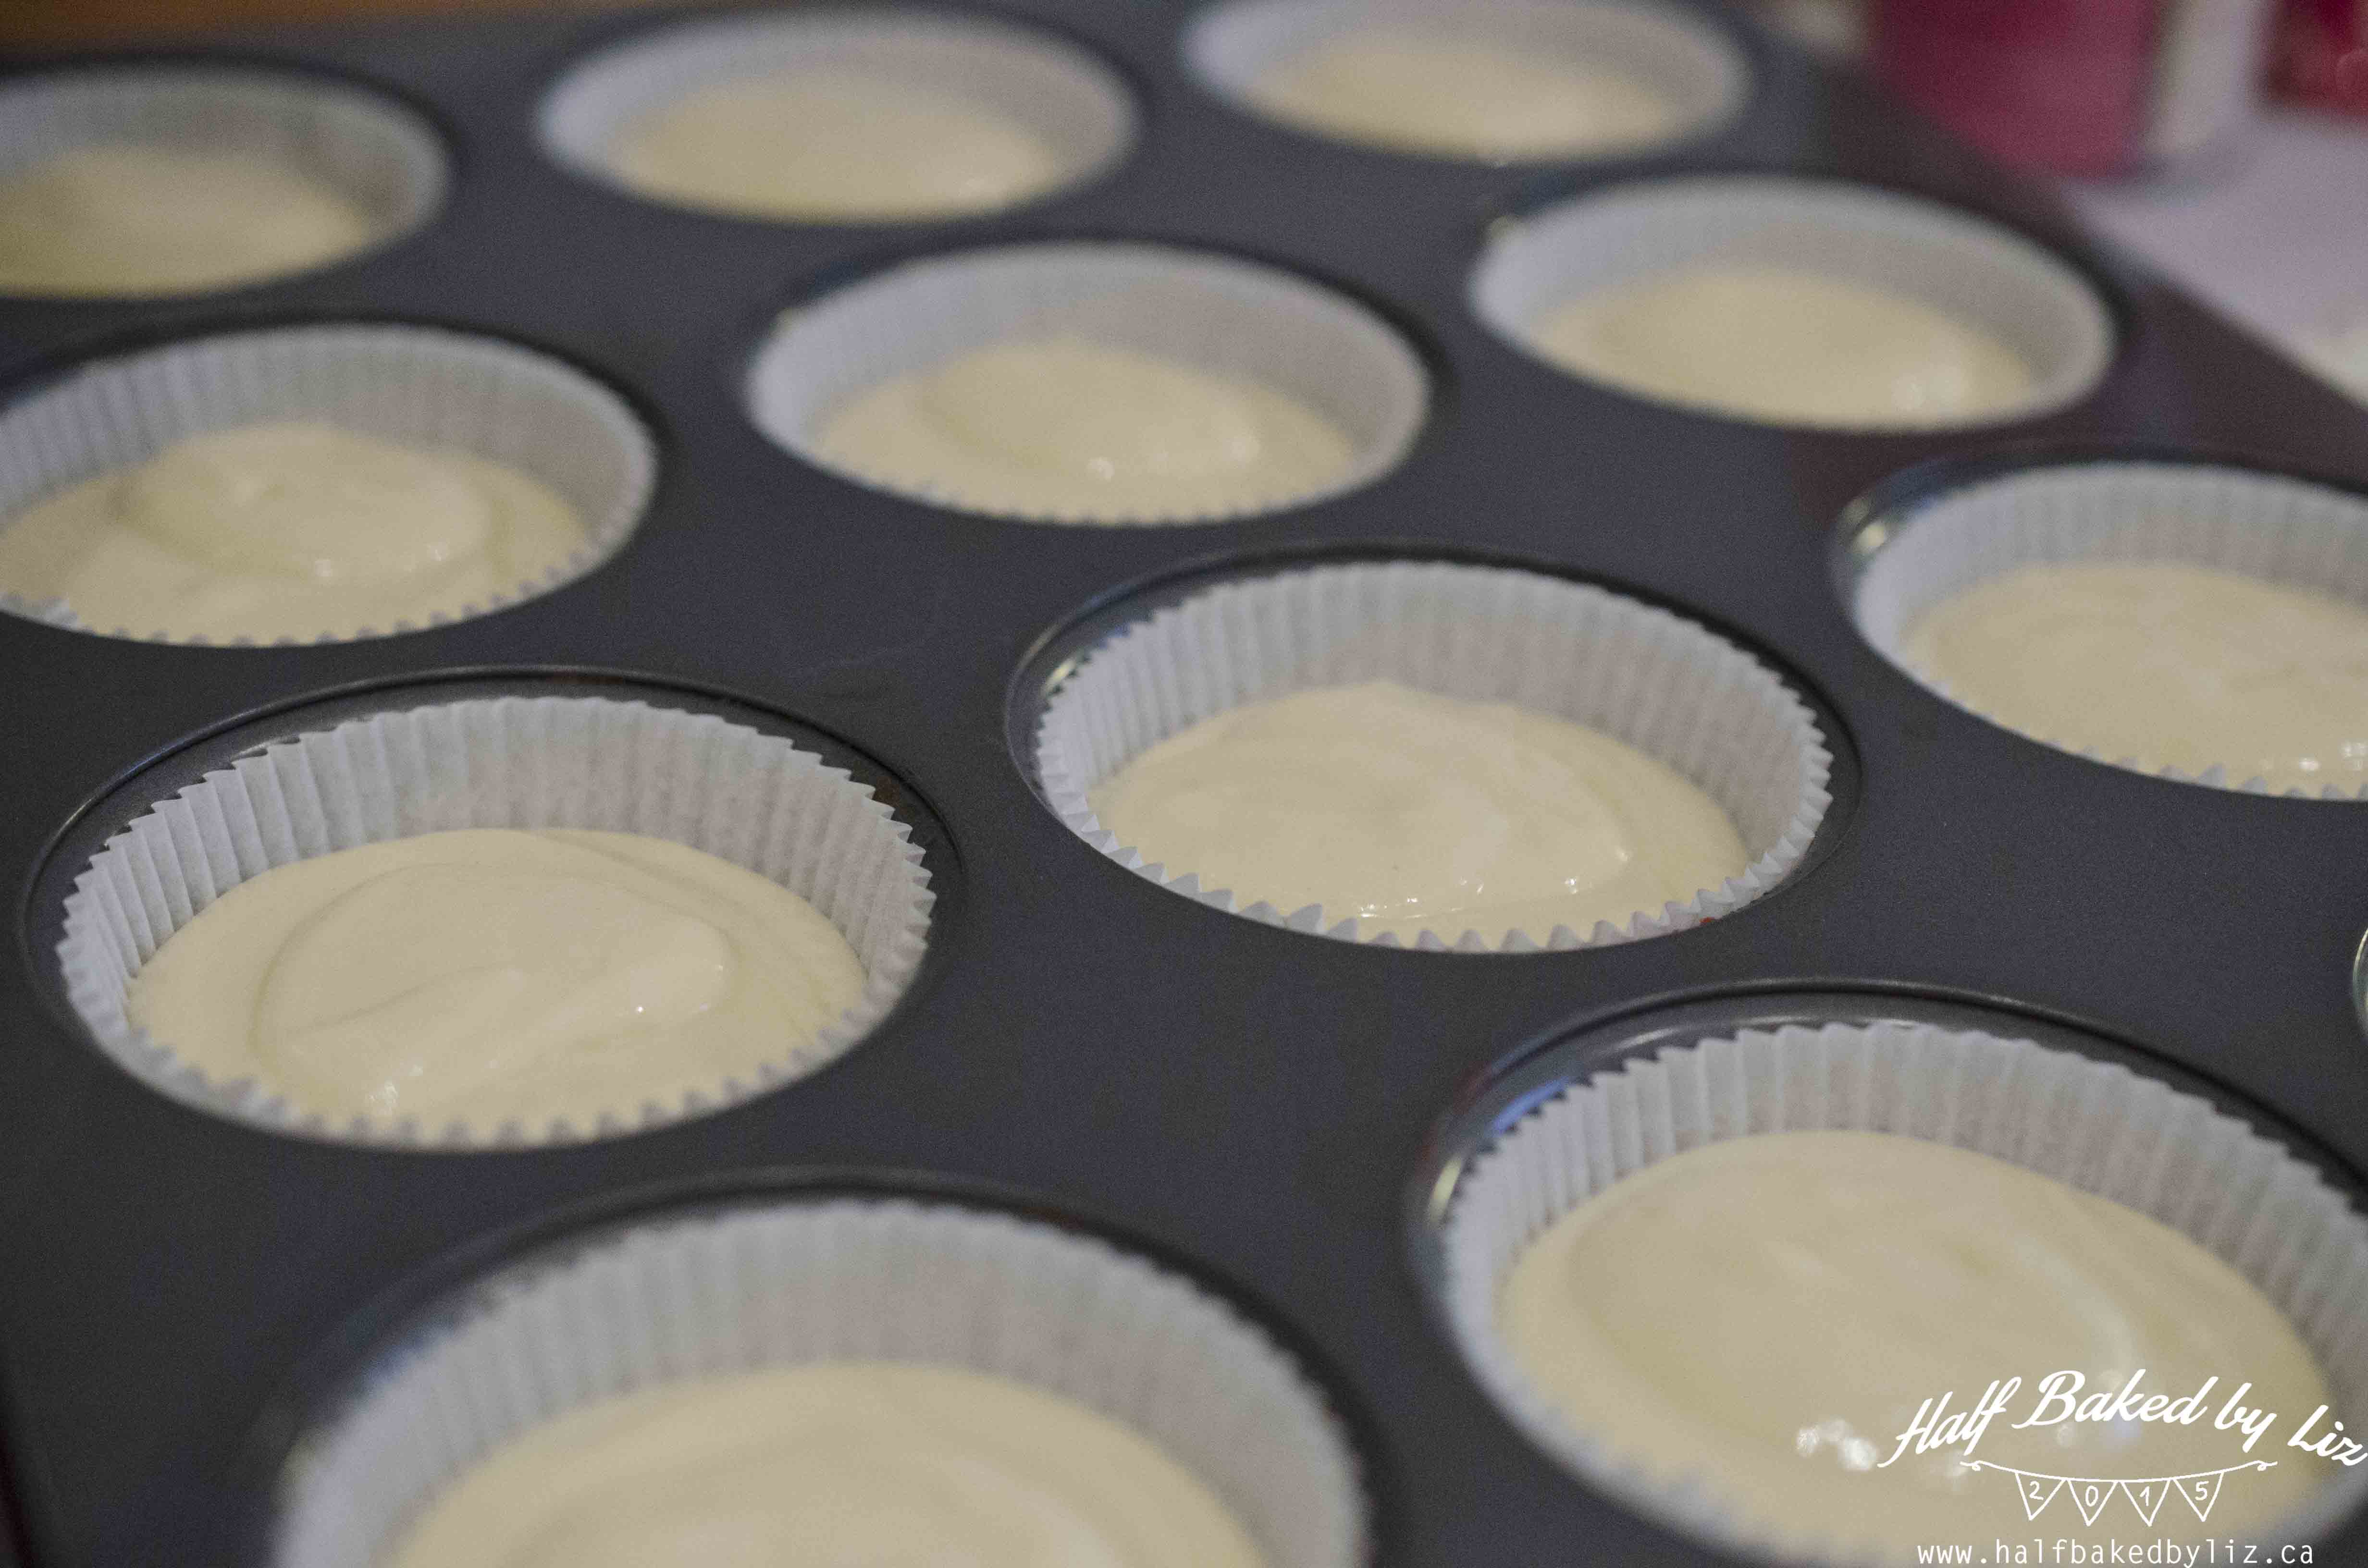
Prepare muffin tins with liners, and preheat your oven to 180C (350F).

Combine the flour, baking powder, and salt in a small bowl, and set aside.
Add the butter and sugar to the bowl of an electric mixer, and mix on medium speed for a minute or two. Add the eggs, one at a time, and beat on high speed until light and fluffy. Add the vanilla slowly while mixing, and beat for another minute or two.

Mix the milk and lemon juice together. Alternate adding the dry ingredients and the milk to the butter-egg mixture, mixing only on low speed. Add the batter to the prepared tins, and bake for 15 to 18 minutes, until golden brown and done to the touch. Allow the cupcakes to cool completely on a cooling rack before frosting.
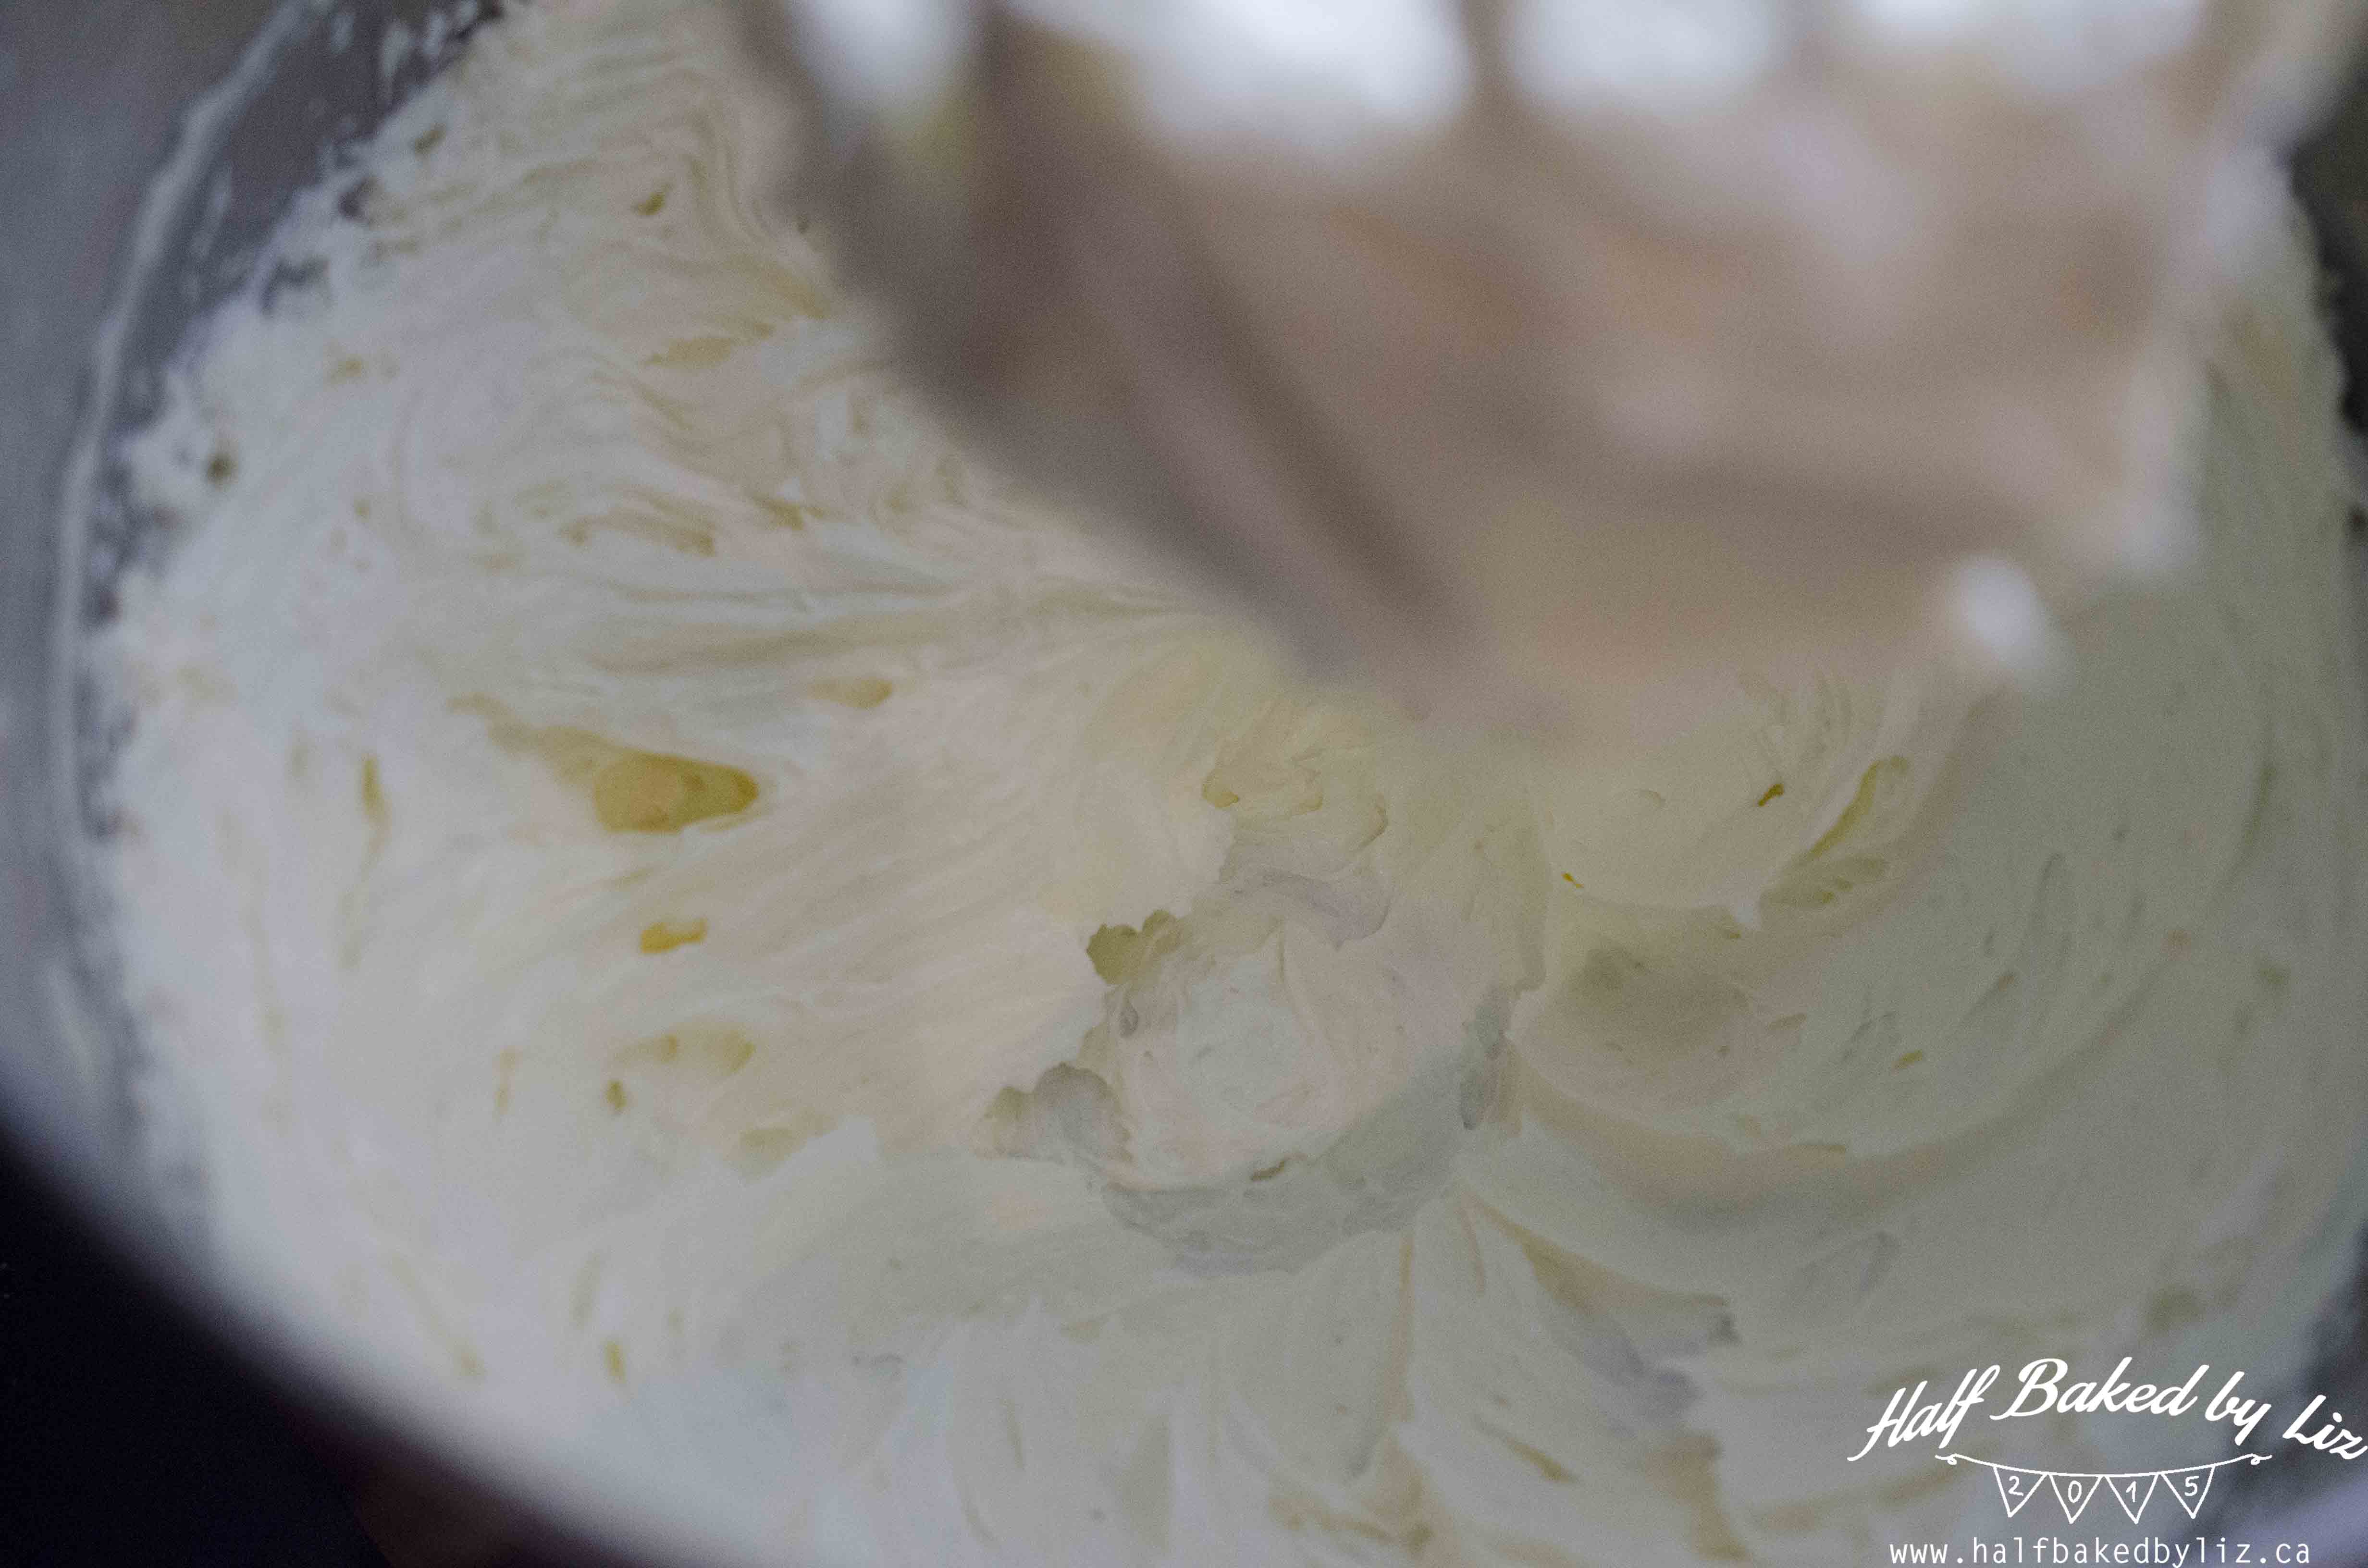
Prepare the frosting;
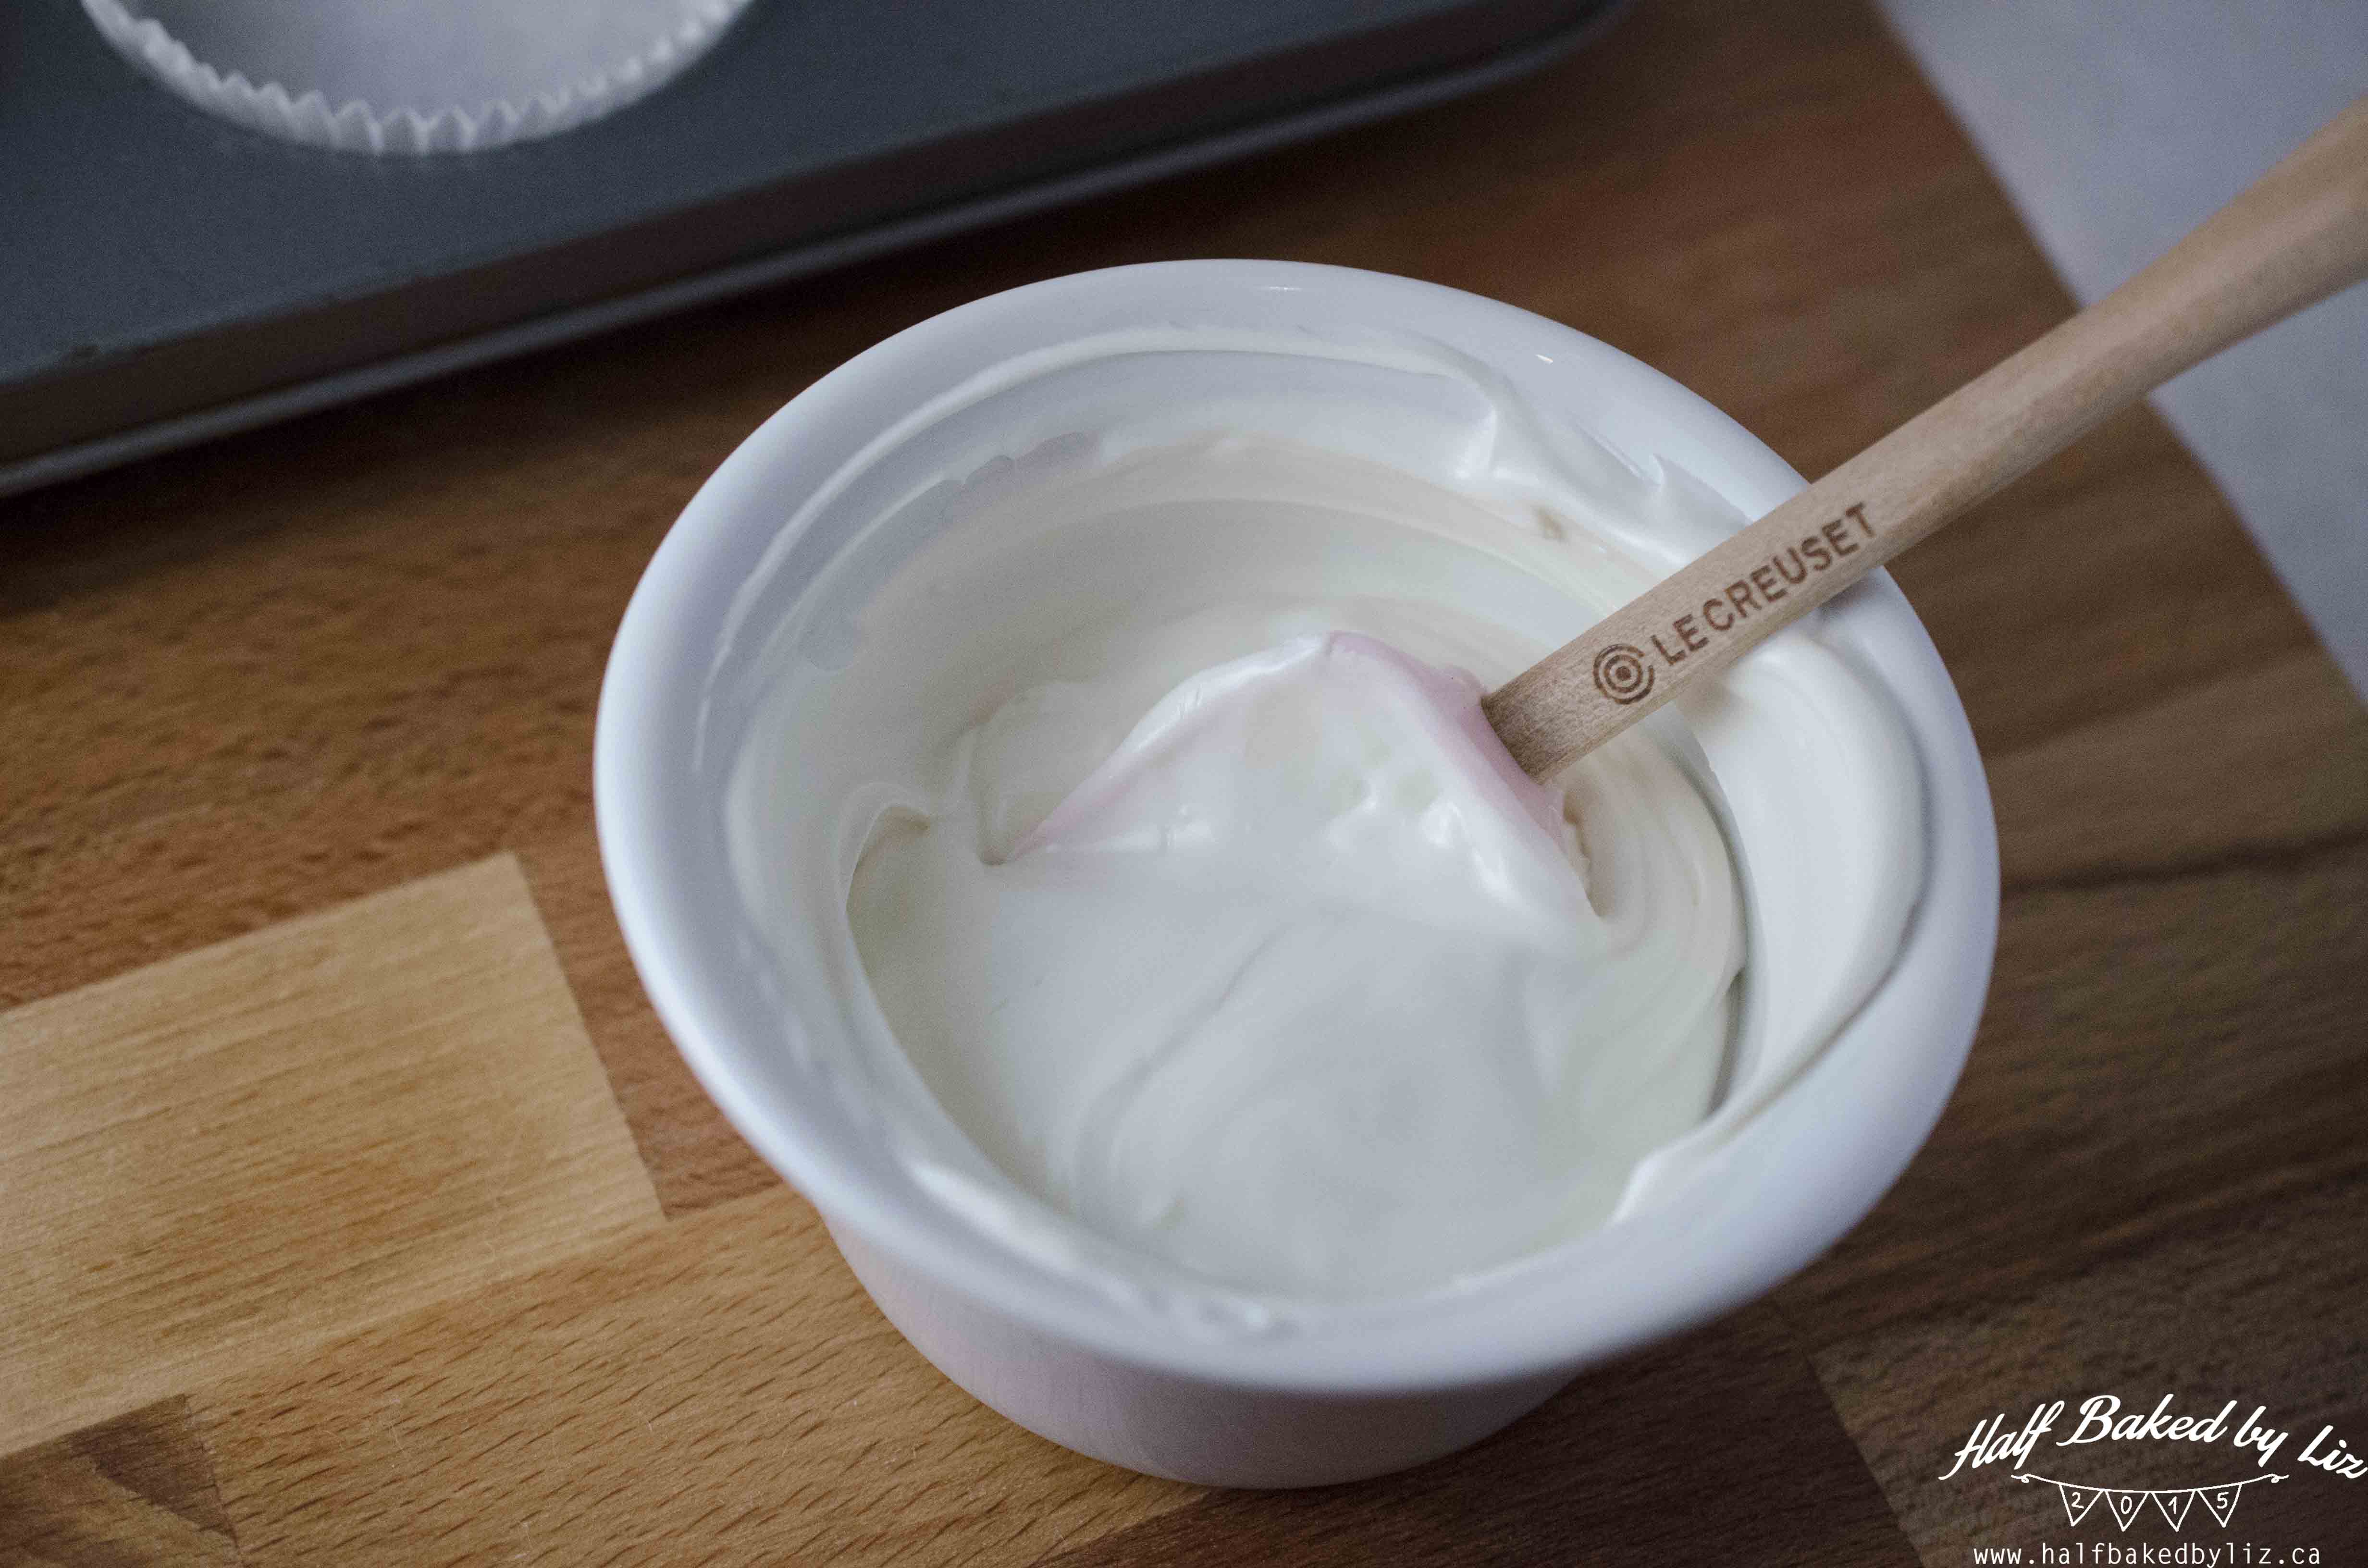
Add the butter to the bowl of an electric mixer, and beat on high speed for a minute. Add the icing sugar, and beat on high speed until fluffy and pale. Add the raspberry sauce, and beat again for another few minutes.
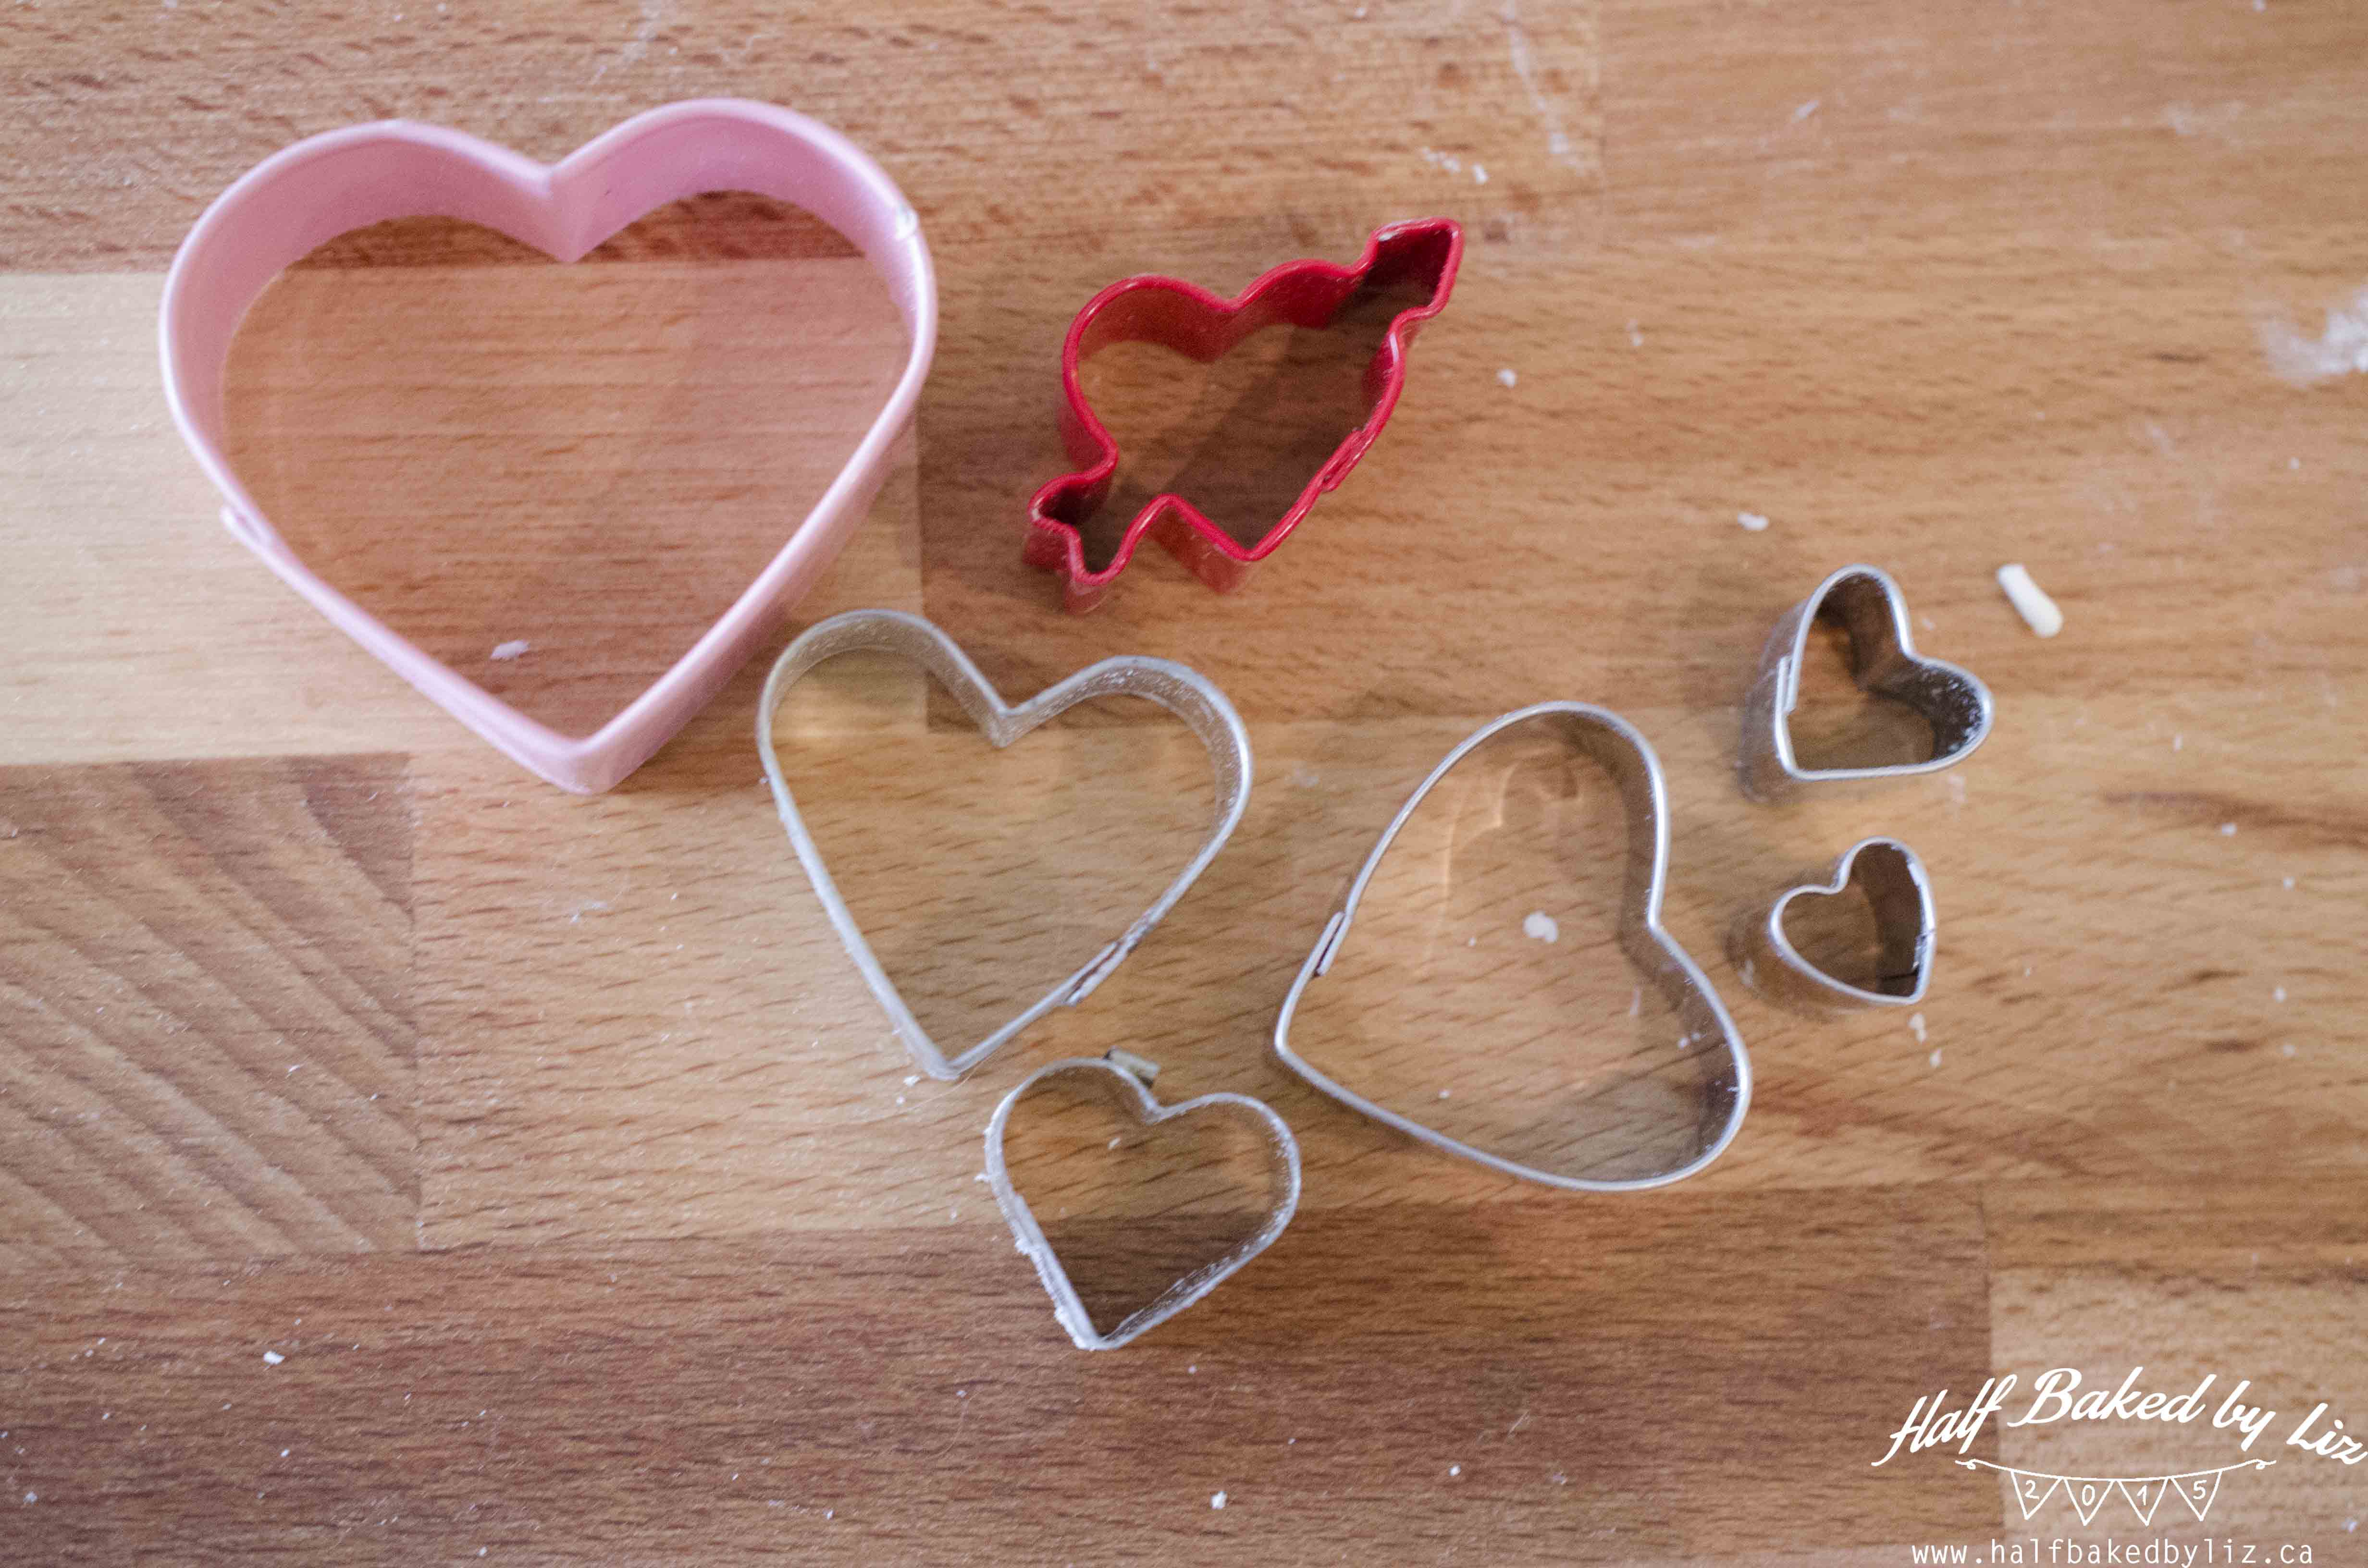
Pipe the icing onto each cupcake. Now for the details! You’ll need some heart-shaped cutters, sprinkles, white and pink fondant, and some white melting chocolate.
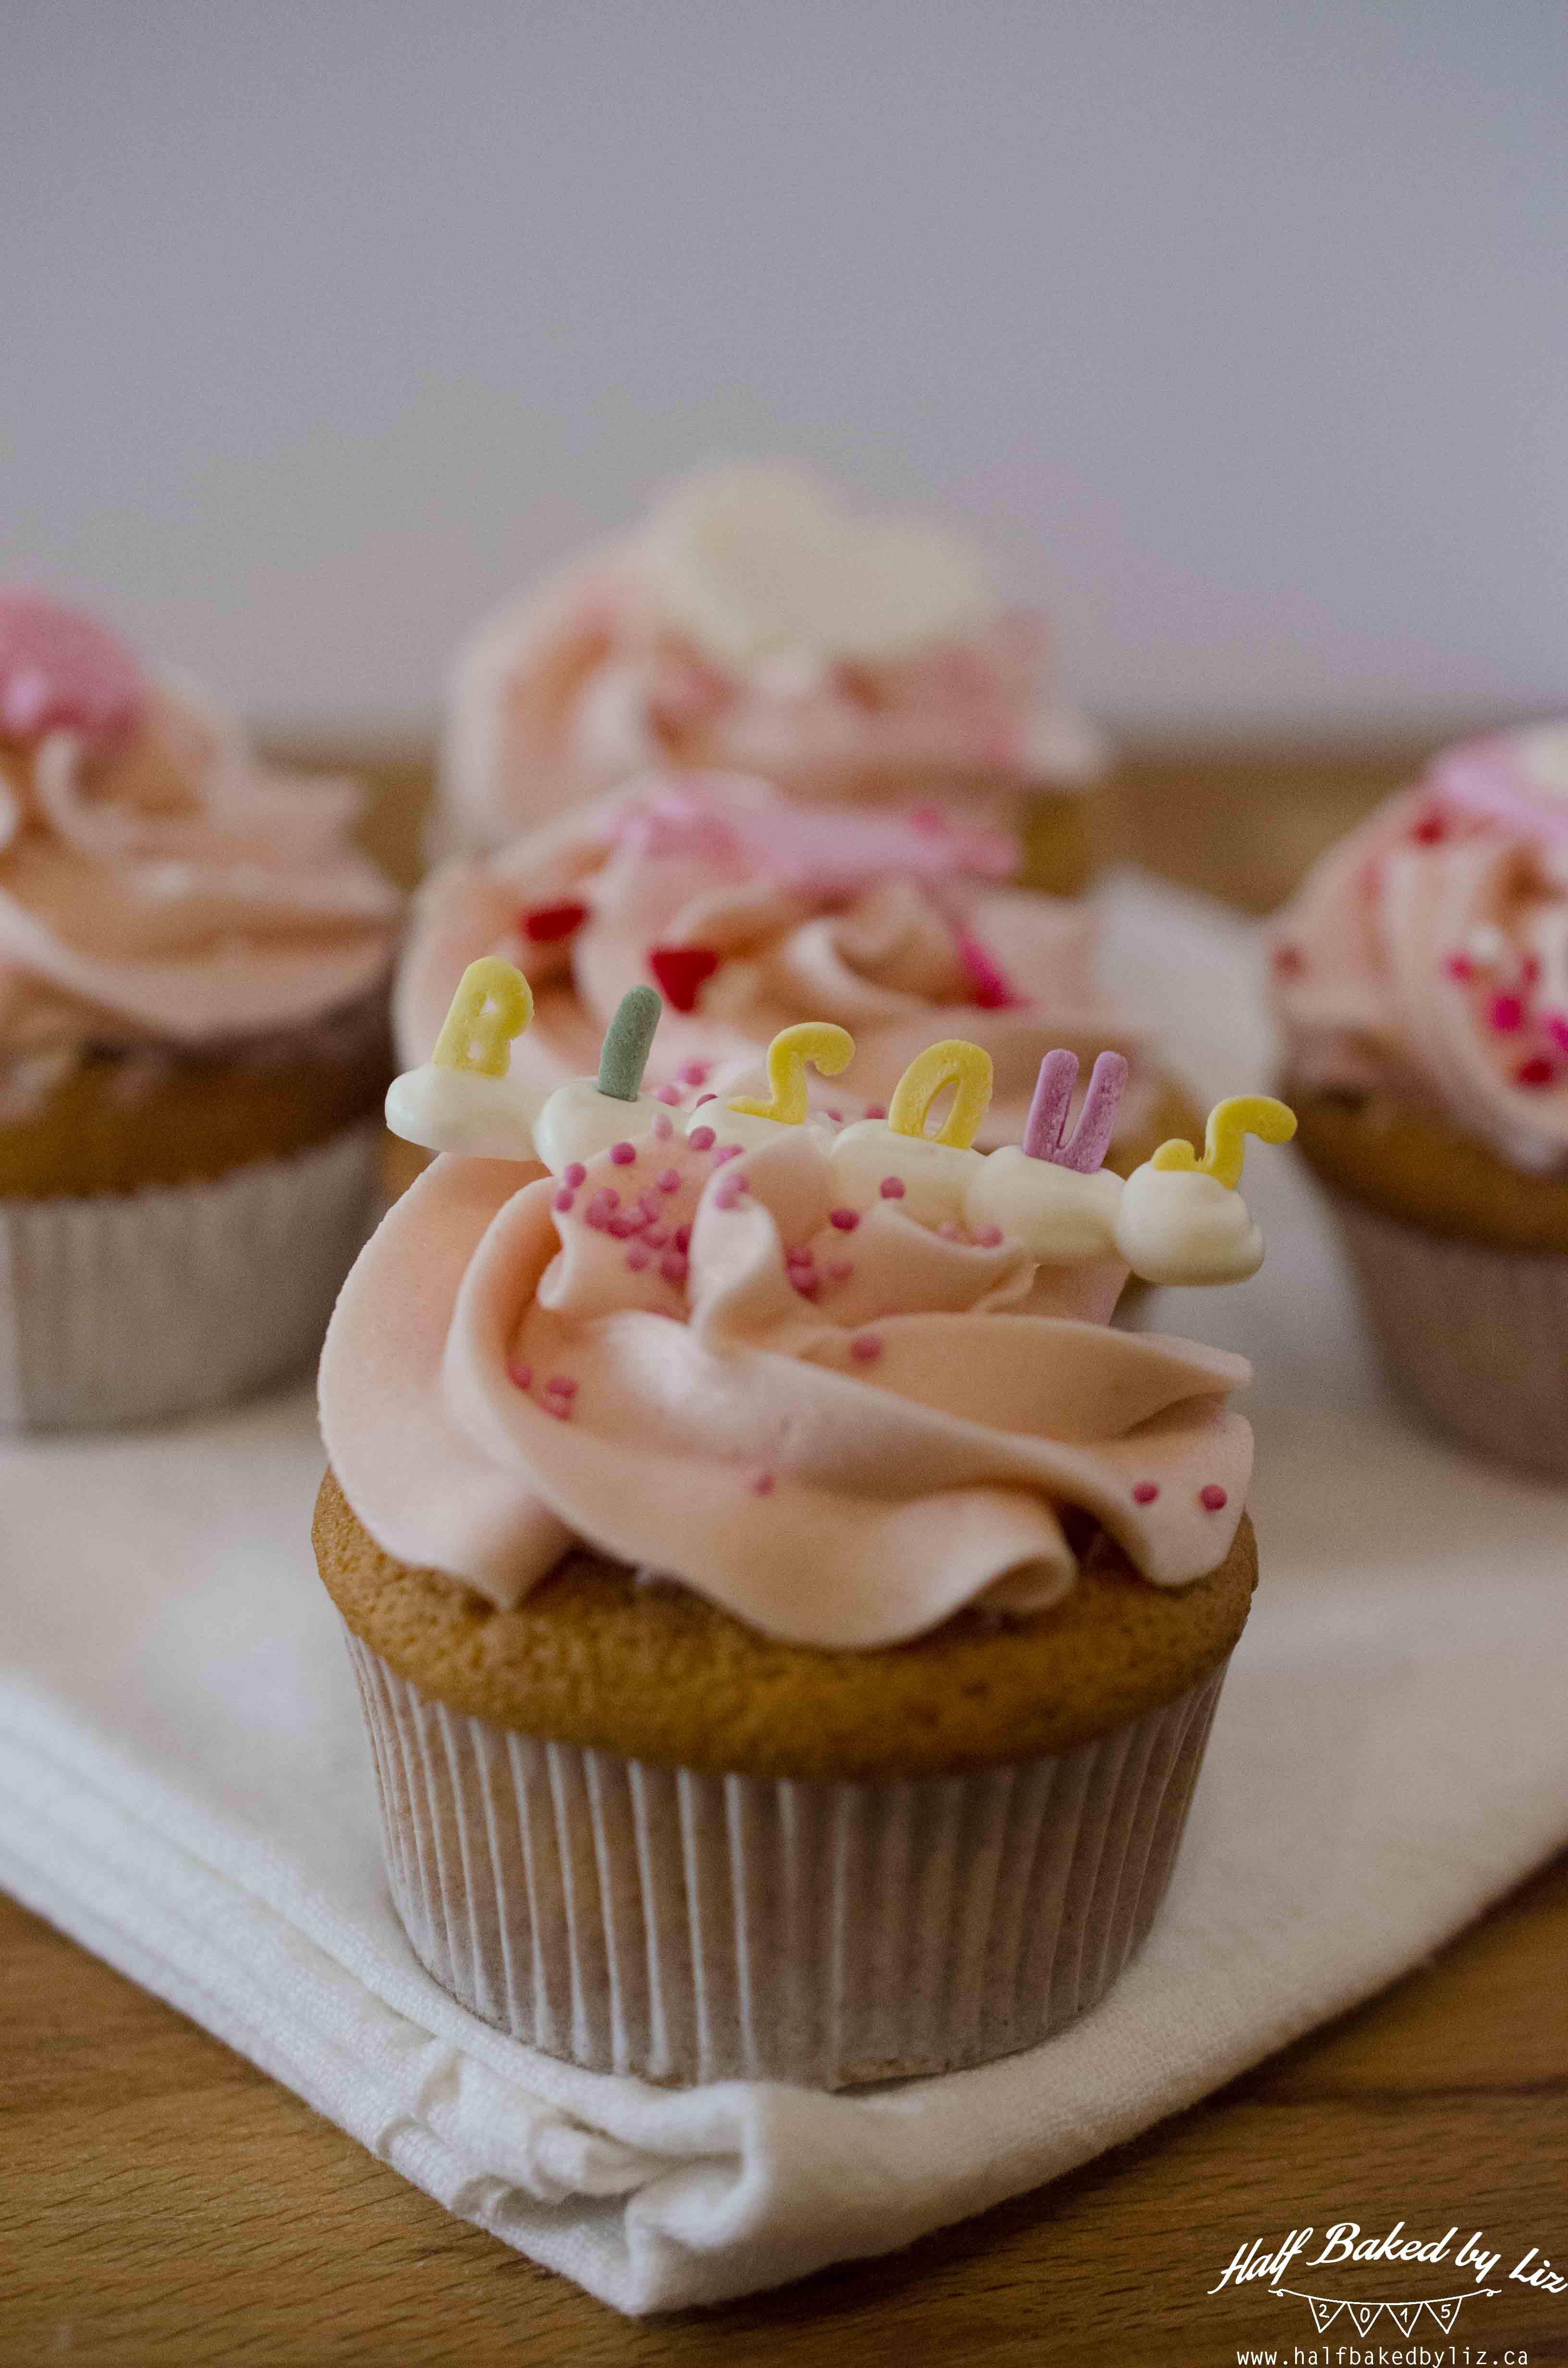
Design #1 – Bisous (Kisses)
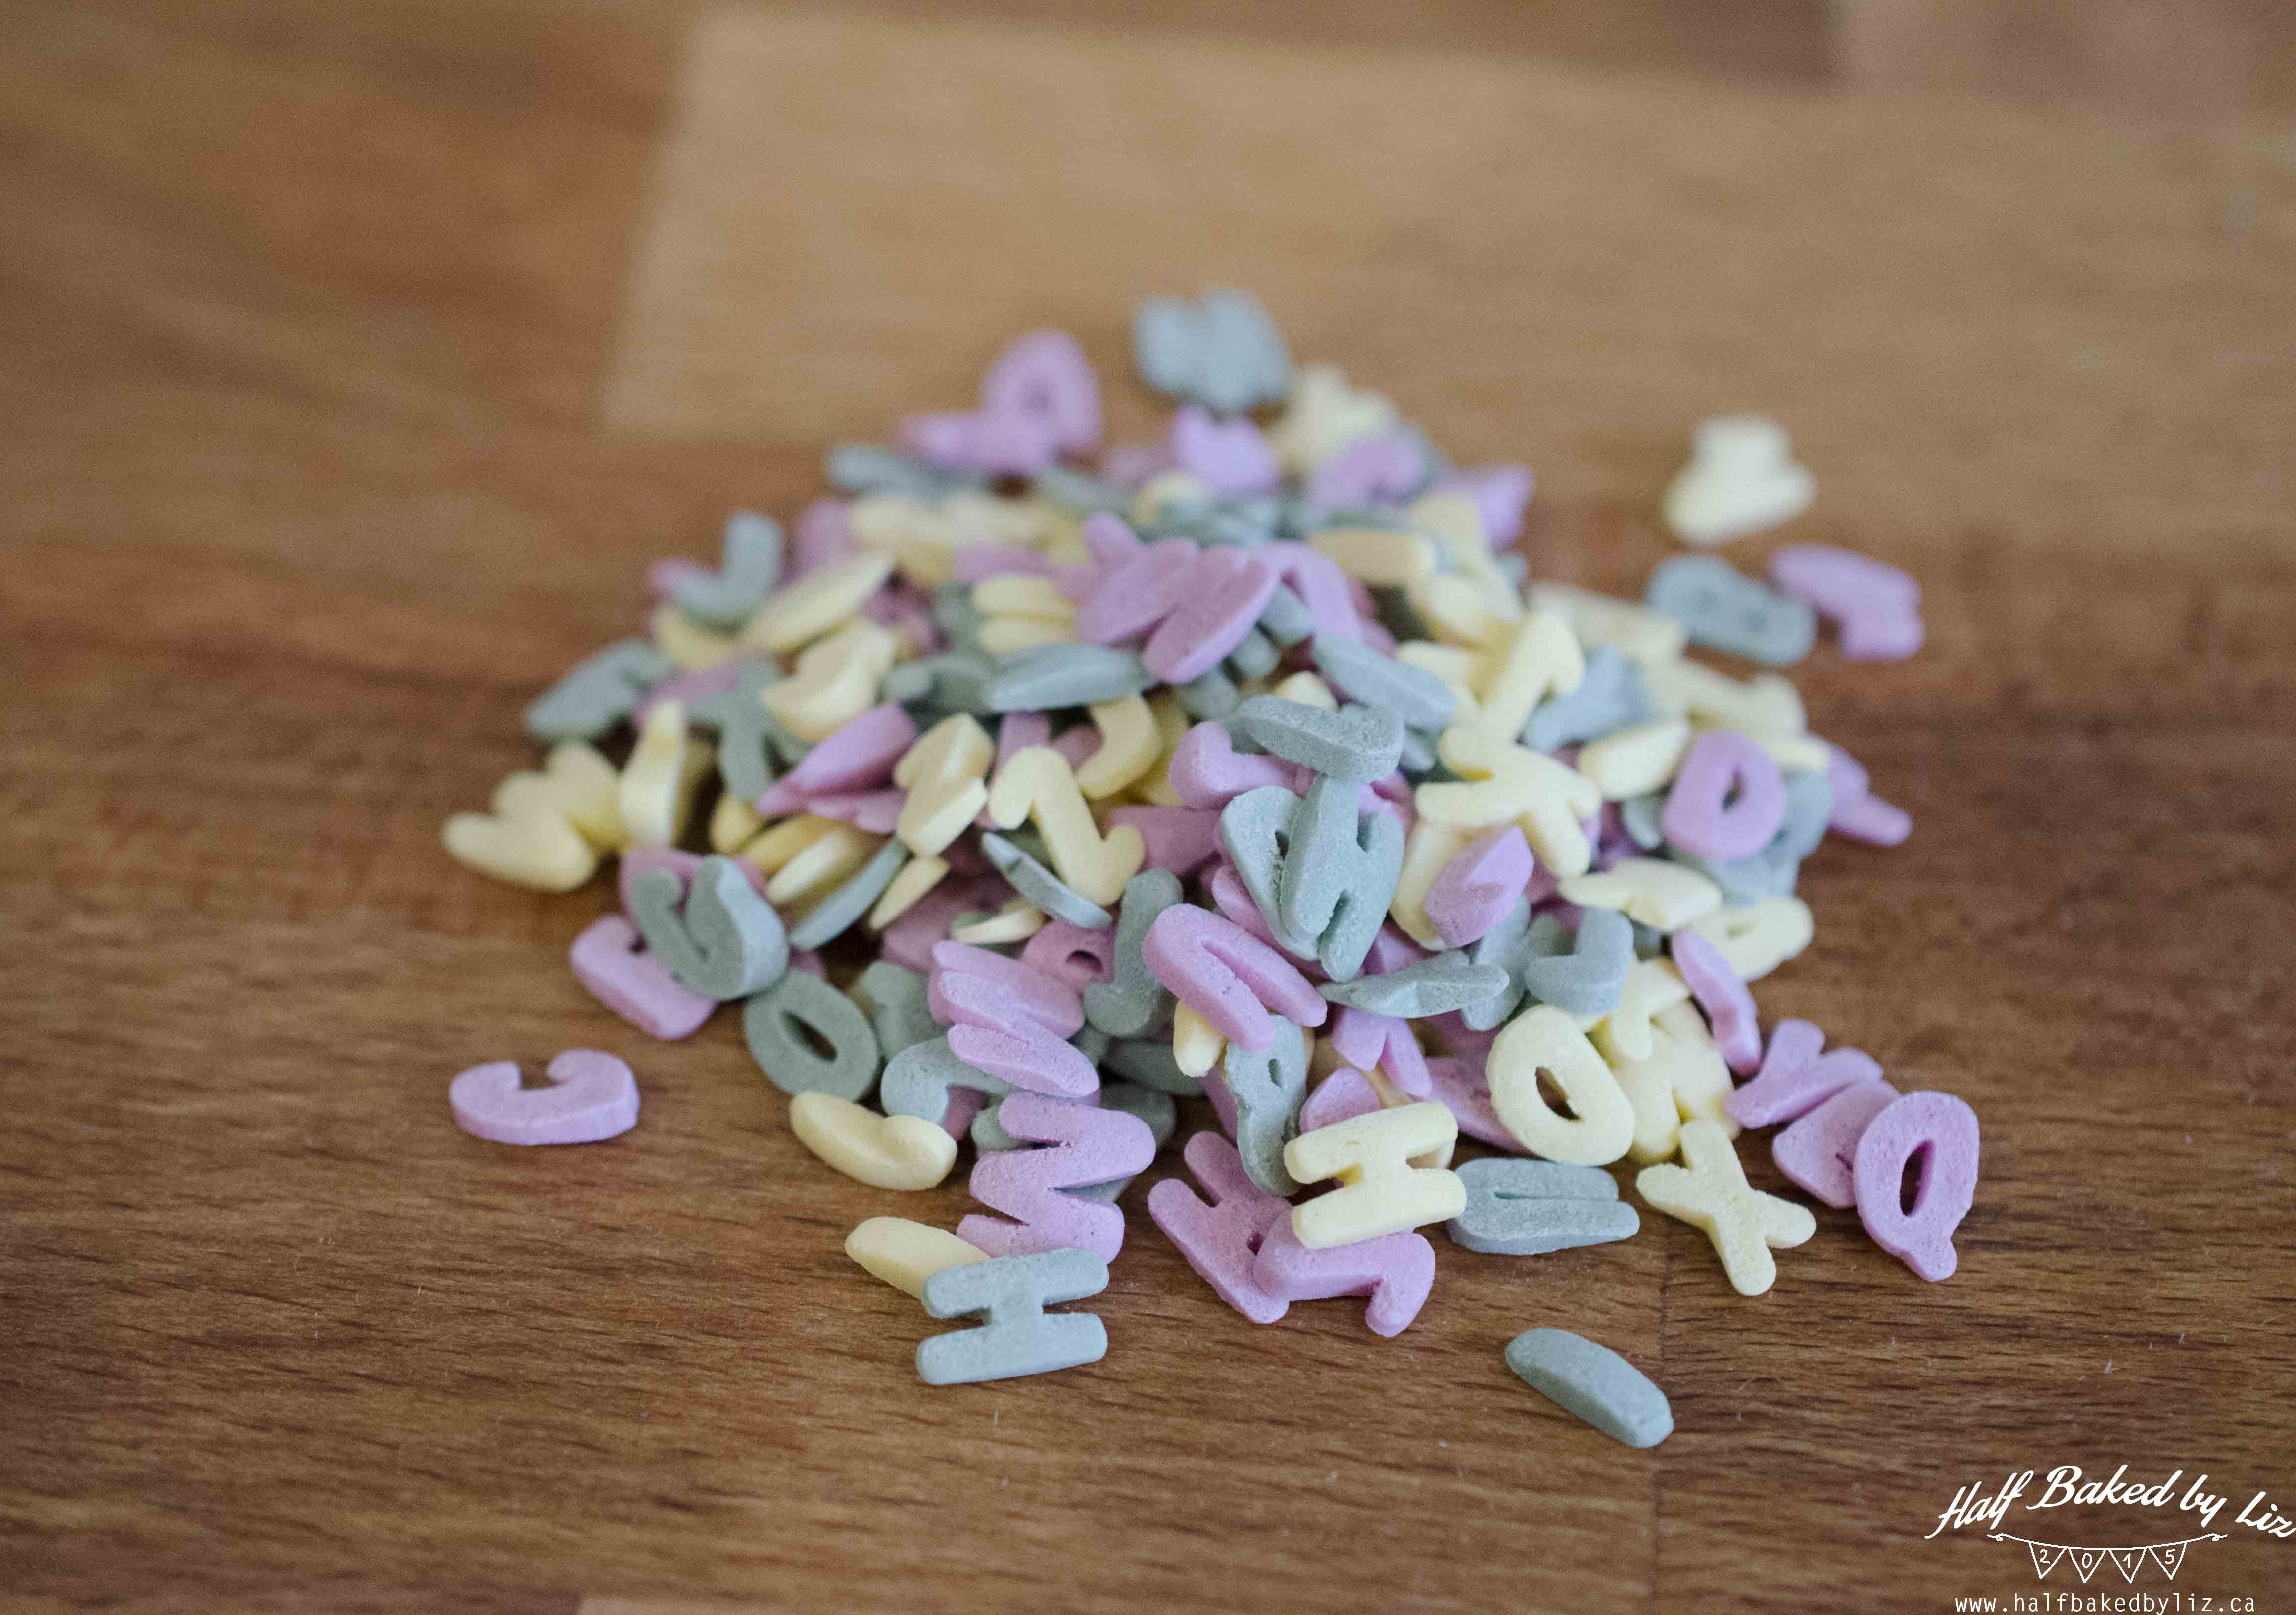
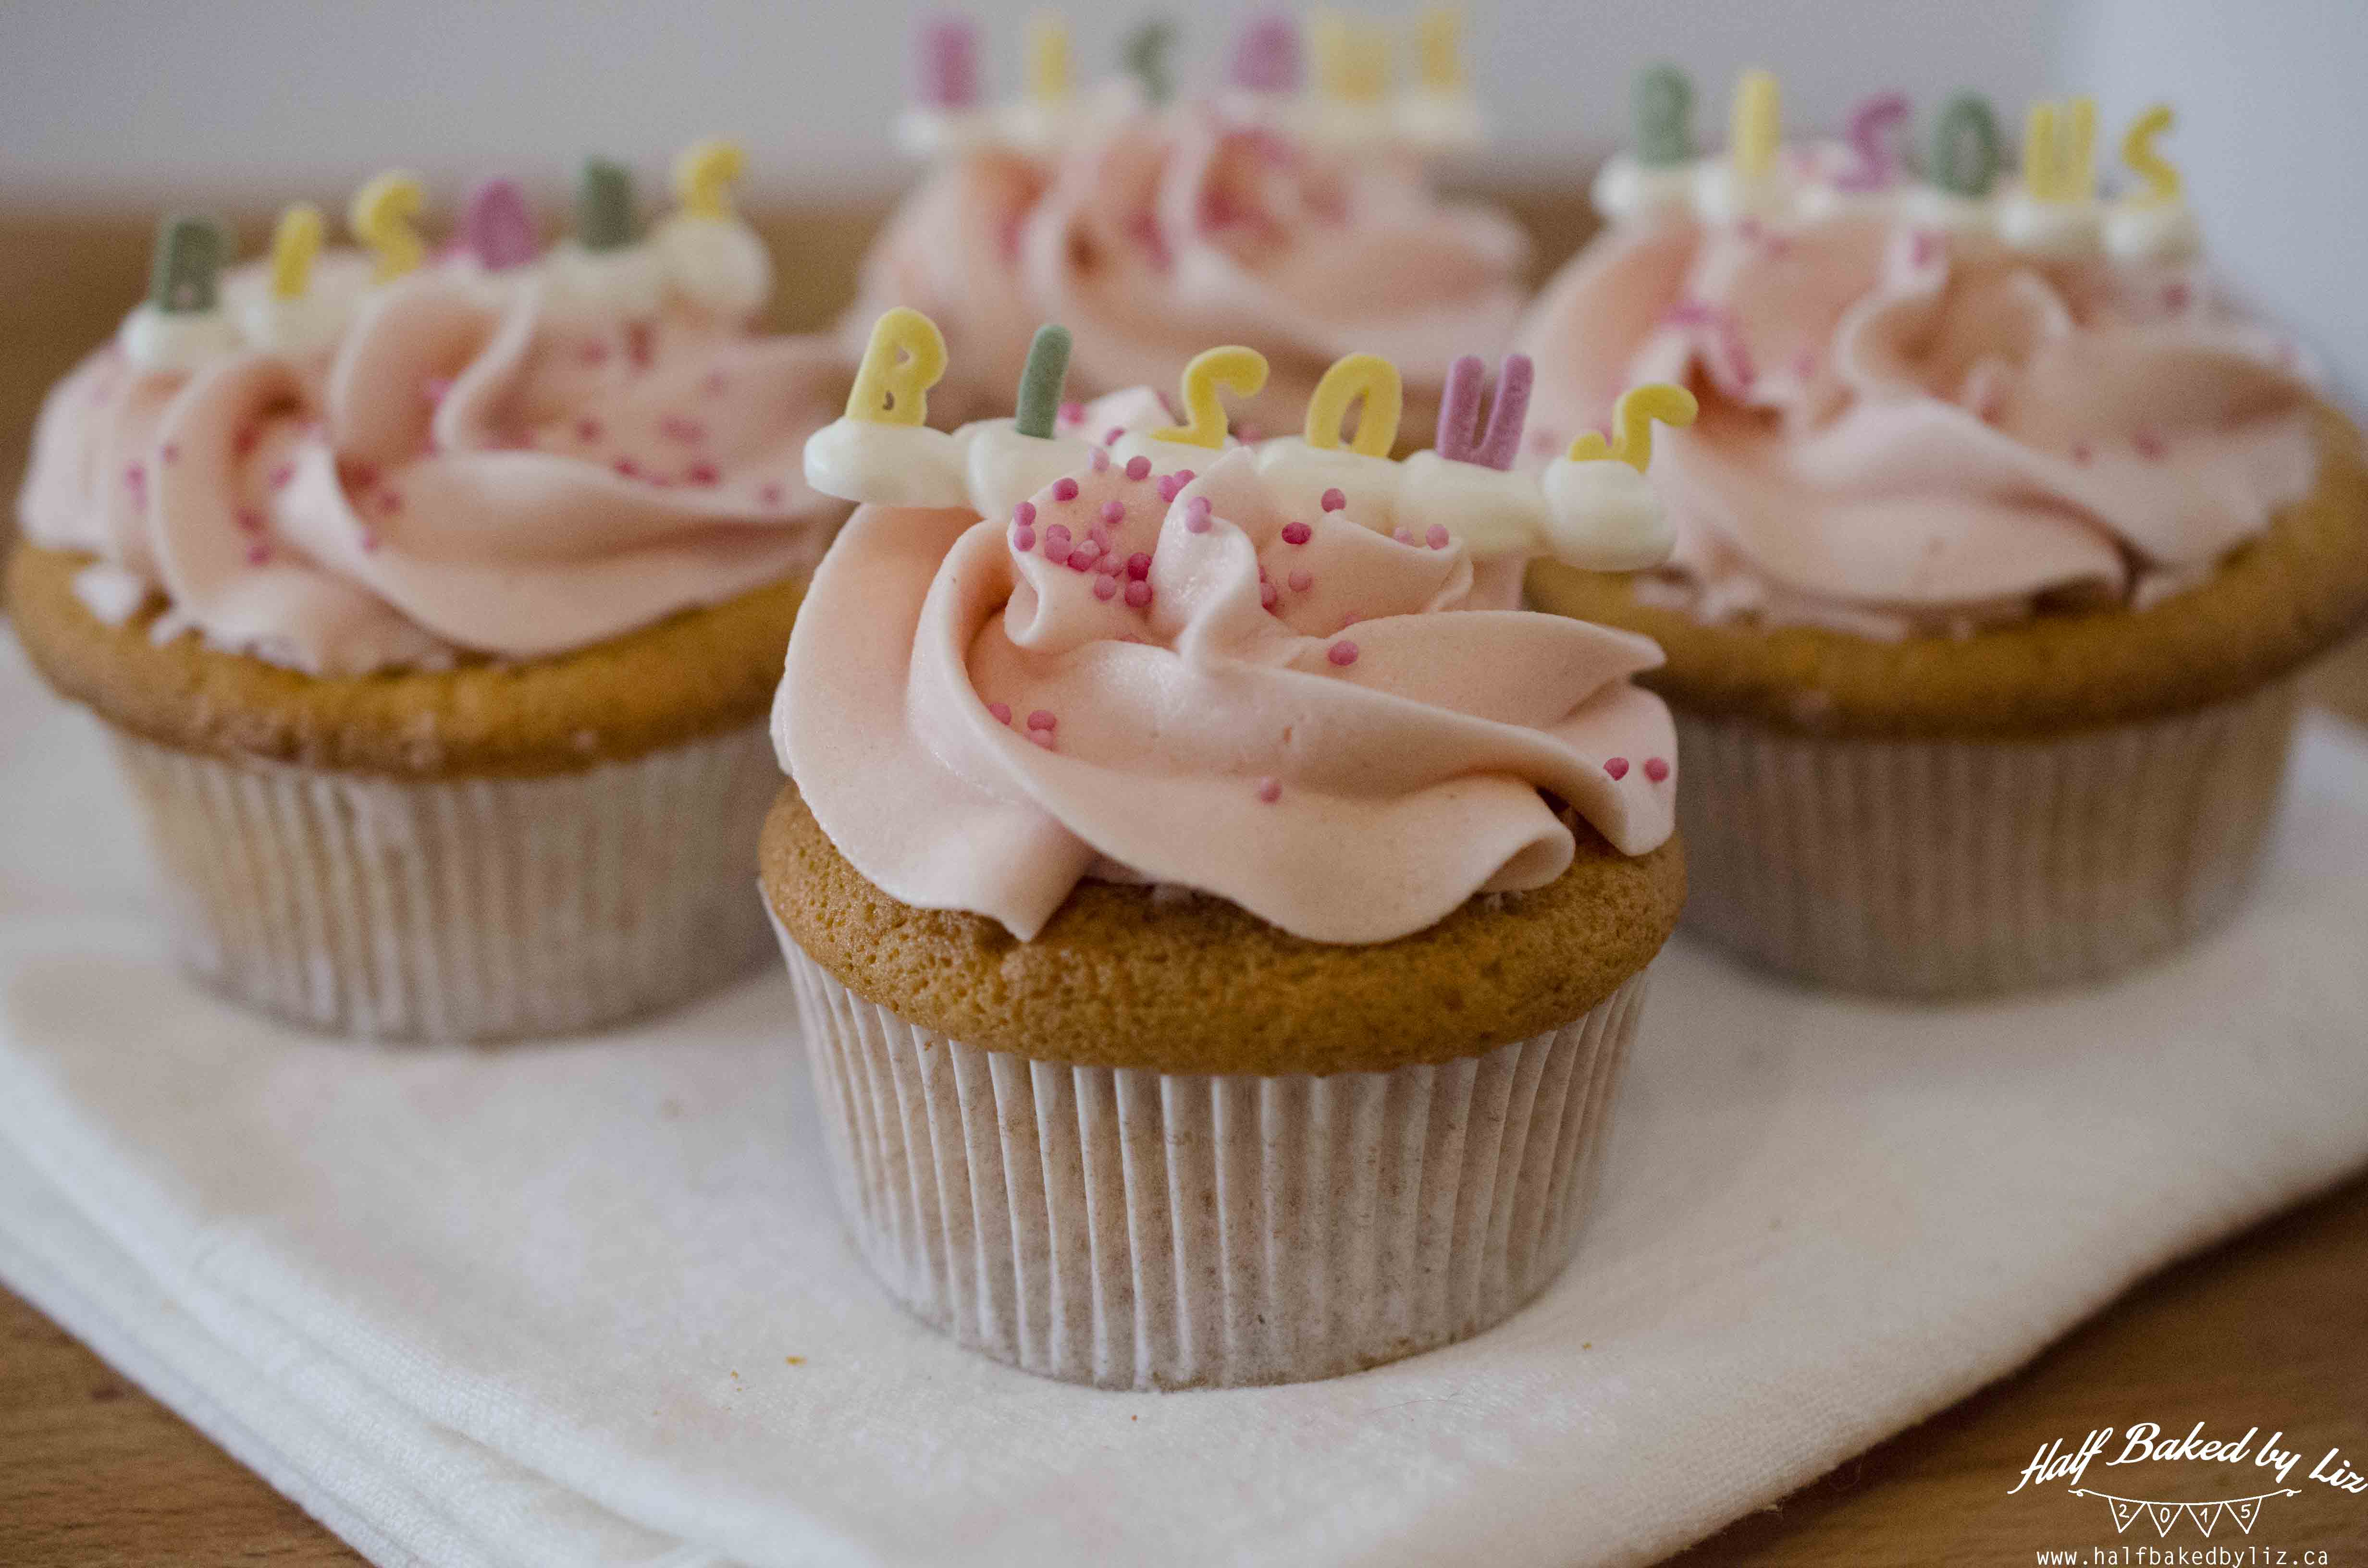
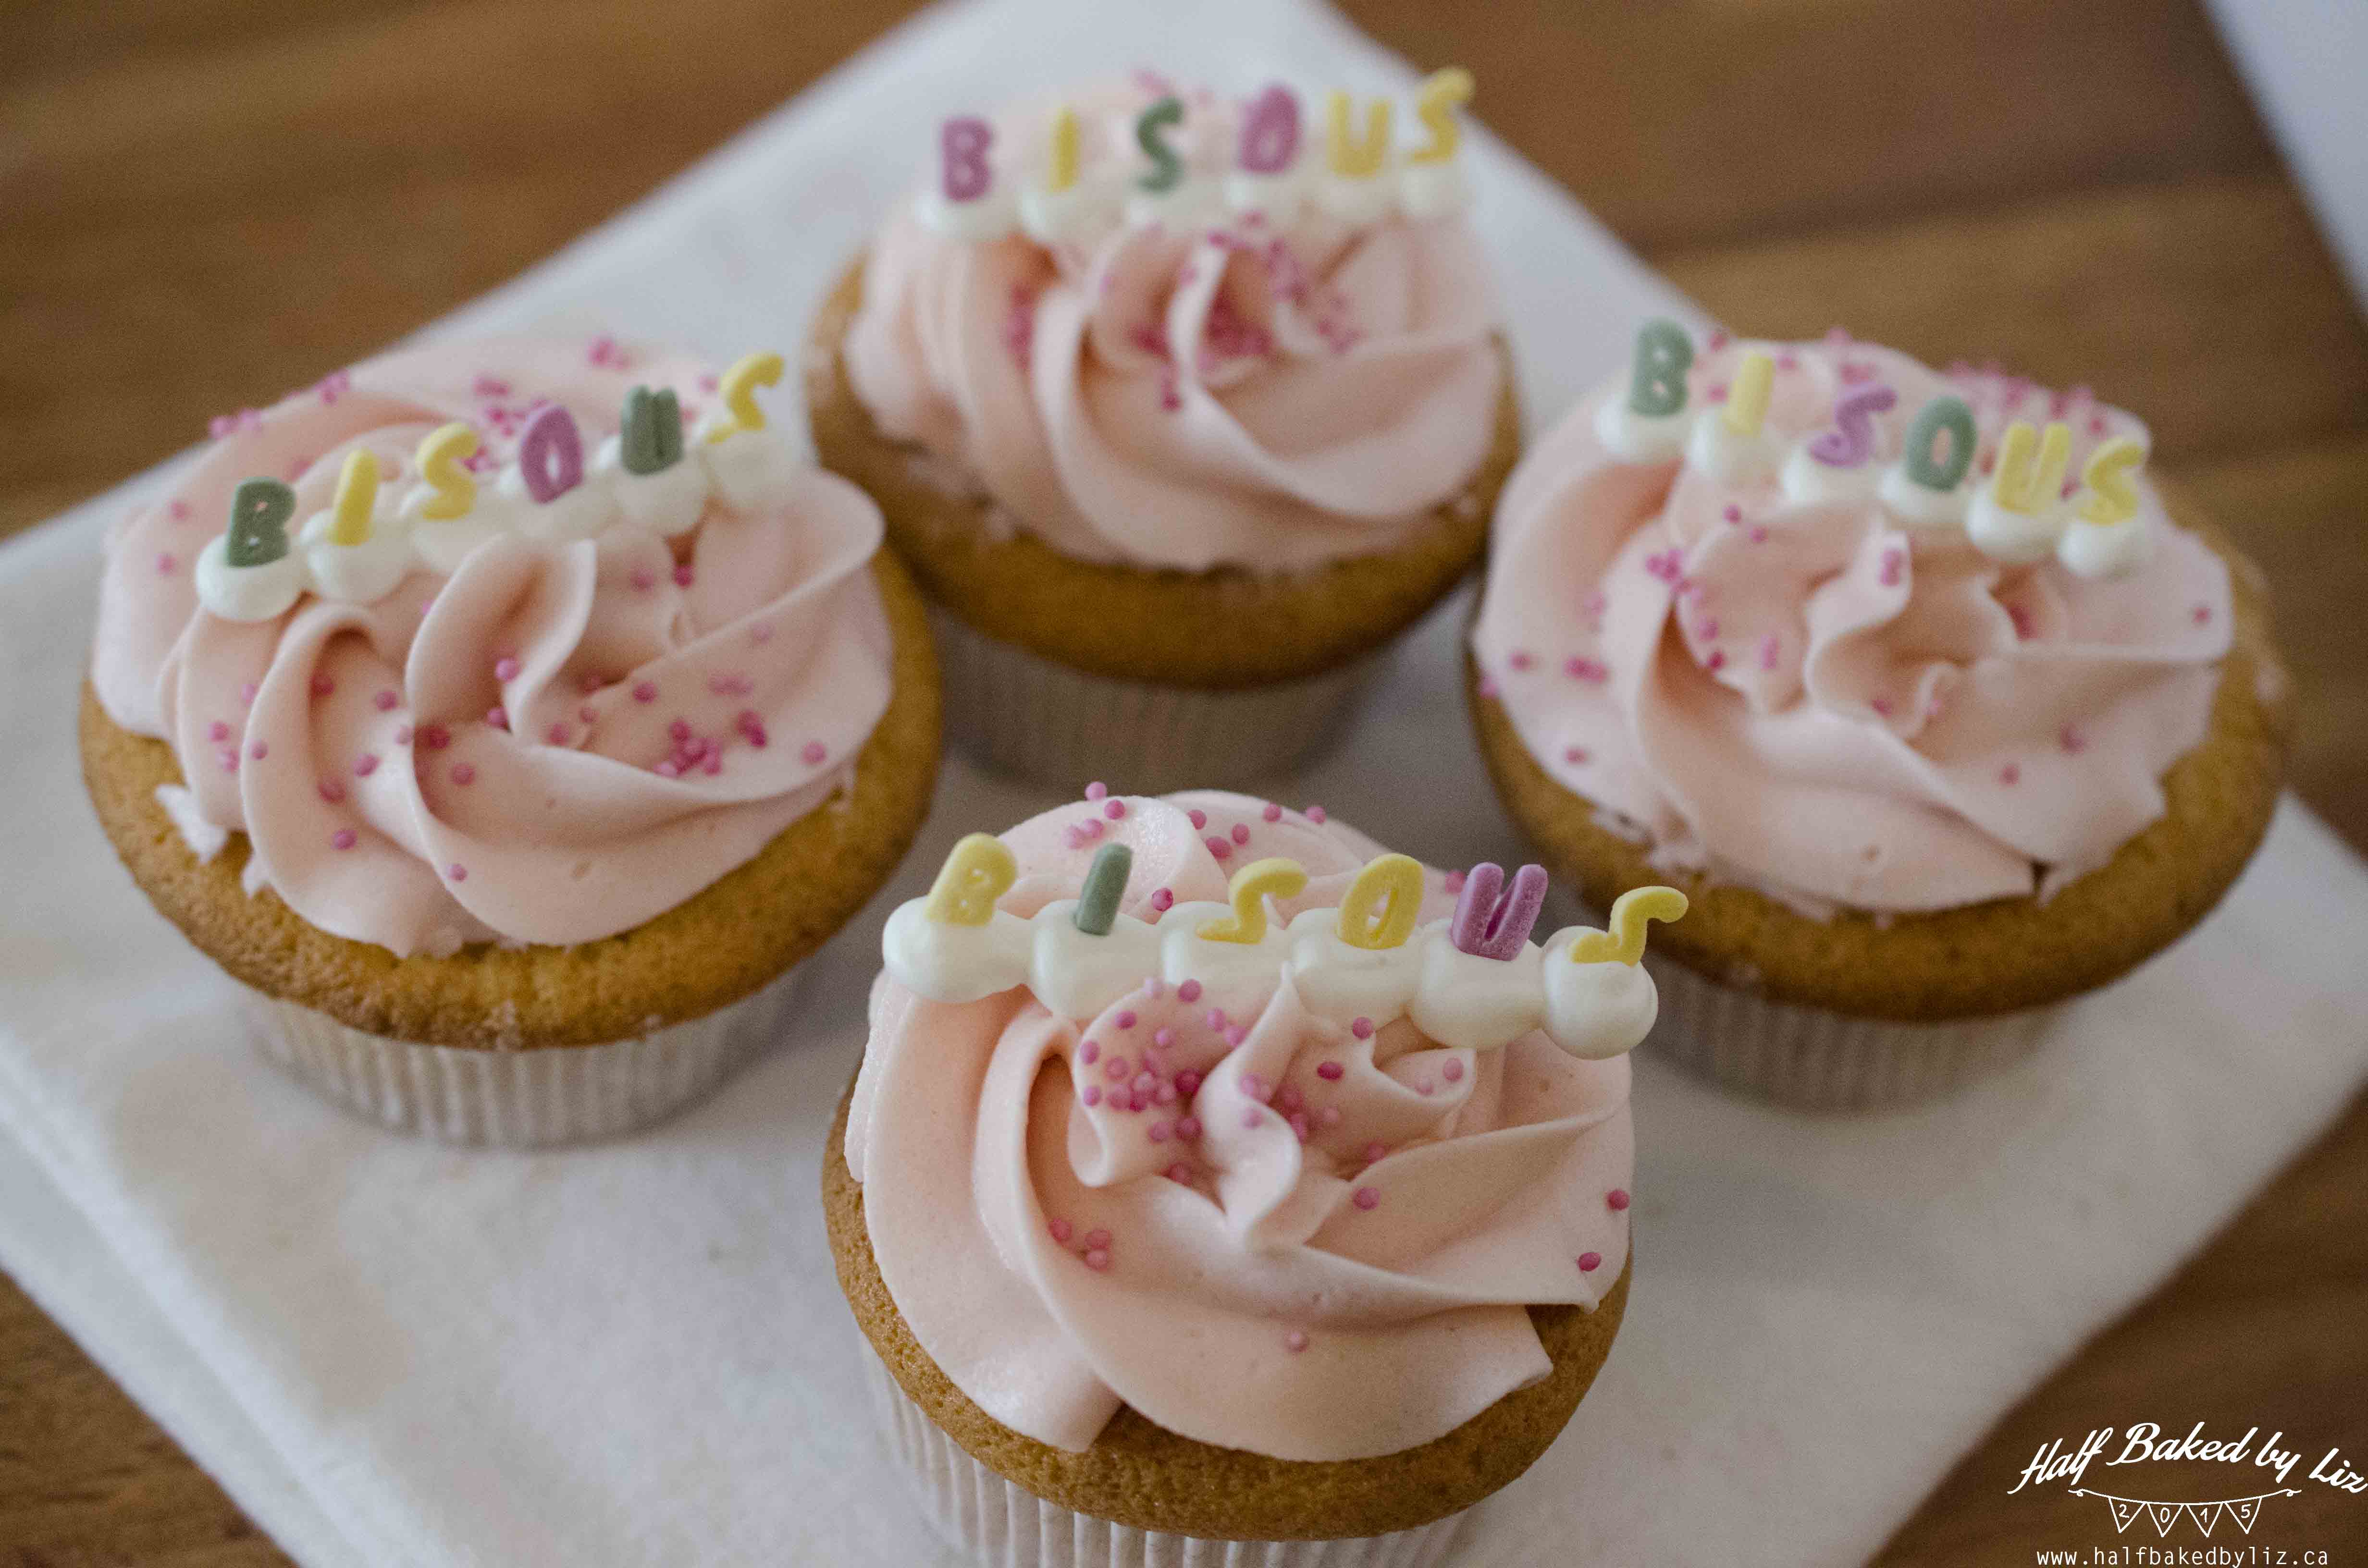
I used sprinkle letters for the word ‘bisous’ – which meant doing some sorting…
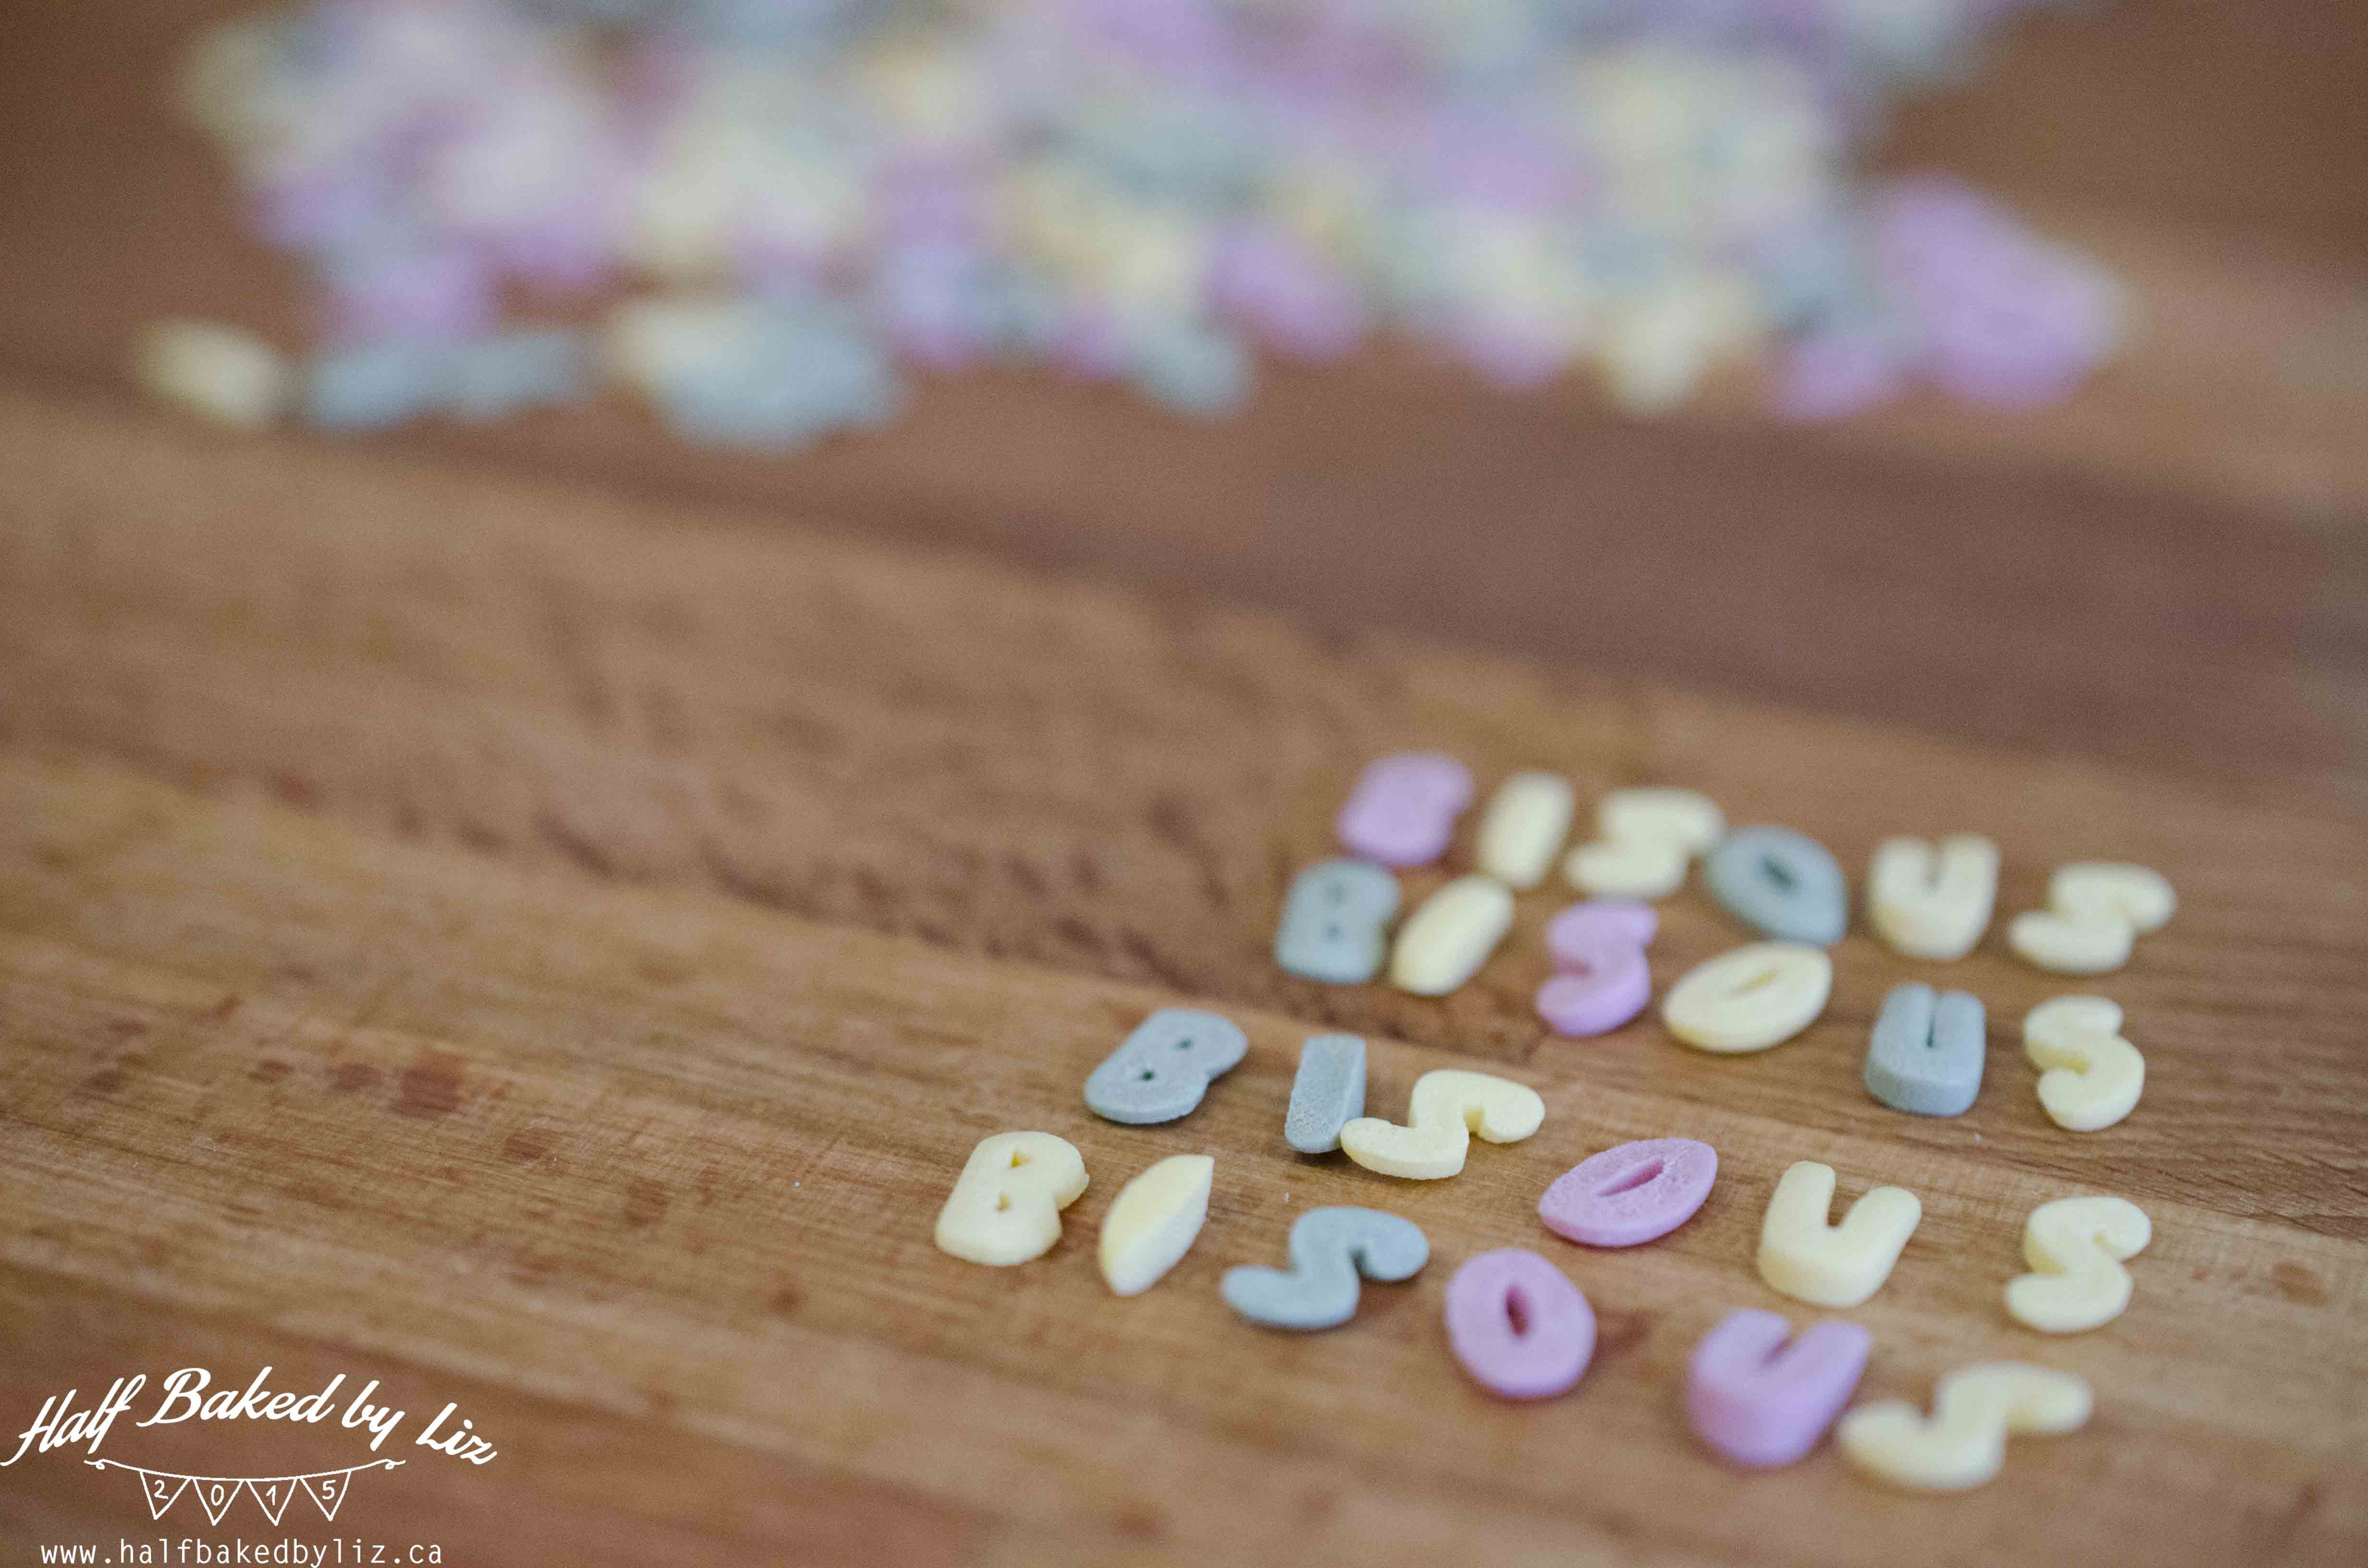
Then I melted down a little white chocolate, added it to a squeezy bottle, and piped out six little pearls for each word.
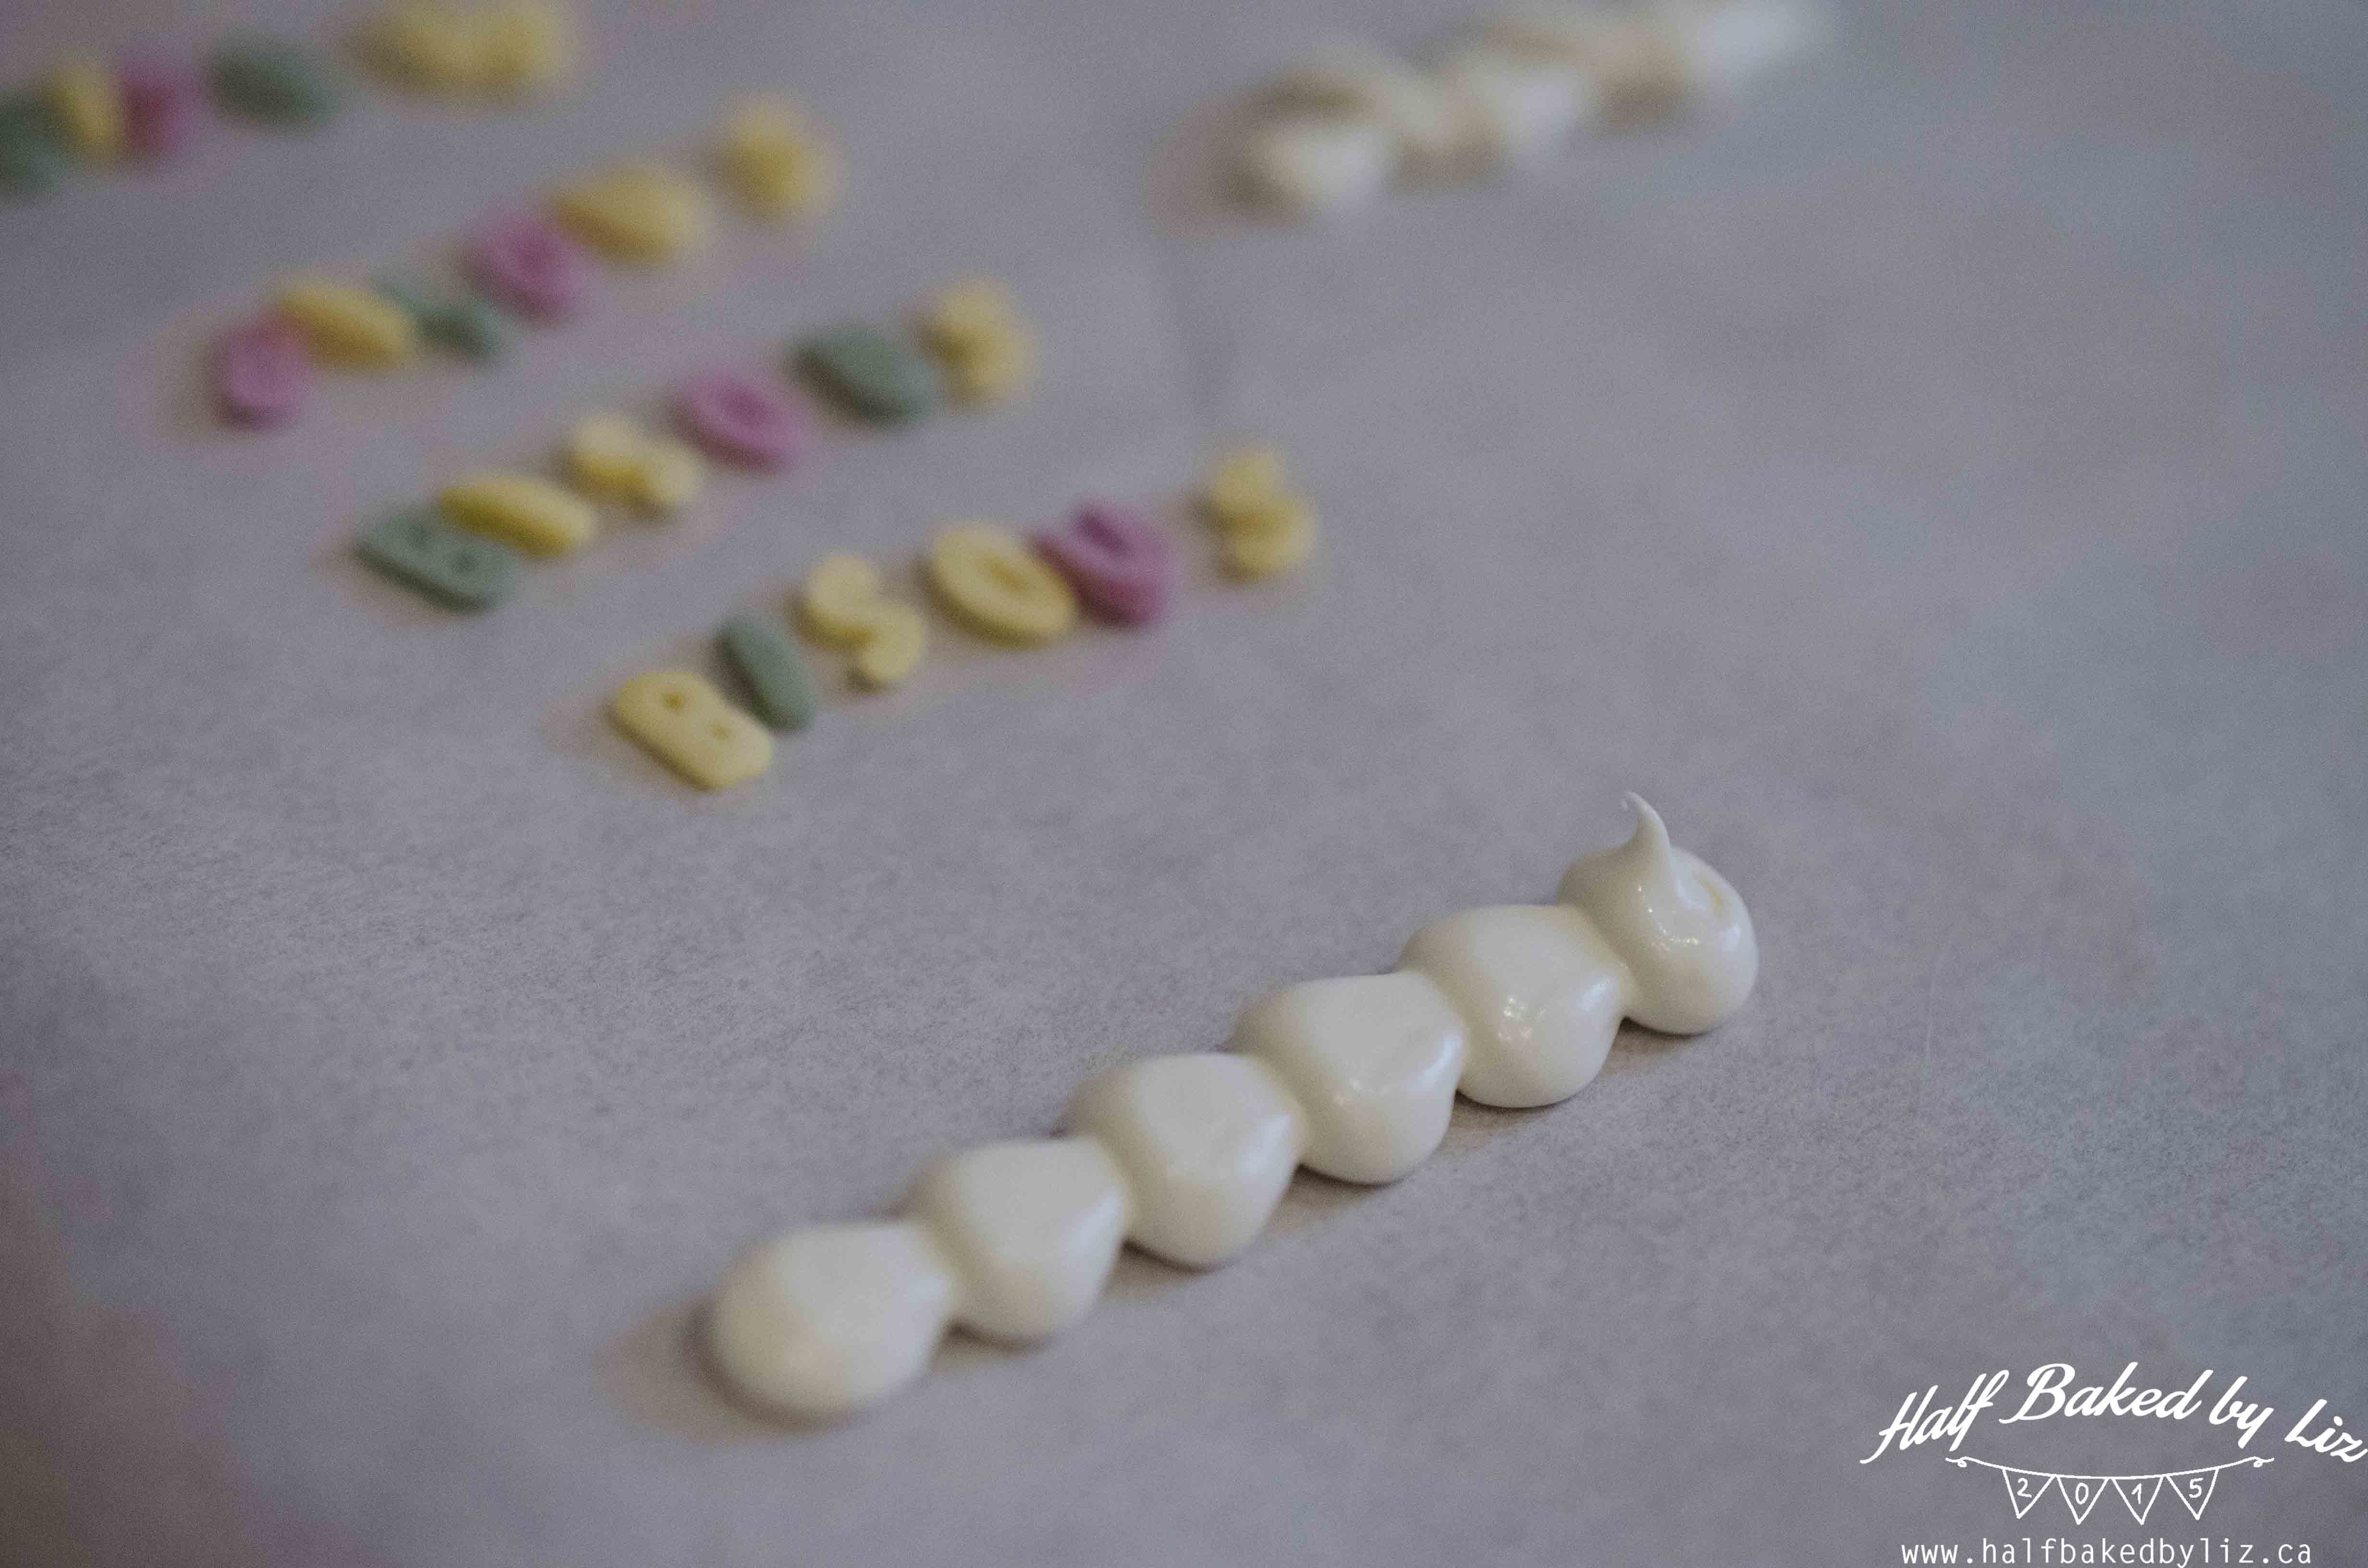
Before the chocolate hardens, stand each of the letters up in it. Once it sets, place on top of the cupcakes, along with some sprinkles.
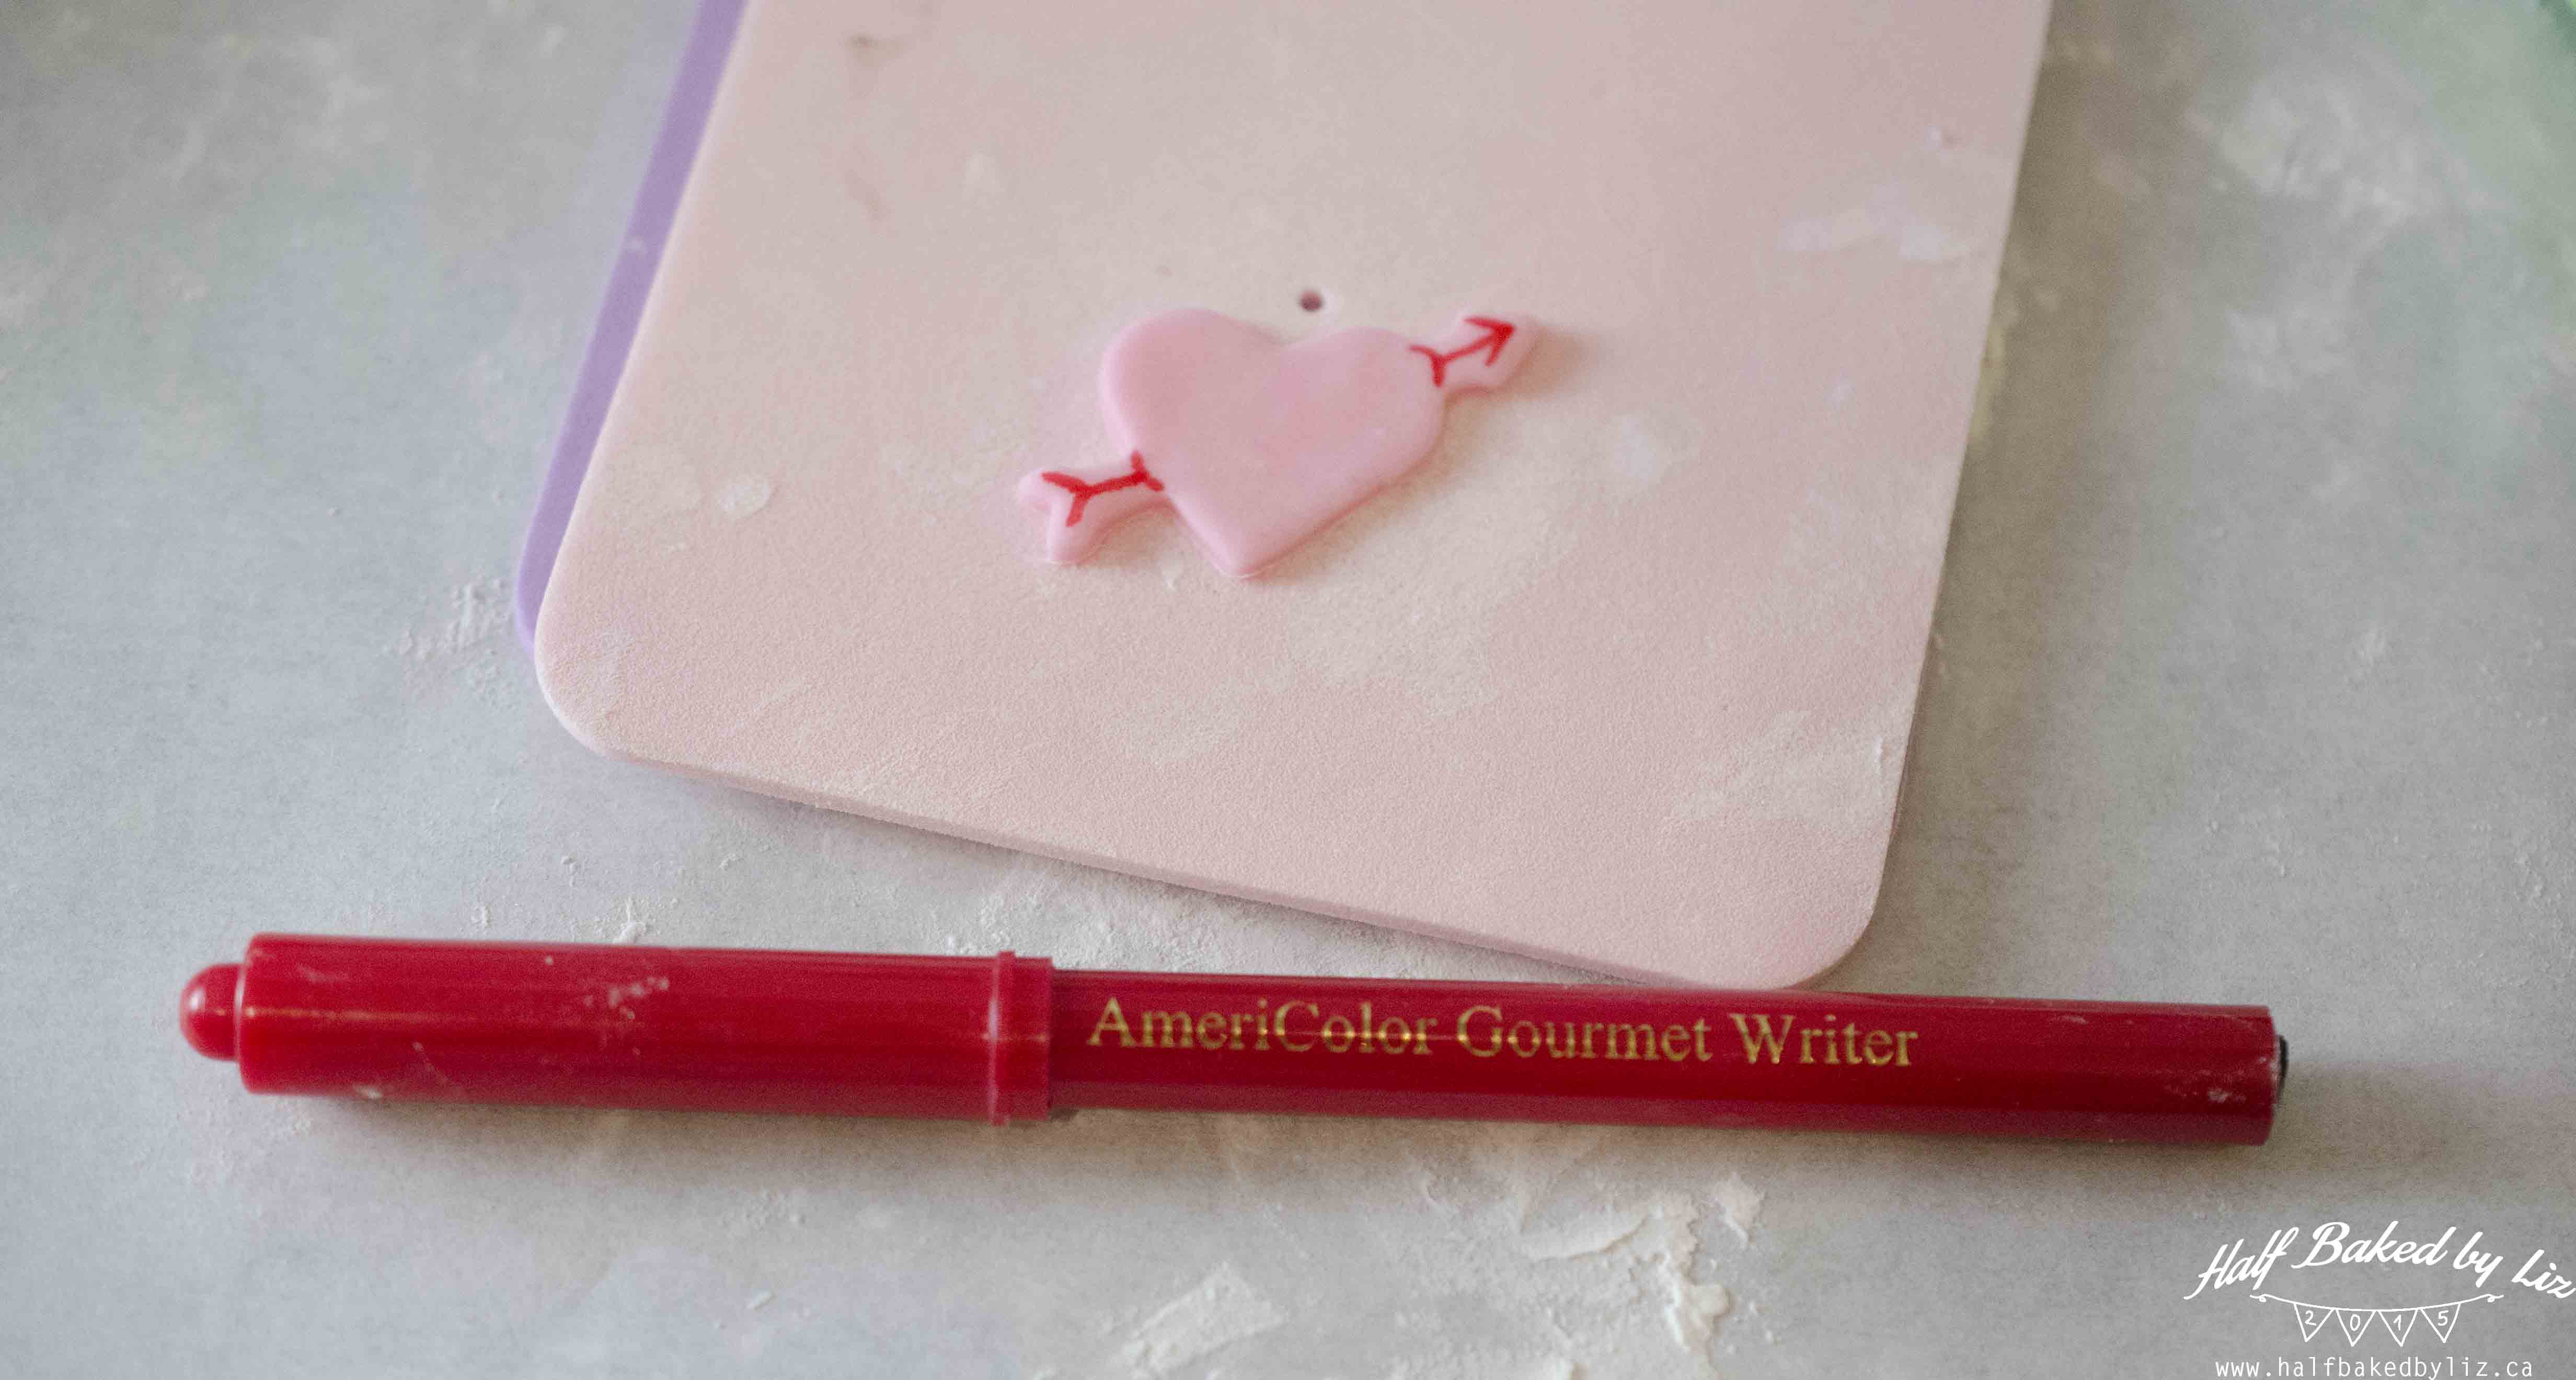
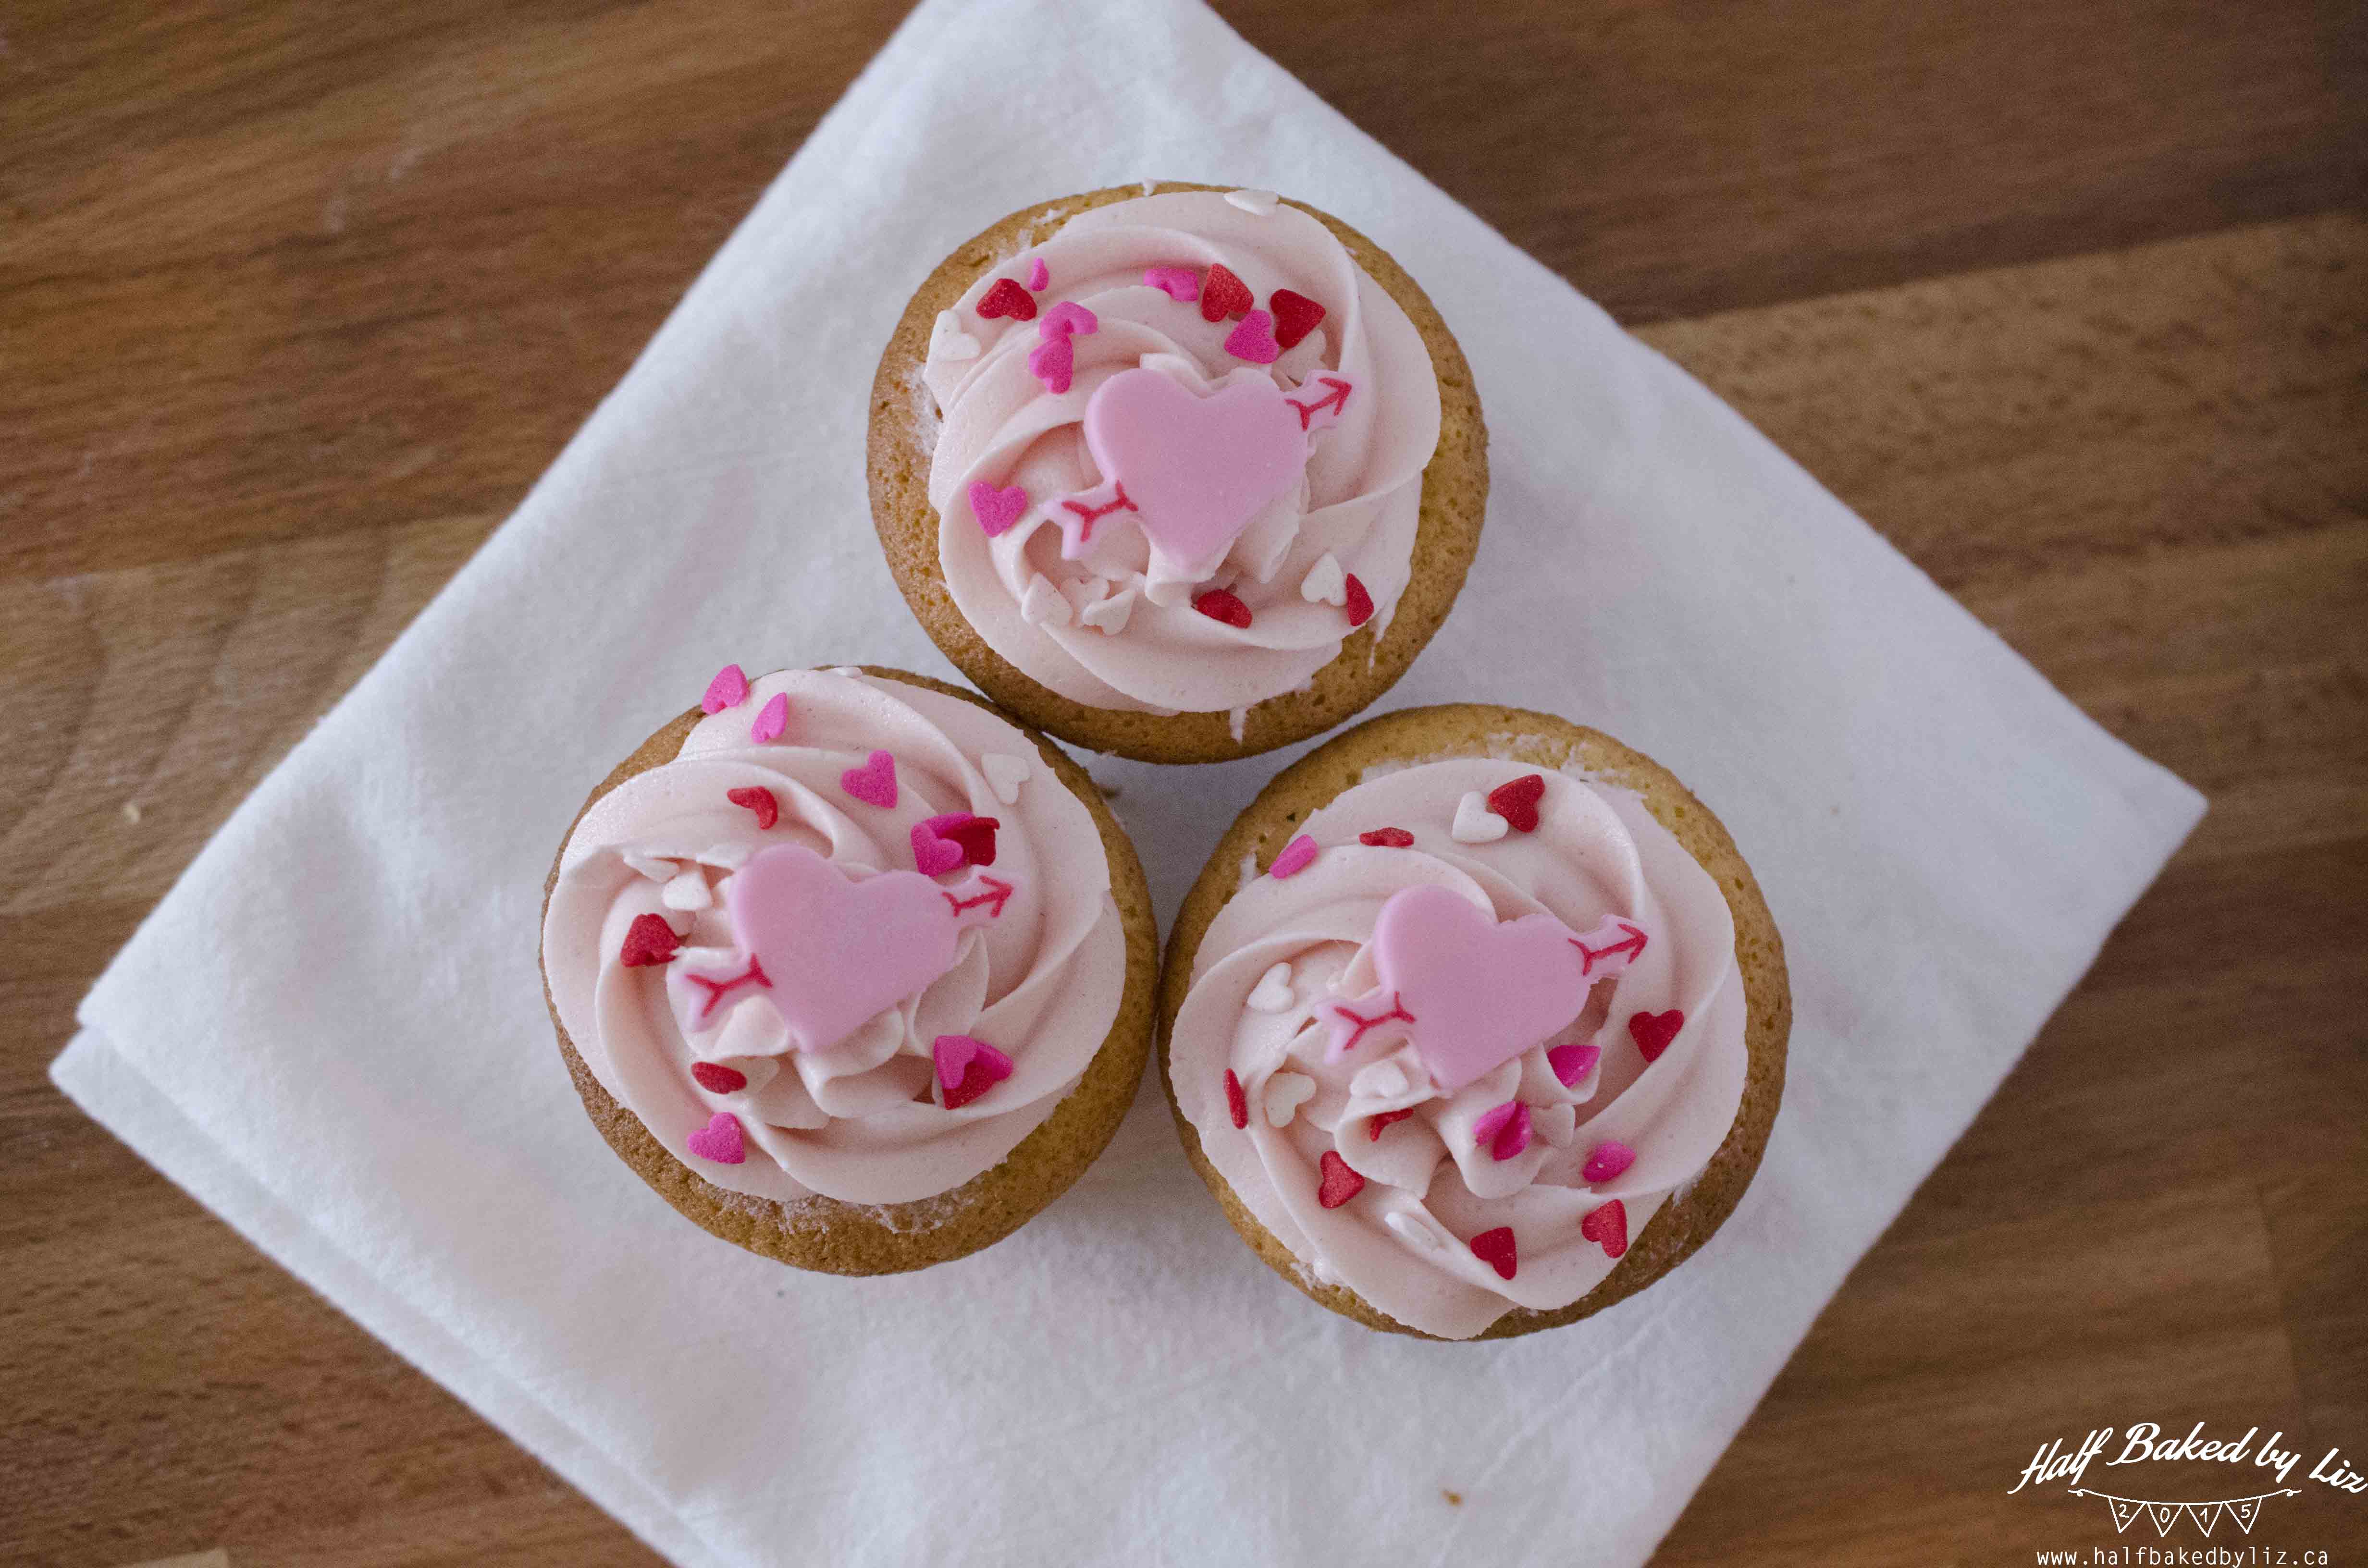
Design #2 – Hearts with Arrows
Cut out your heart + arrow shapes from pink fondant. Then add some detailing with a red food colouring pen (I use AmeriColor pens).

They look so cute on the cupcakes with heart-shaped sprinkles!
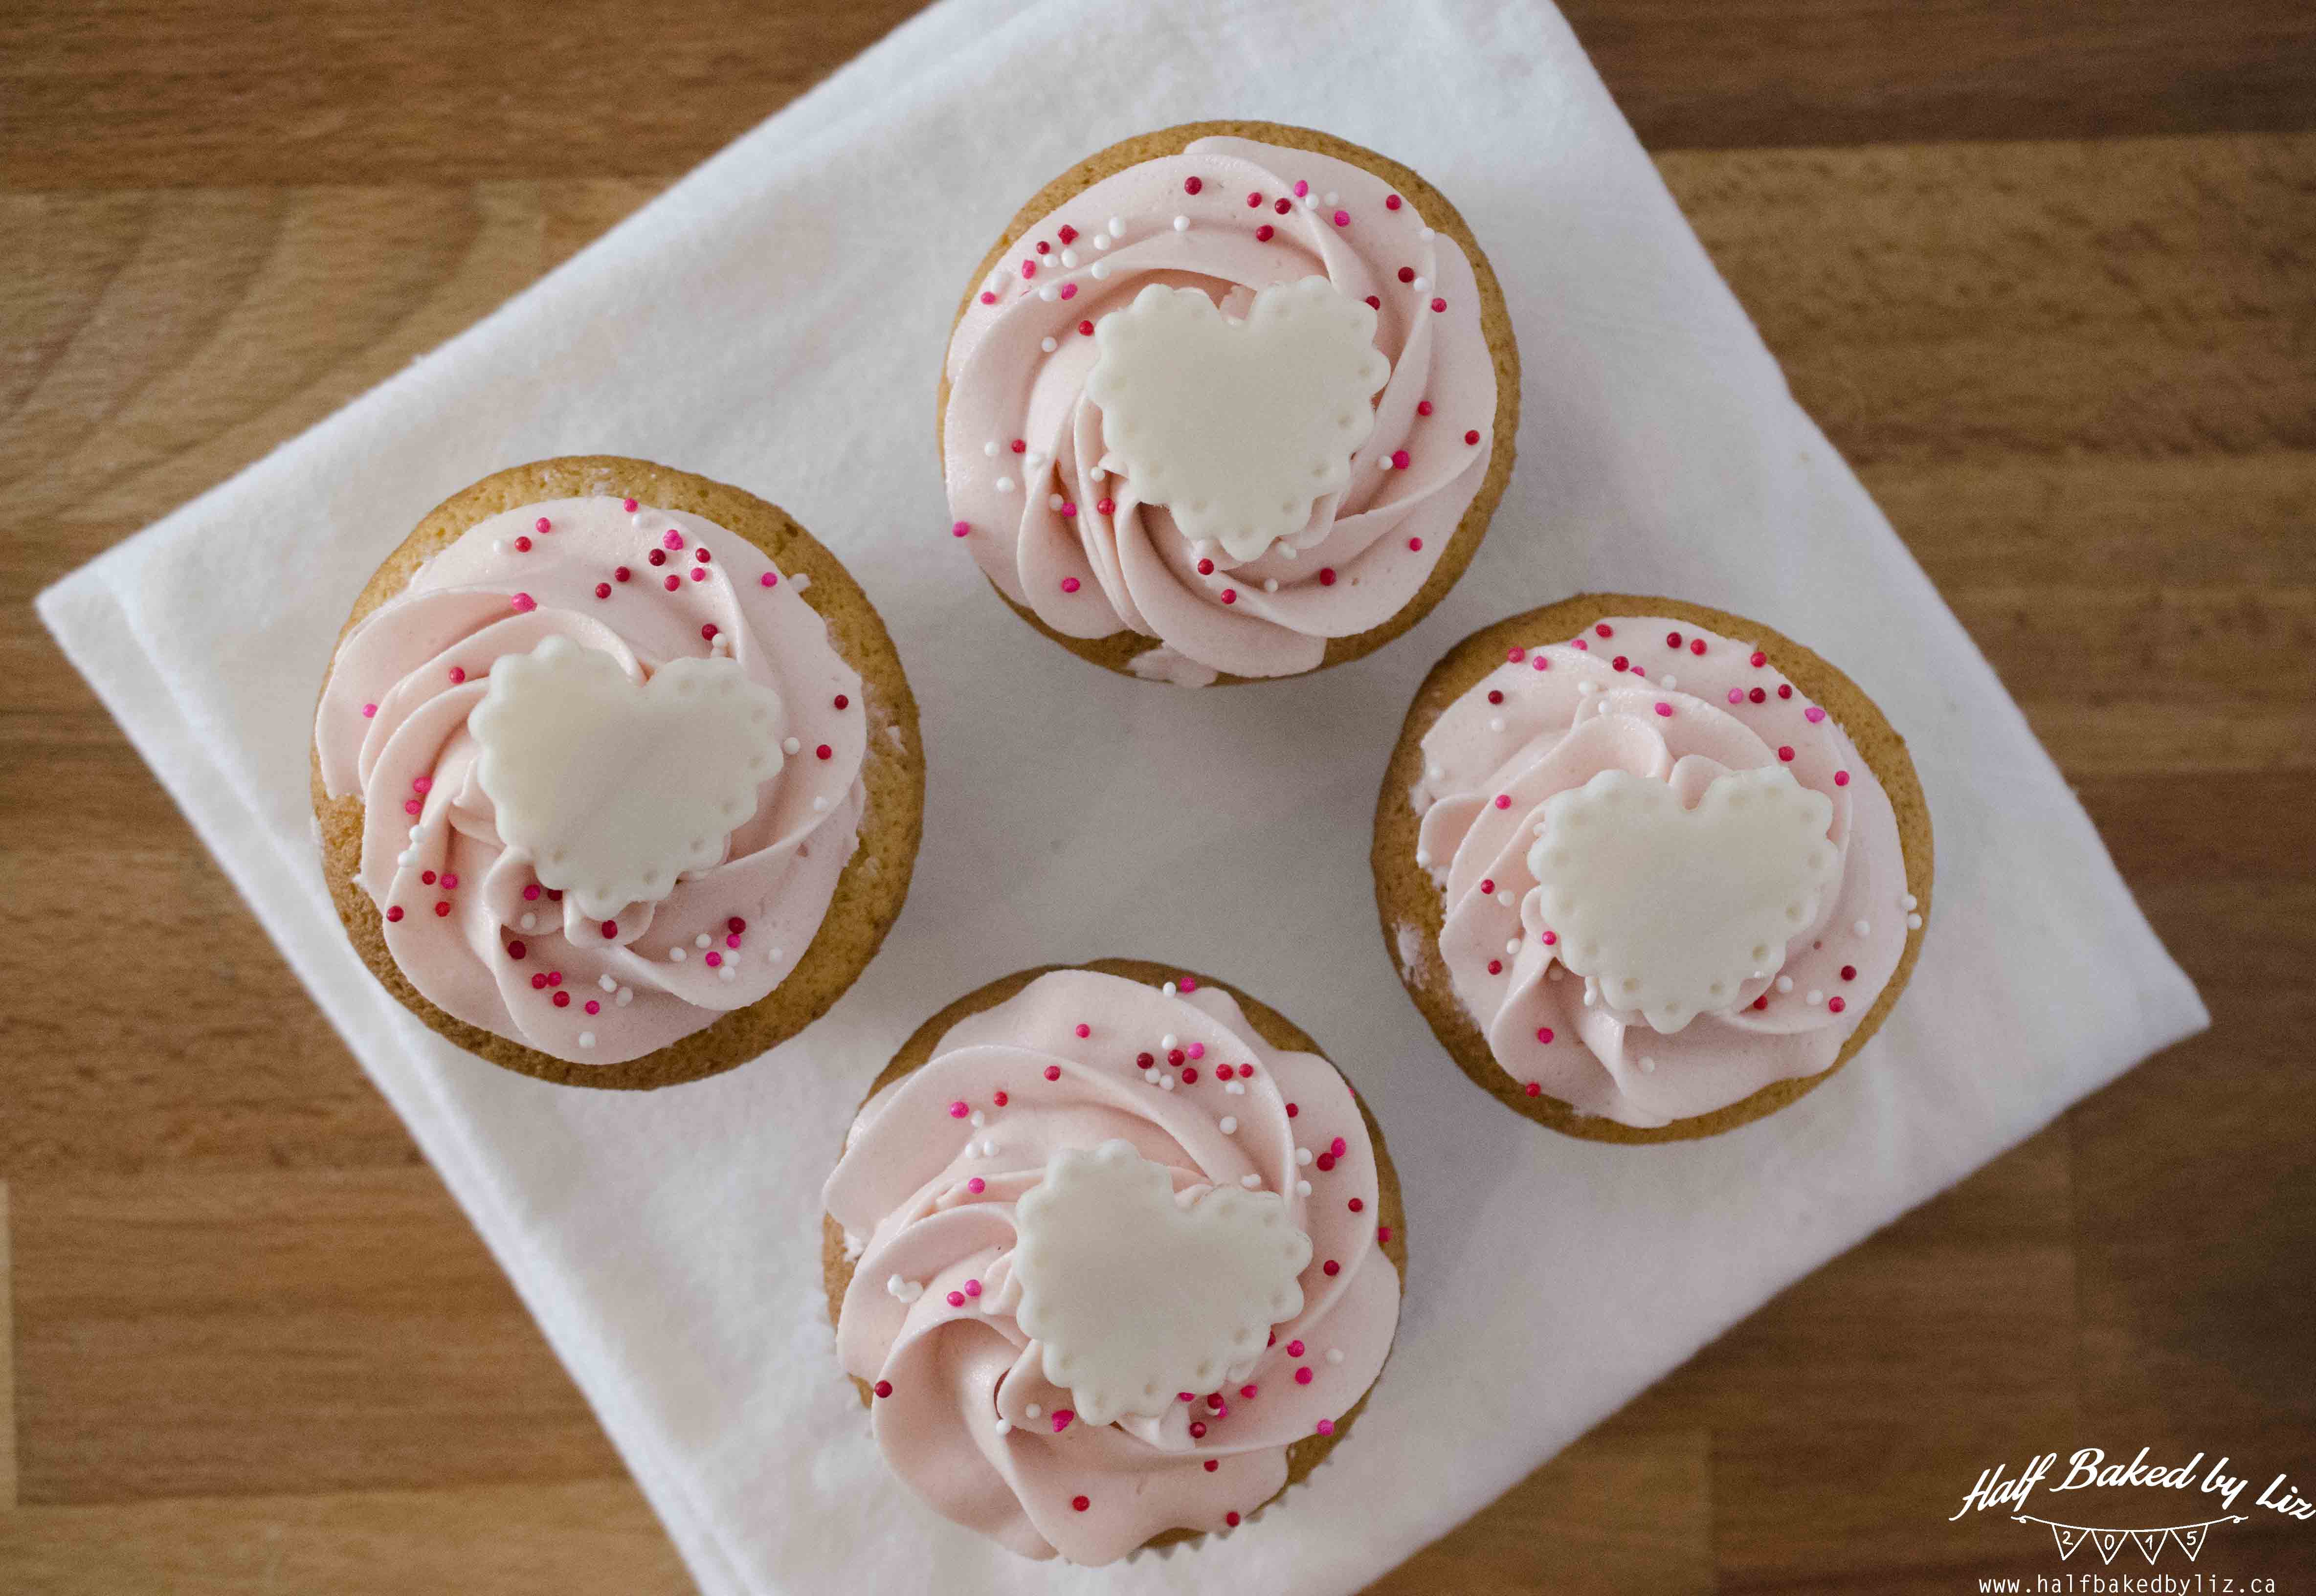
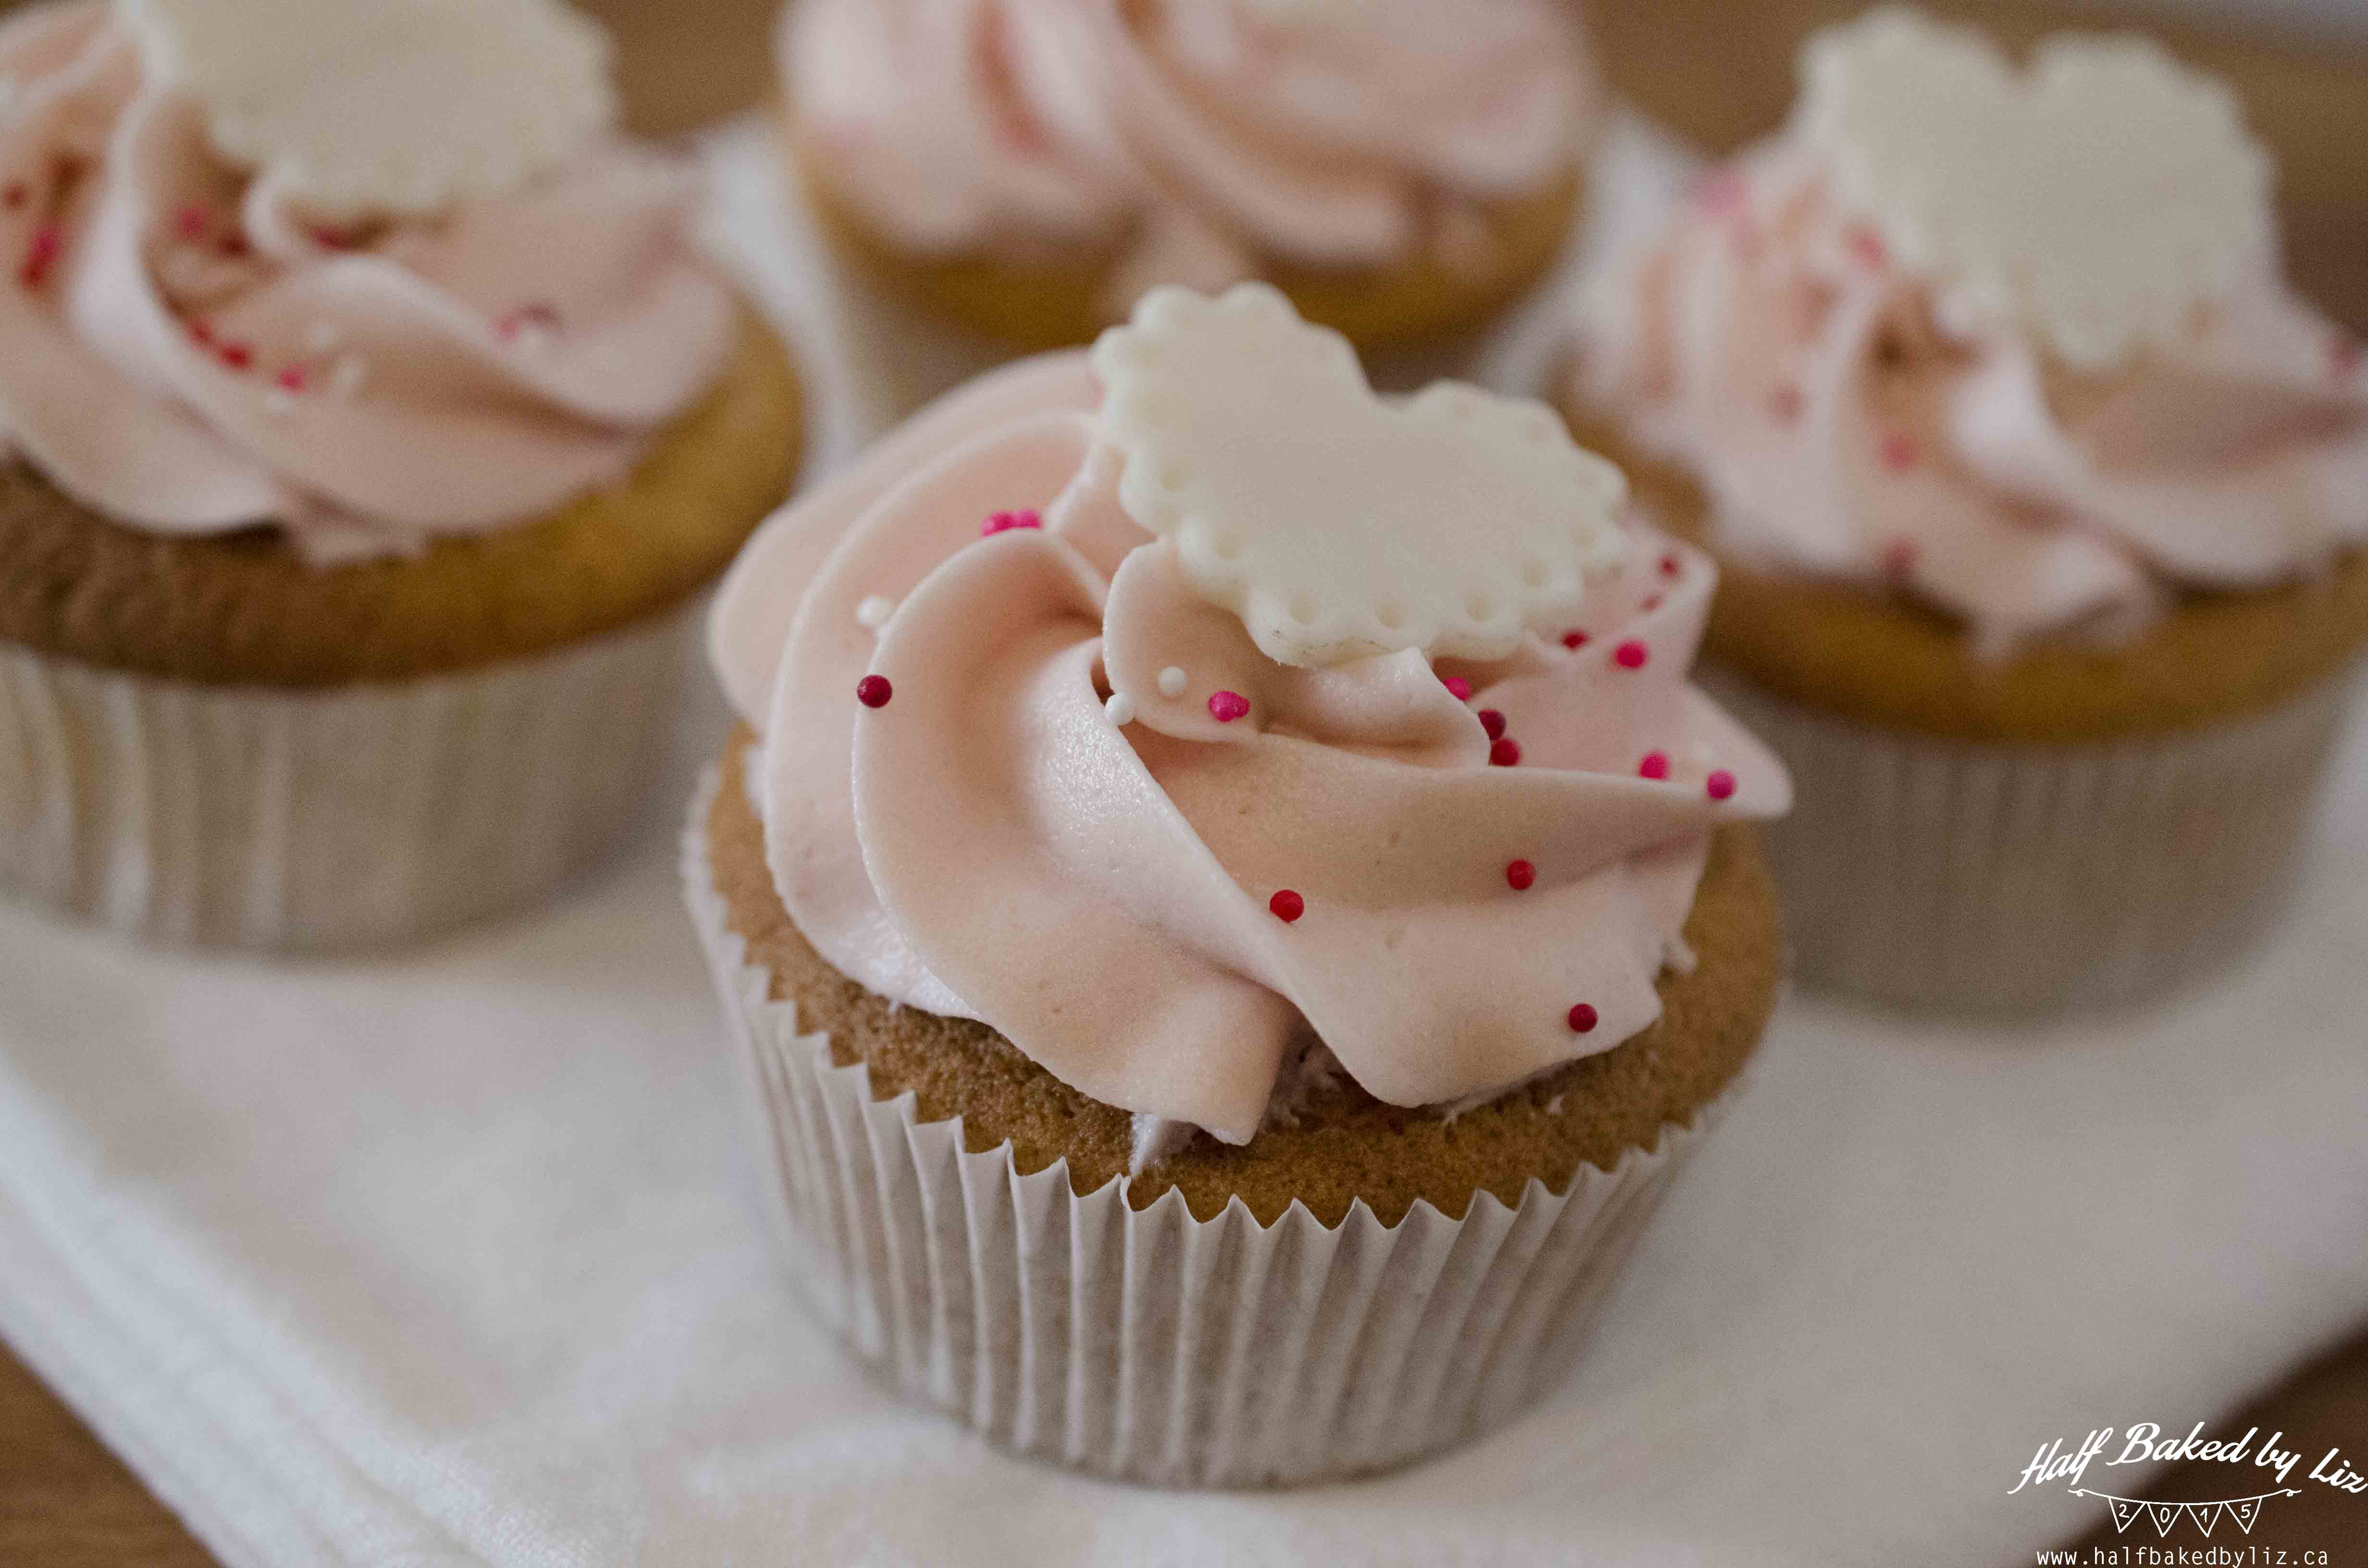
Design #3 – Lacy Hearts
I cut out hearts with scalloped edges from white fondant, and then added a little detail to the edges with a fondant tool (though a toothpick would work too).
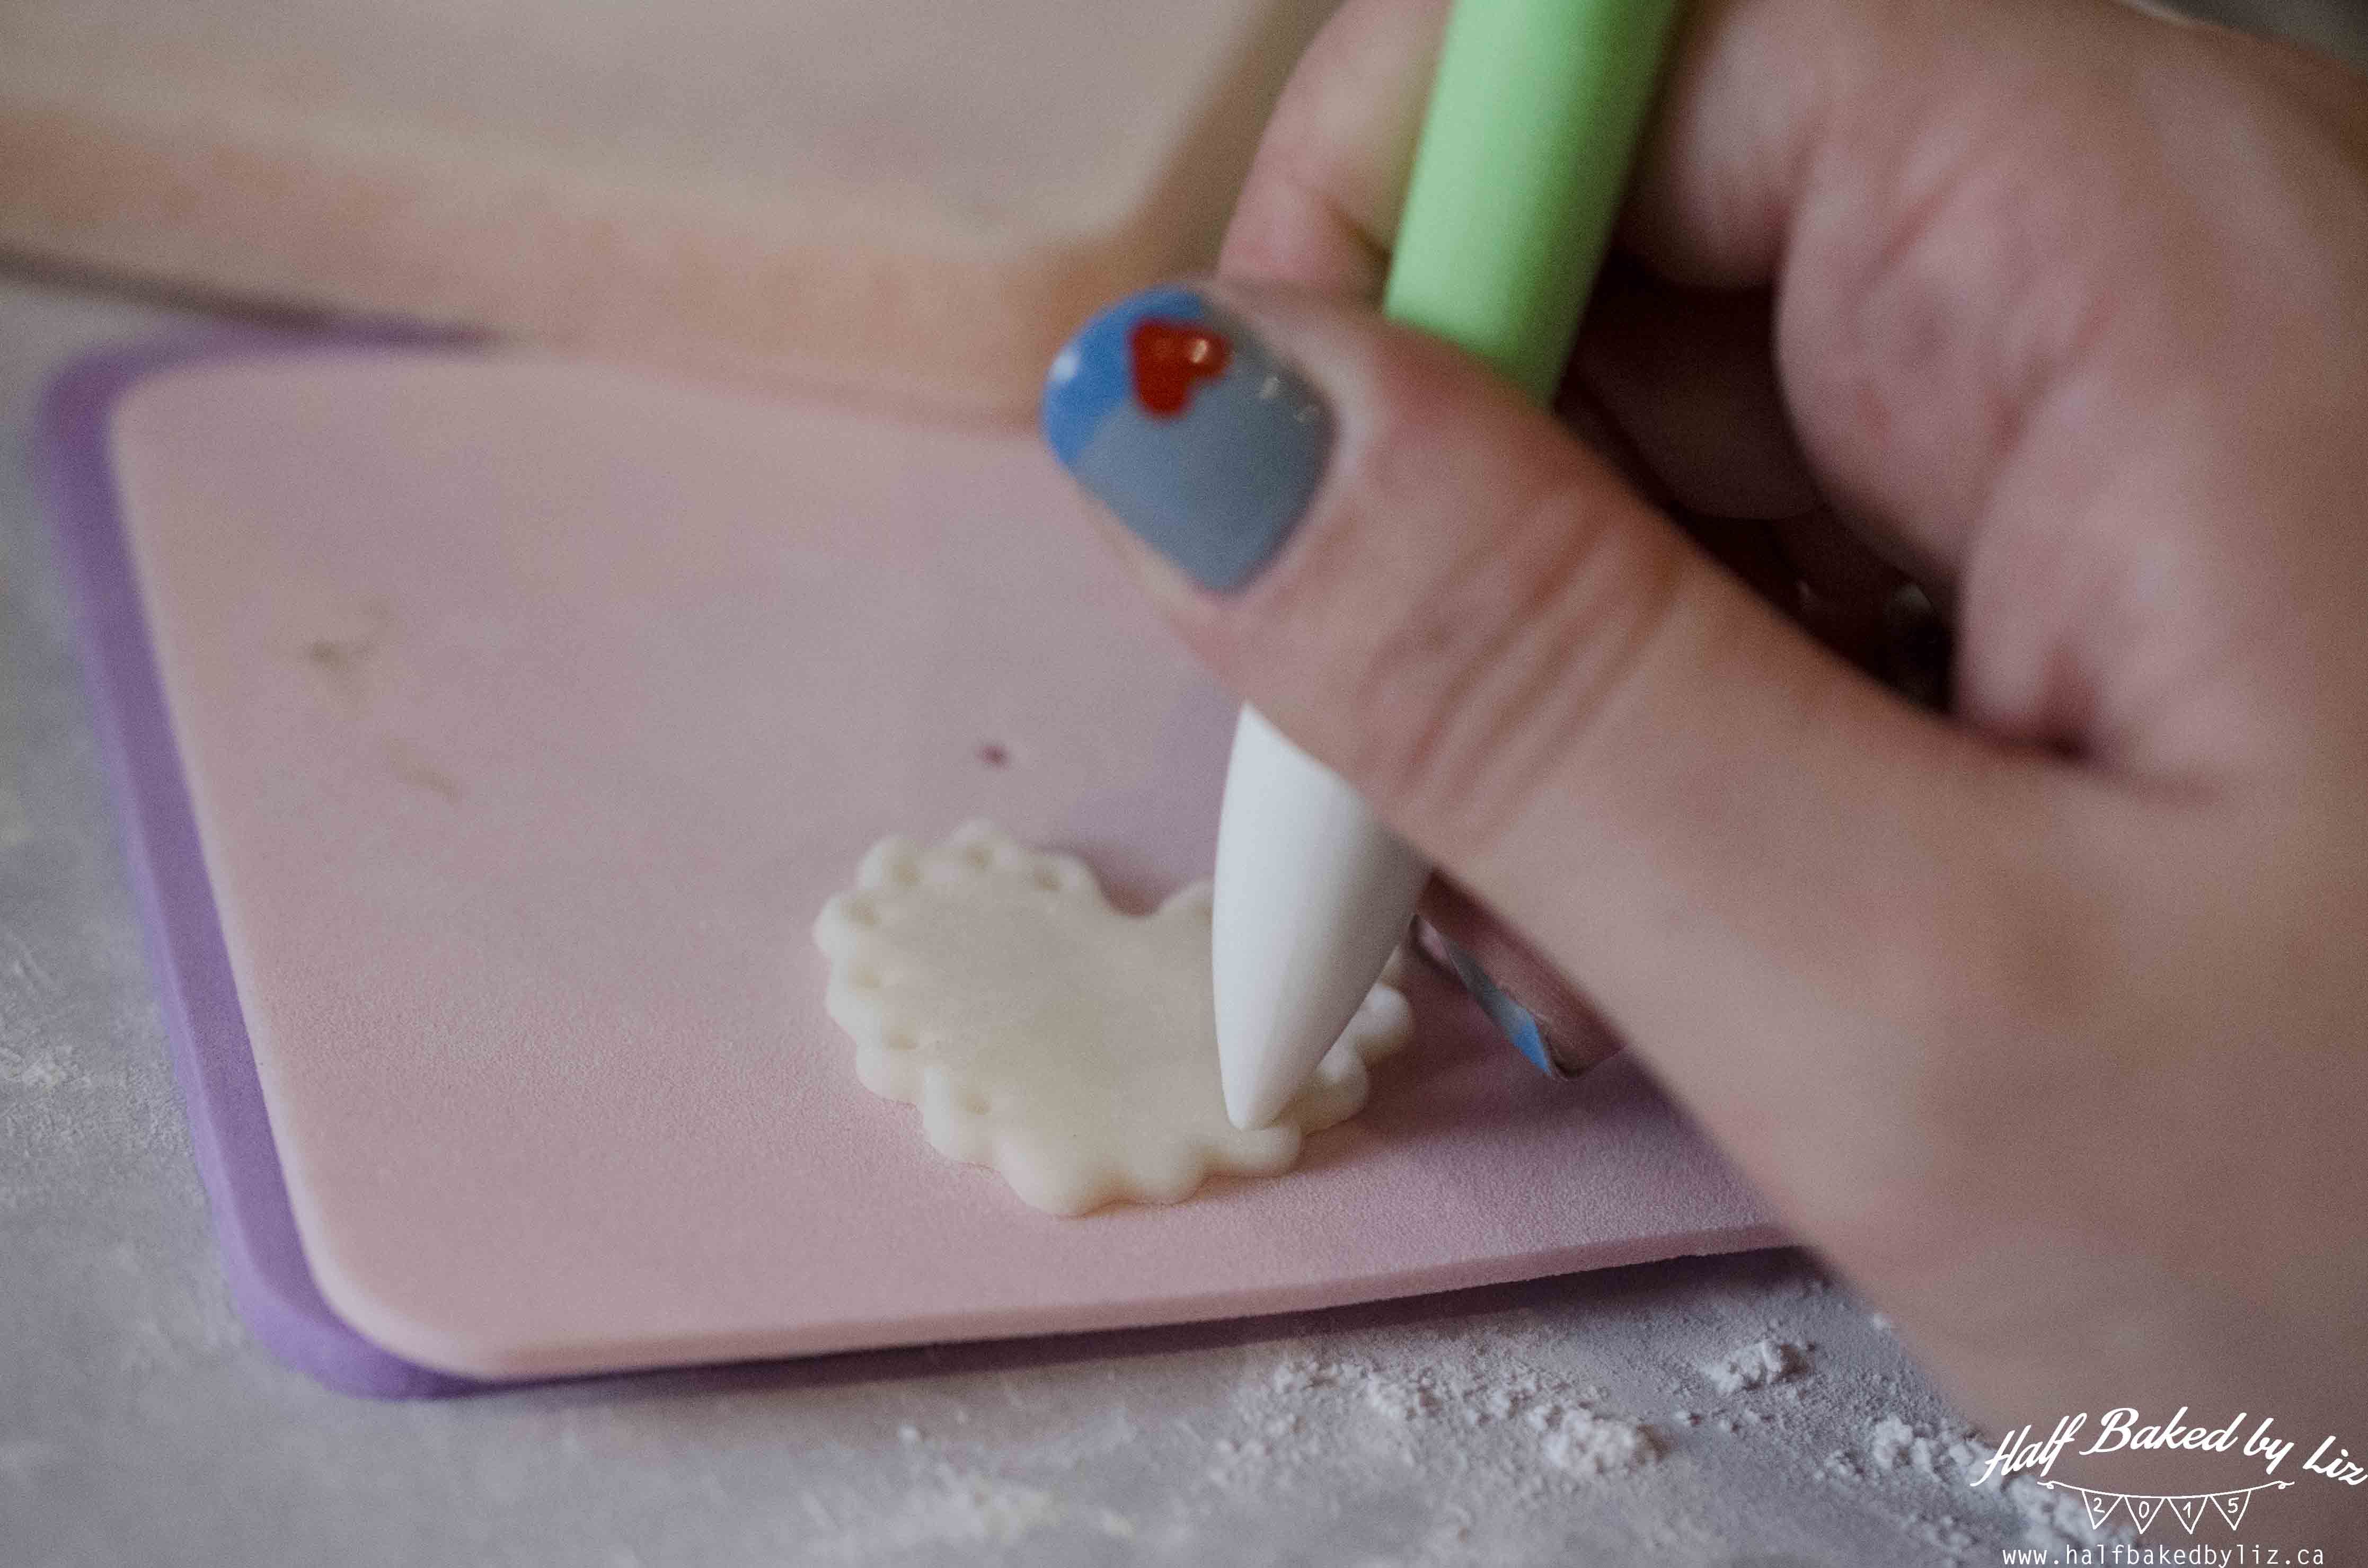
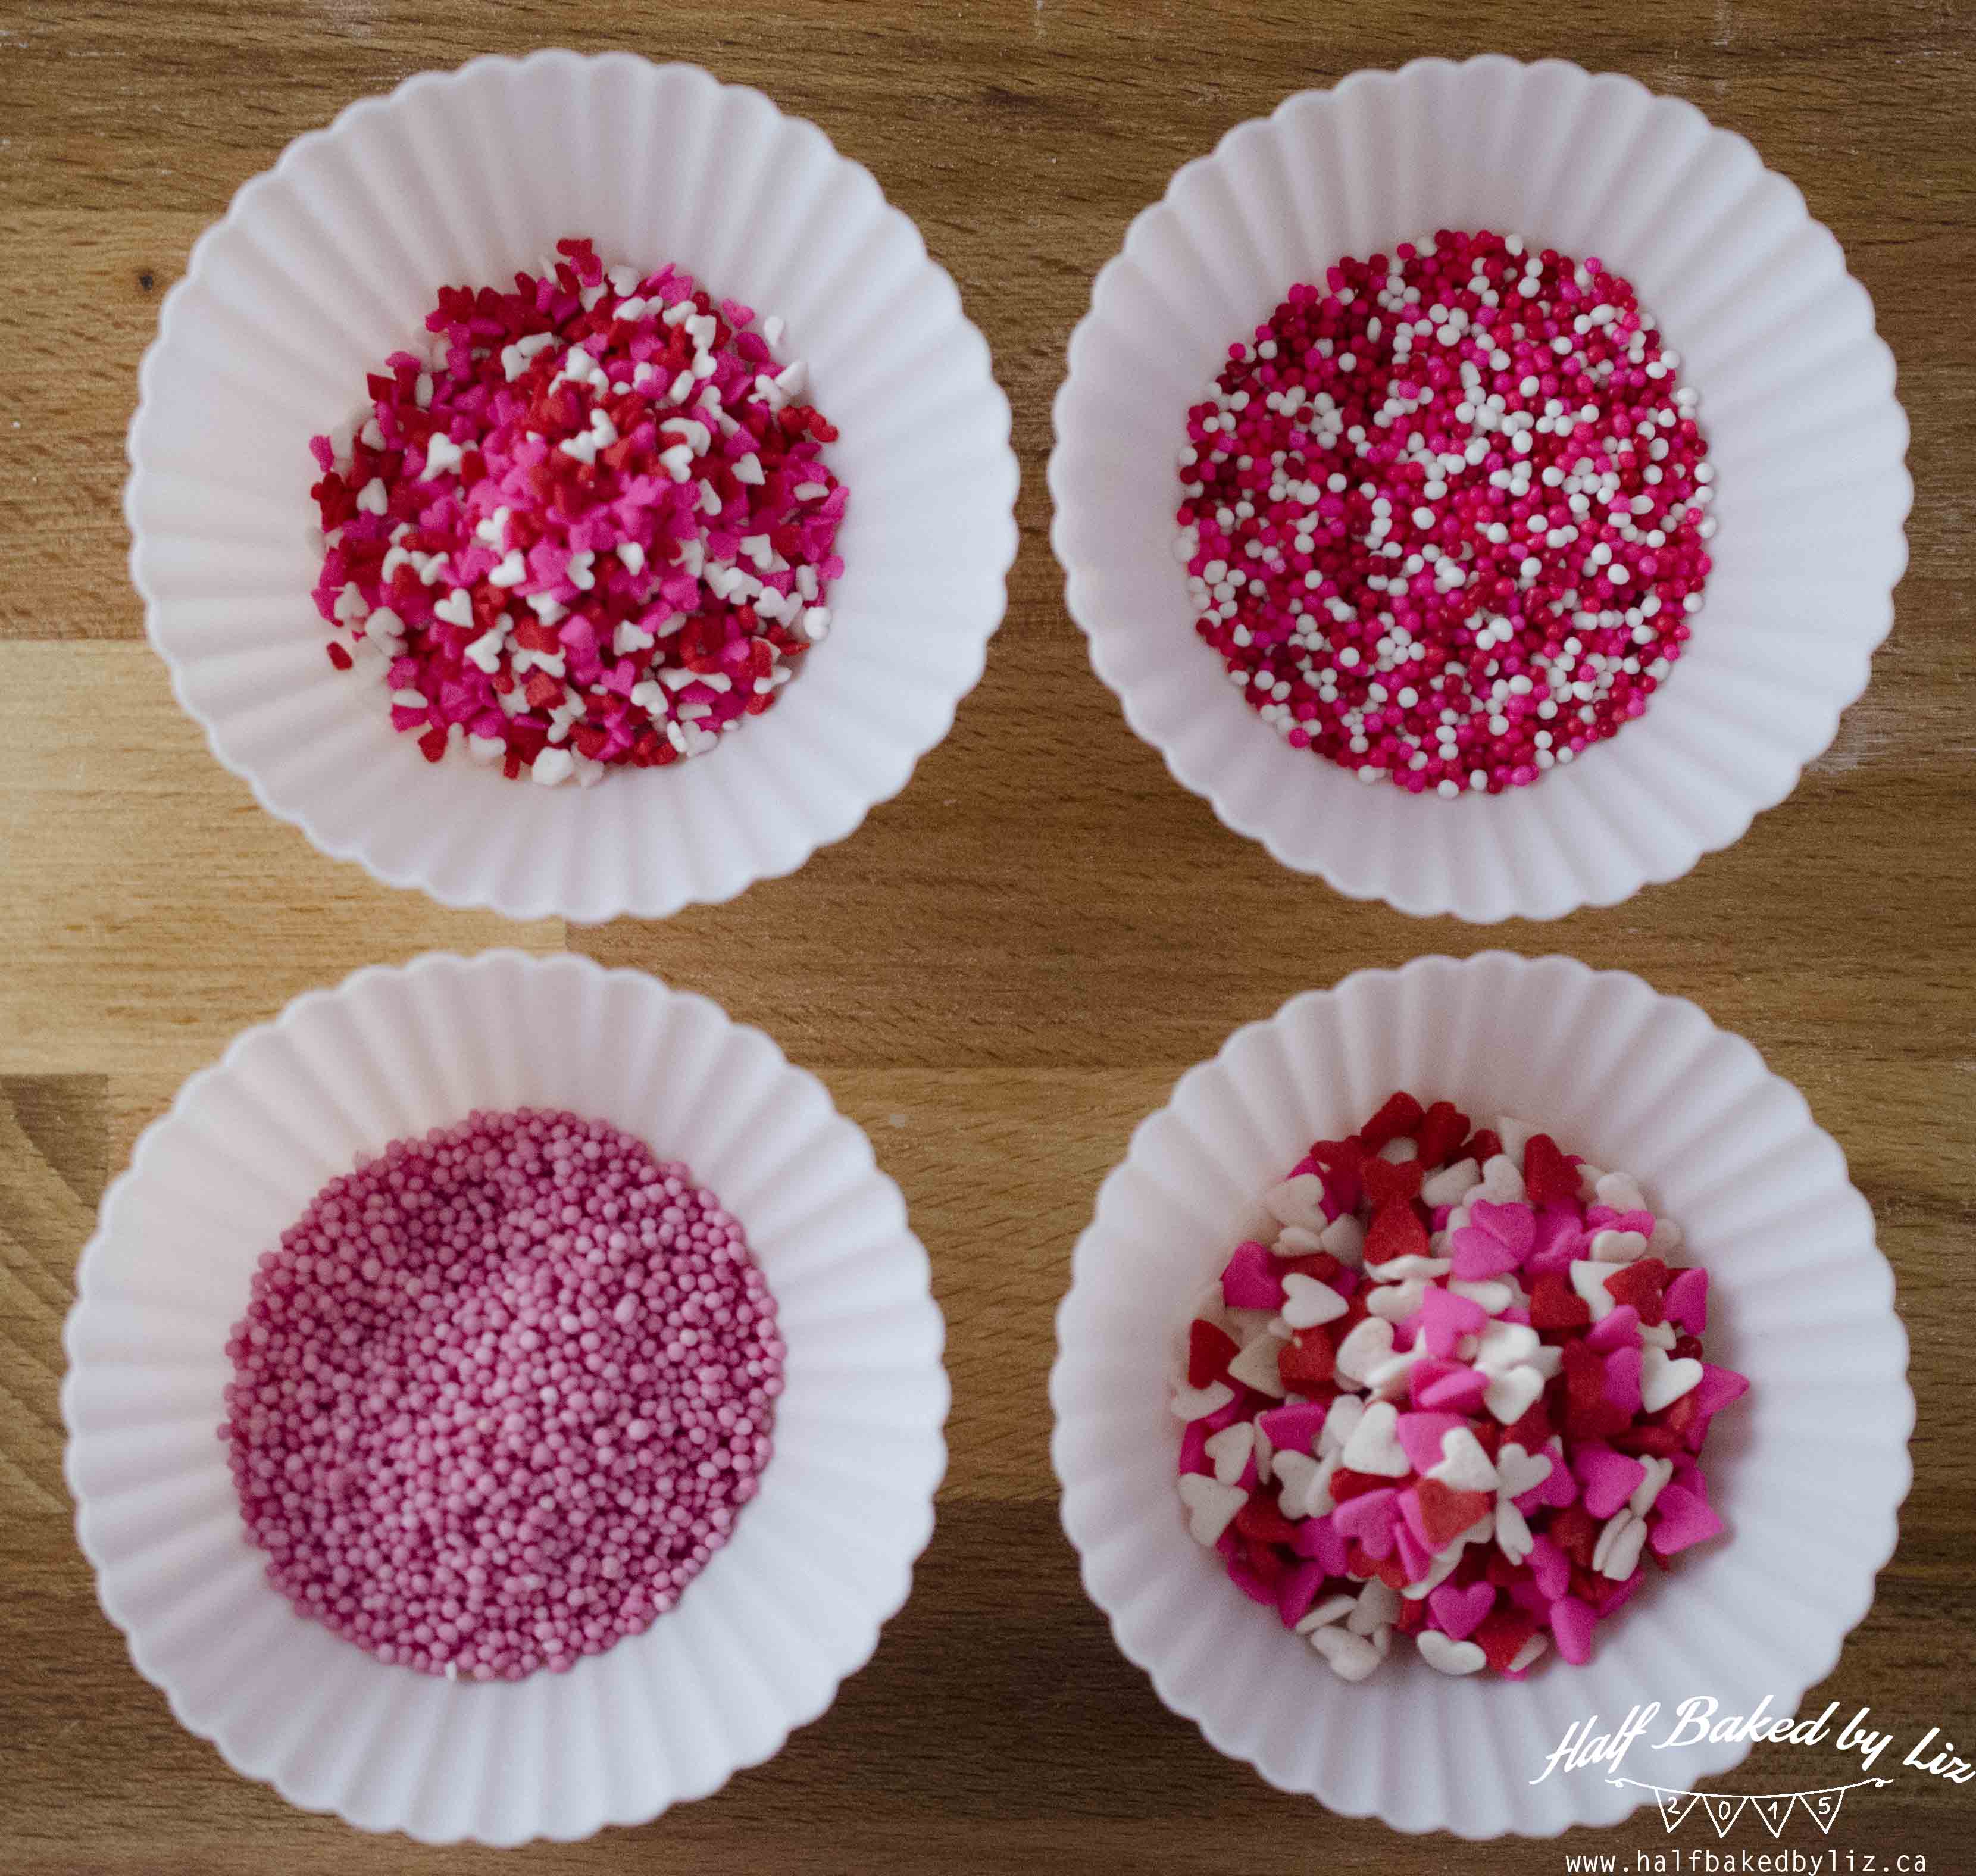
With these hearts, I used coloured (red, white, and pink) nonpareils.
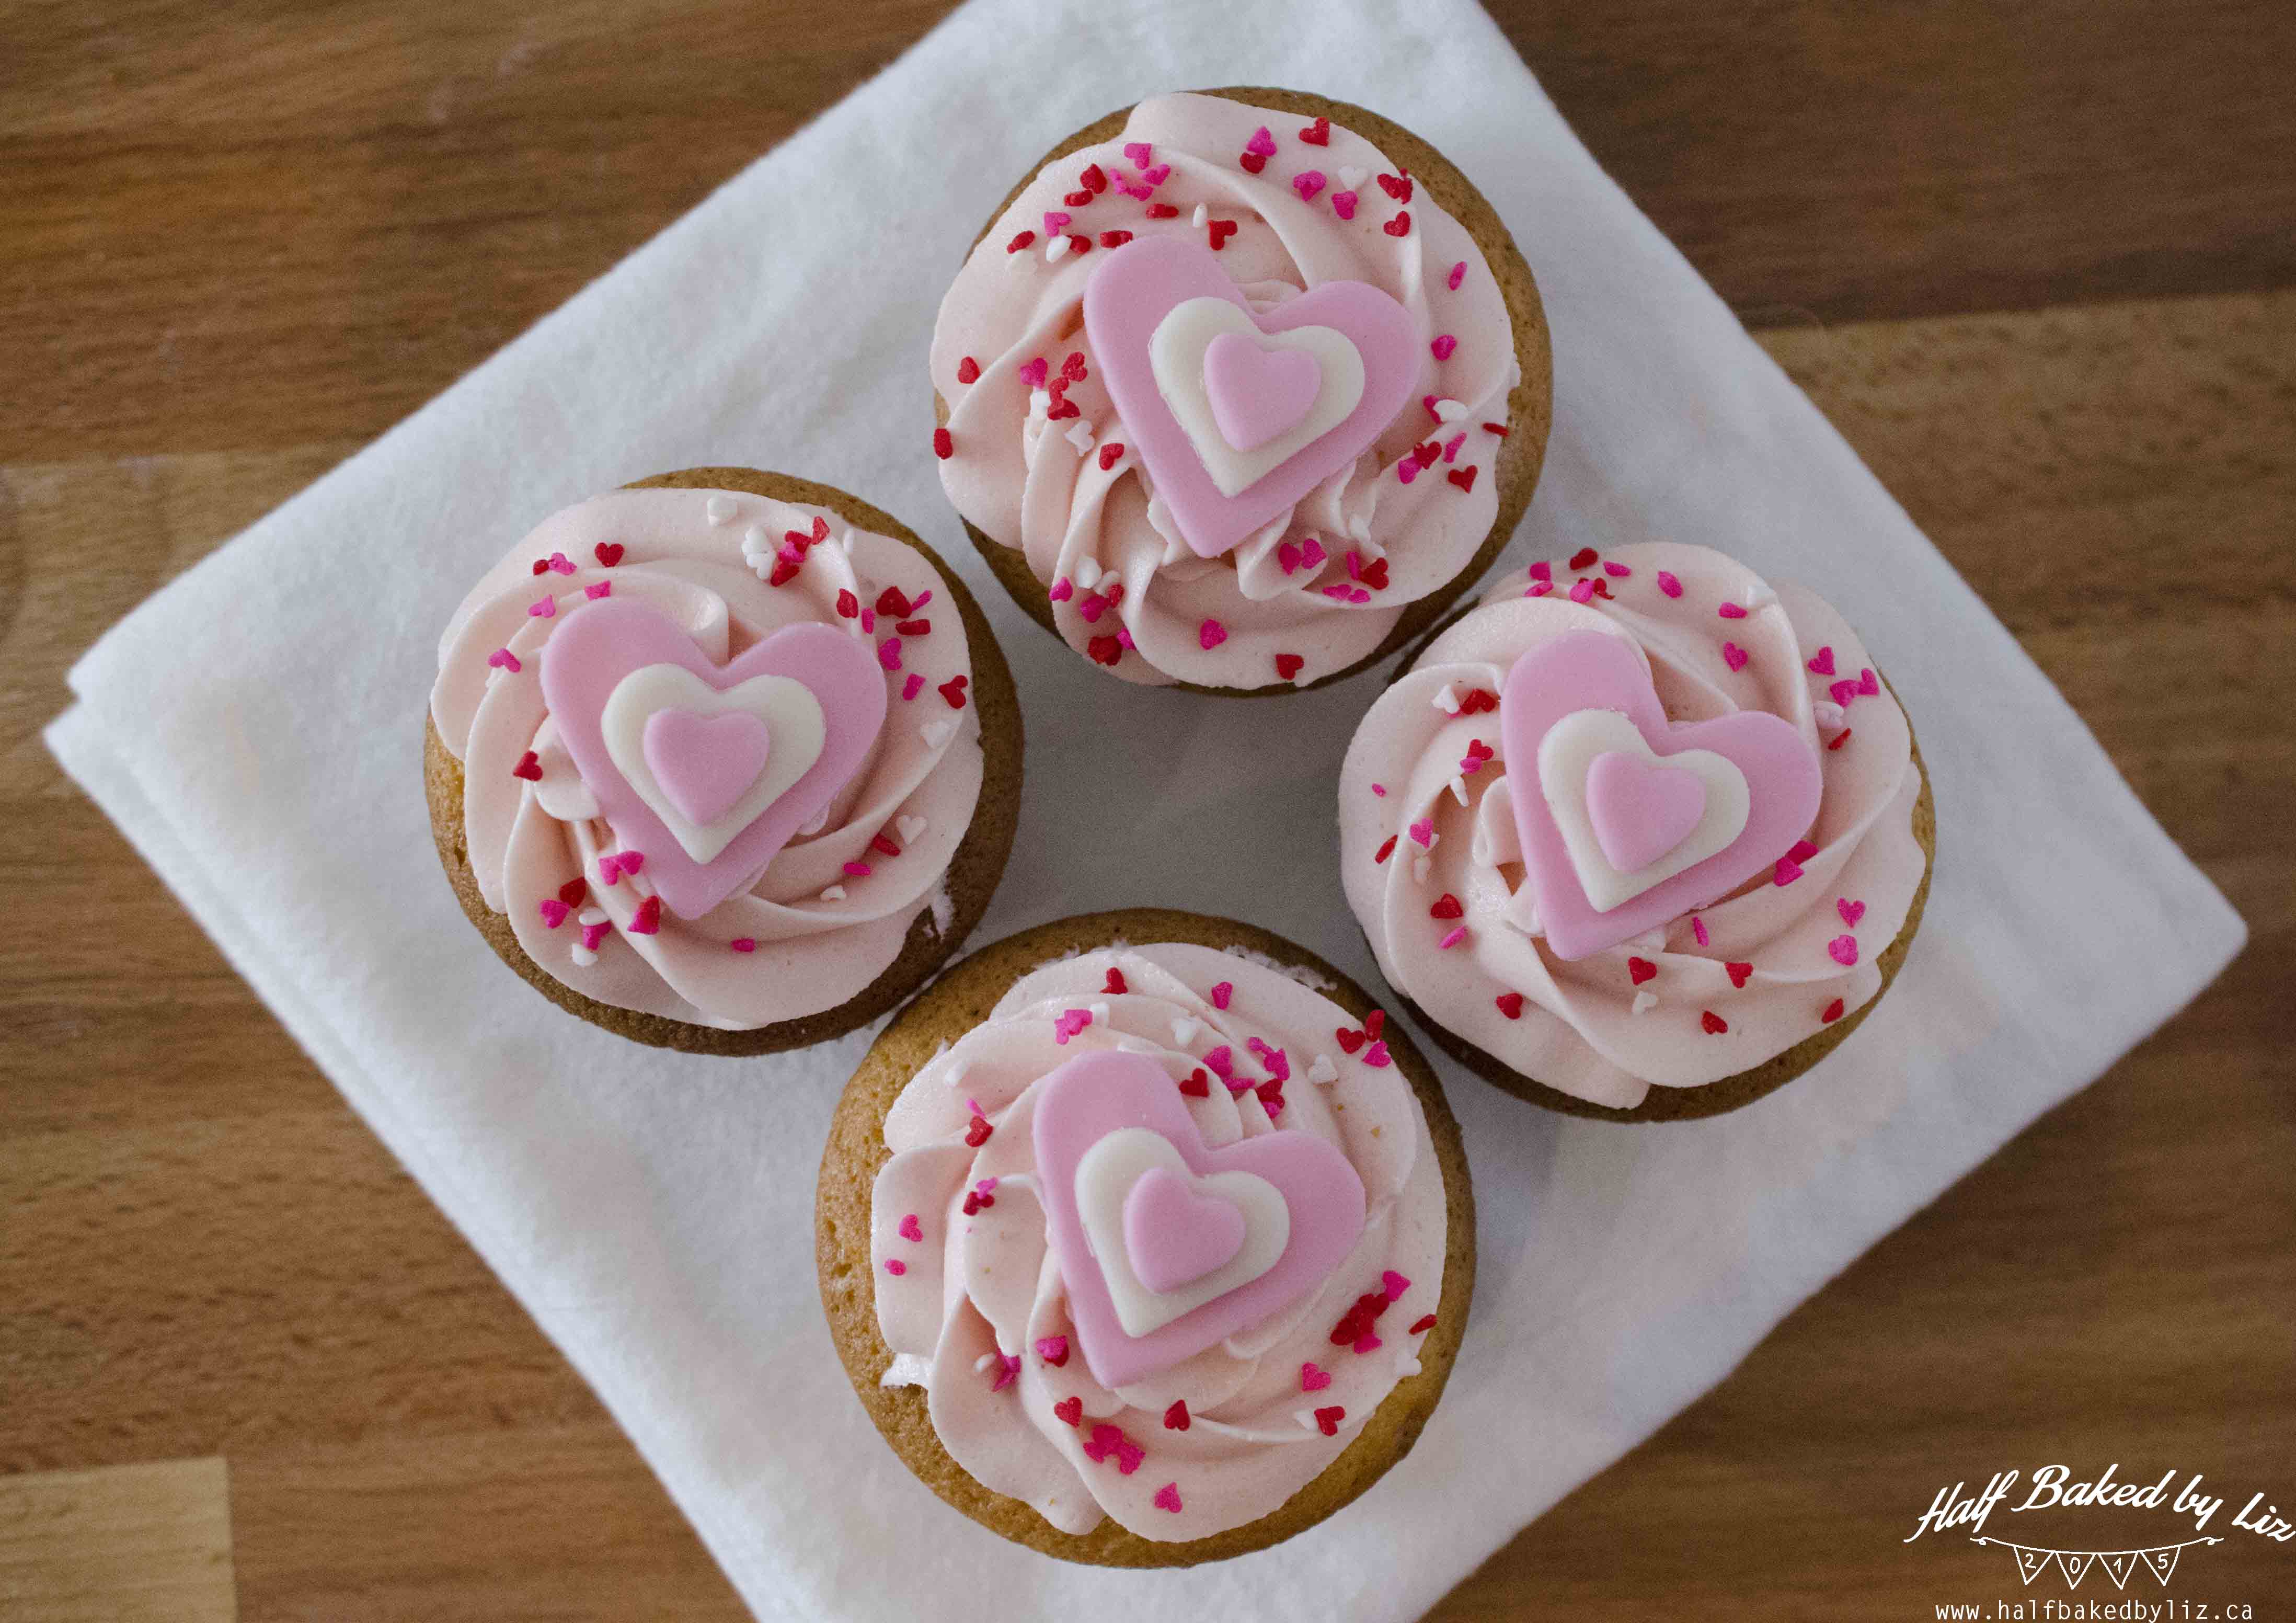
Design #4 – Layered Hearts
For each cupcake you’ll need three hearts, in different sizes. I also alternated the colours between pink and white. Just cut them out, and stick them together with the tiniest dab of water.

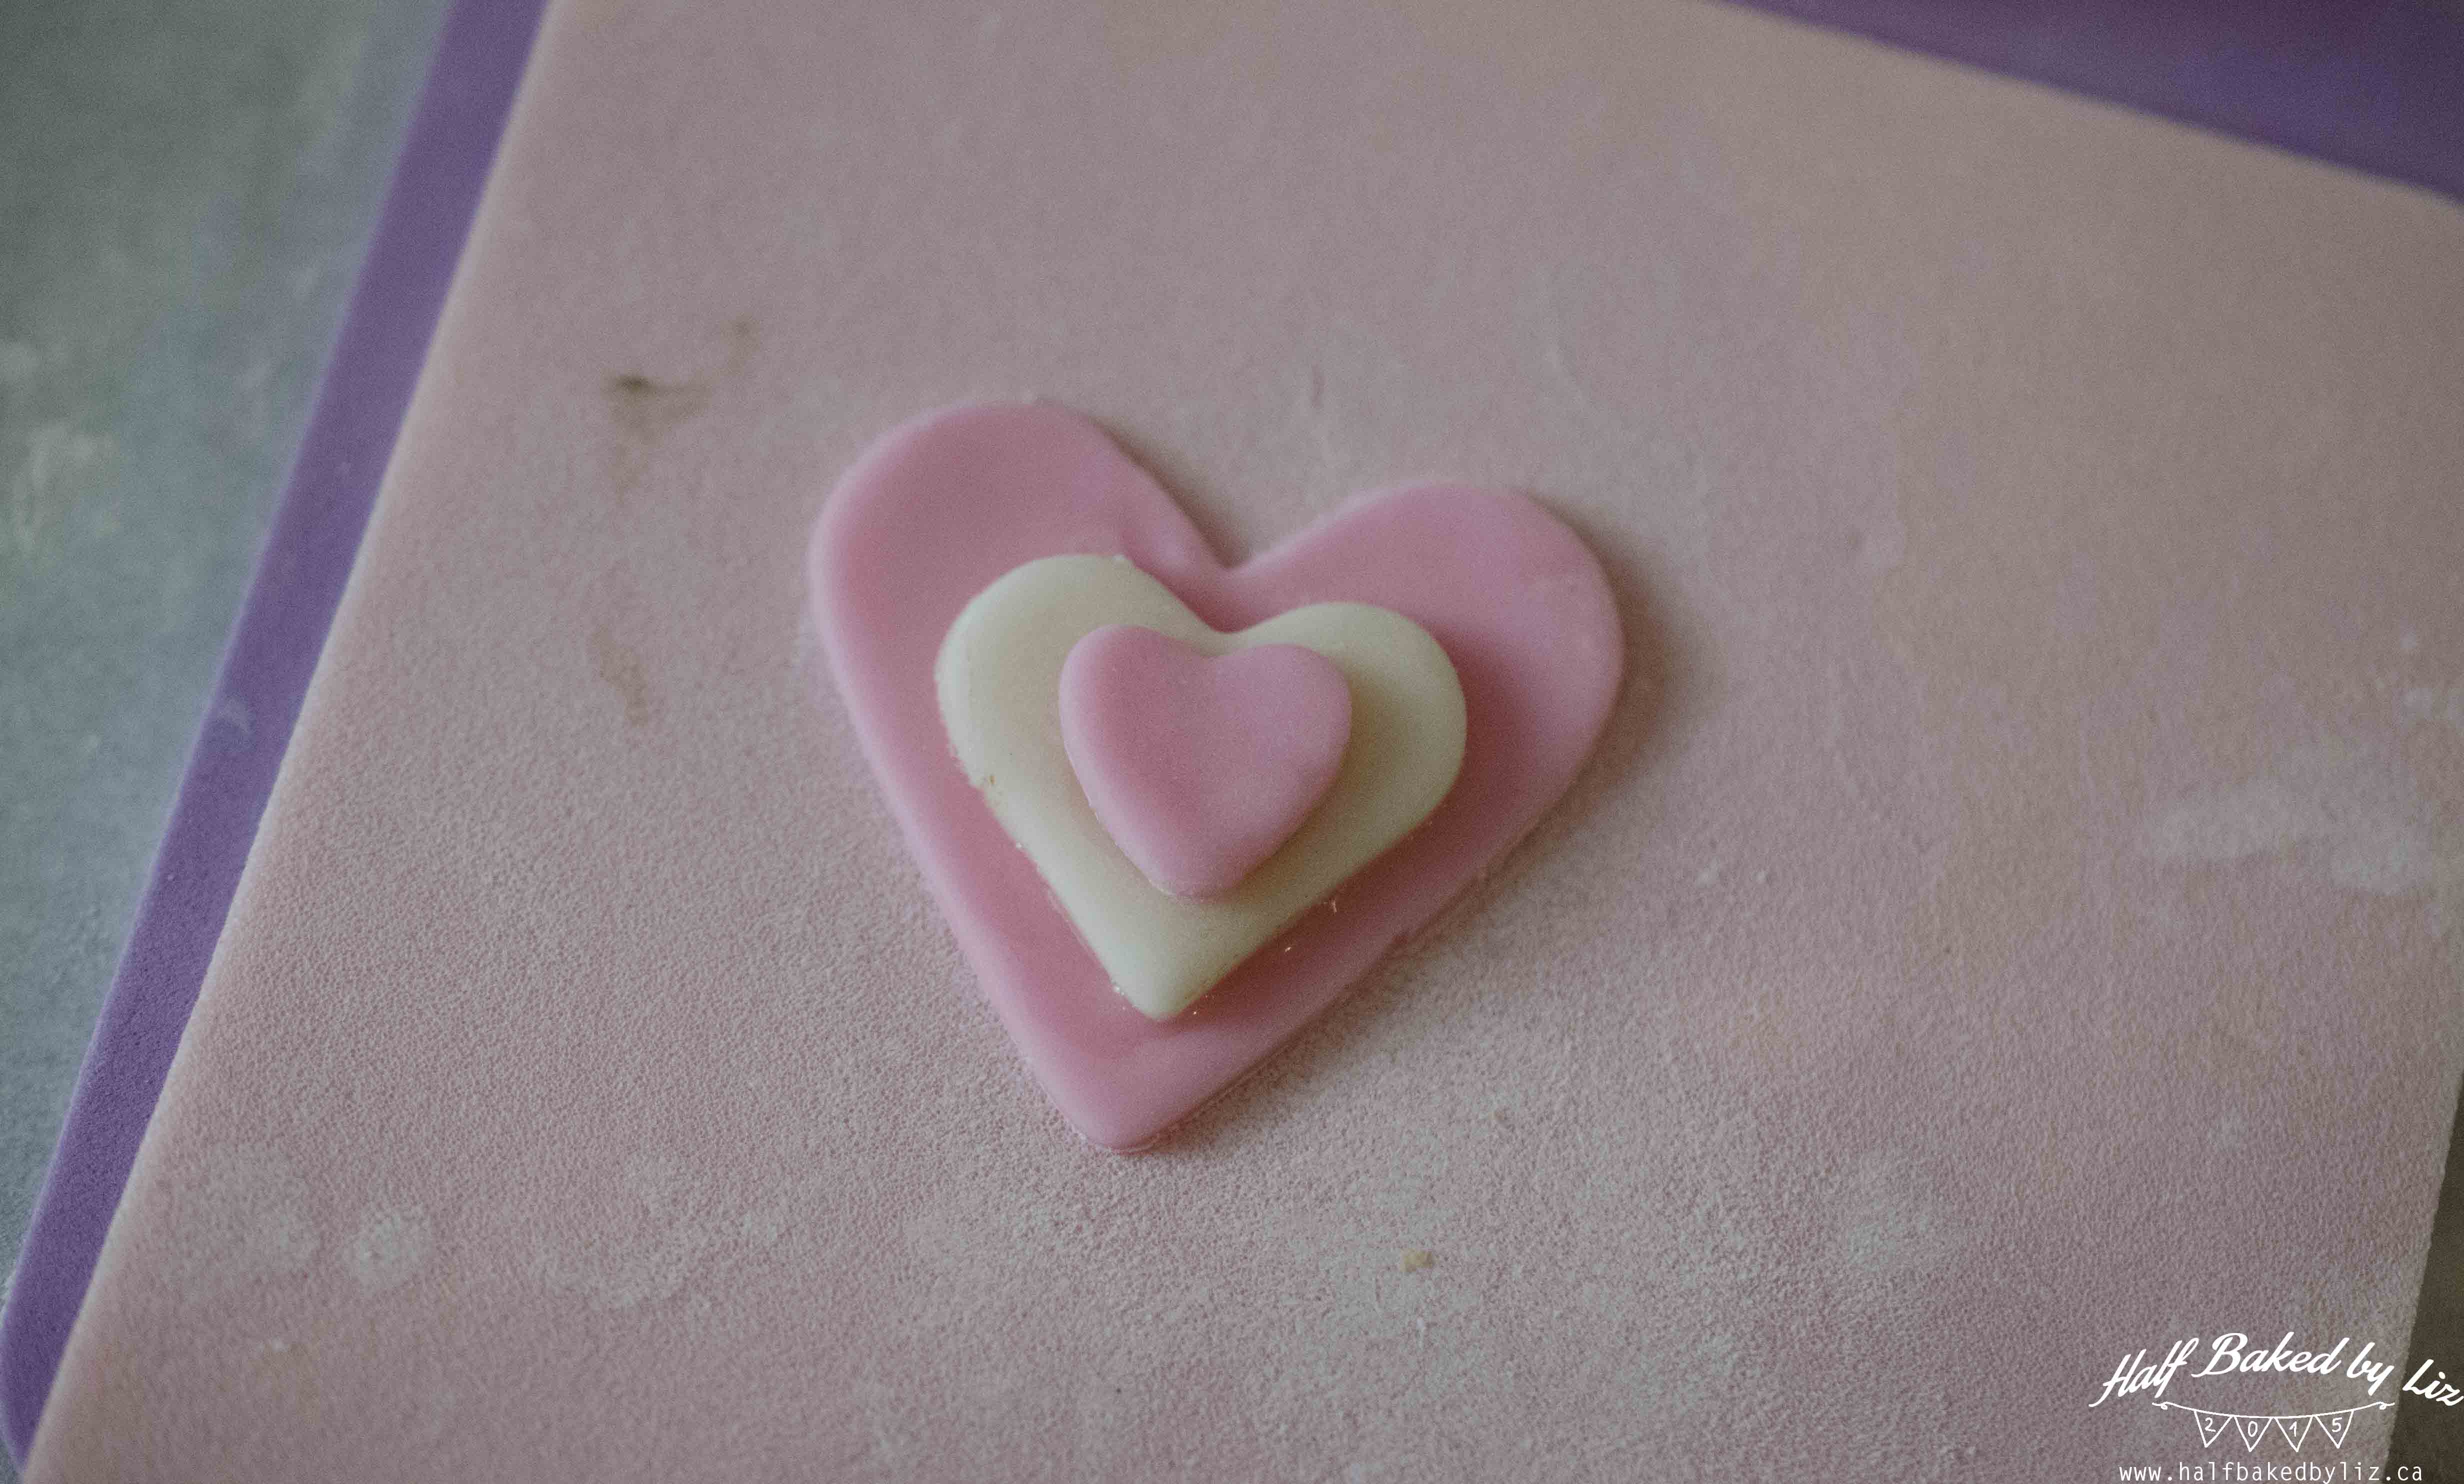
I paired these with teeny-tiny heart sprinkles.

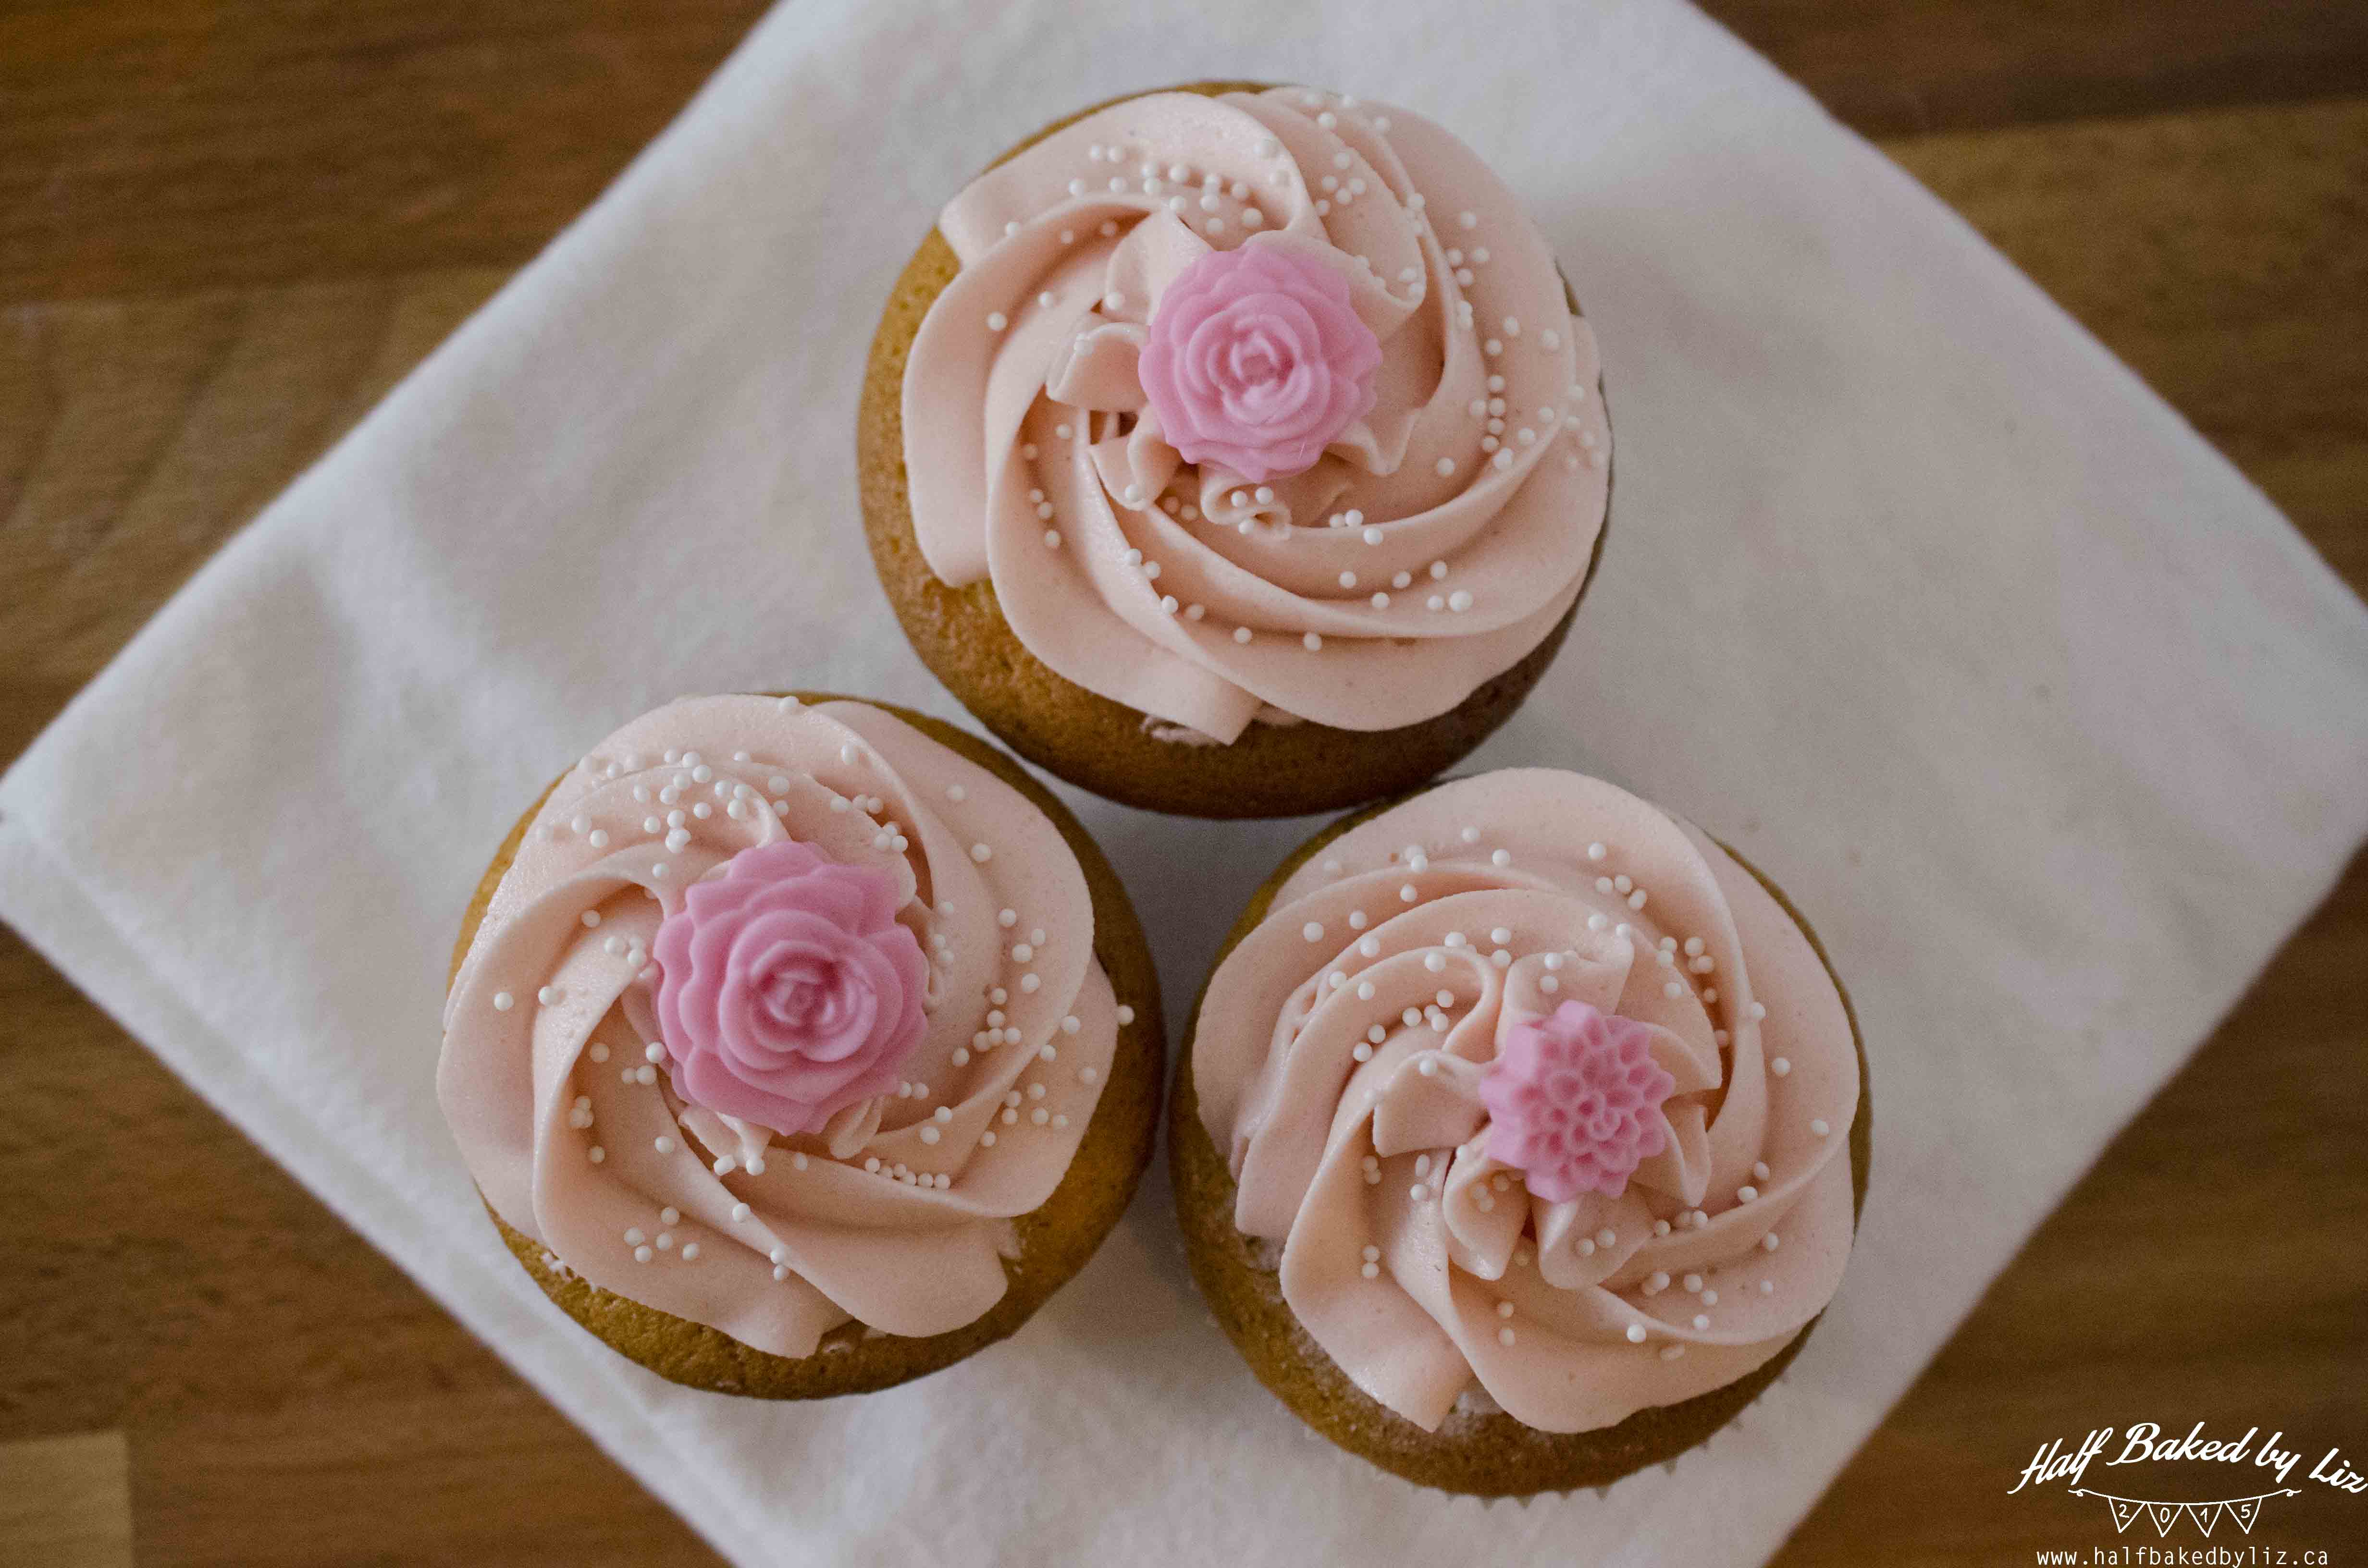
Design #5 – Molded Flowers
These are really cute, and really easy. Just press your fondant into a mold, and pop it out! The mold I used here is actually meant for clay, but works perfectly for fondant.
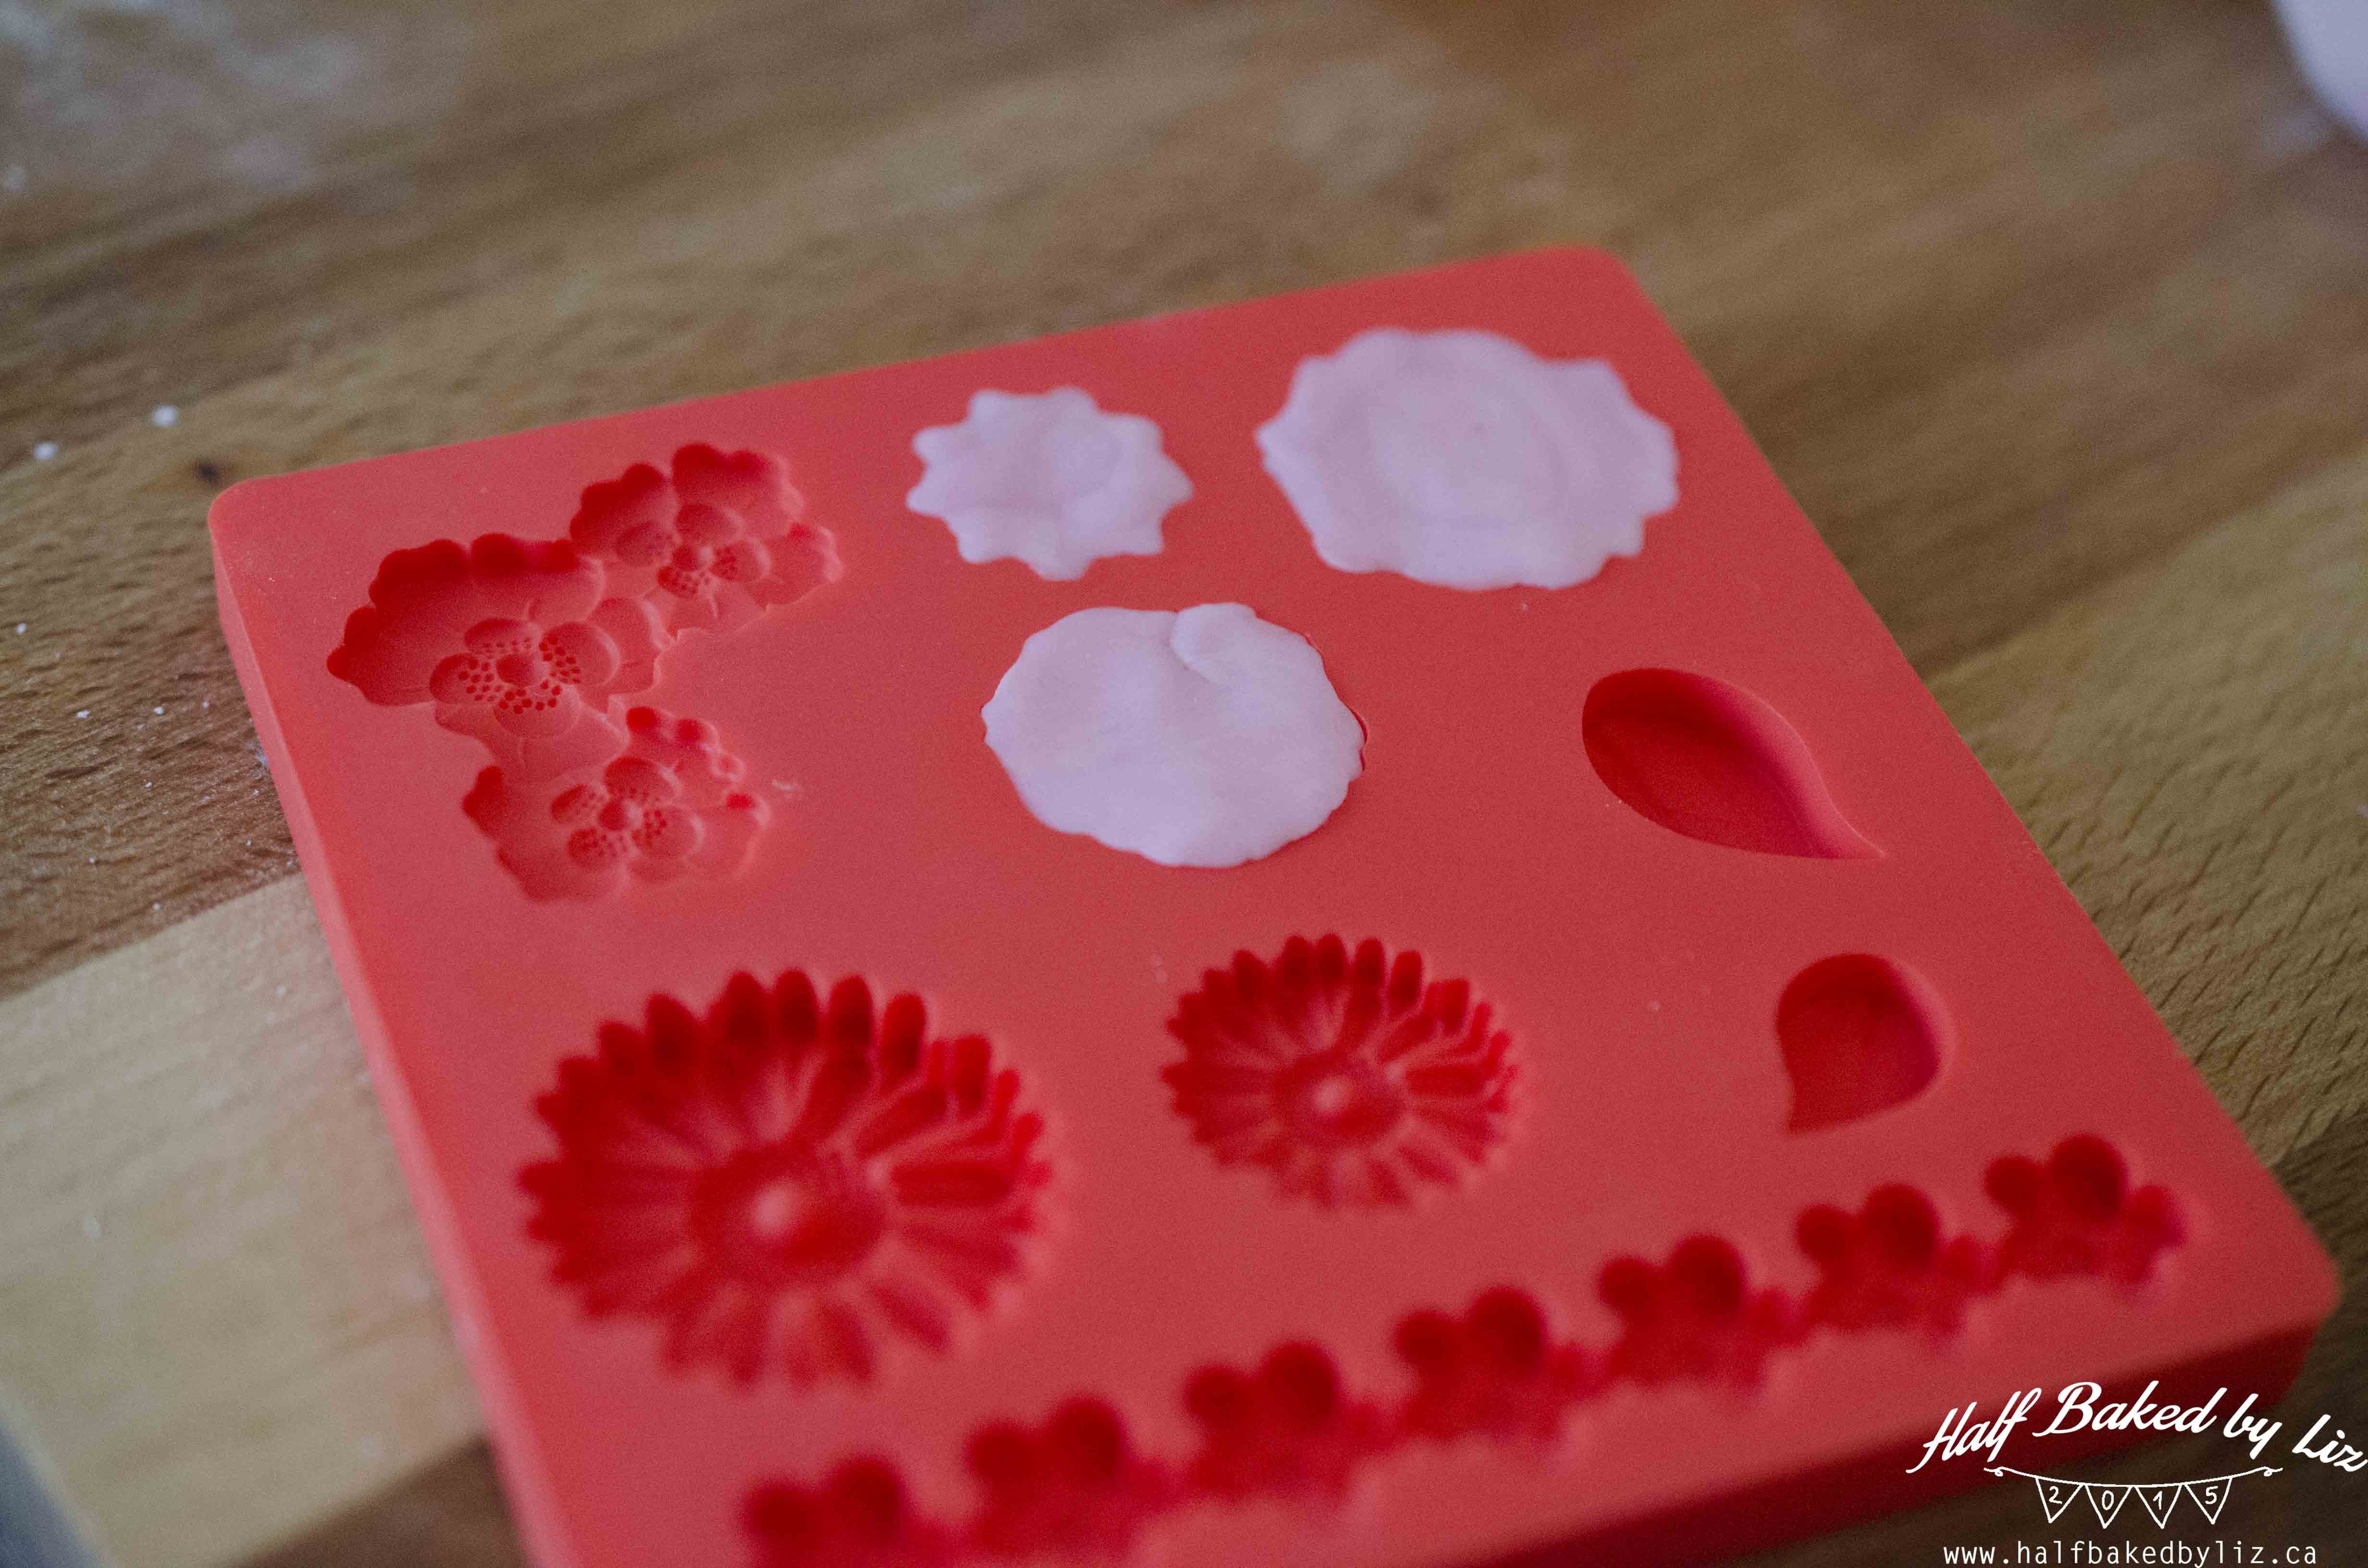
I placed these on the cupcakes with white nonpareils.
That’s it! Which one do you like best? I’m torn between the bisous and the flowers :)