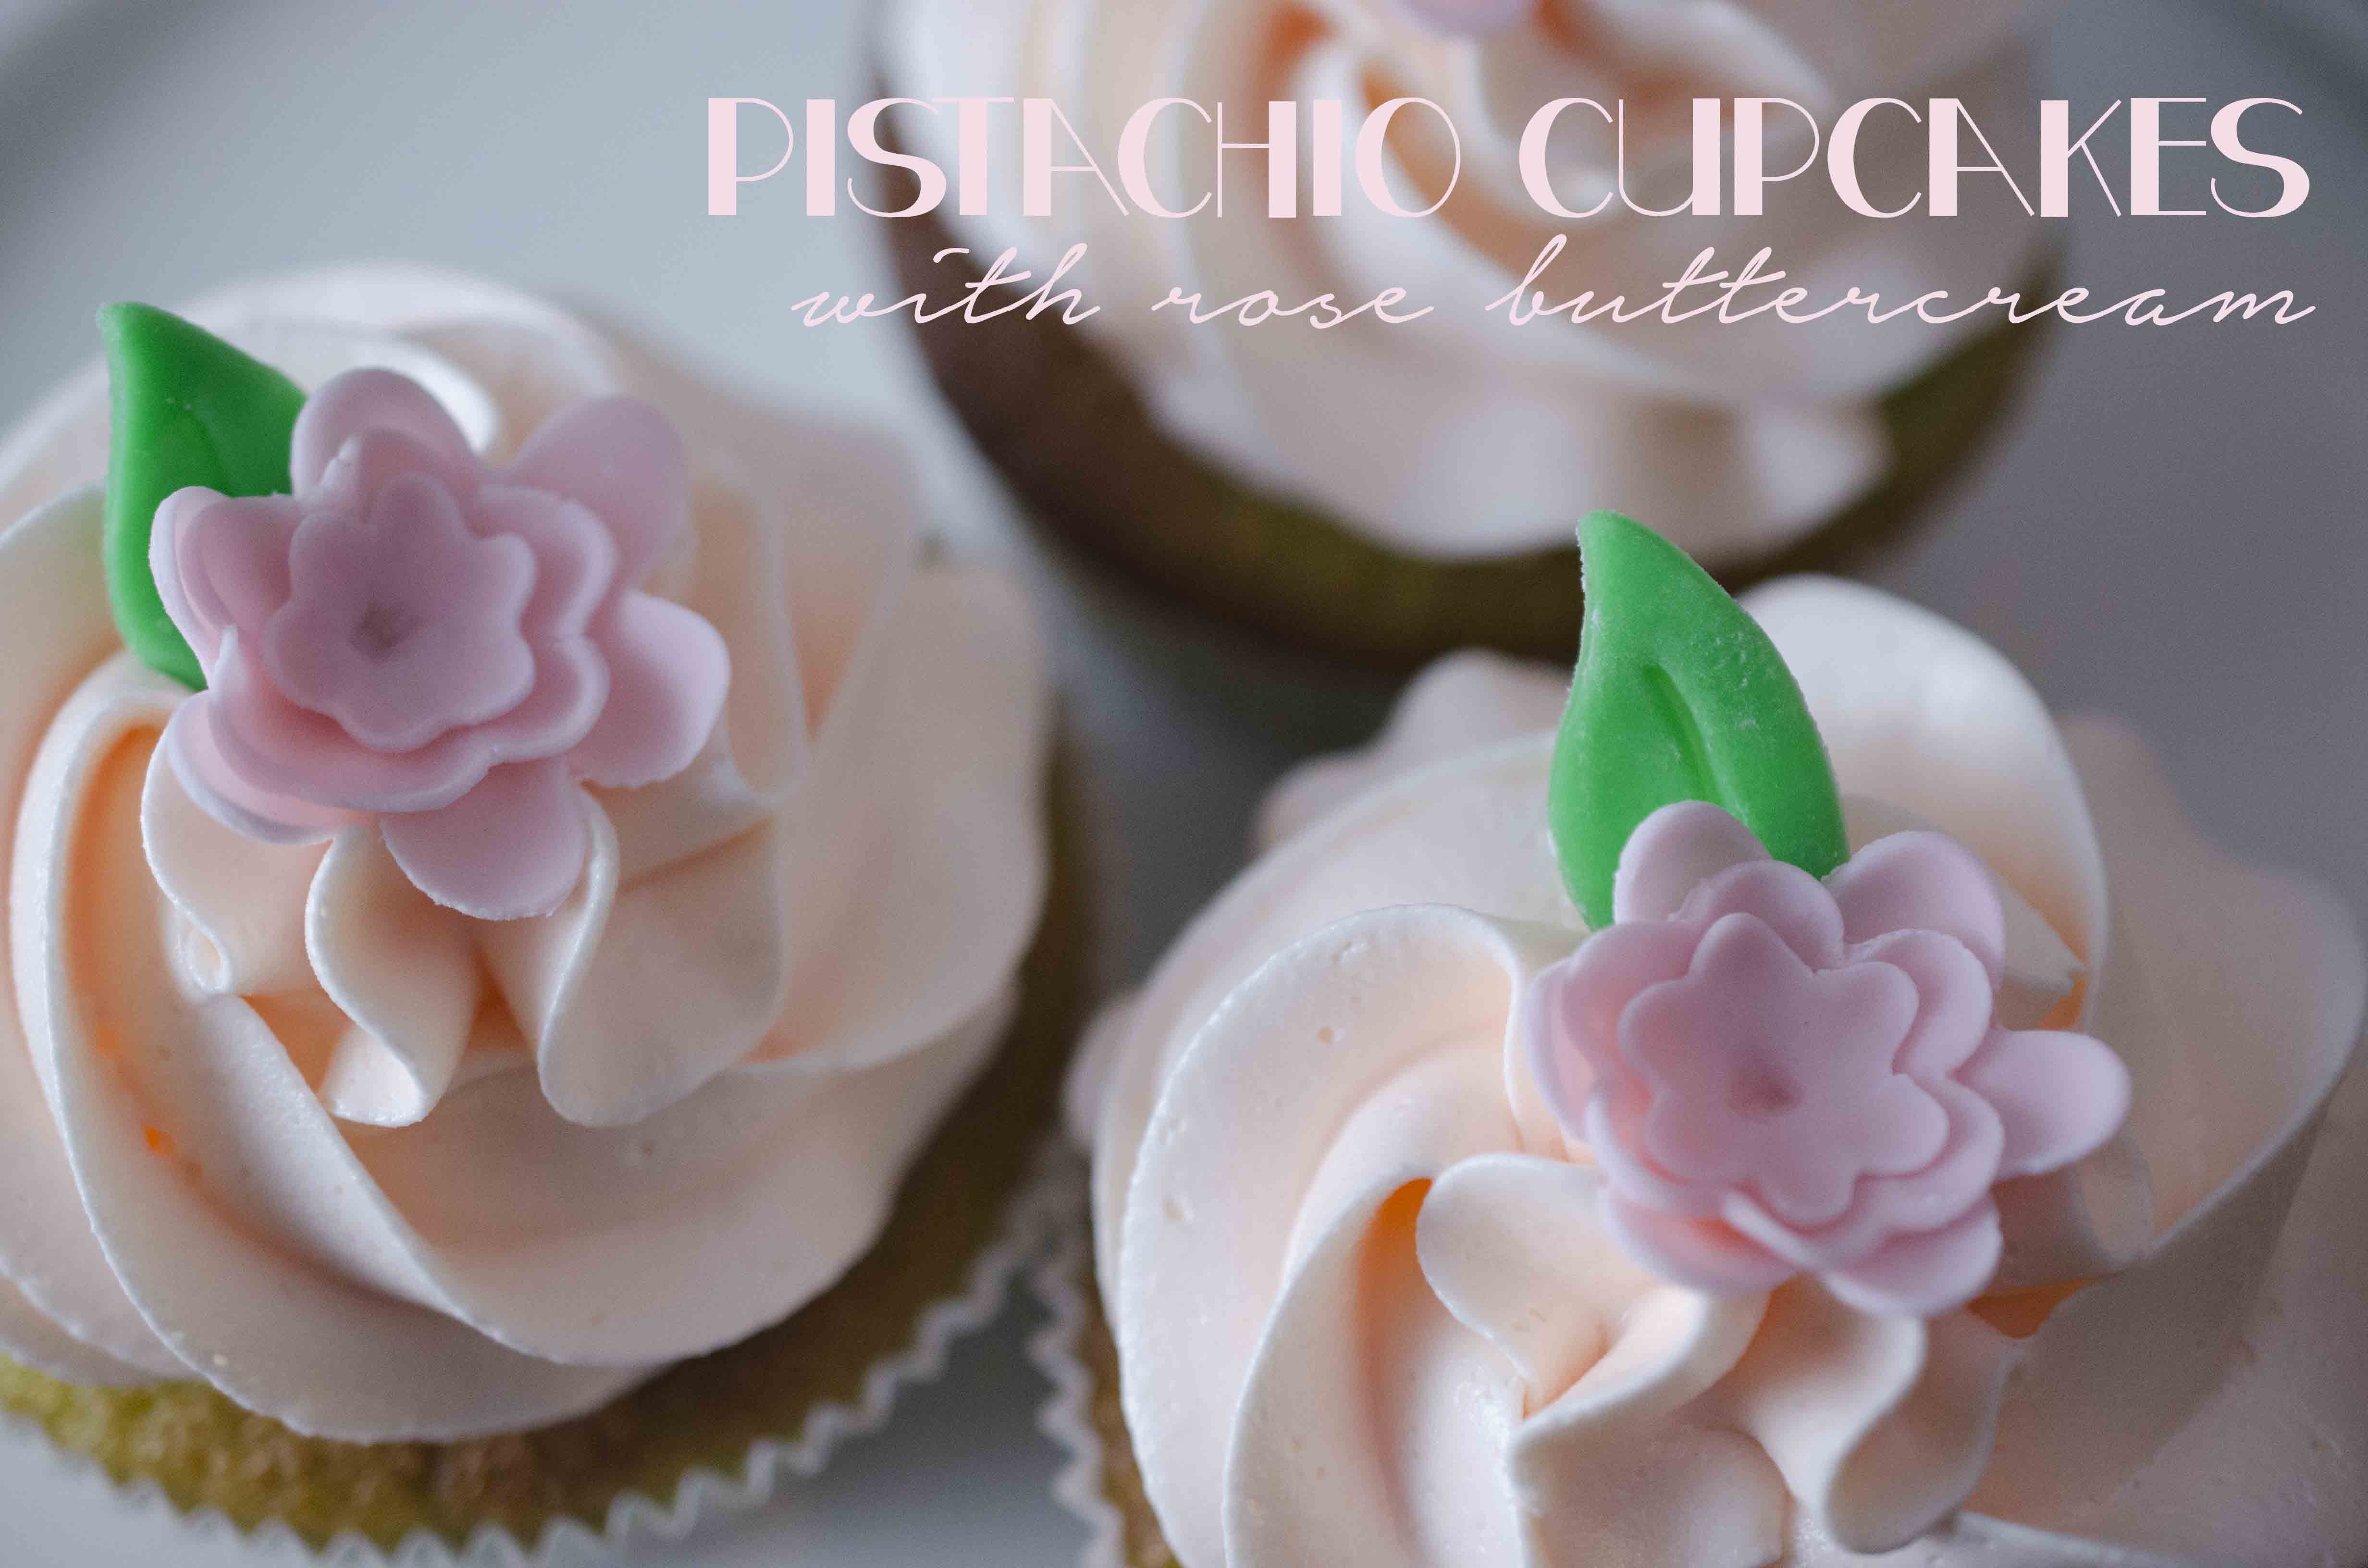
I really love floral flavours – especially rose. I was in the mood to make something last weekend, and I knew I wanted to make rose frosting, but I couldn’t really think of another flavour to pair it with… luckily there’s google! And apparently rose and pistachio are a great combination (which I can now verify). The recipes I used for the cupcakes and frosting are just variations of recipes I use regularly:
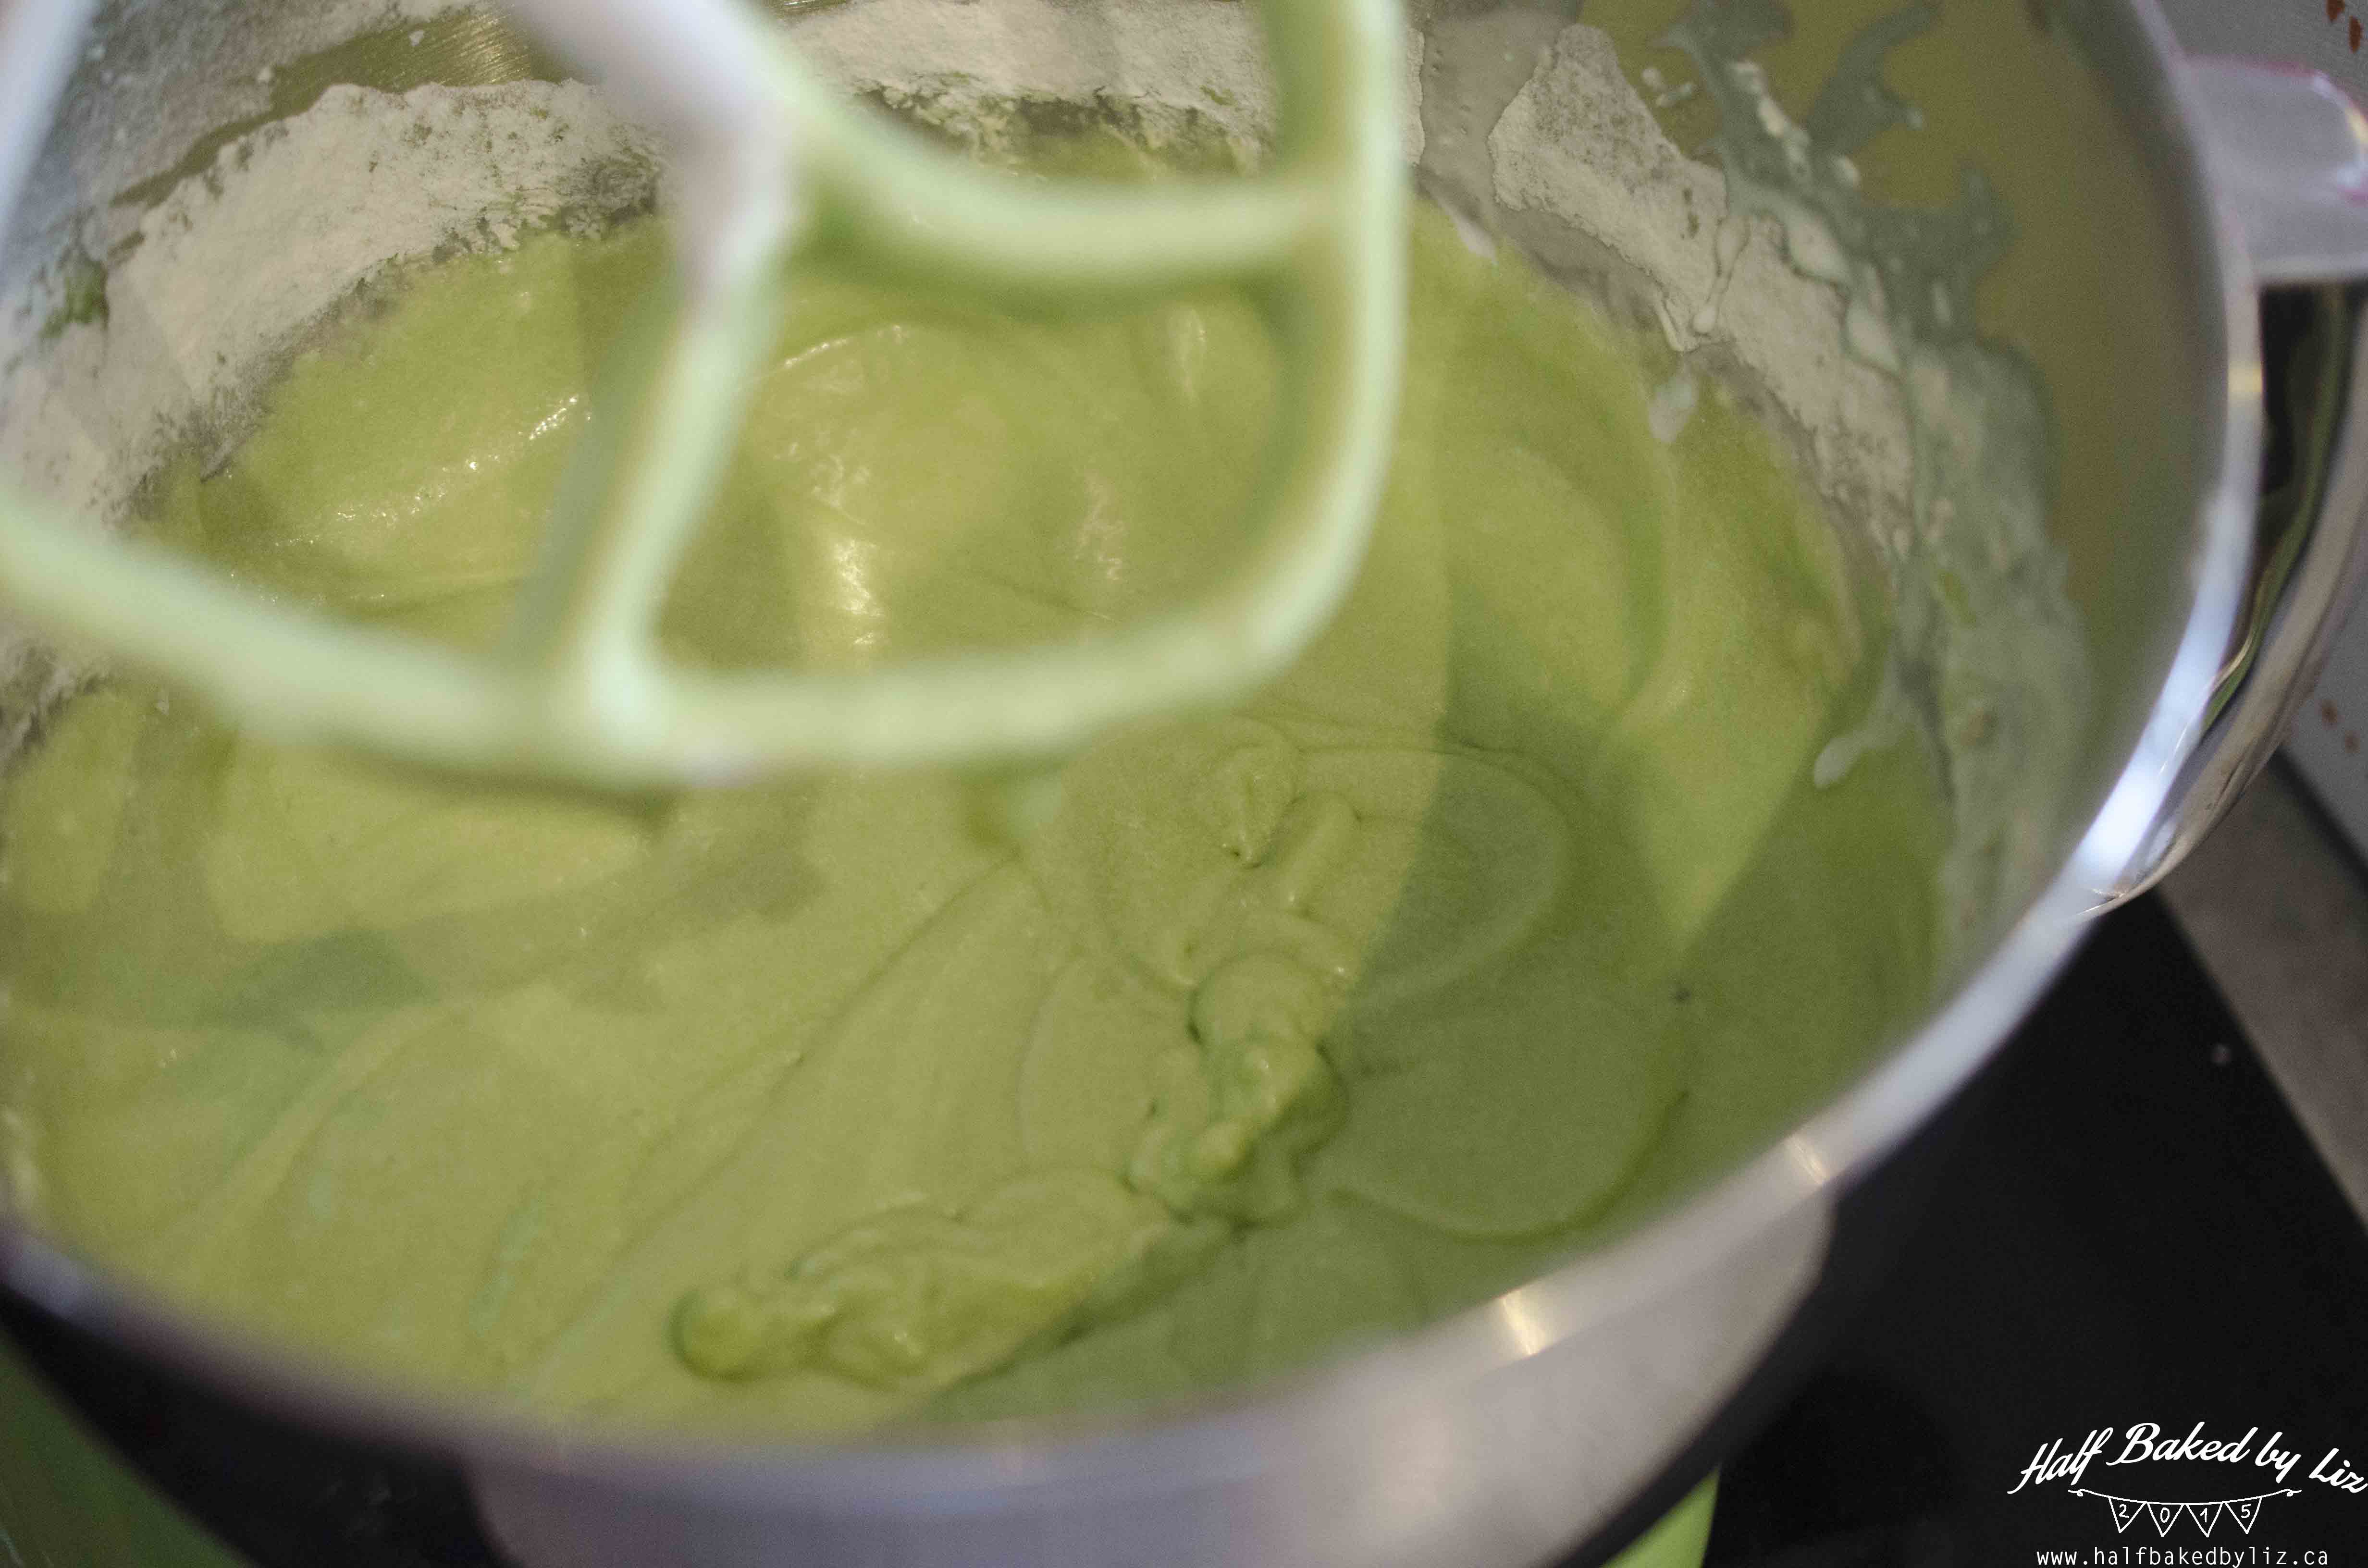
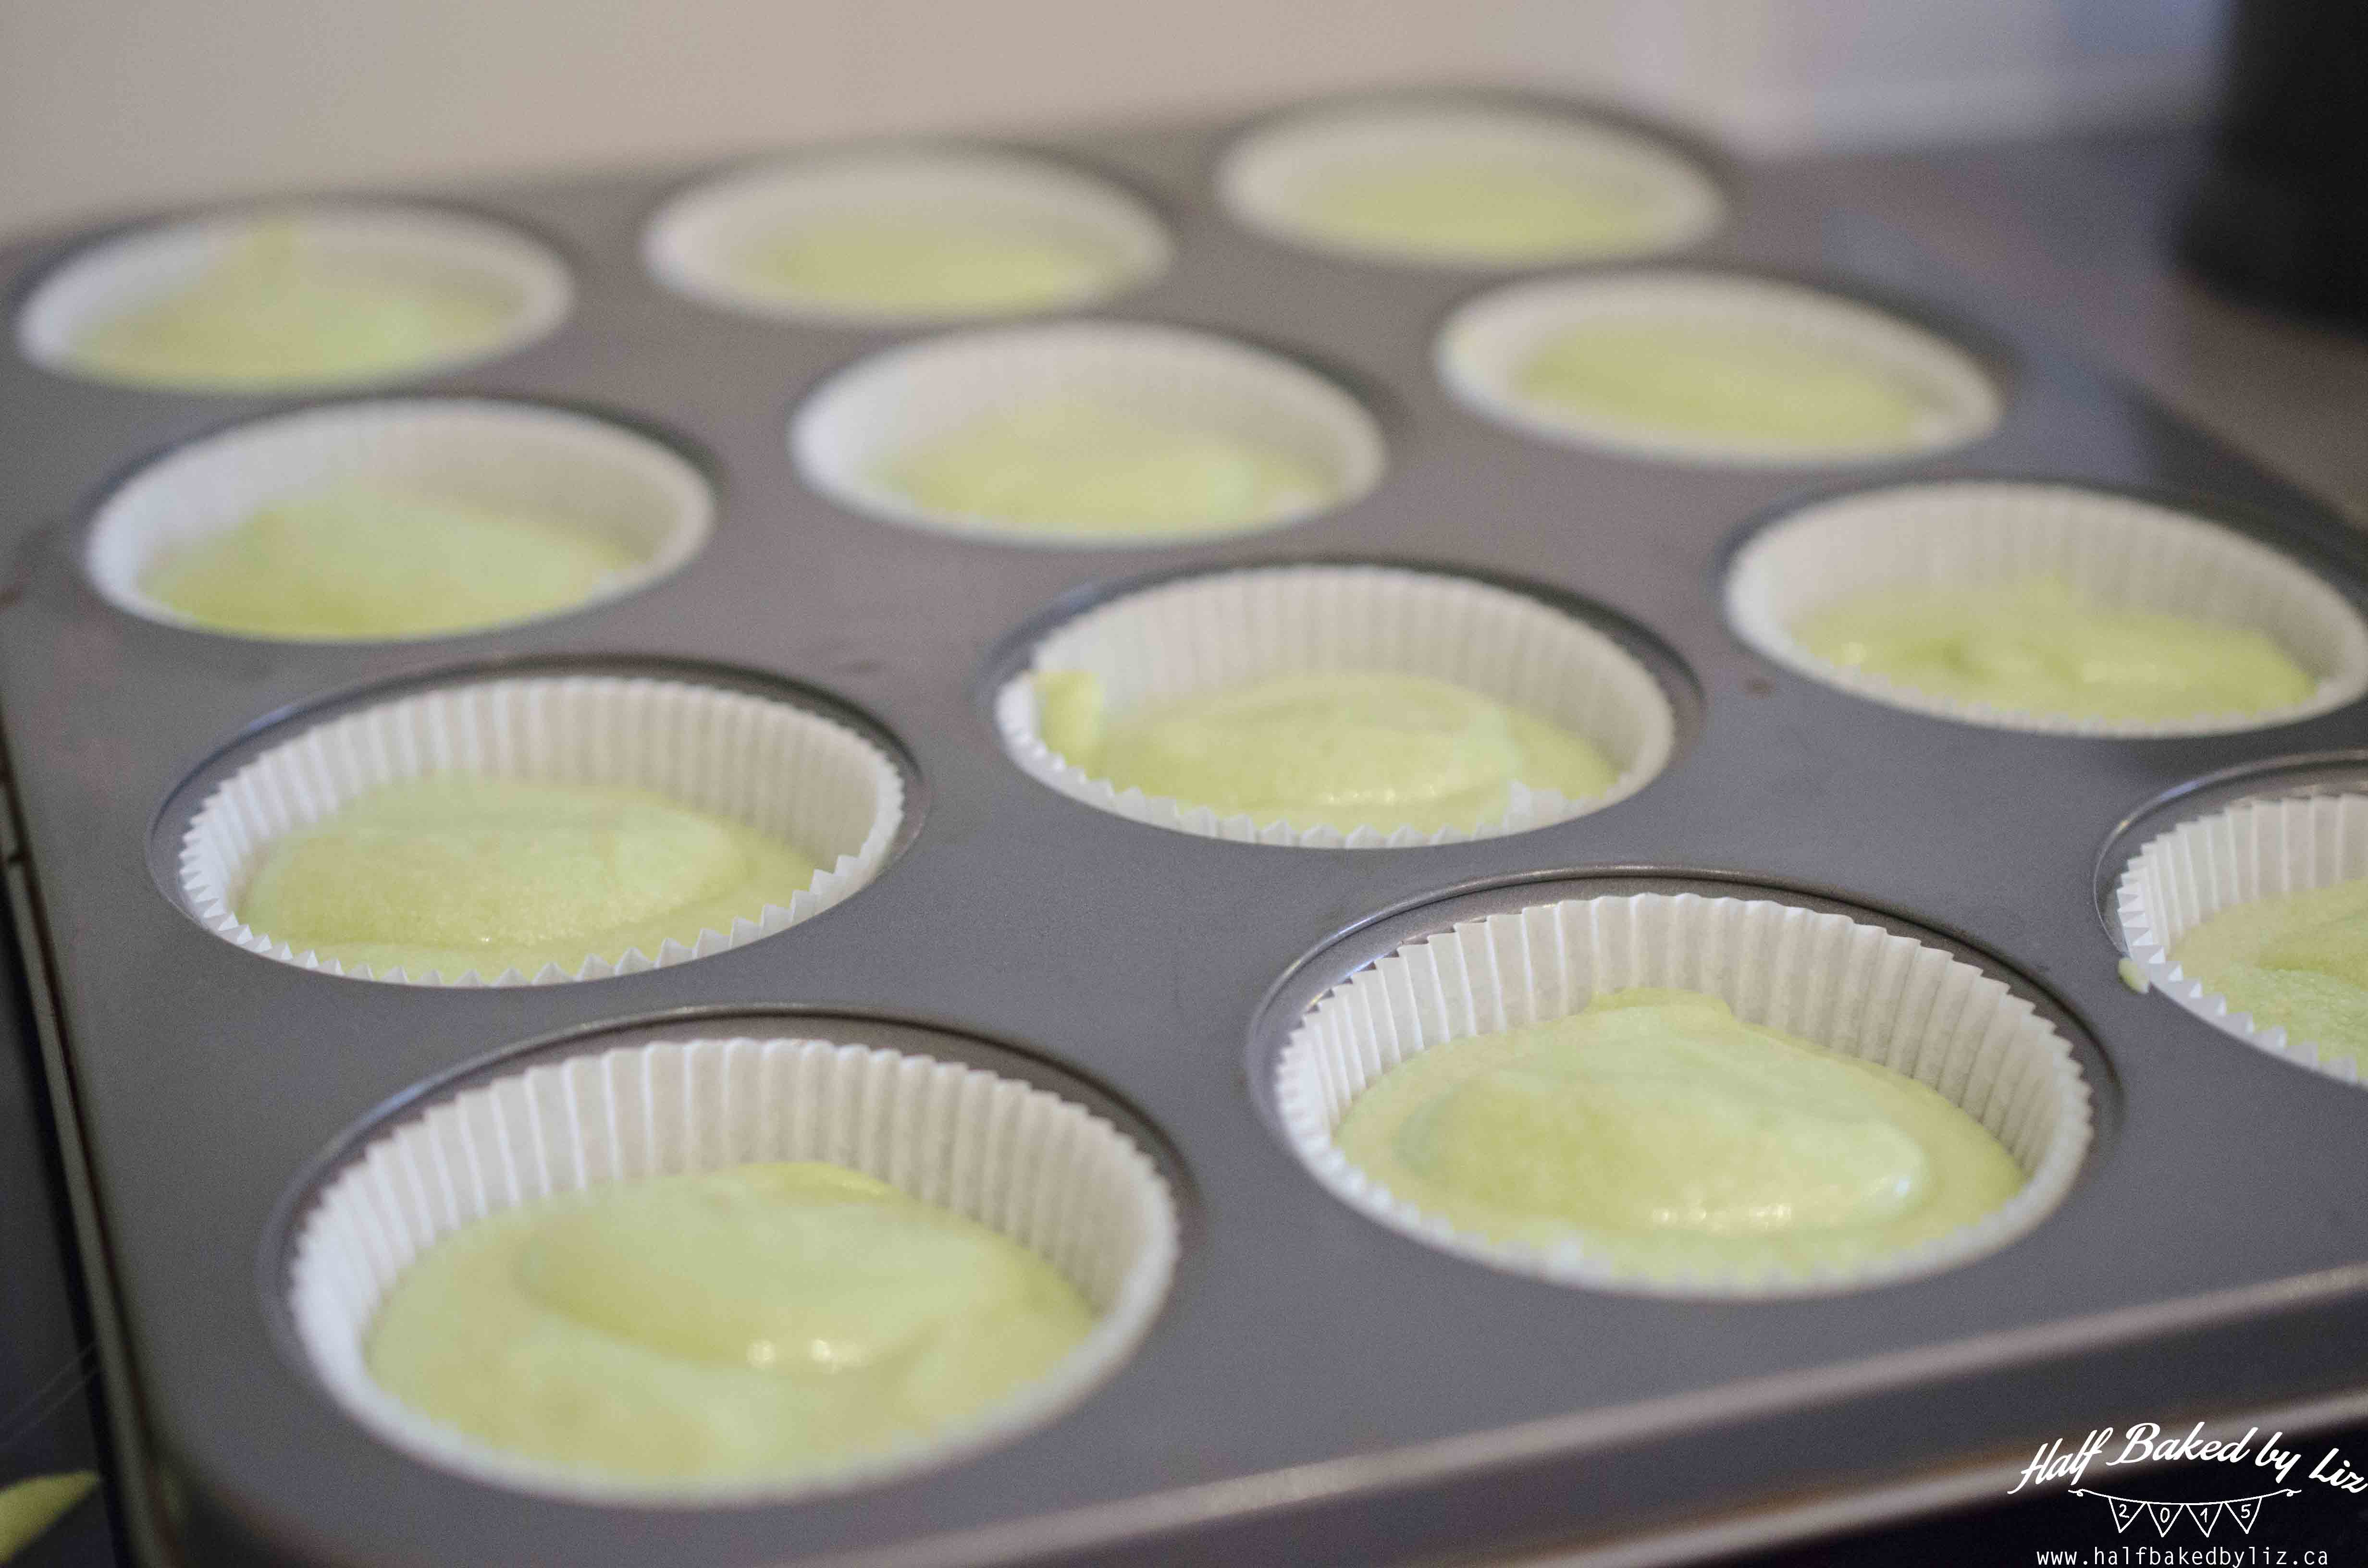
For the pistachio cupcakes, I used this vanilla cupcake recipe , but I substituted the vanilla extract for 3/4 tablespoons of pistachio extract, and also added a little food colouring.
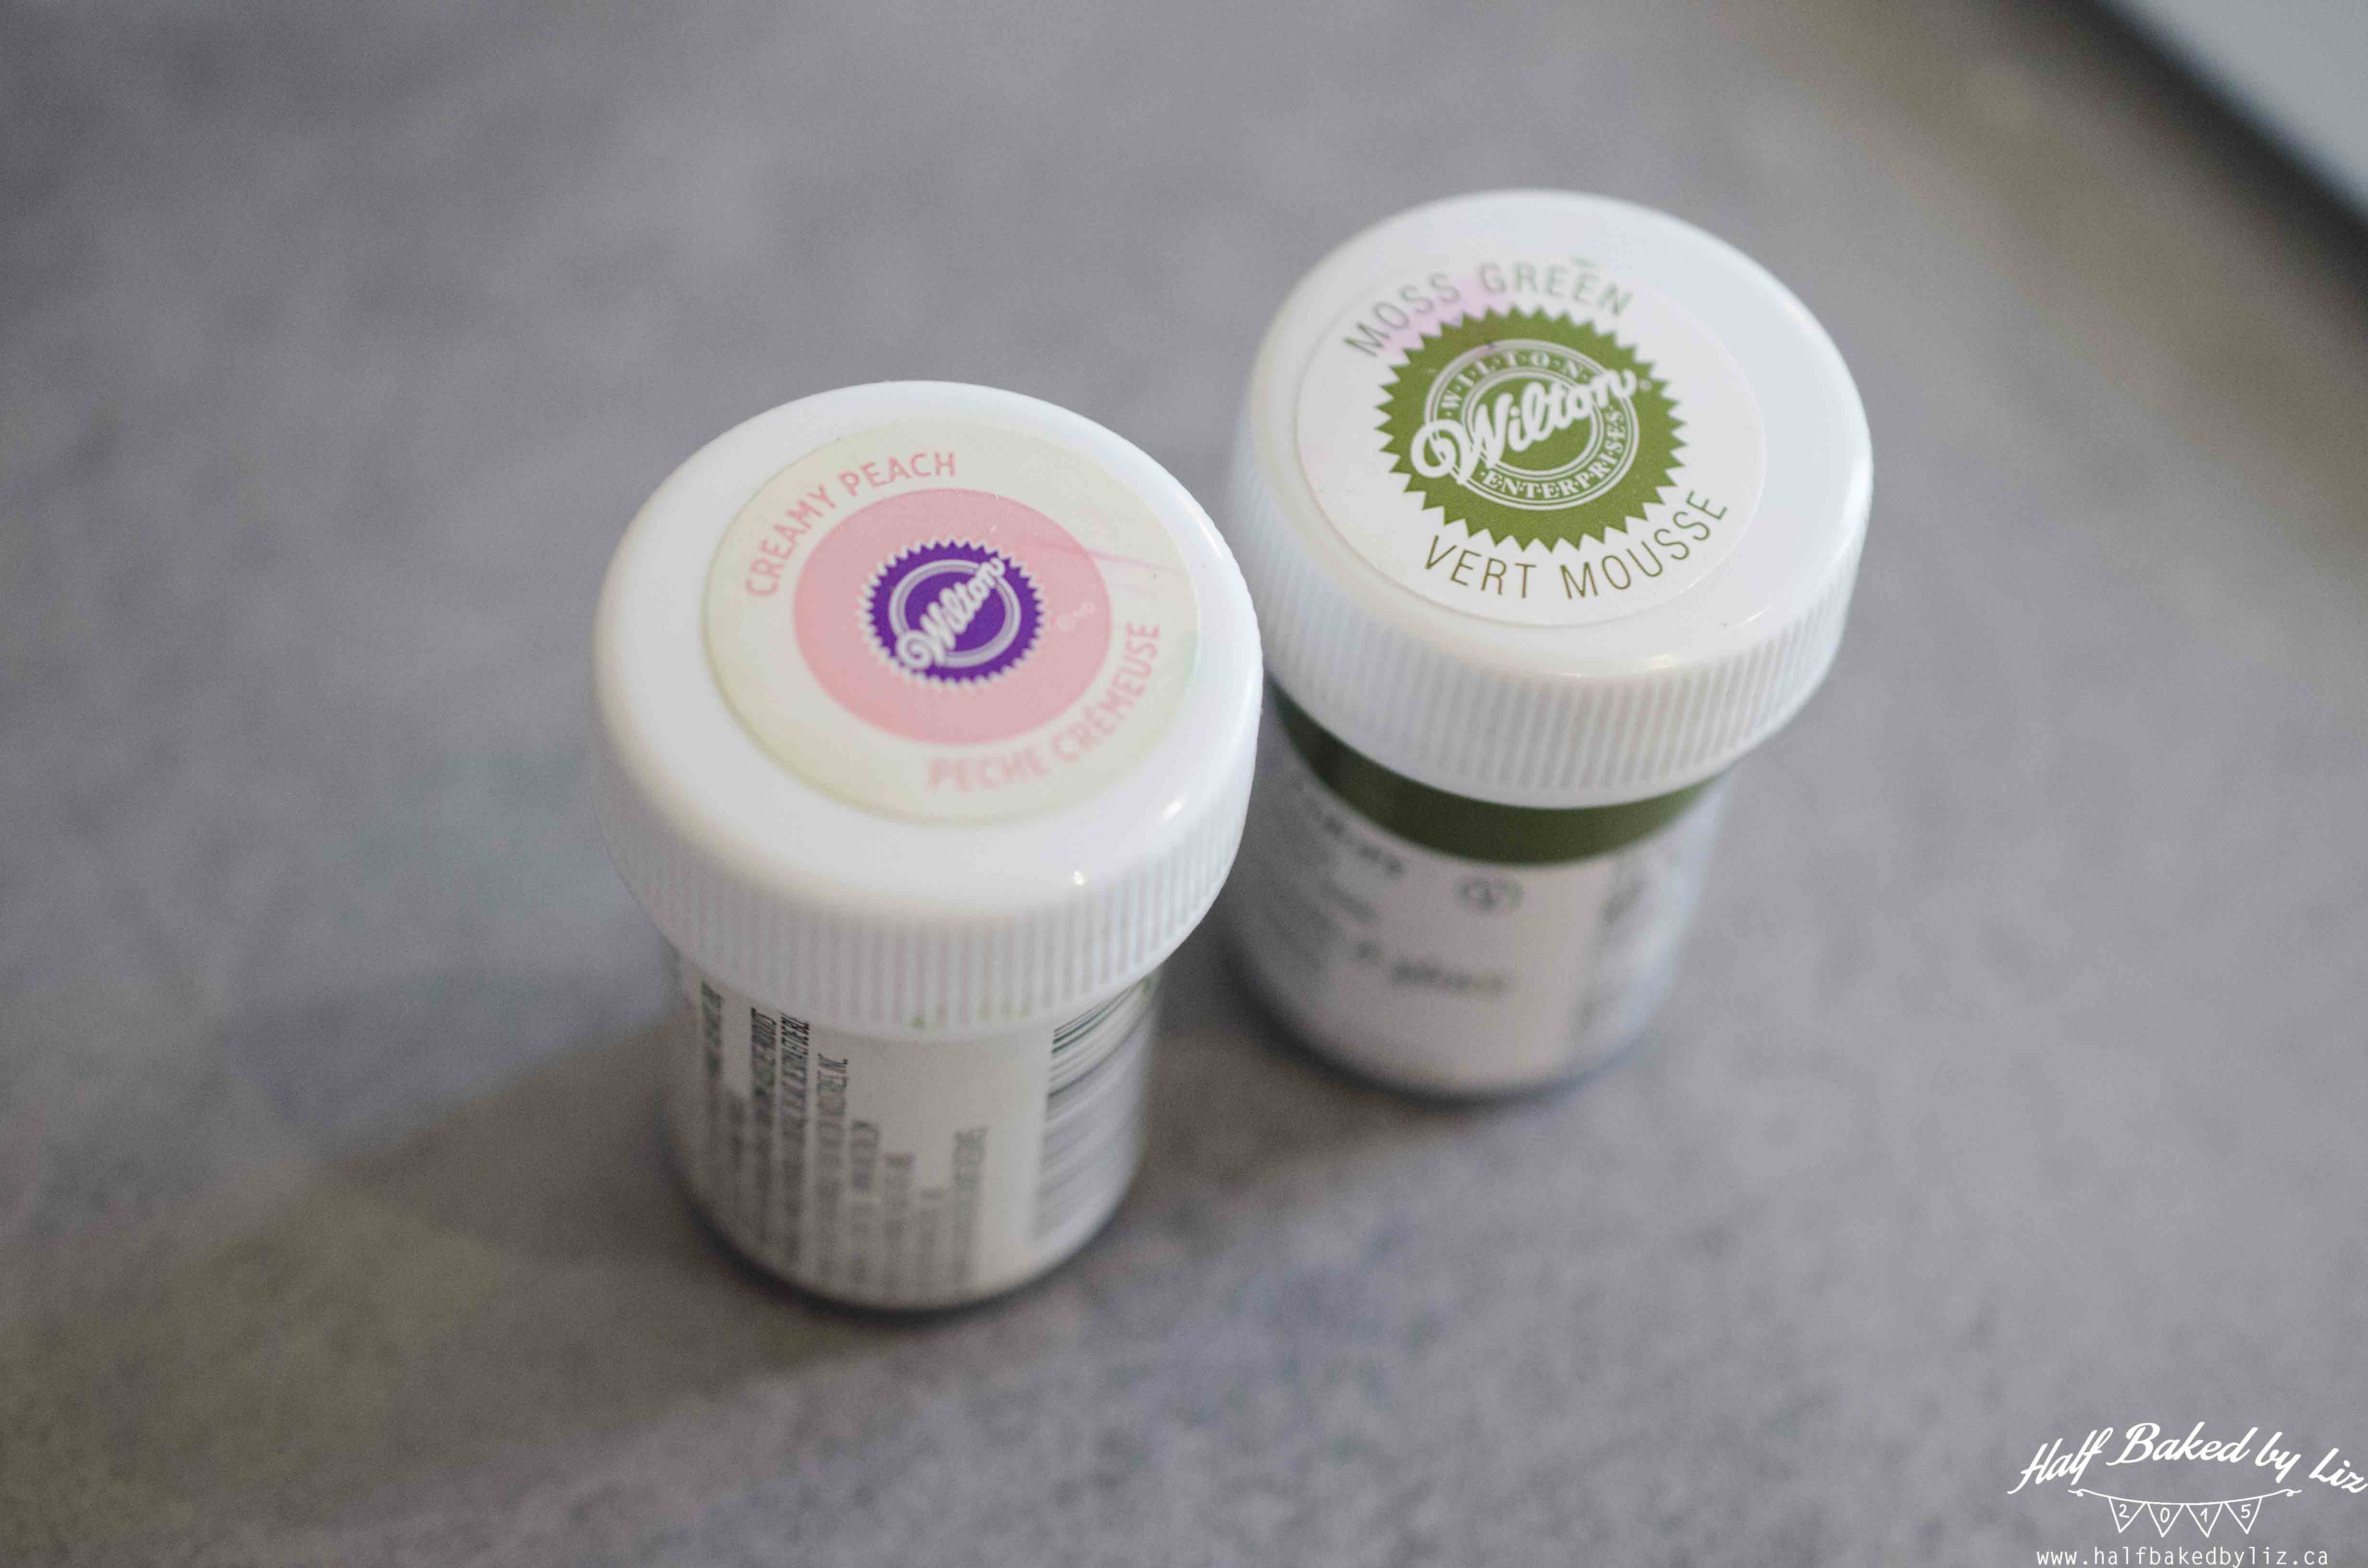

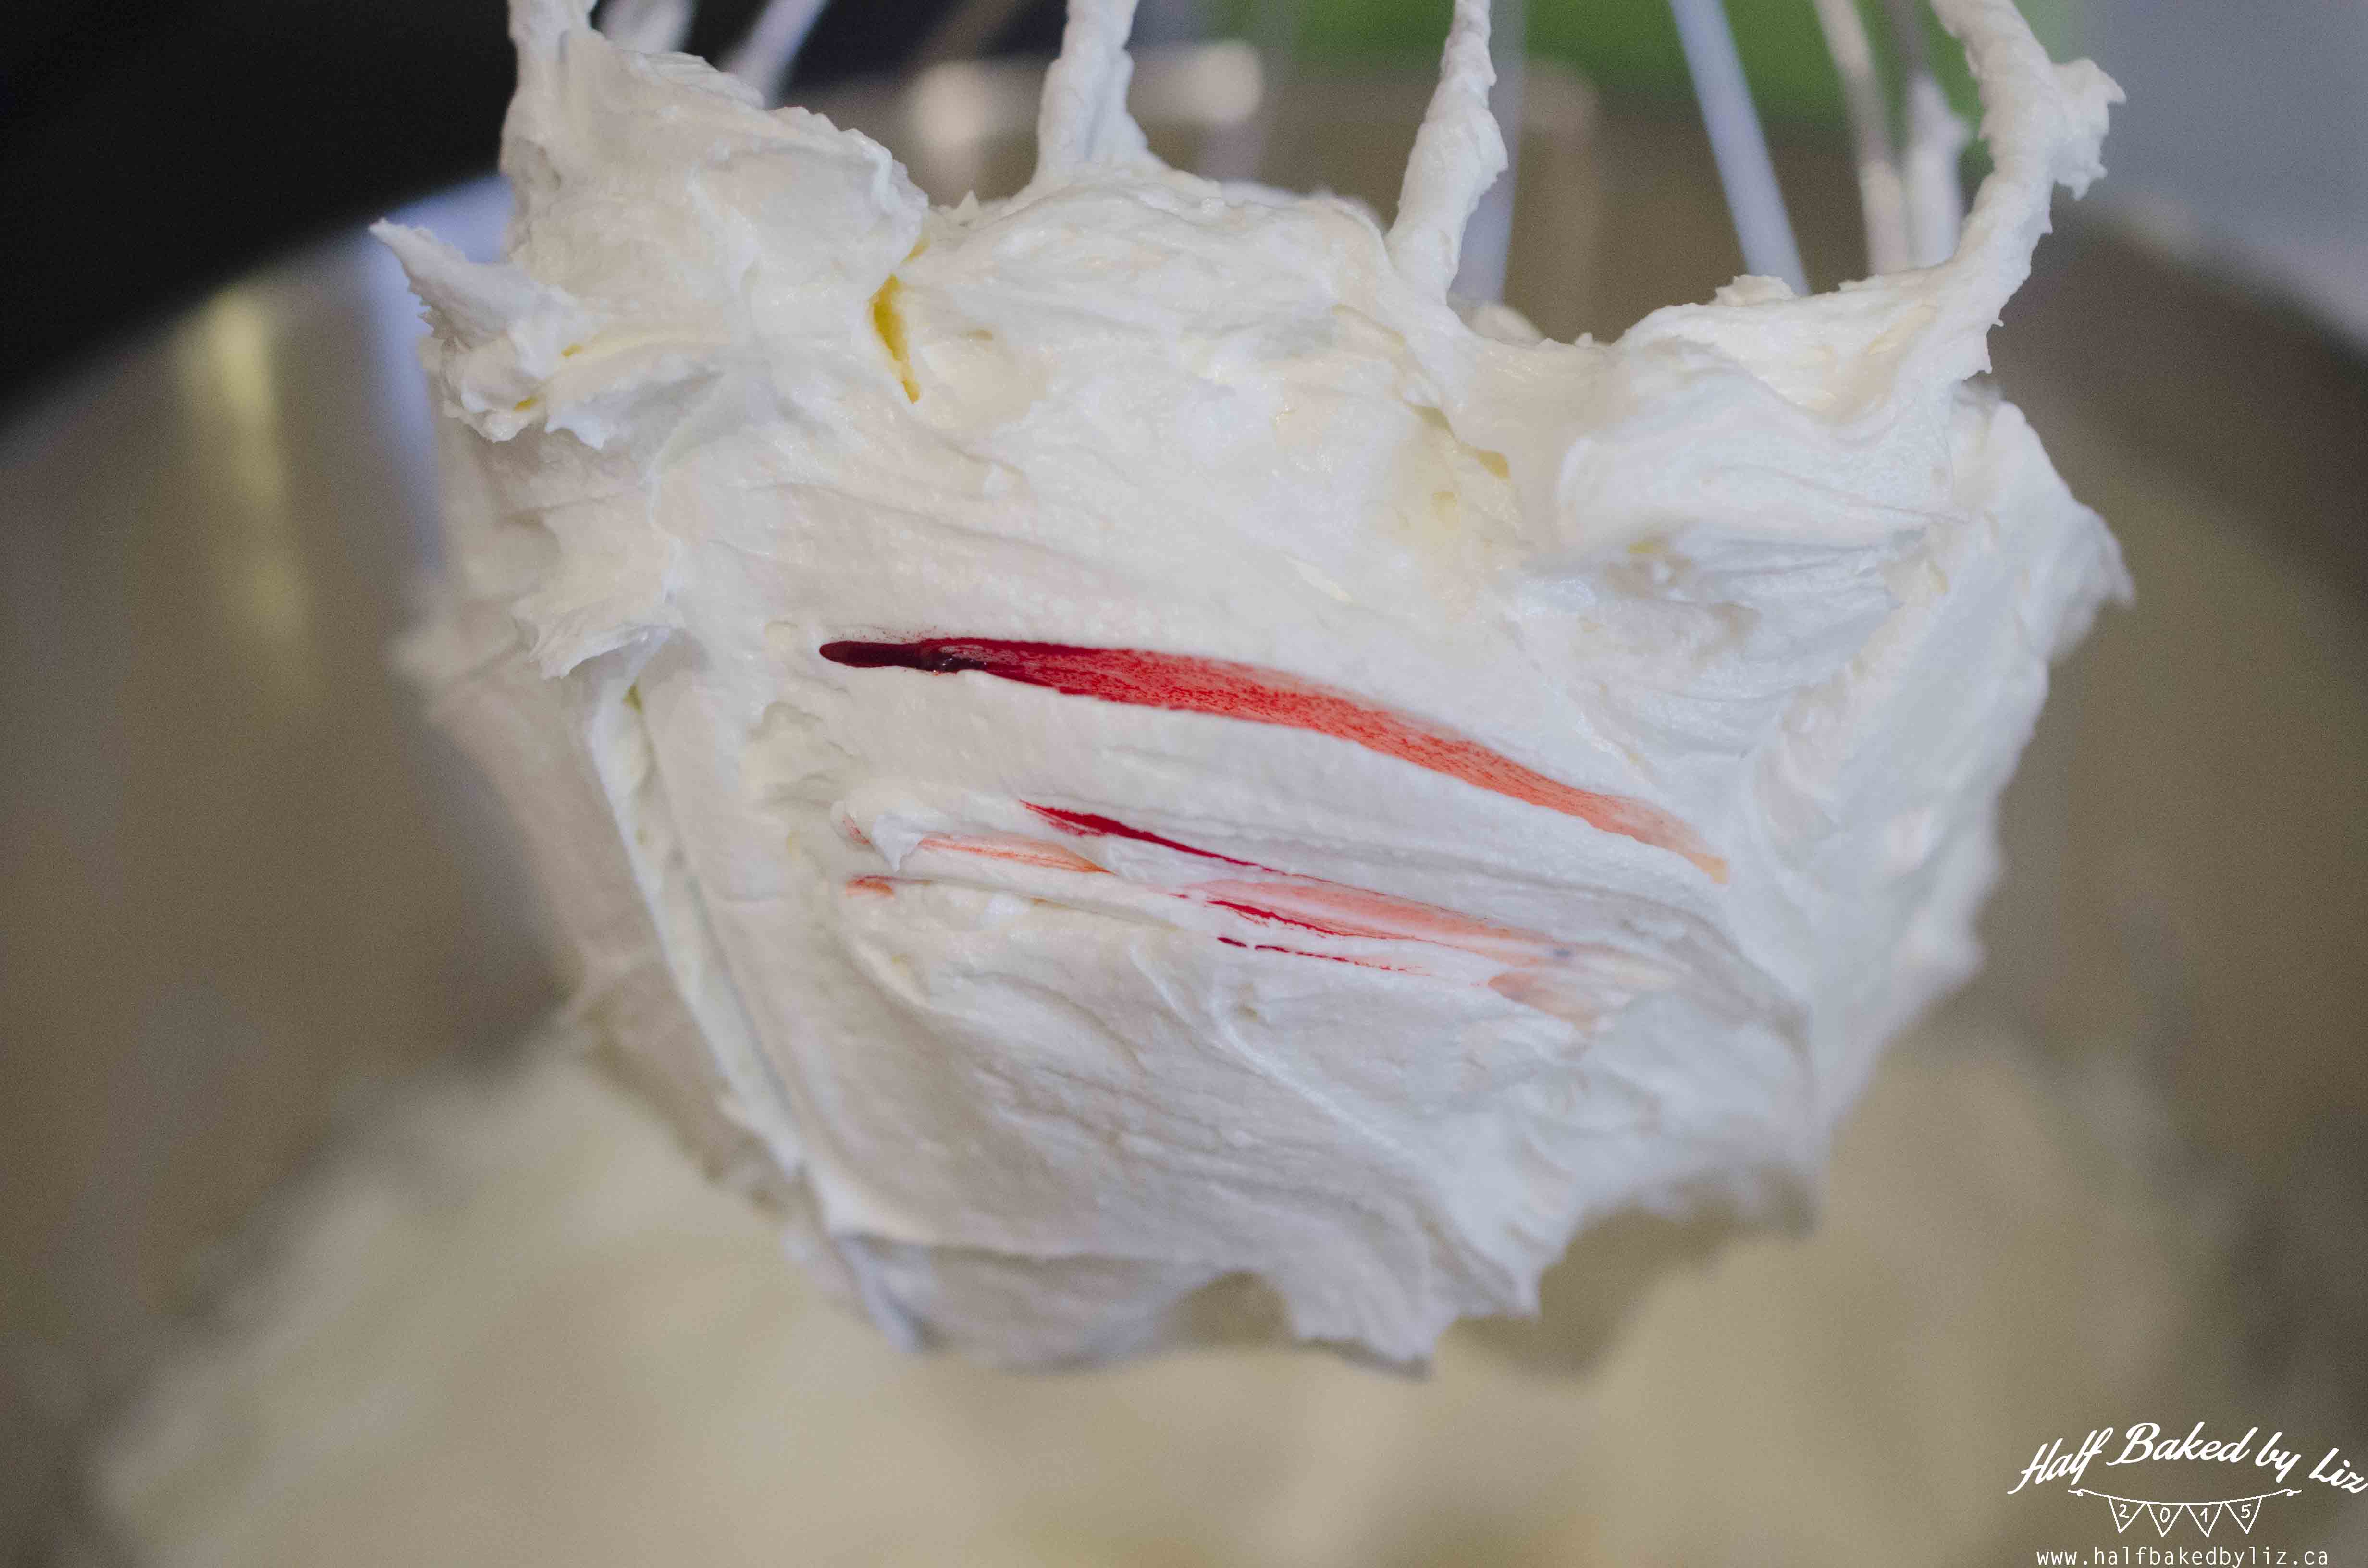
For the rose buttercream, I used this recipe , but I substituted the raspberry coulis for 2 teaspoons rose extract, and just a hint of pink colouring.
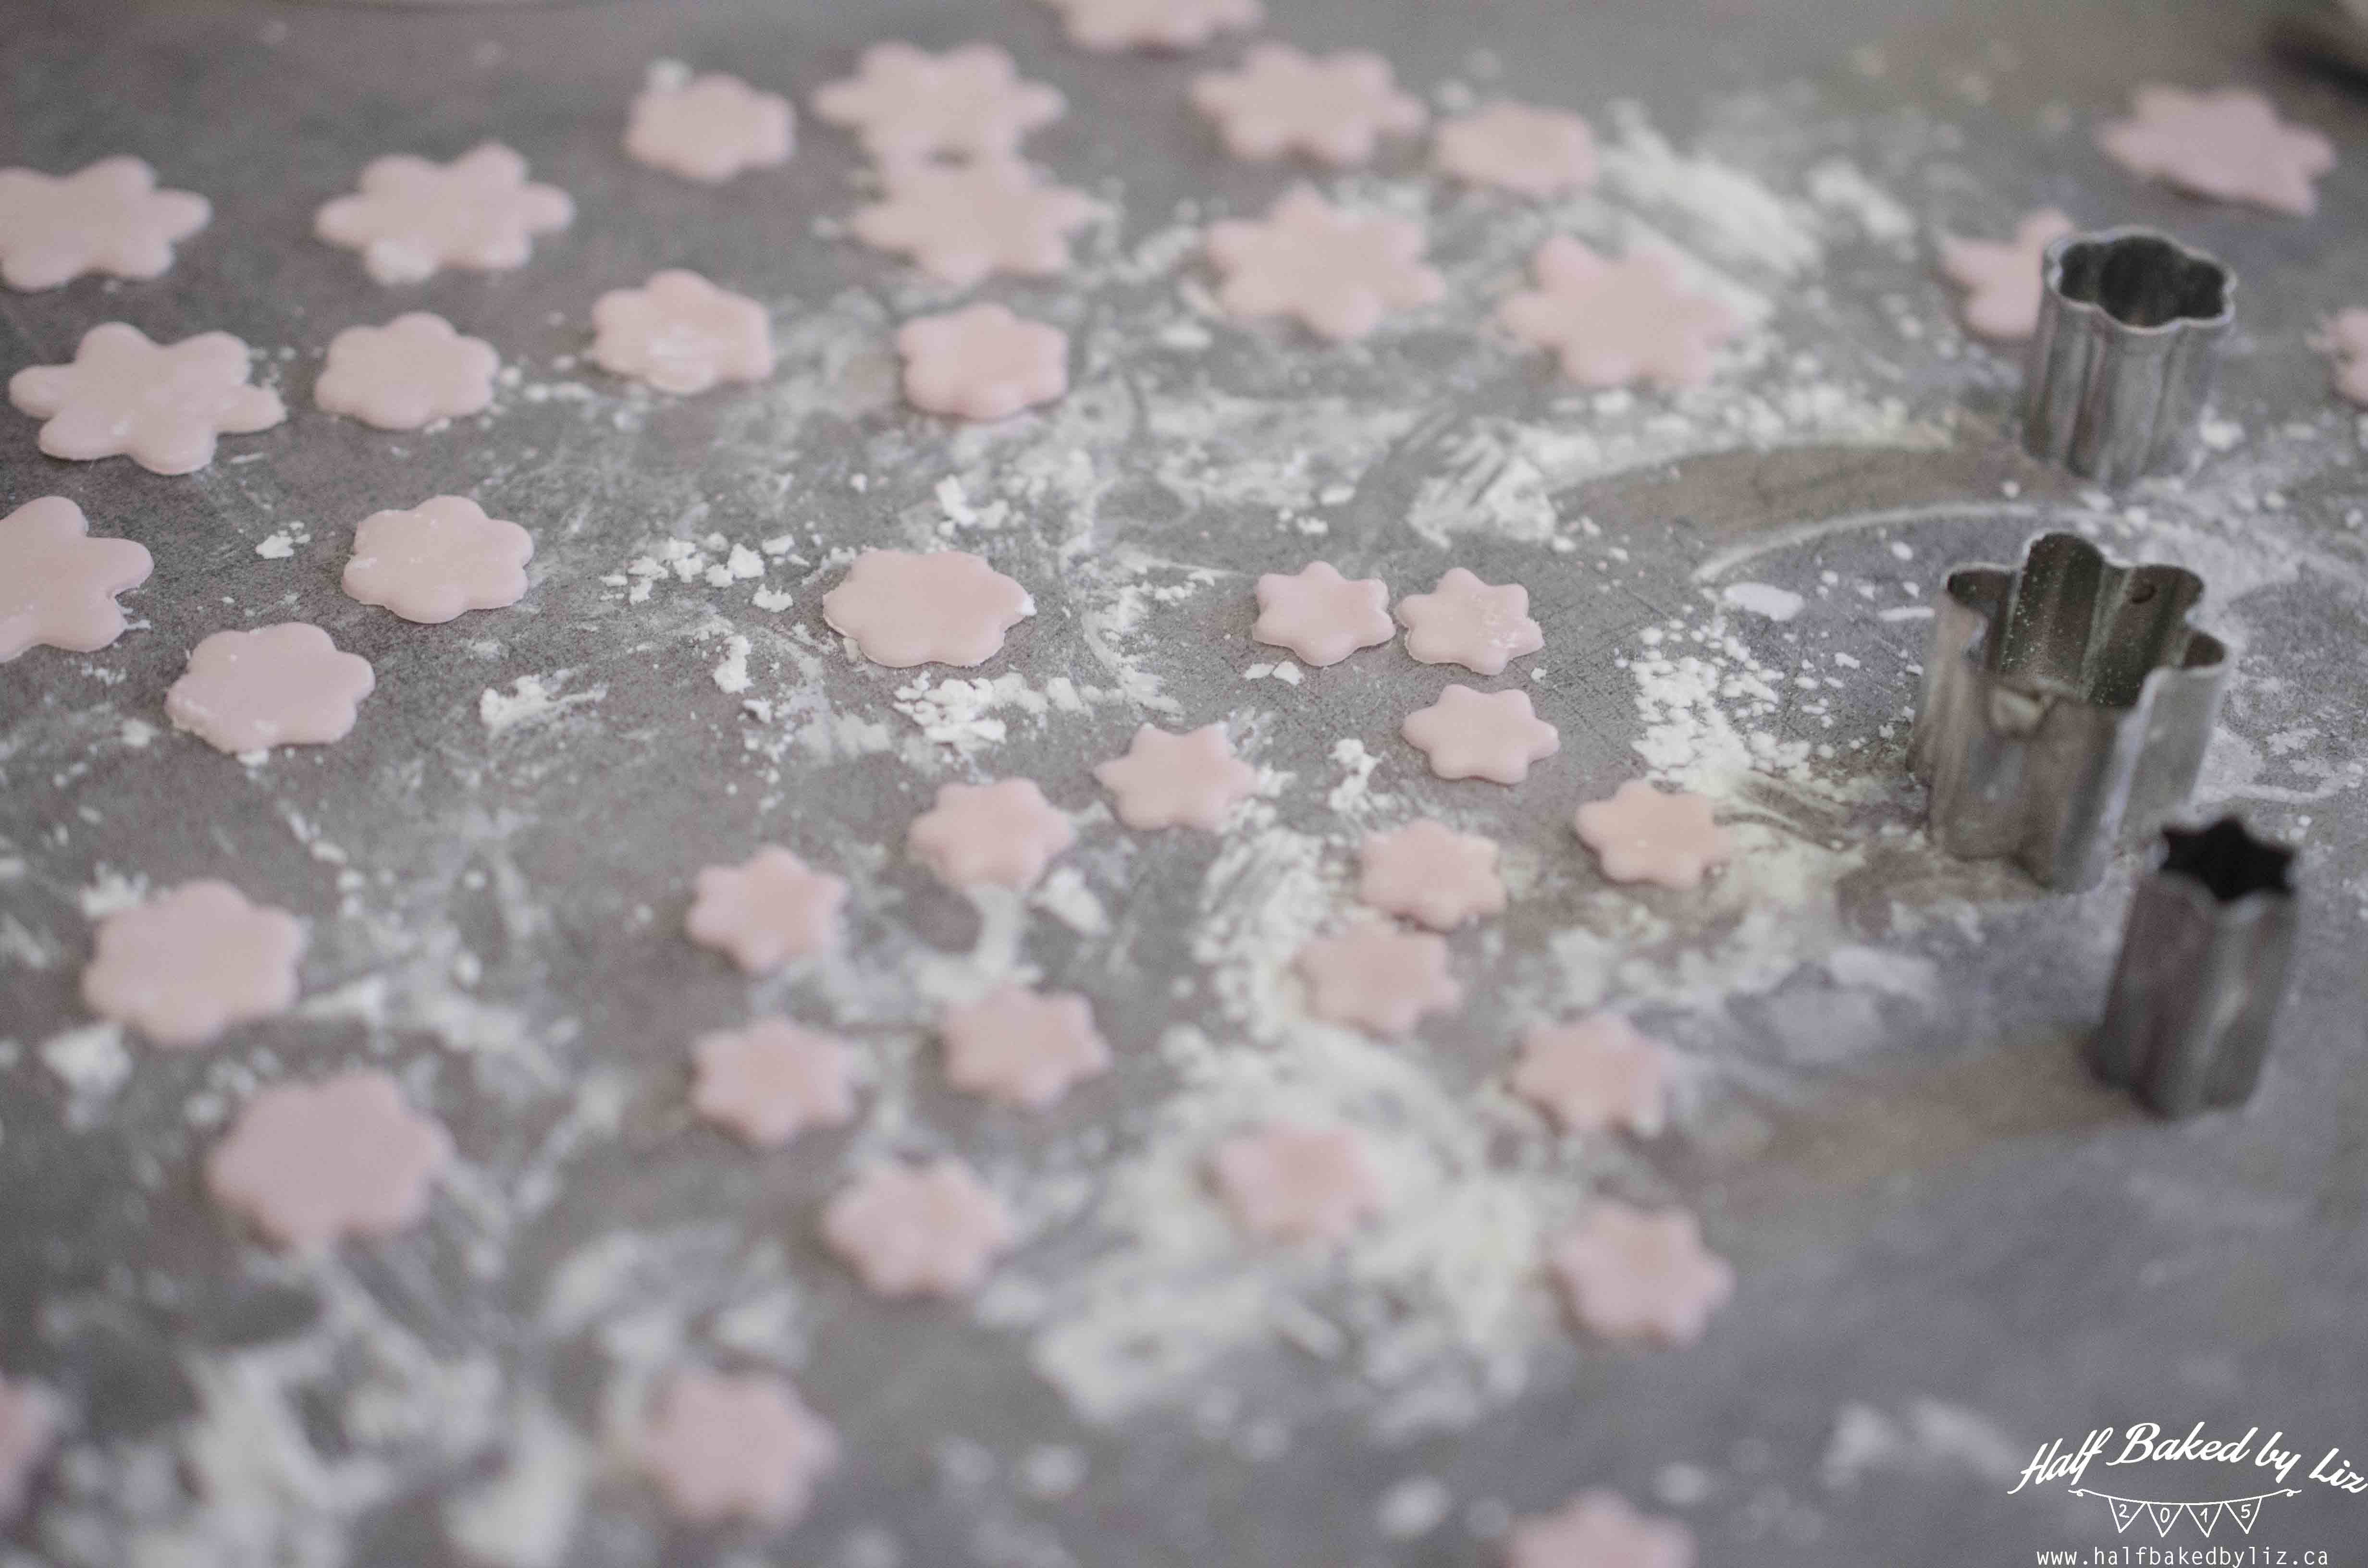
Now for the little fondant flowers!
I used three flower cutters of different sizes. They’re smaller than they look in the picture!

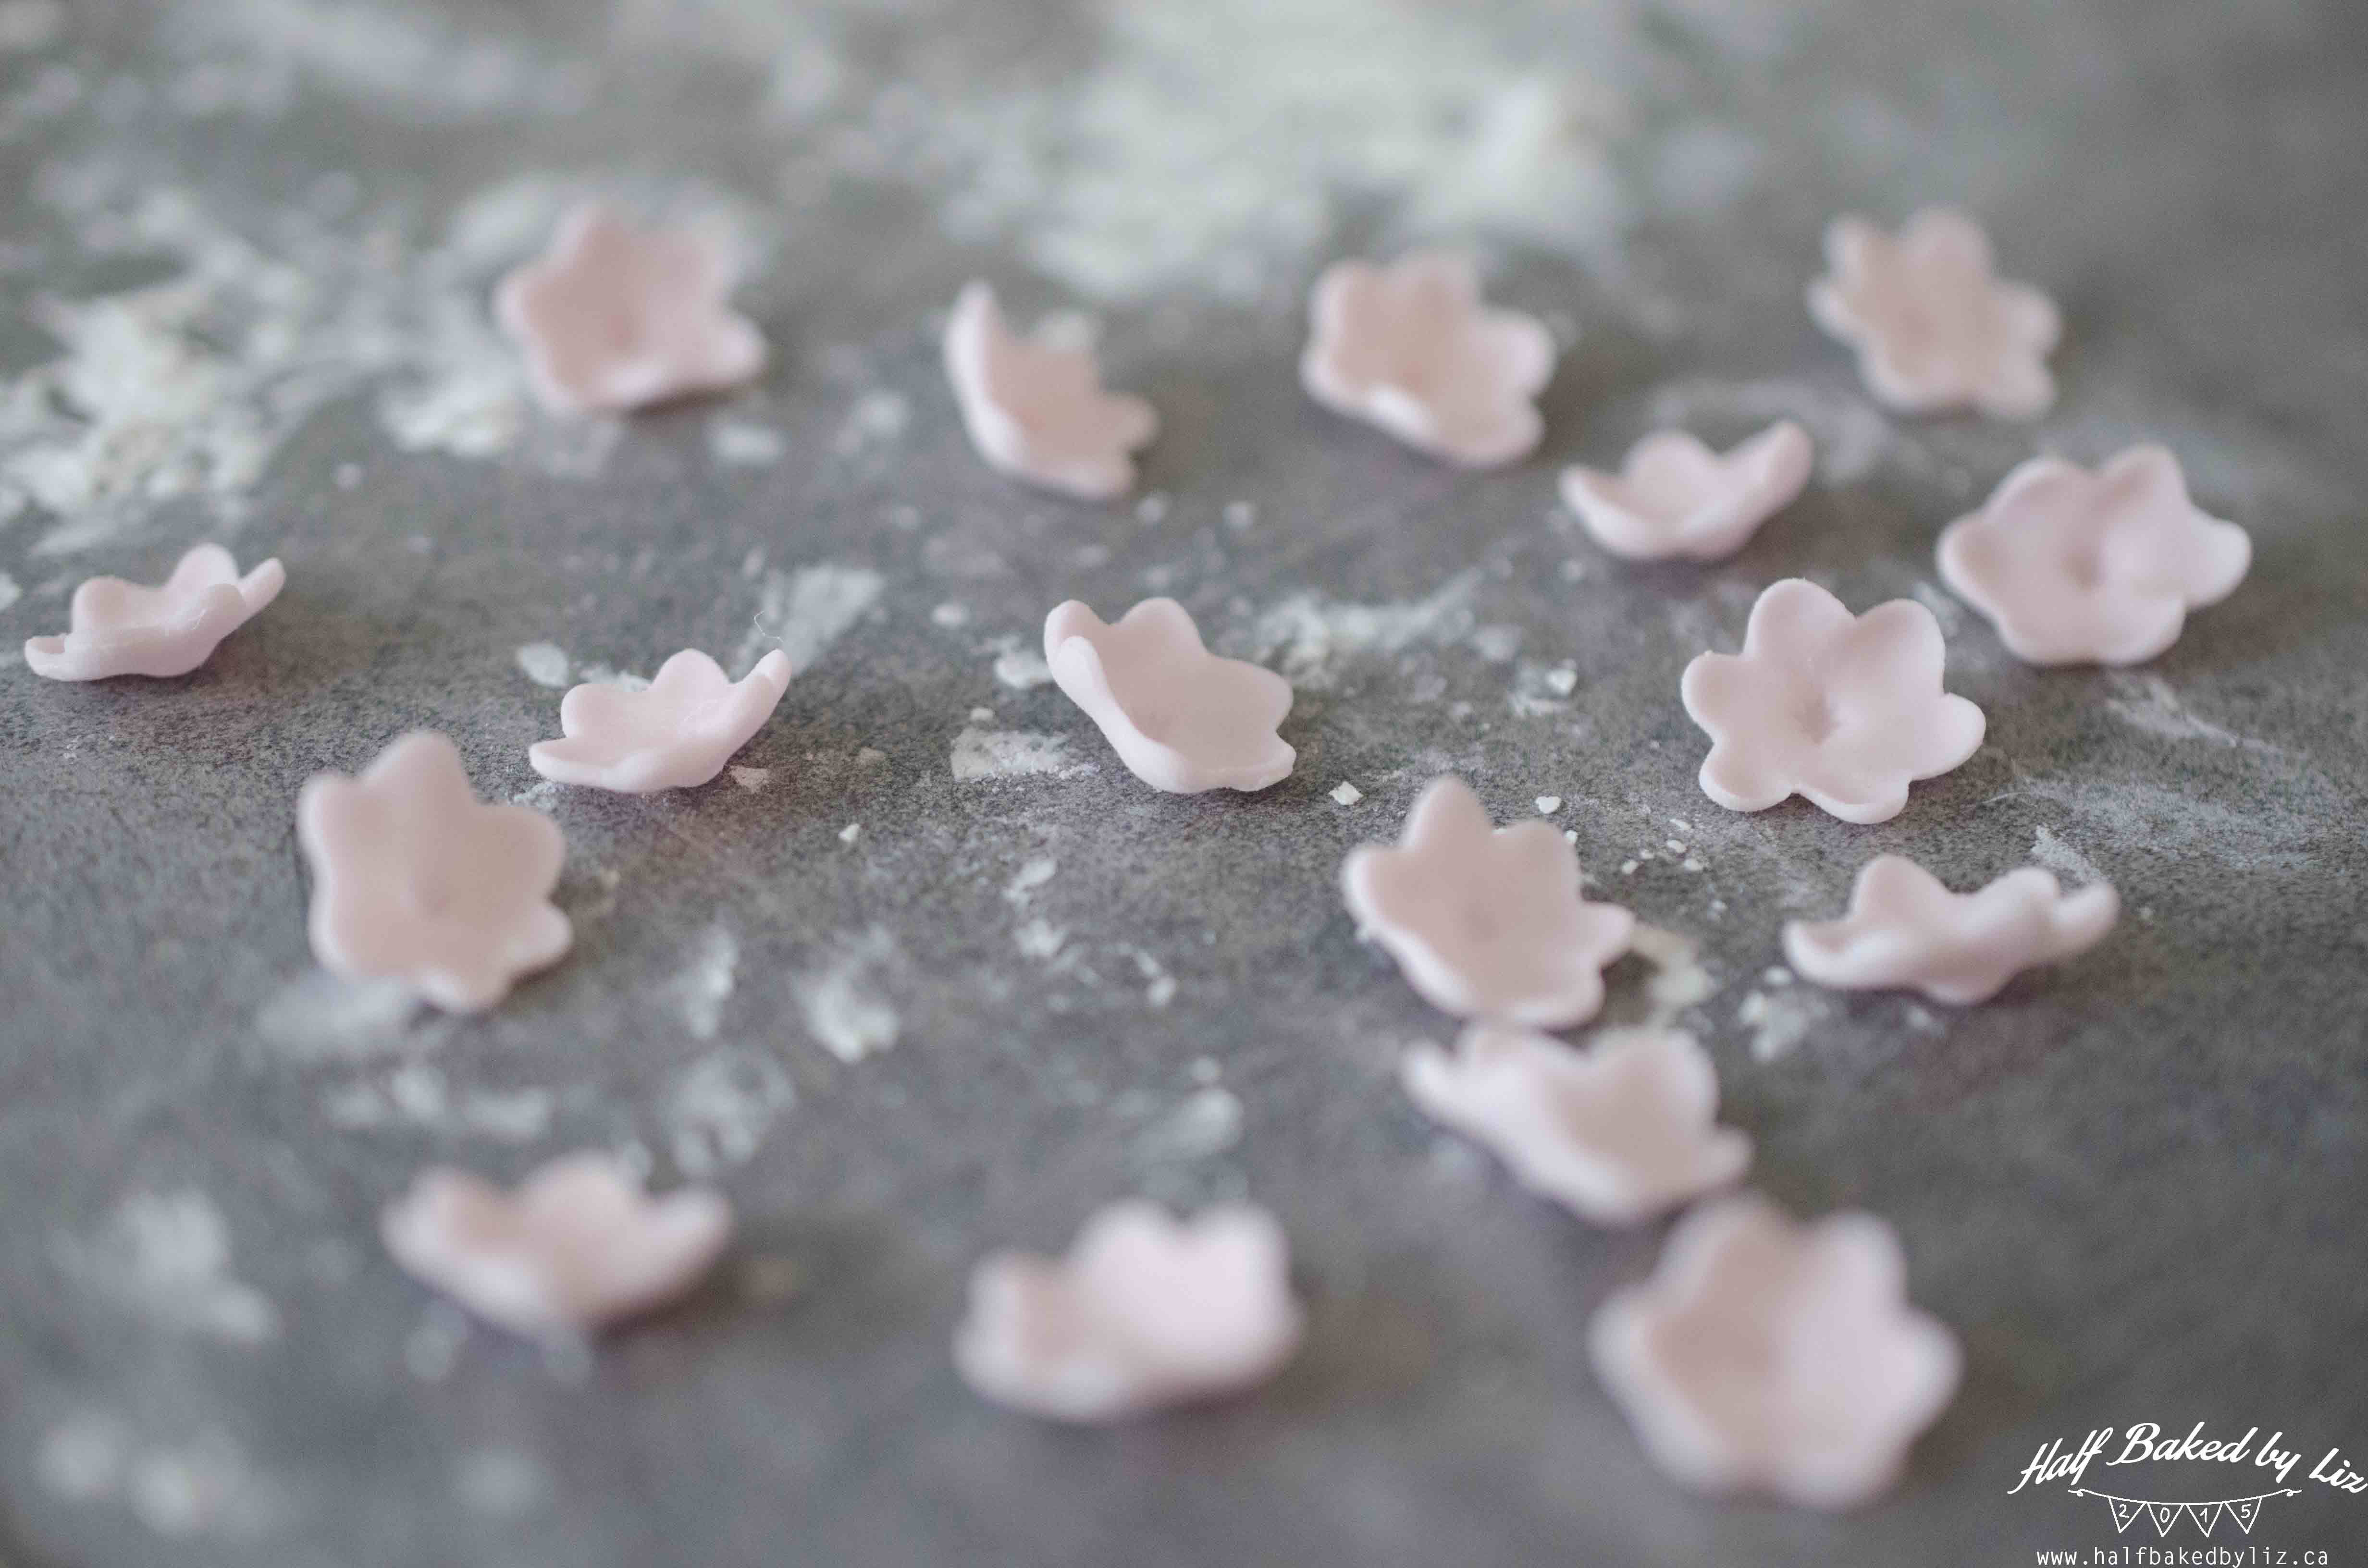
And since I had 18 cupcakes, I rolled out some fondant and cut out 18 of each size.
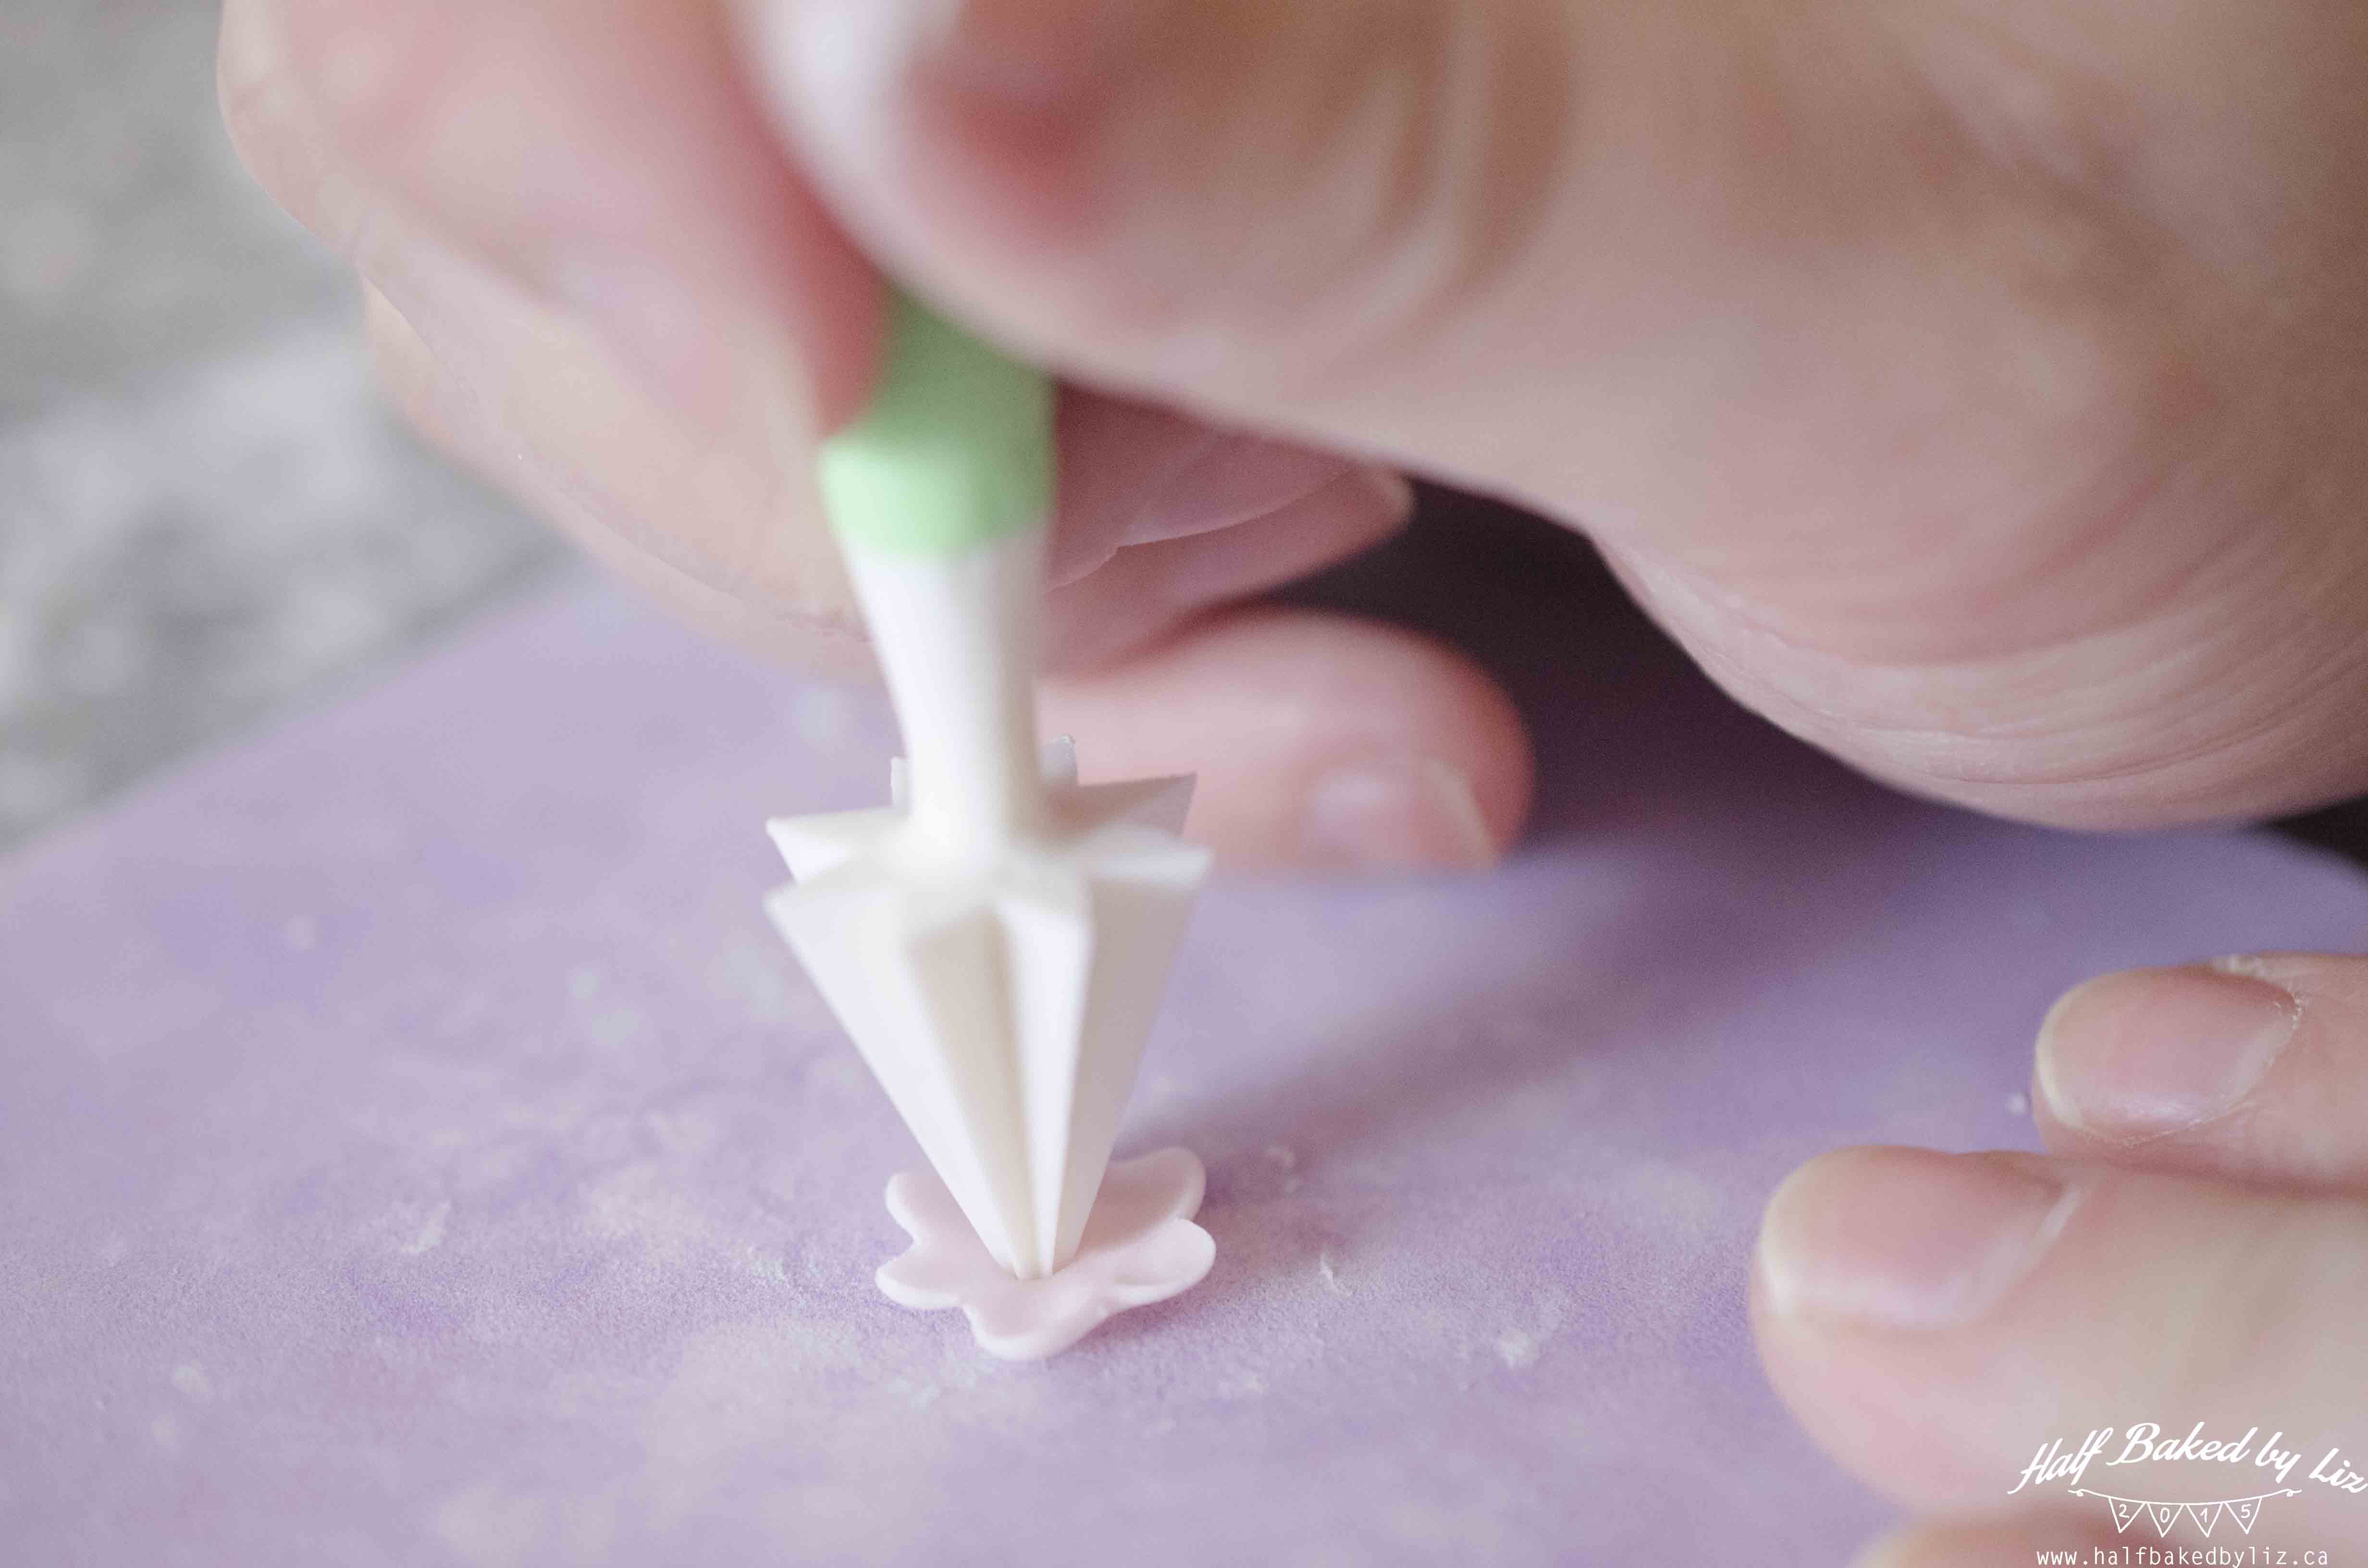
With a small foam mat and a round / ball tool, rub the edges of each cutout – this will thin the ‘petals’ and make them look more realistic.
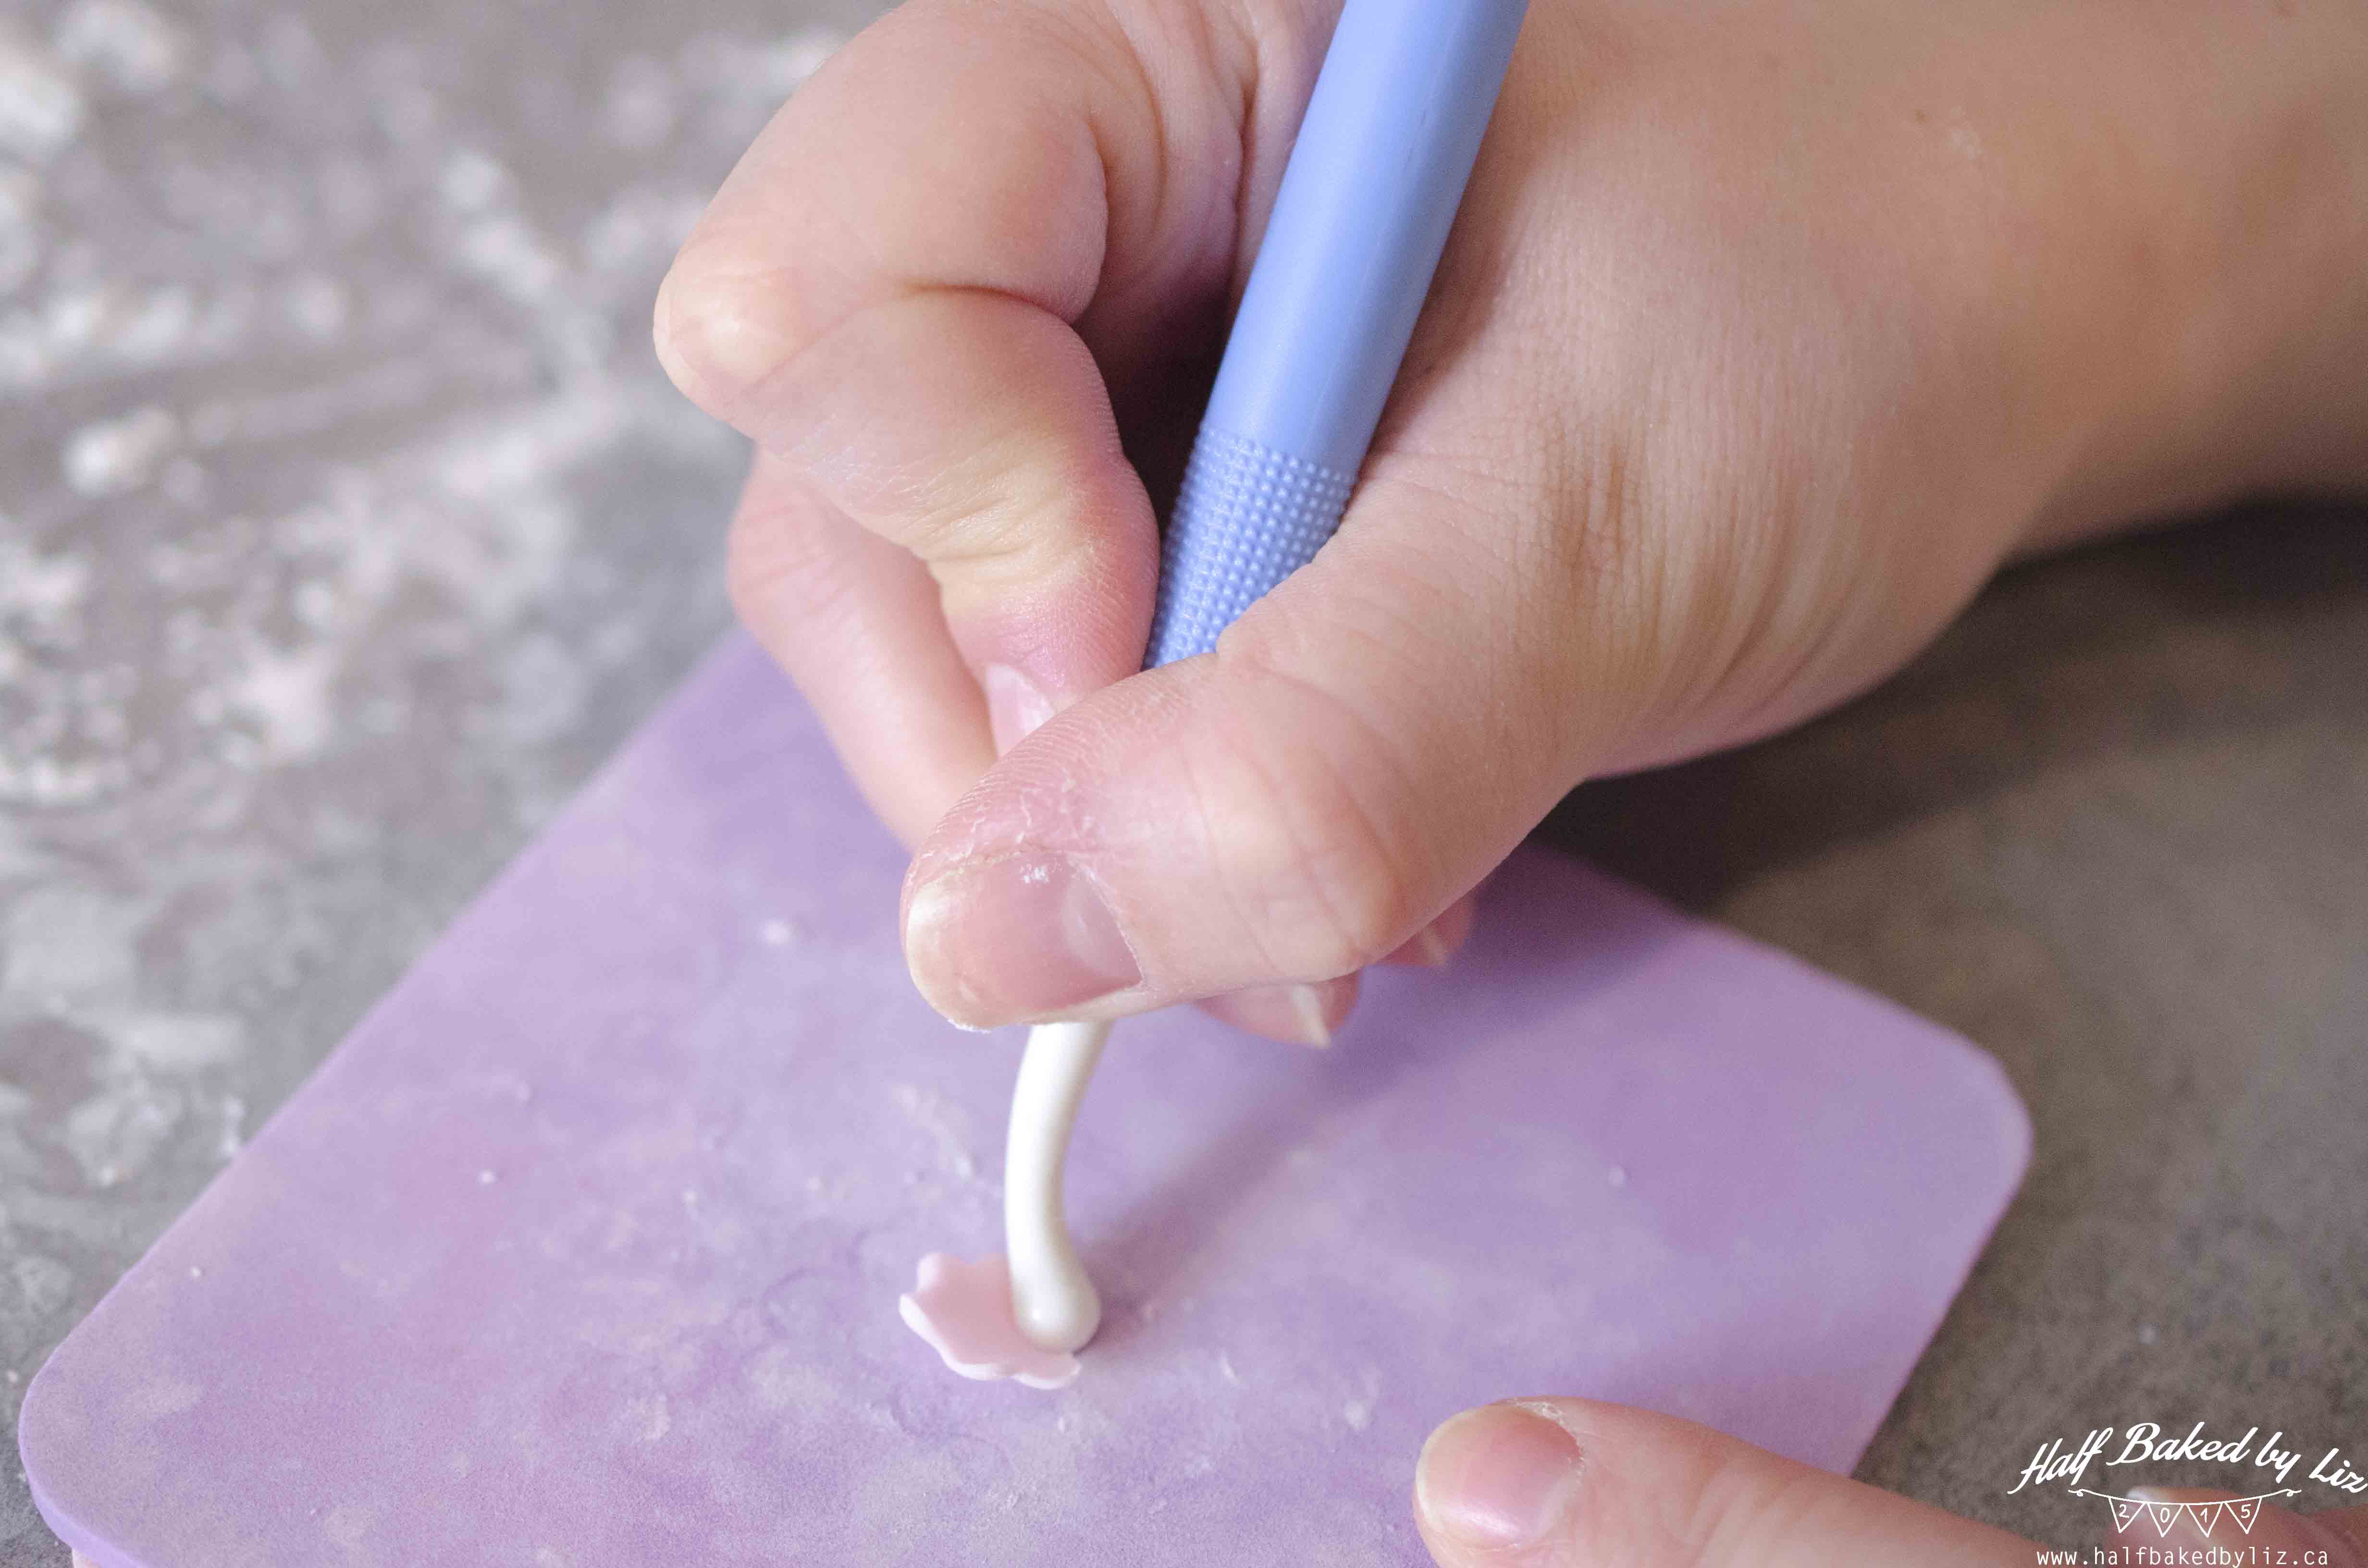
For the smallest size cutouts, I used another tool to make an indent in the center.
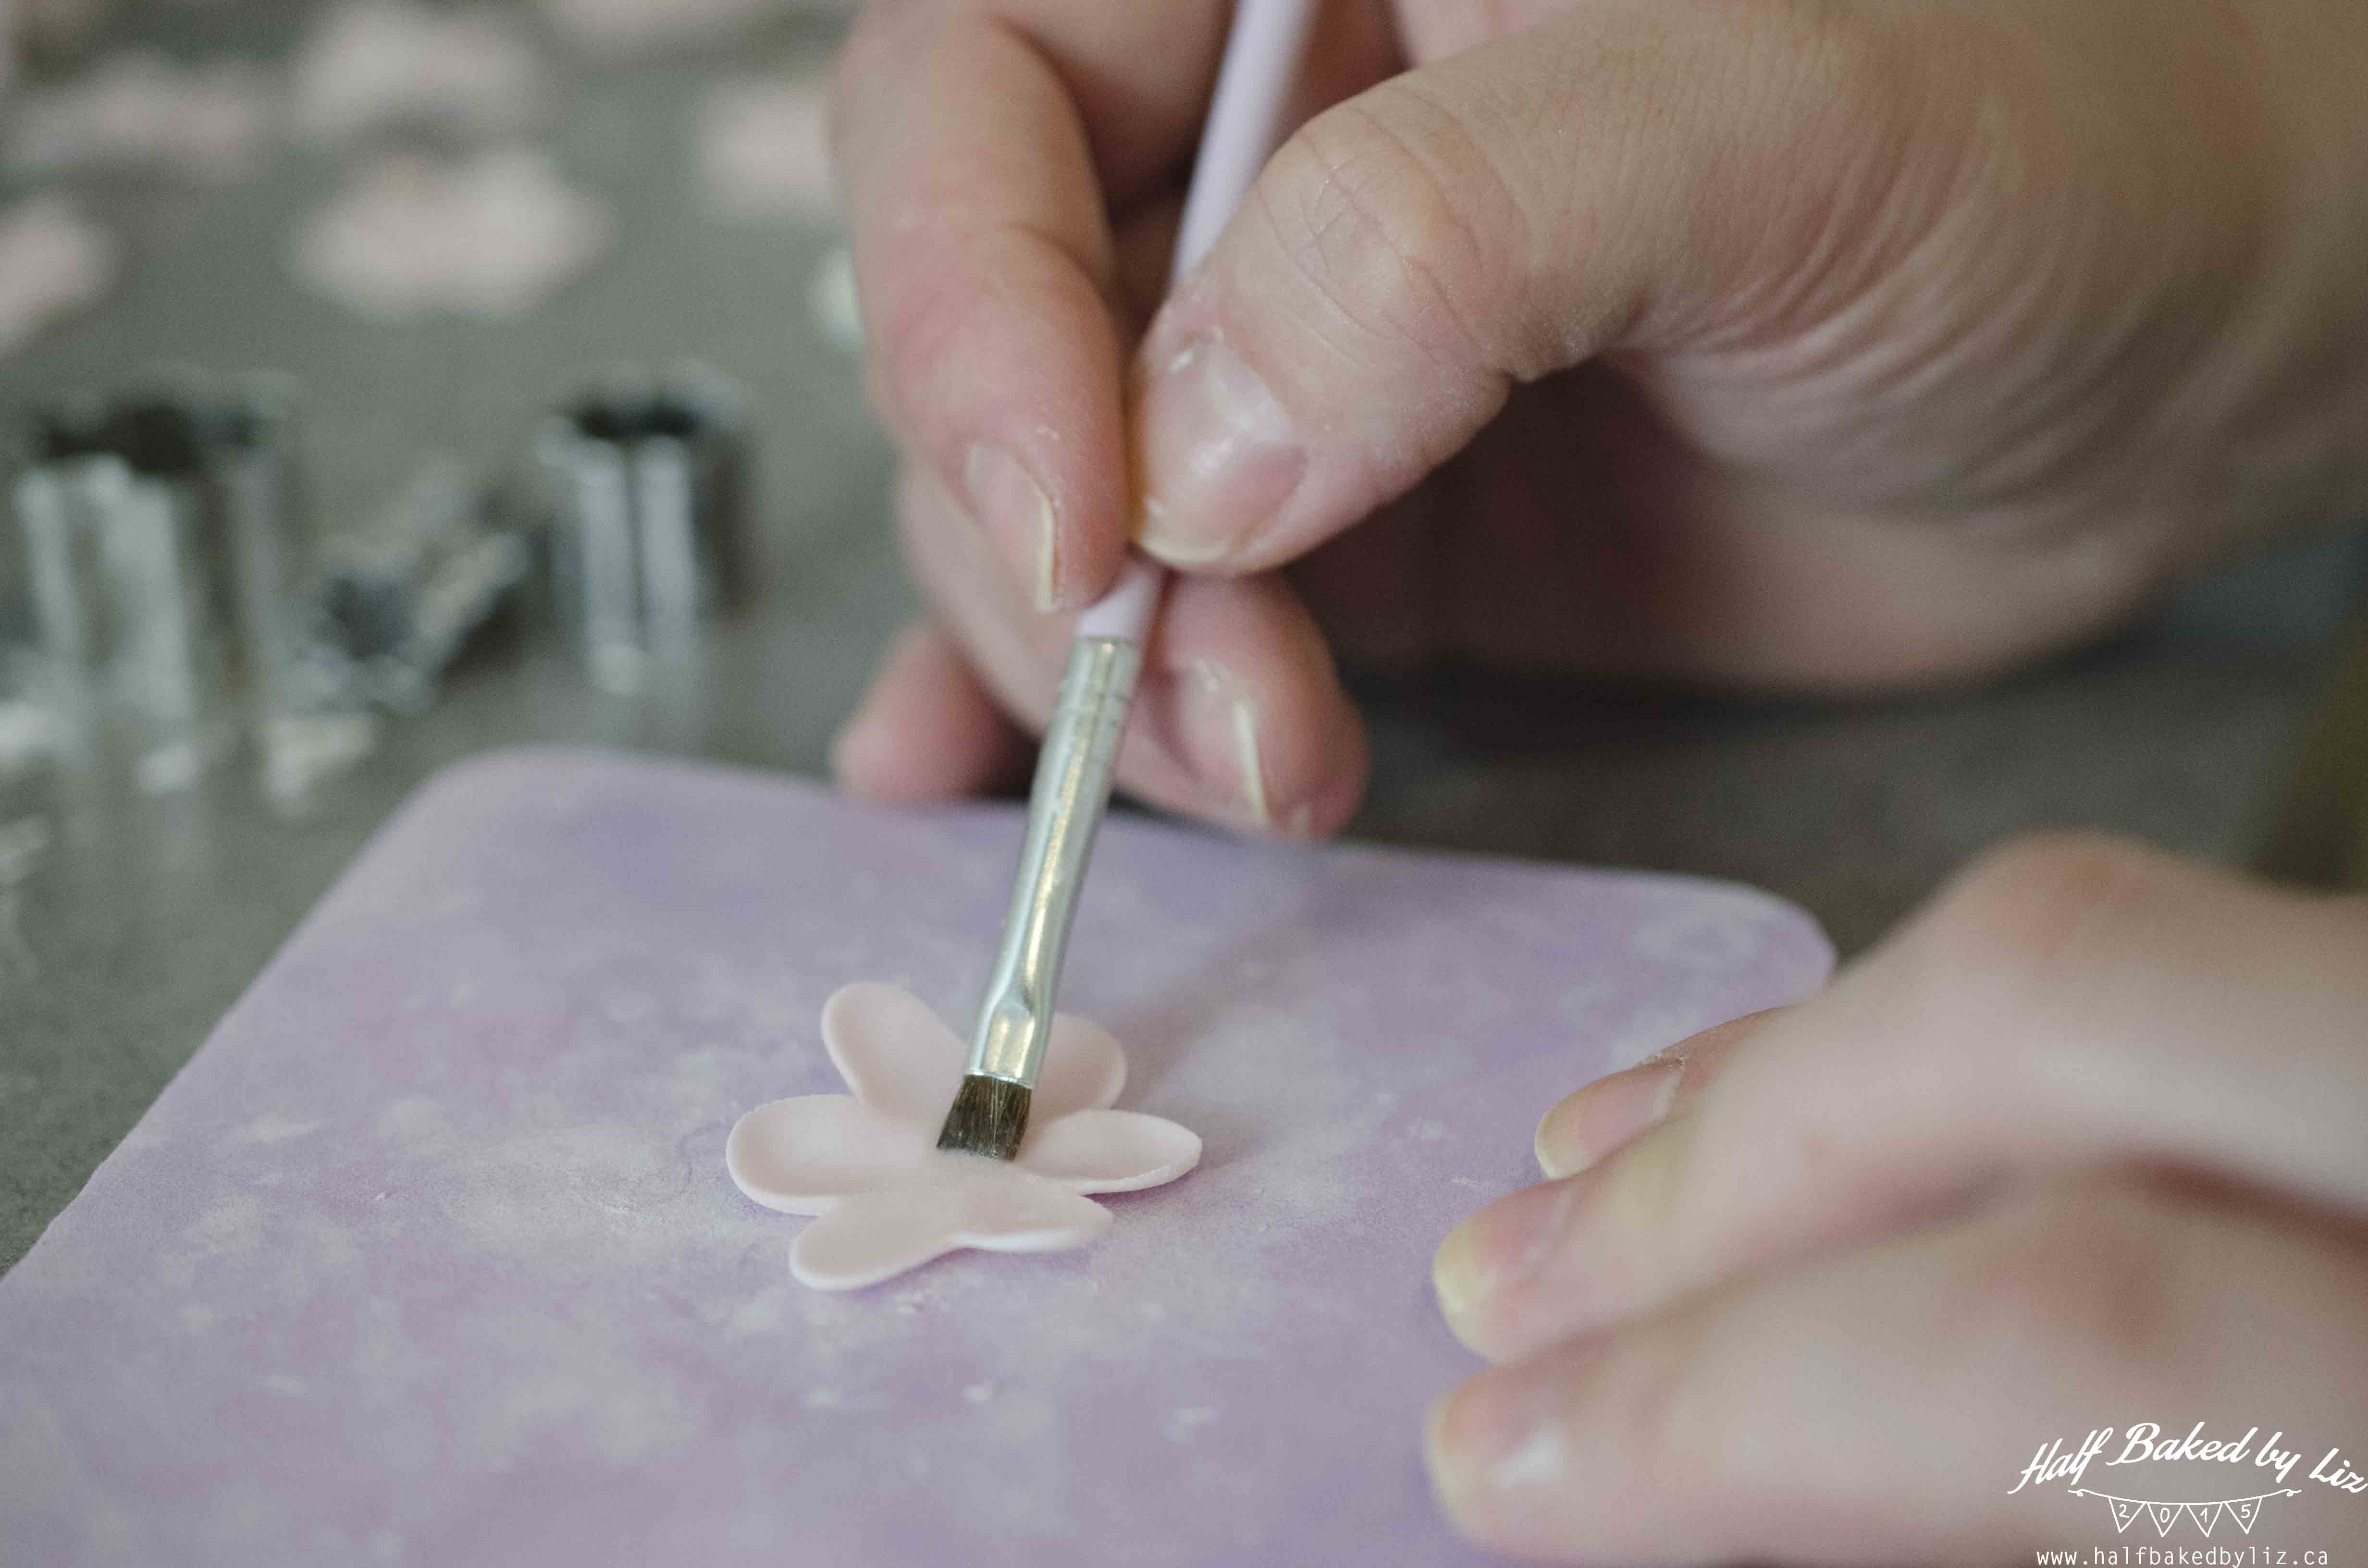
Use a paint brush to dab a little water onto the center of the largest flower, and press the medium flower onto it with the back of the brush. Then do the same with the smallest size.
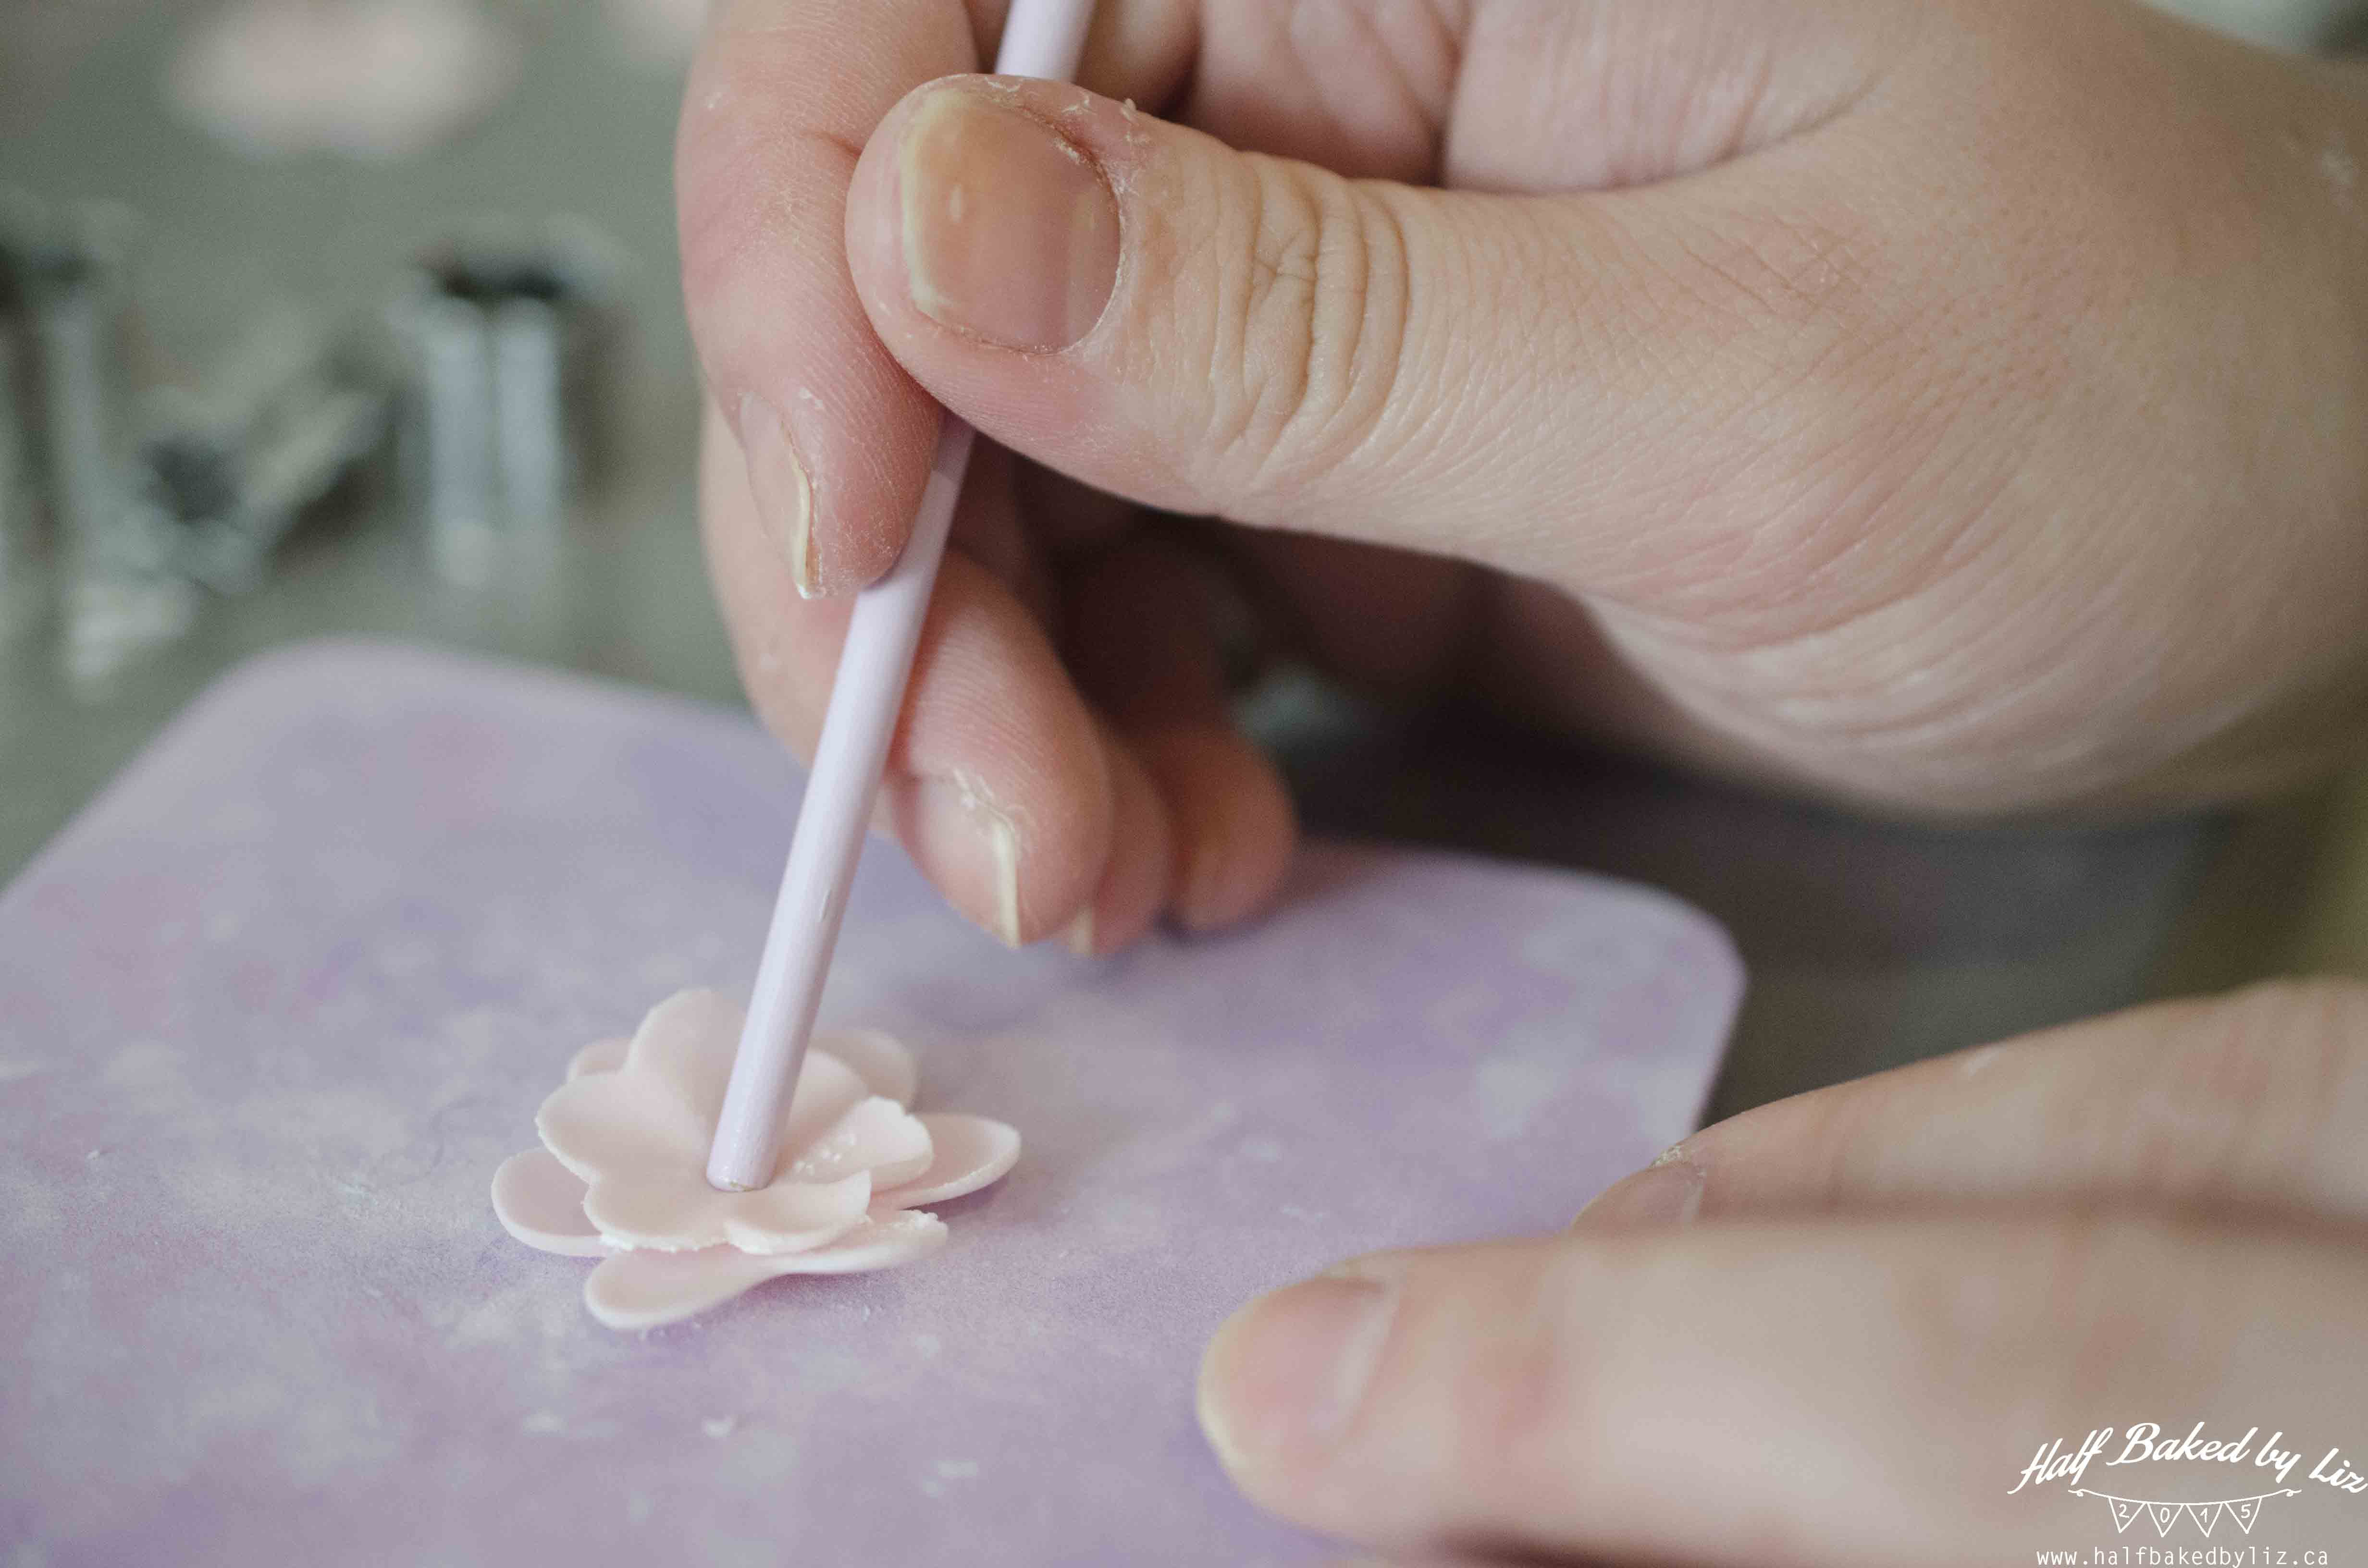
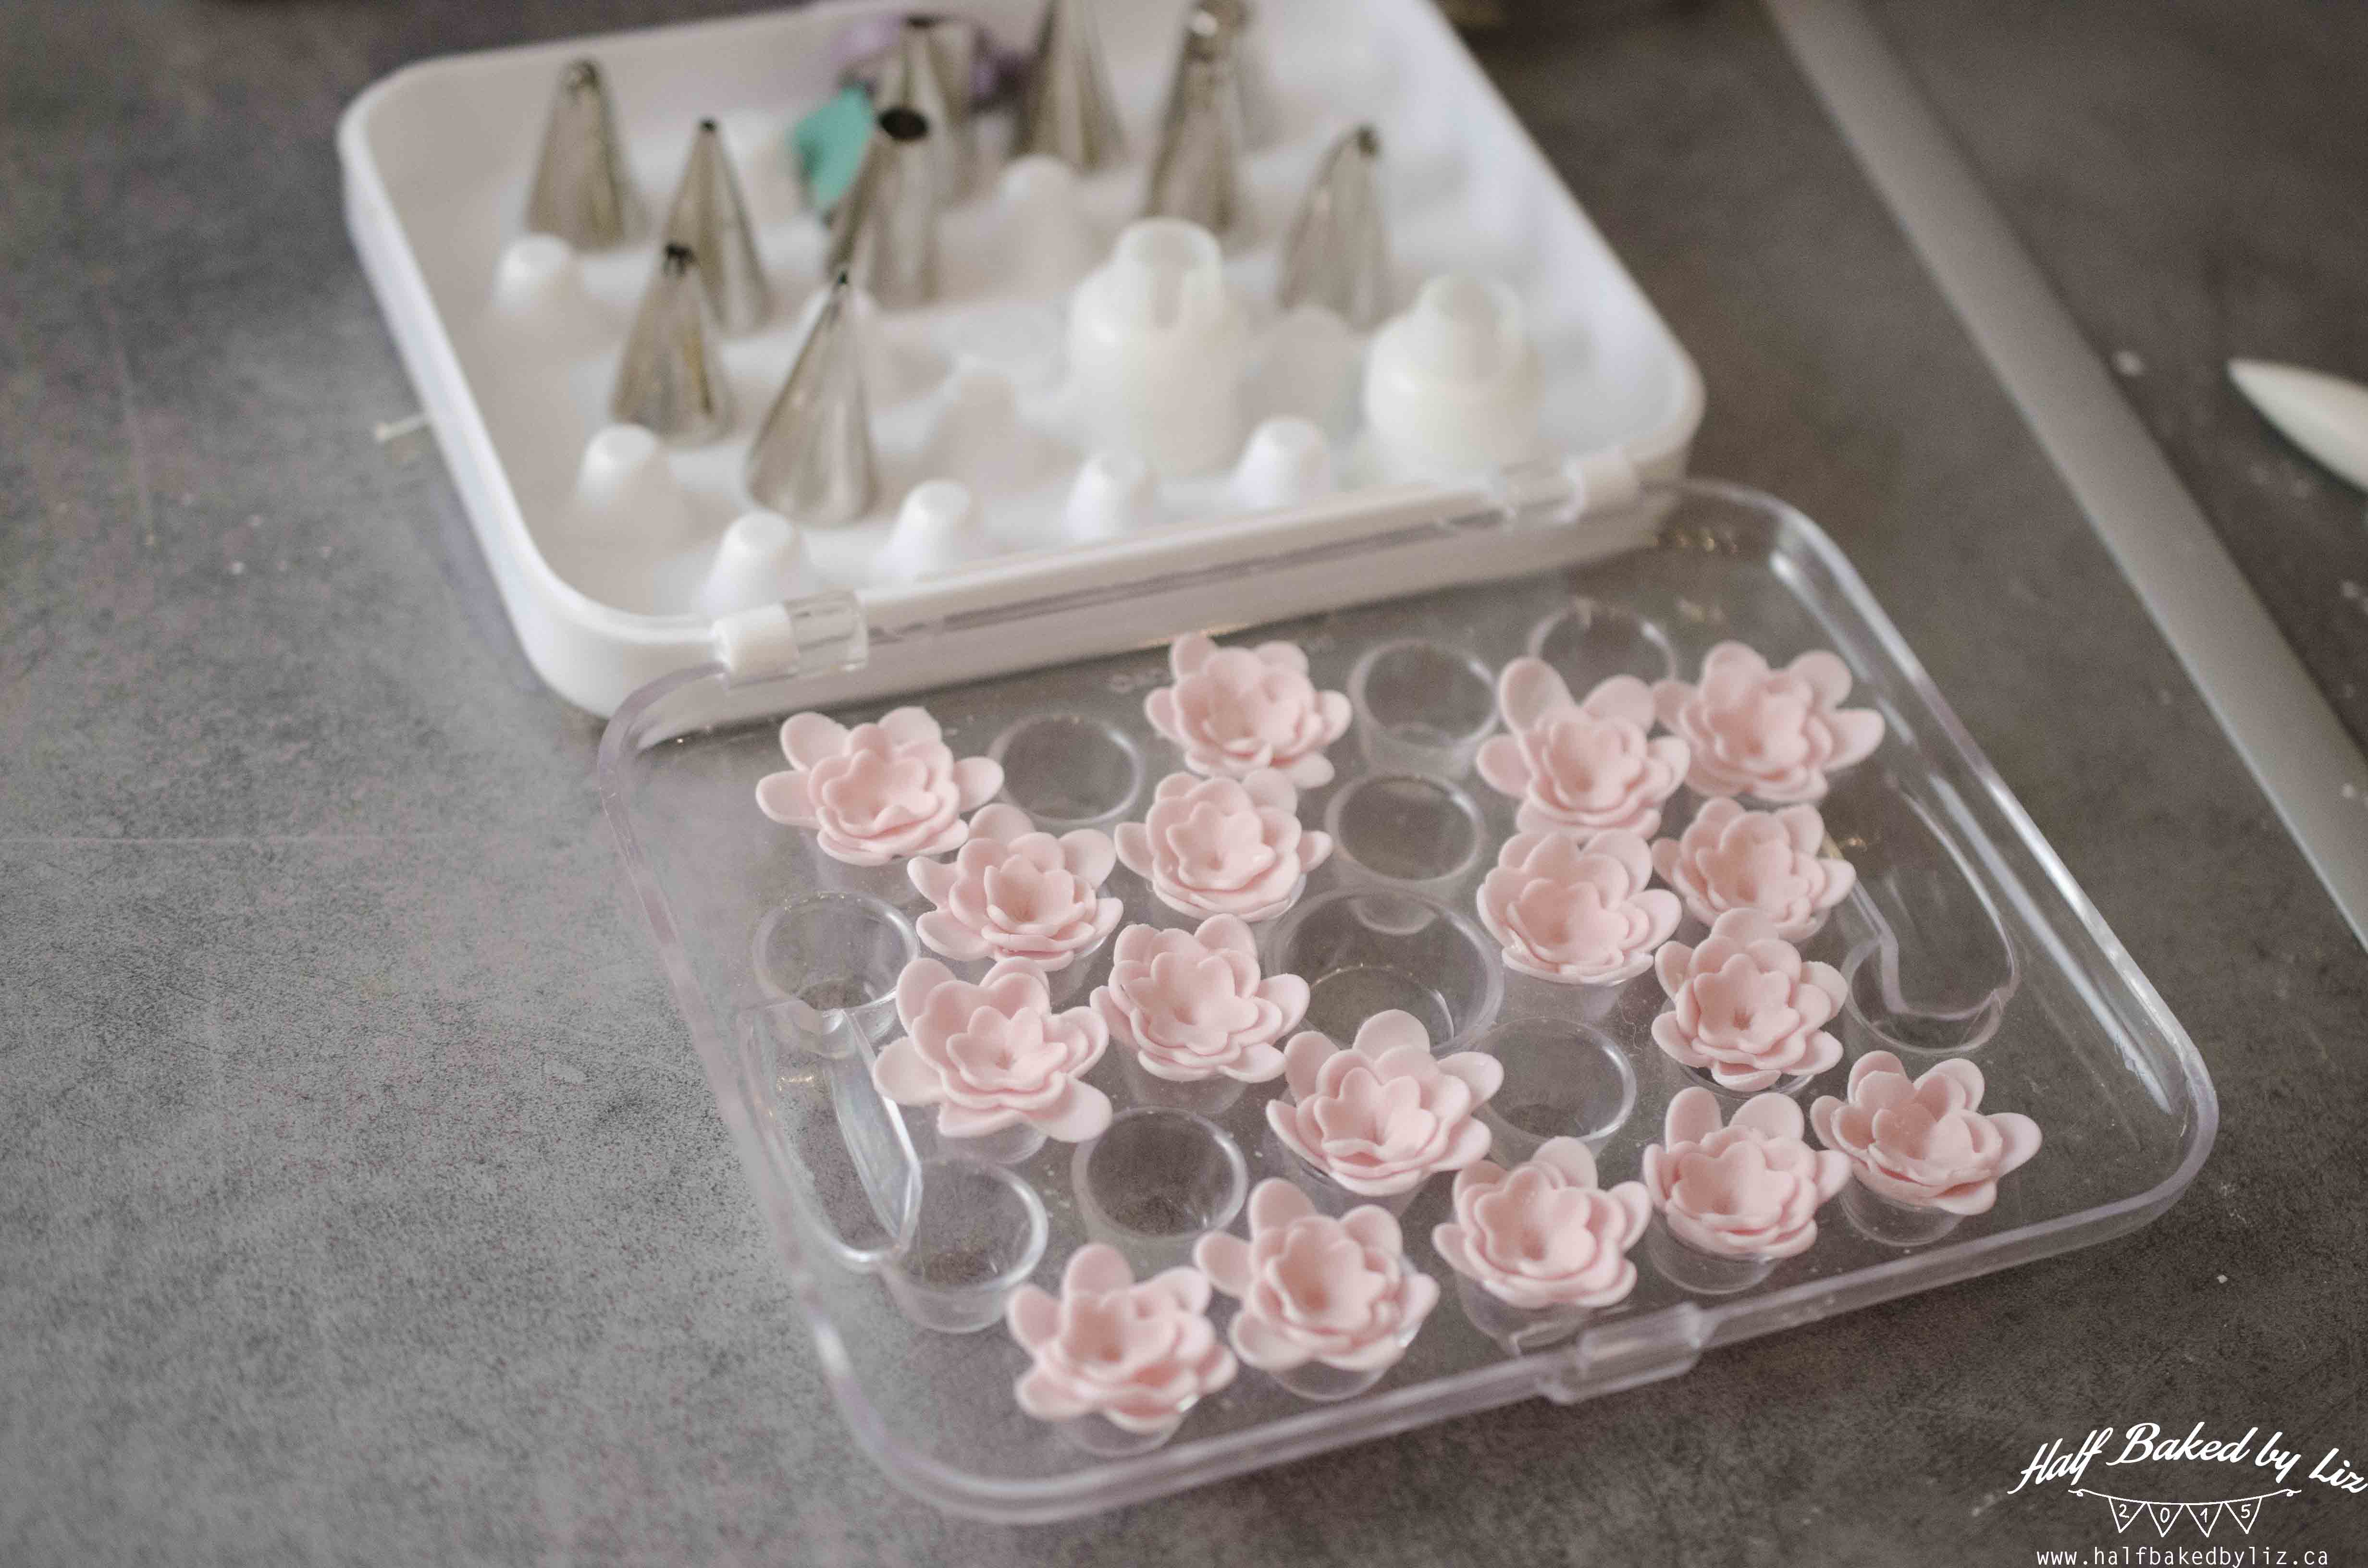
So that the flowers would keep a nice cupped shaped, I gently pressed them into the cover of the container that hold my small piping tips. It works perfectly for small flowers! (A styrofoam egg carton works really well for larger flowers.) I let them sit for about an hour, just to dry out a little.
In the meantime, I piped the cupcakes, and cut out some leaves.
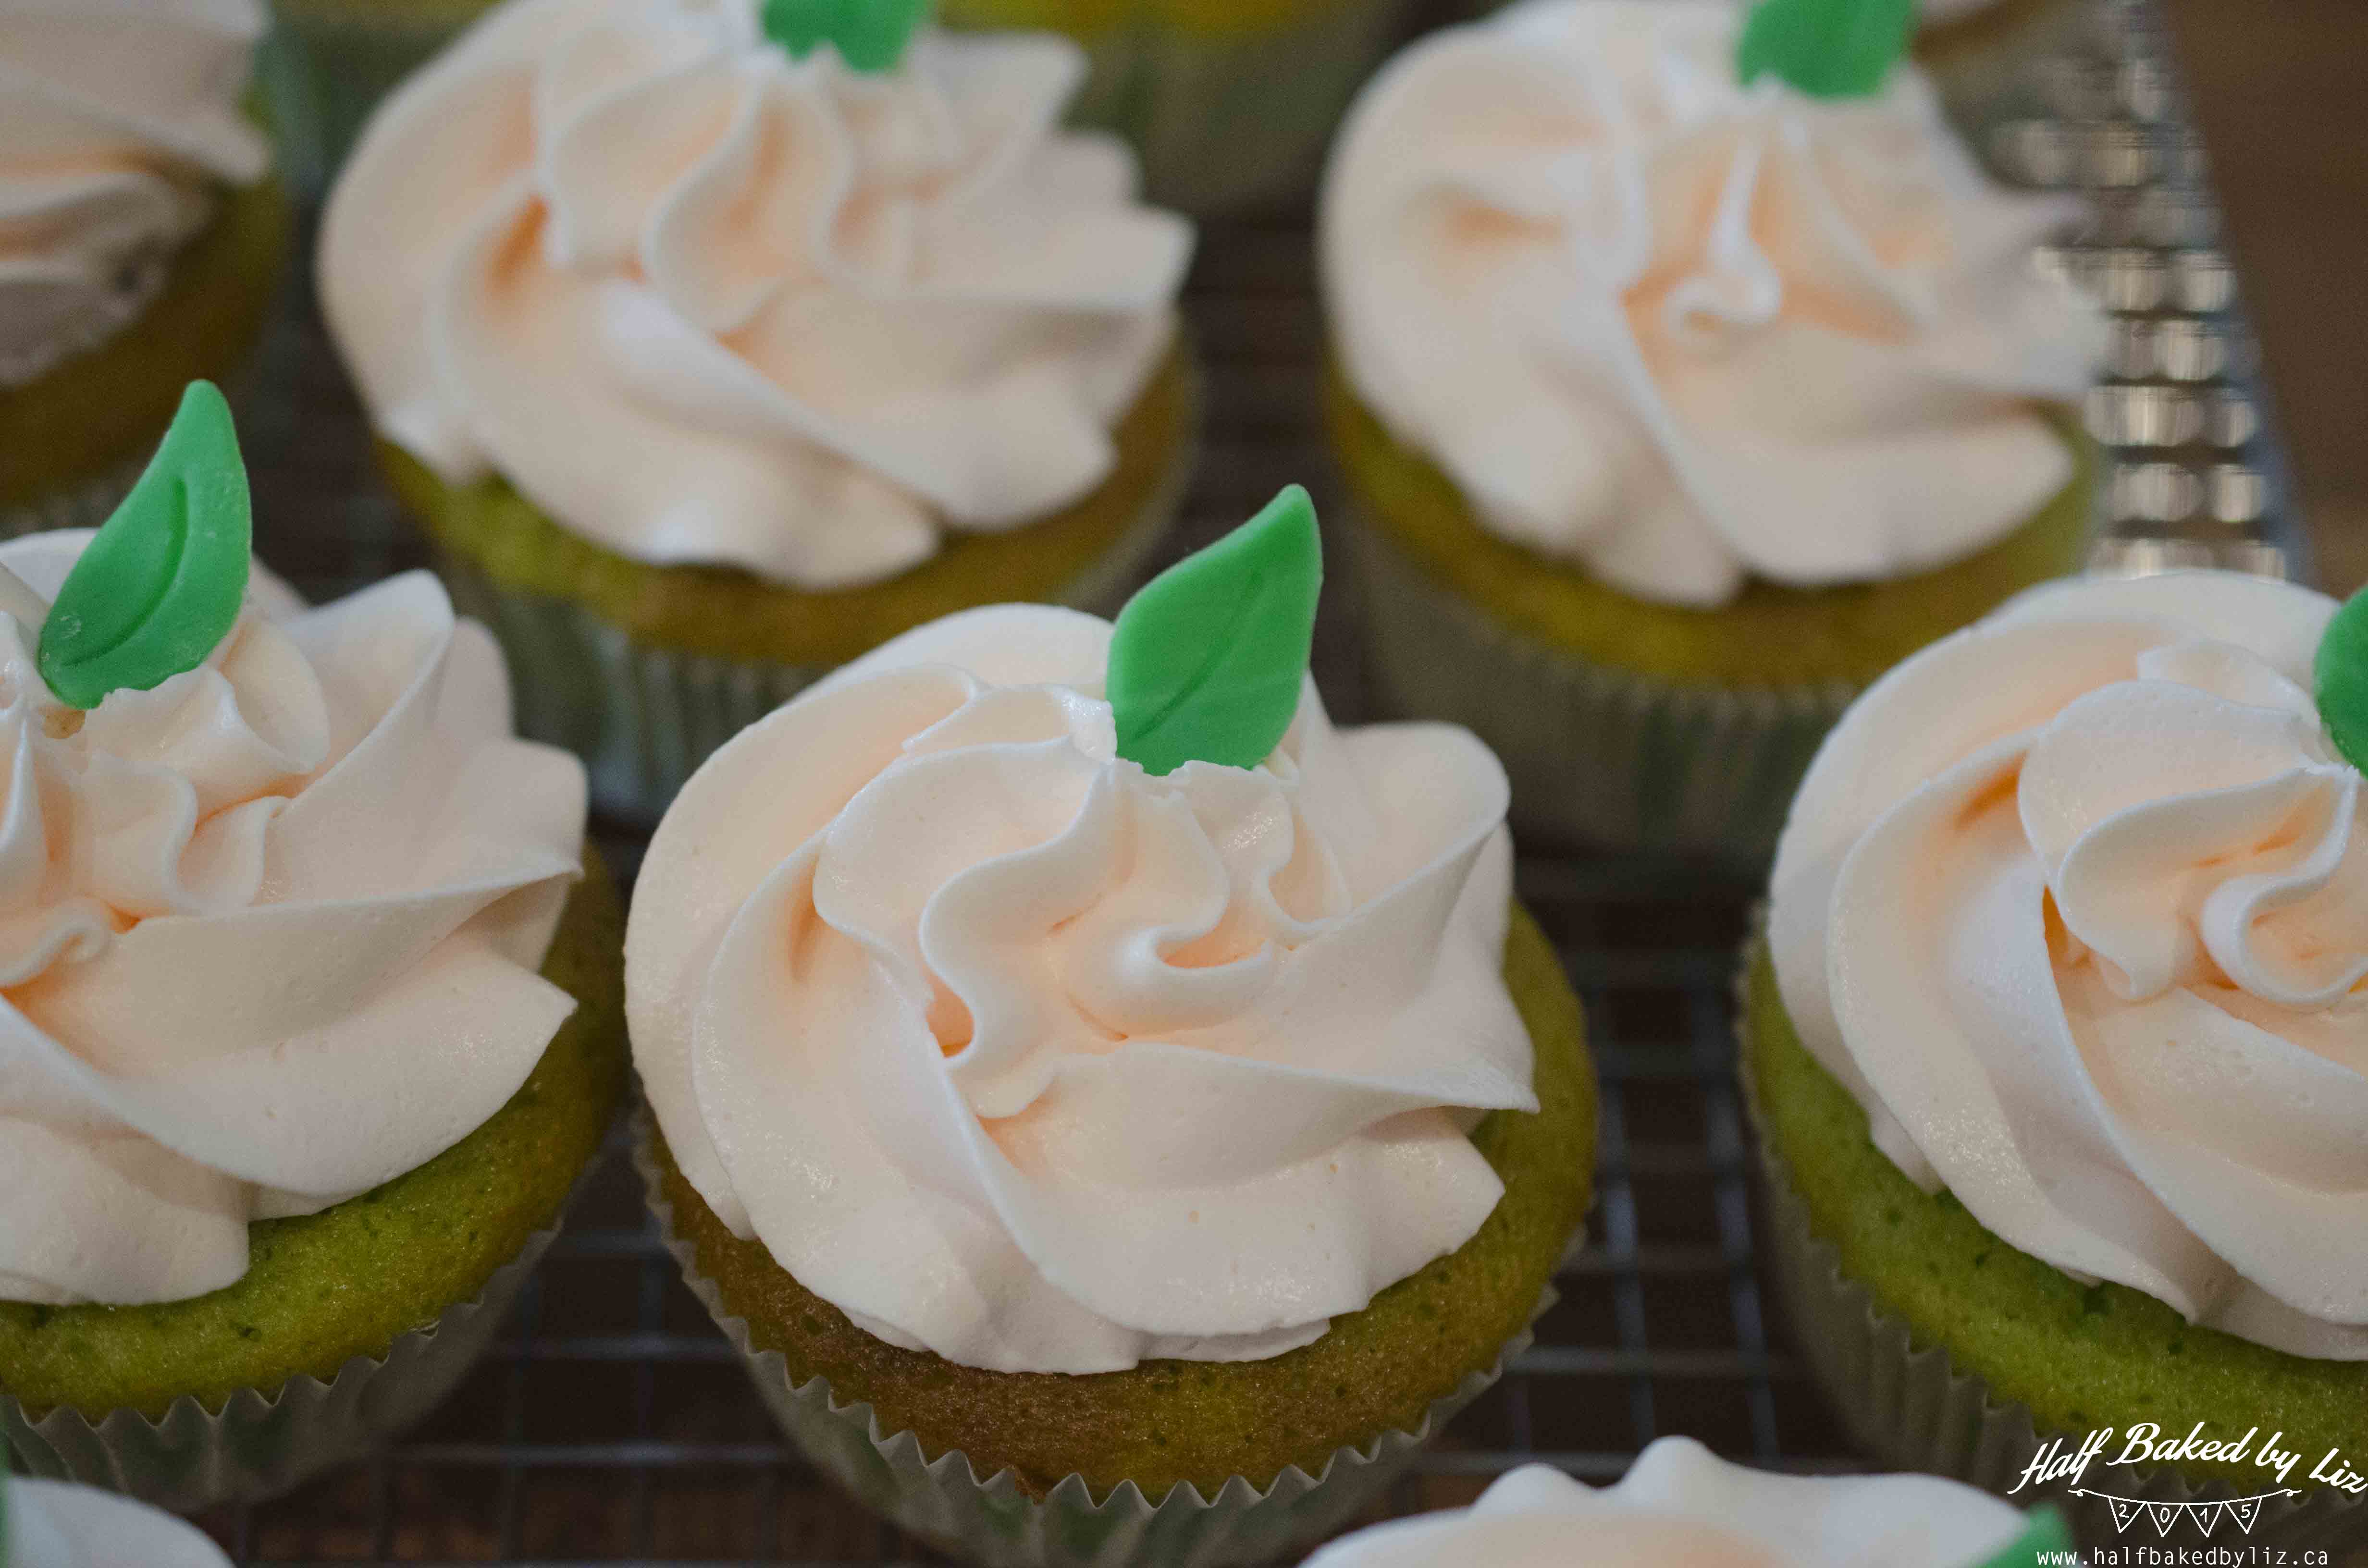
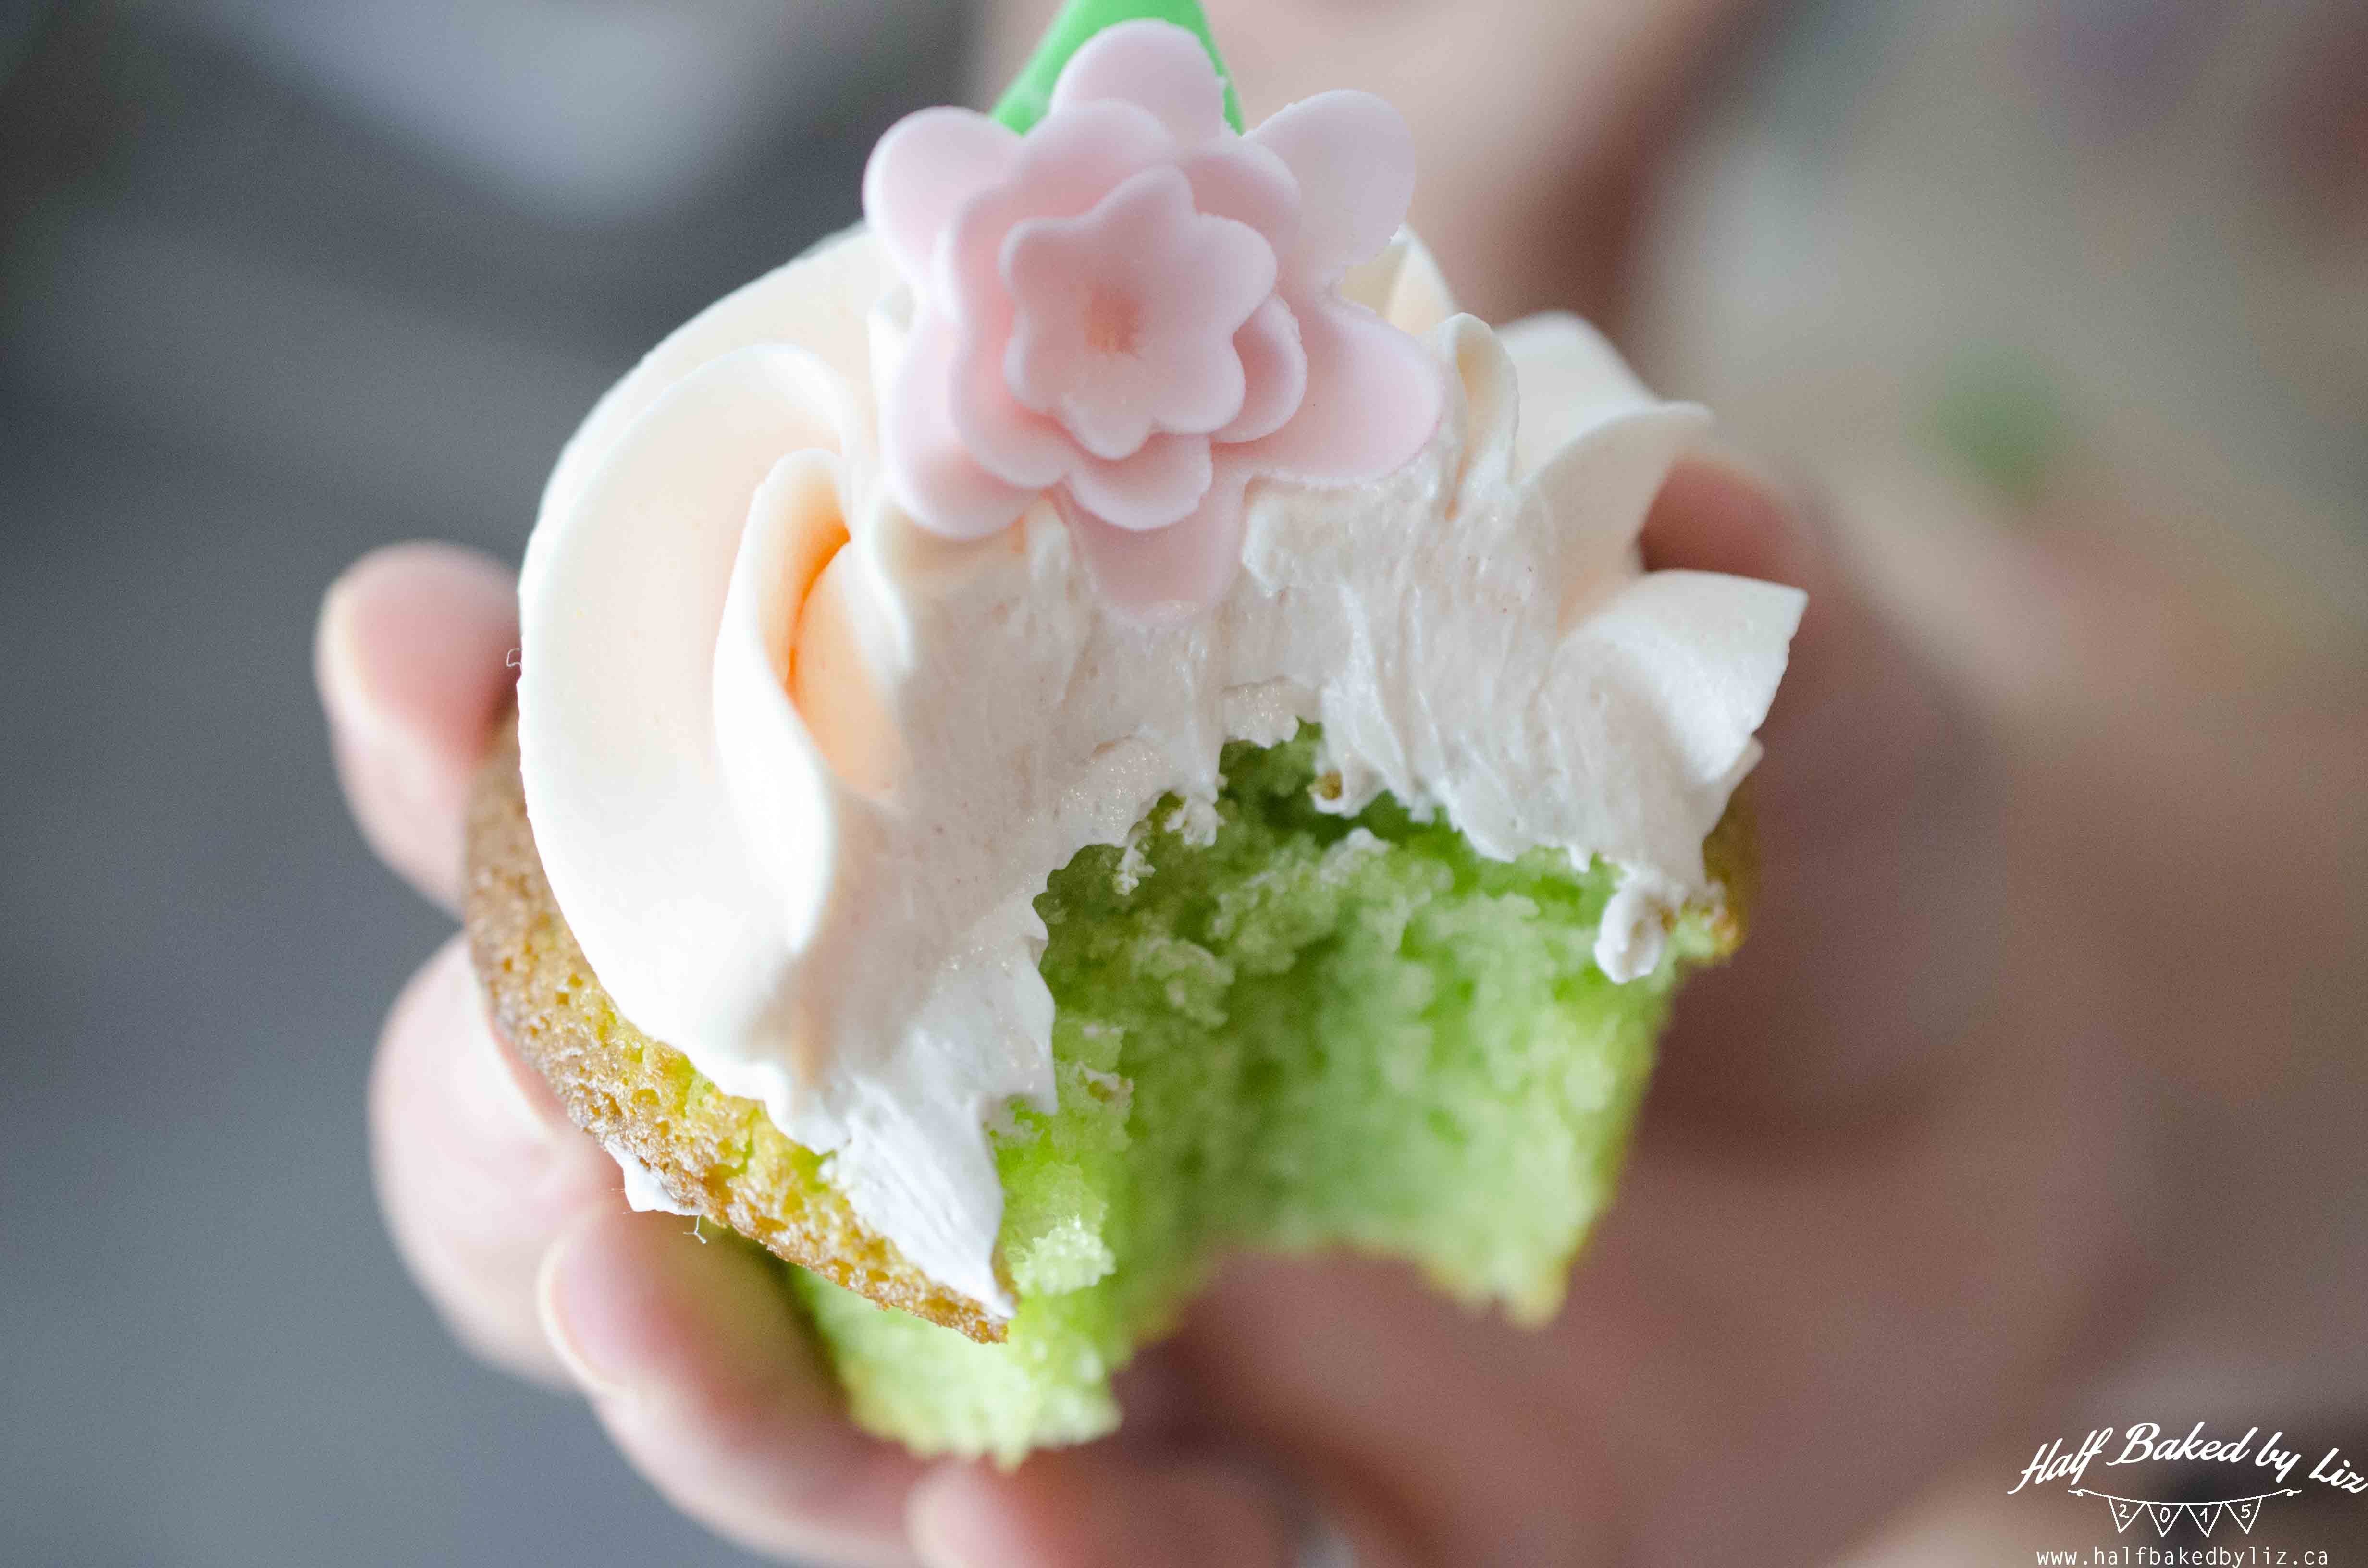
Place the leaves onto the cupcakes, followed by the flowers. So pretty!

And also yummy. OM NOM NOM.
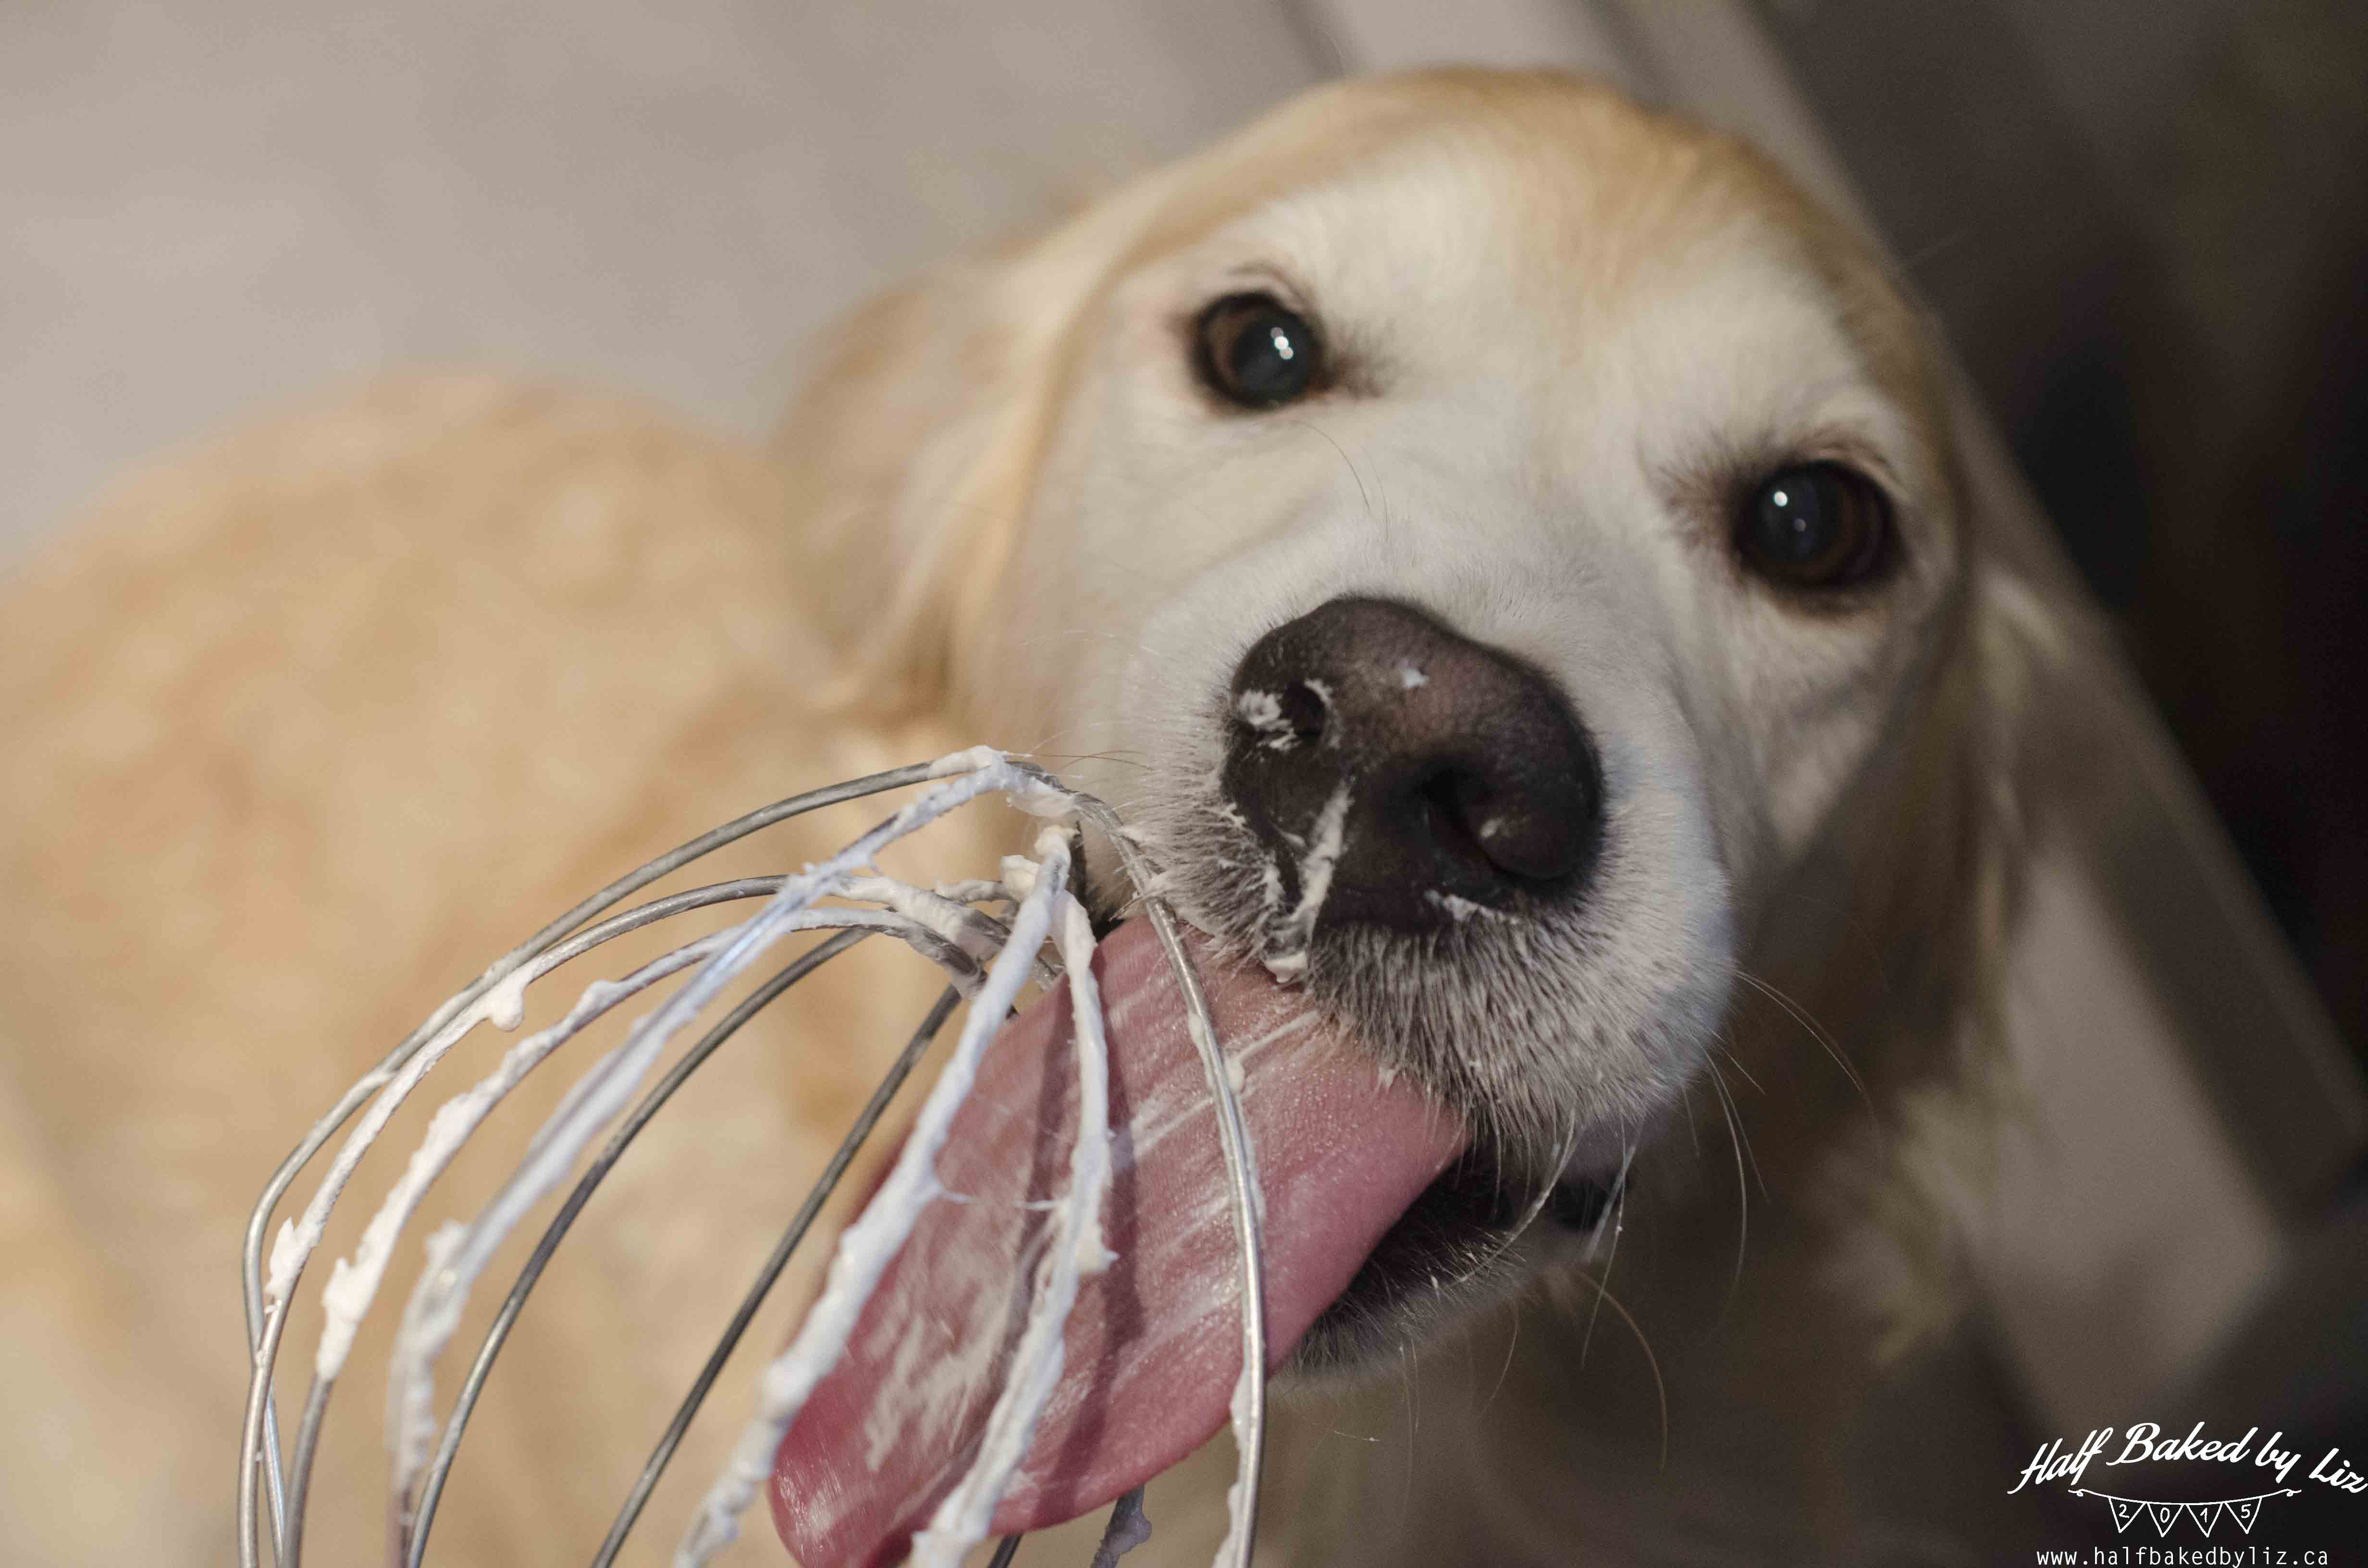
Also… I don’t do this often, but I let Stella lick the whisk after I made the frosting! It was her little treat for keeping my feet warm while I was baking. Too cute not to share :)