I’ve been thinking about including some makeup-related posts on my blog for a while now, but had kind of avoided it because it meant posting a bunch of pictures of my face, which seemed a little weird. But, I really love makeup, and I’m always playing around with it – so I figured, shag it!
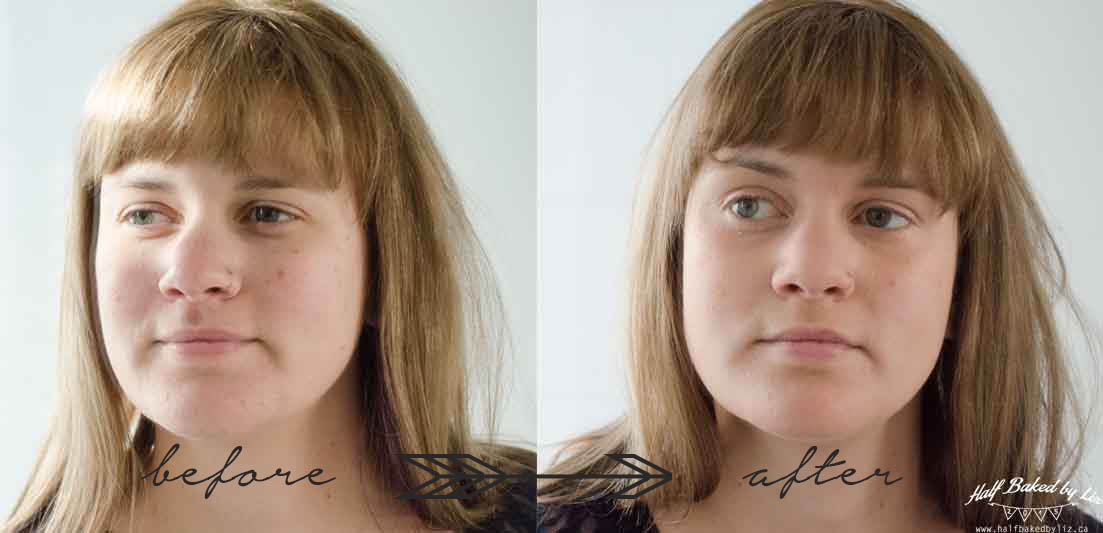
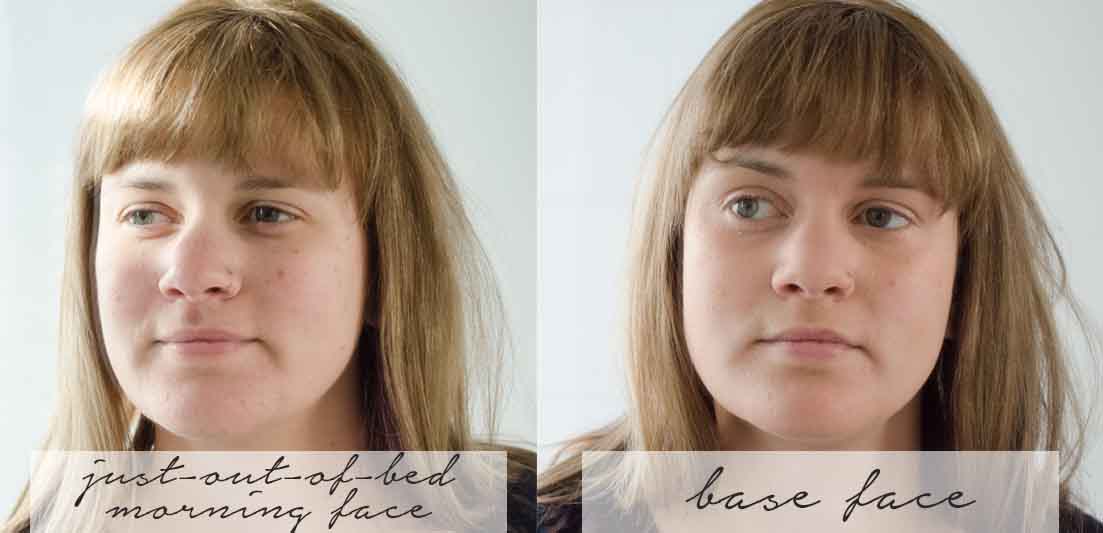
I realize that makeup isn’t for everyone, and I definitely don’t think that makeup is something you should wear, or need to wear. But I like wearing makeup – partly because I think it’s a fun and creative way to express myself, and partly because I’ve never had a great complexion. I’m no makeup expert, but the result of years of break outs and cold sores (yes, ew), means that I’ve pretty much mastered my ‘base face’ to my liking. It makes for a great foundation for other makeup, but is also great on it’s own; it lasts all day, doesn’t look cake-y, and doesn’t end up creased within a few hours. Bam! Here’s what I do, along with the products I use and swear by.
Step 1: Moisturize and prime. I think this is the most important step. If your face isn’t moisturized pre-makeup, over the course of the day, your skin will suck all the moisture out of your foundation, resulting in no more makeup. I start by using a moisturizer for my face and lips, and follow up with a mattifying primer.
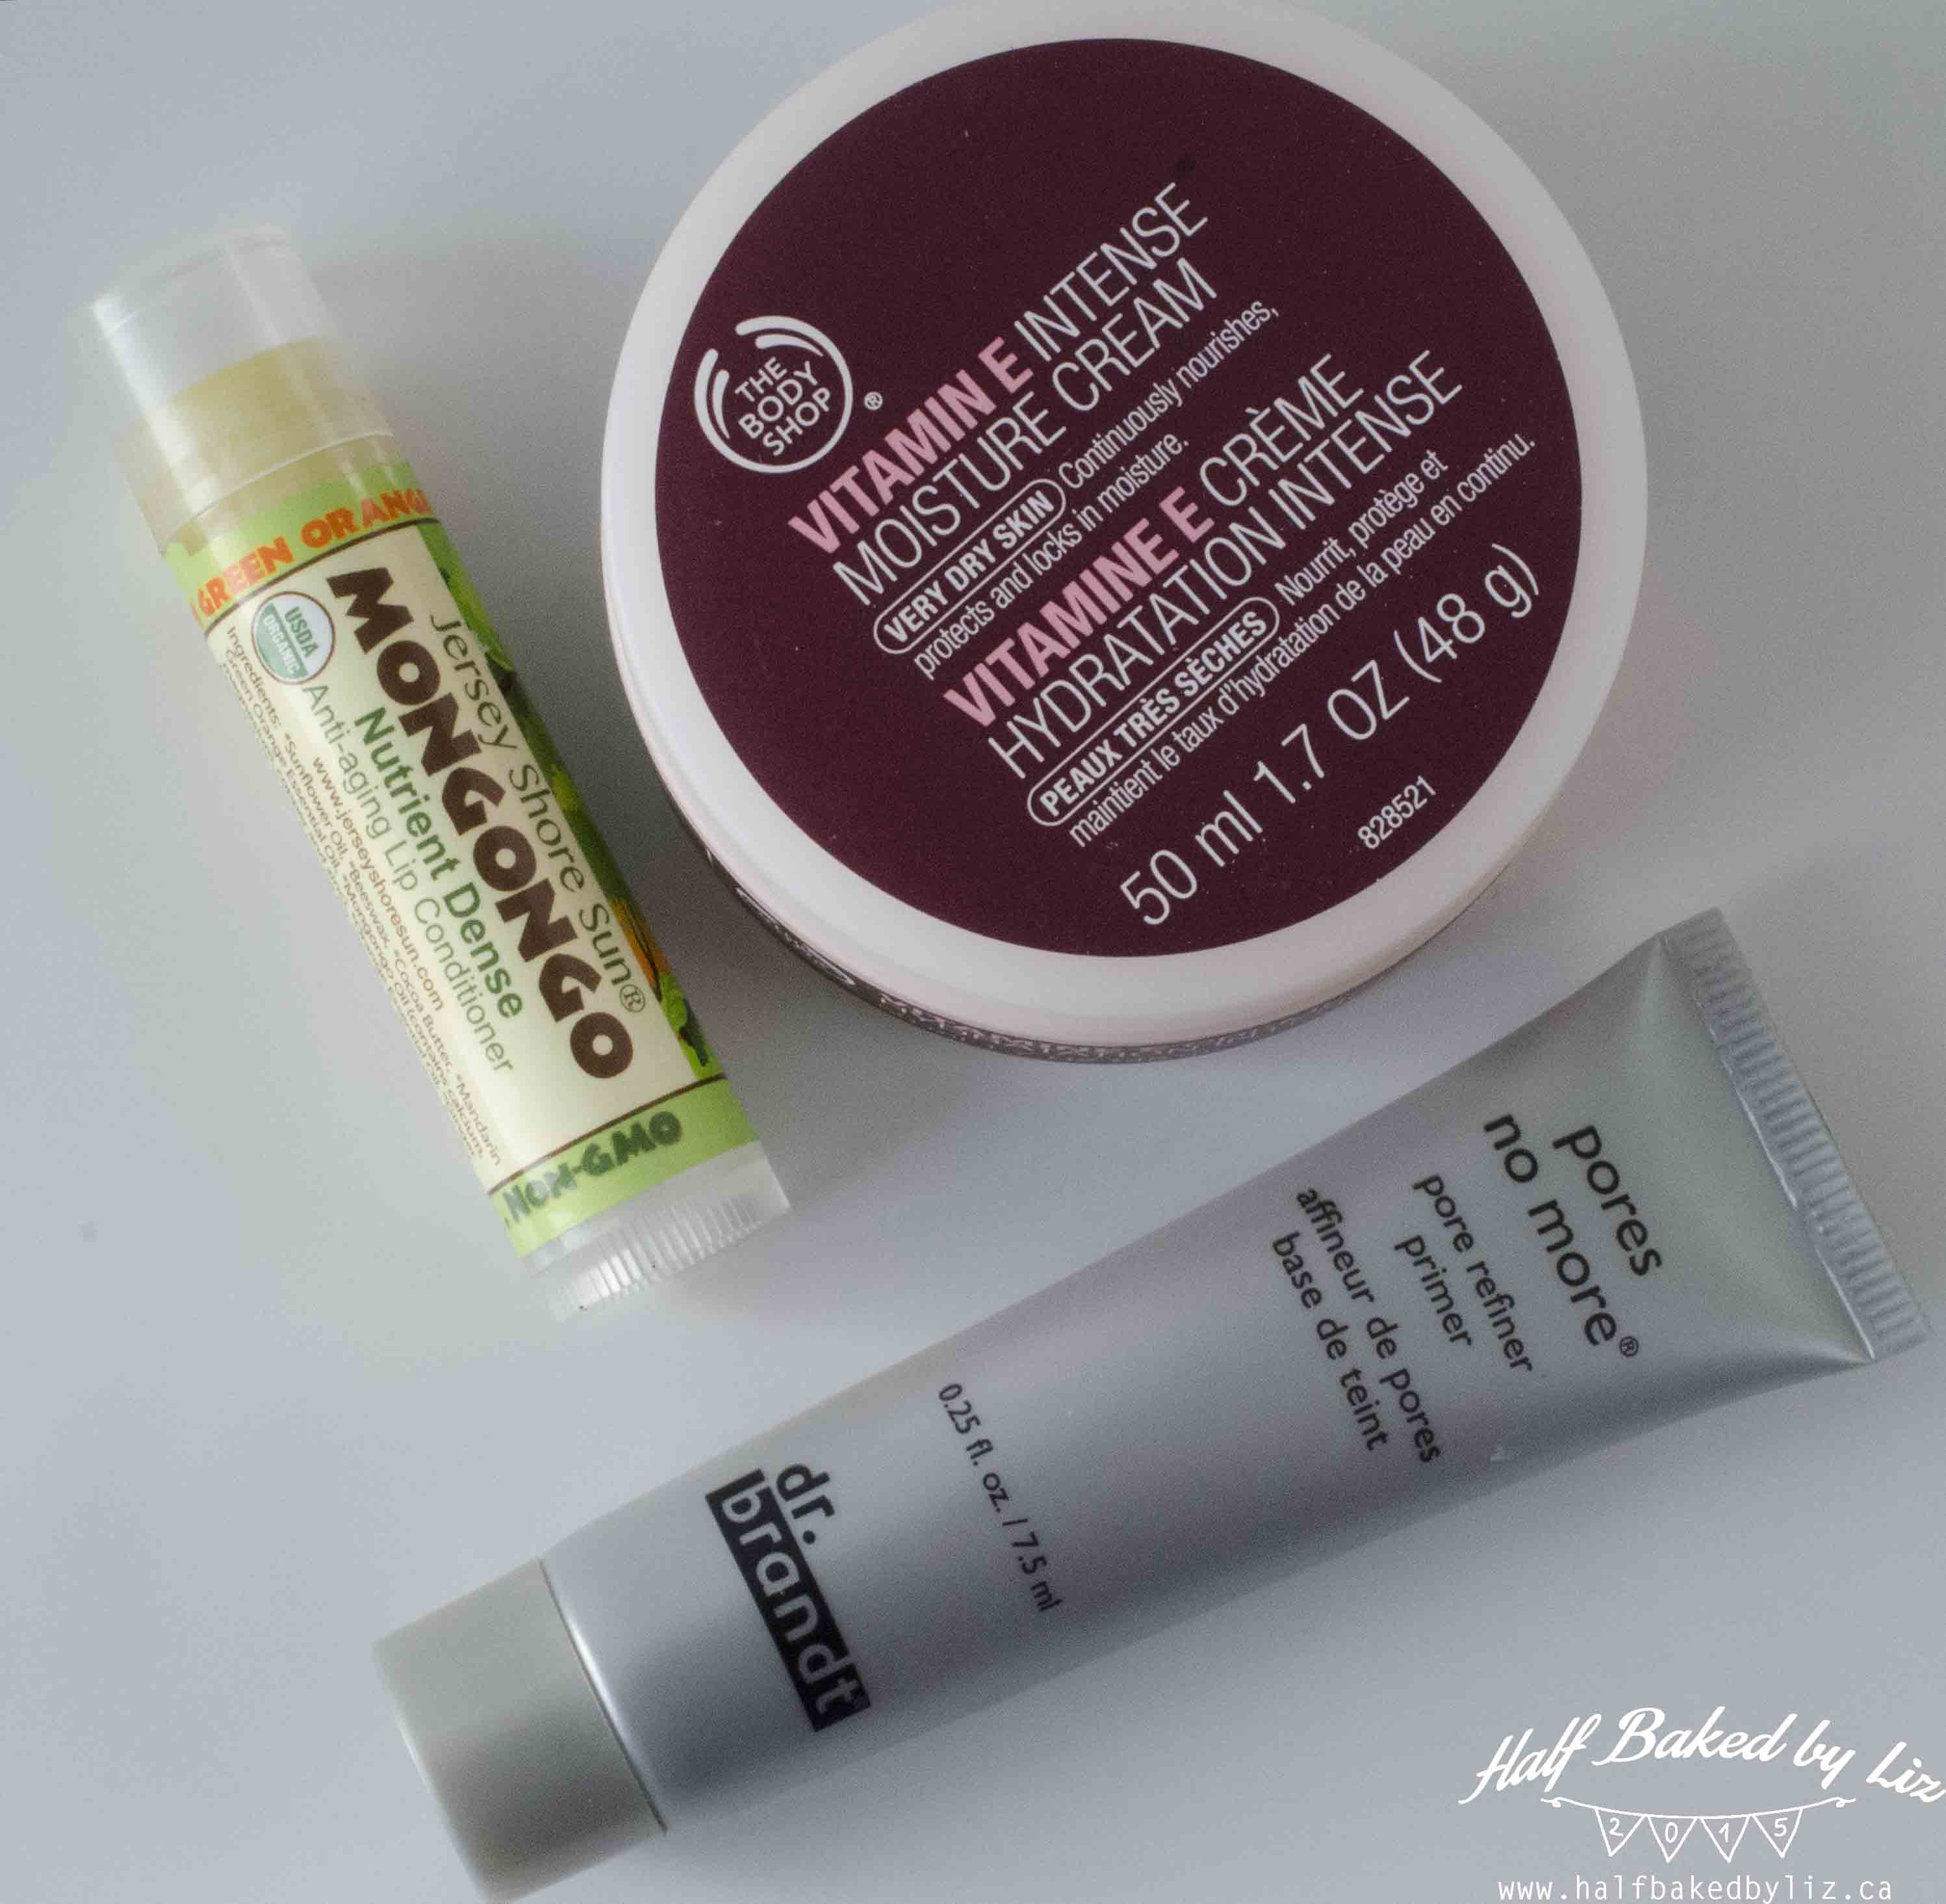
| Vitamin E Intense Moisture Cream, The Body Shop | Nutrient Dense Anti-aging Lip Conditioner, Mongongo | Pores No More Pore Refiner Primer, Dr. Brandt |
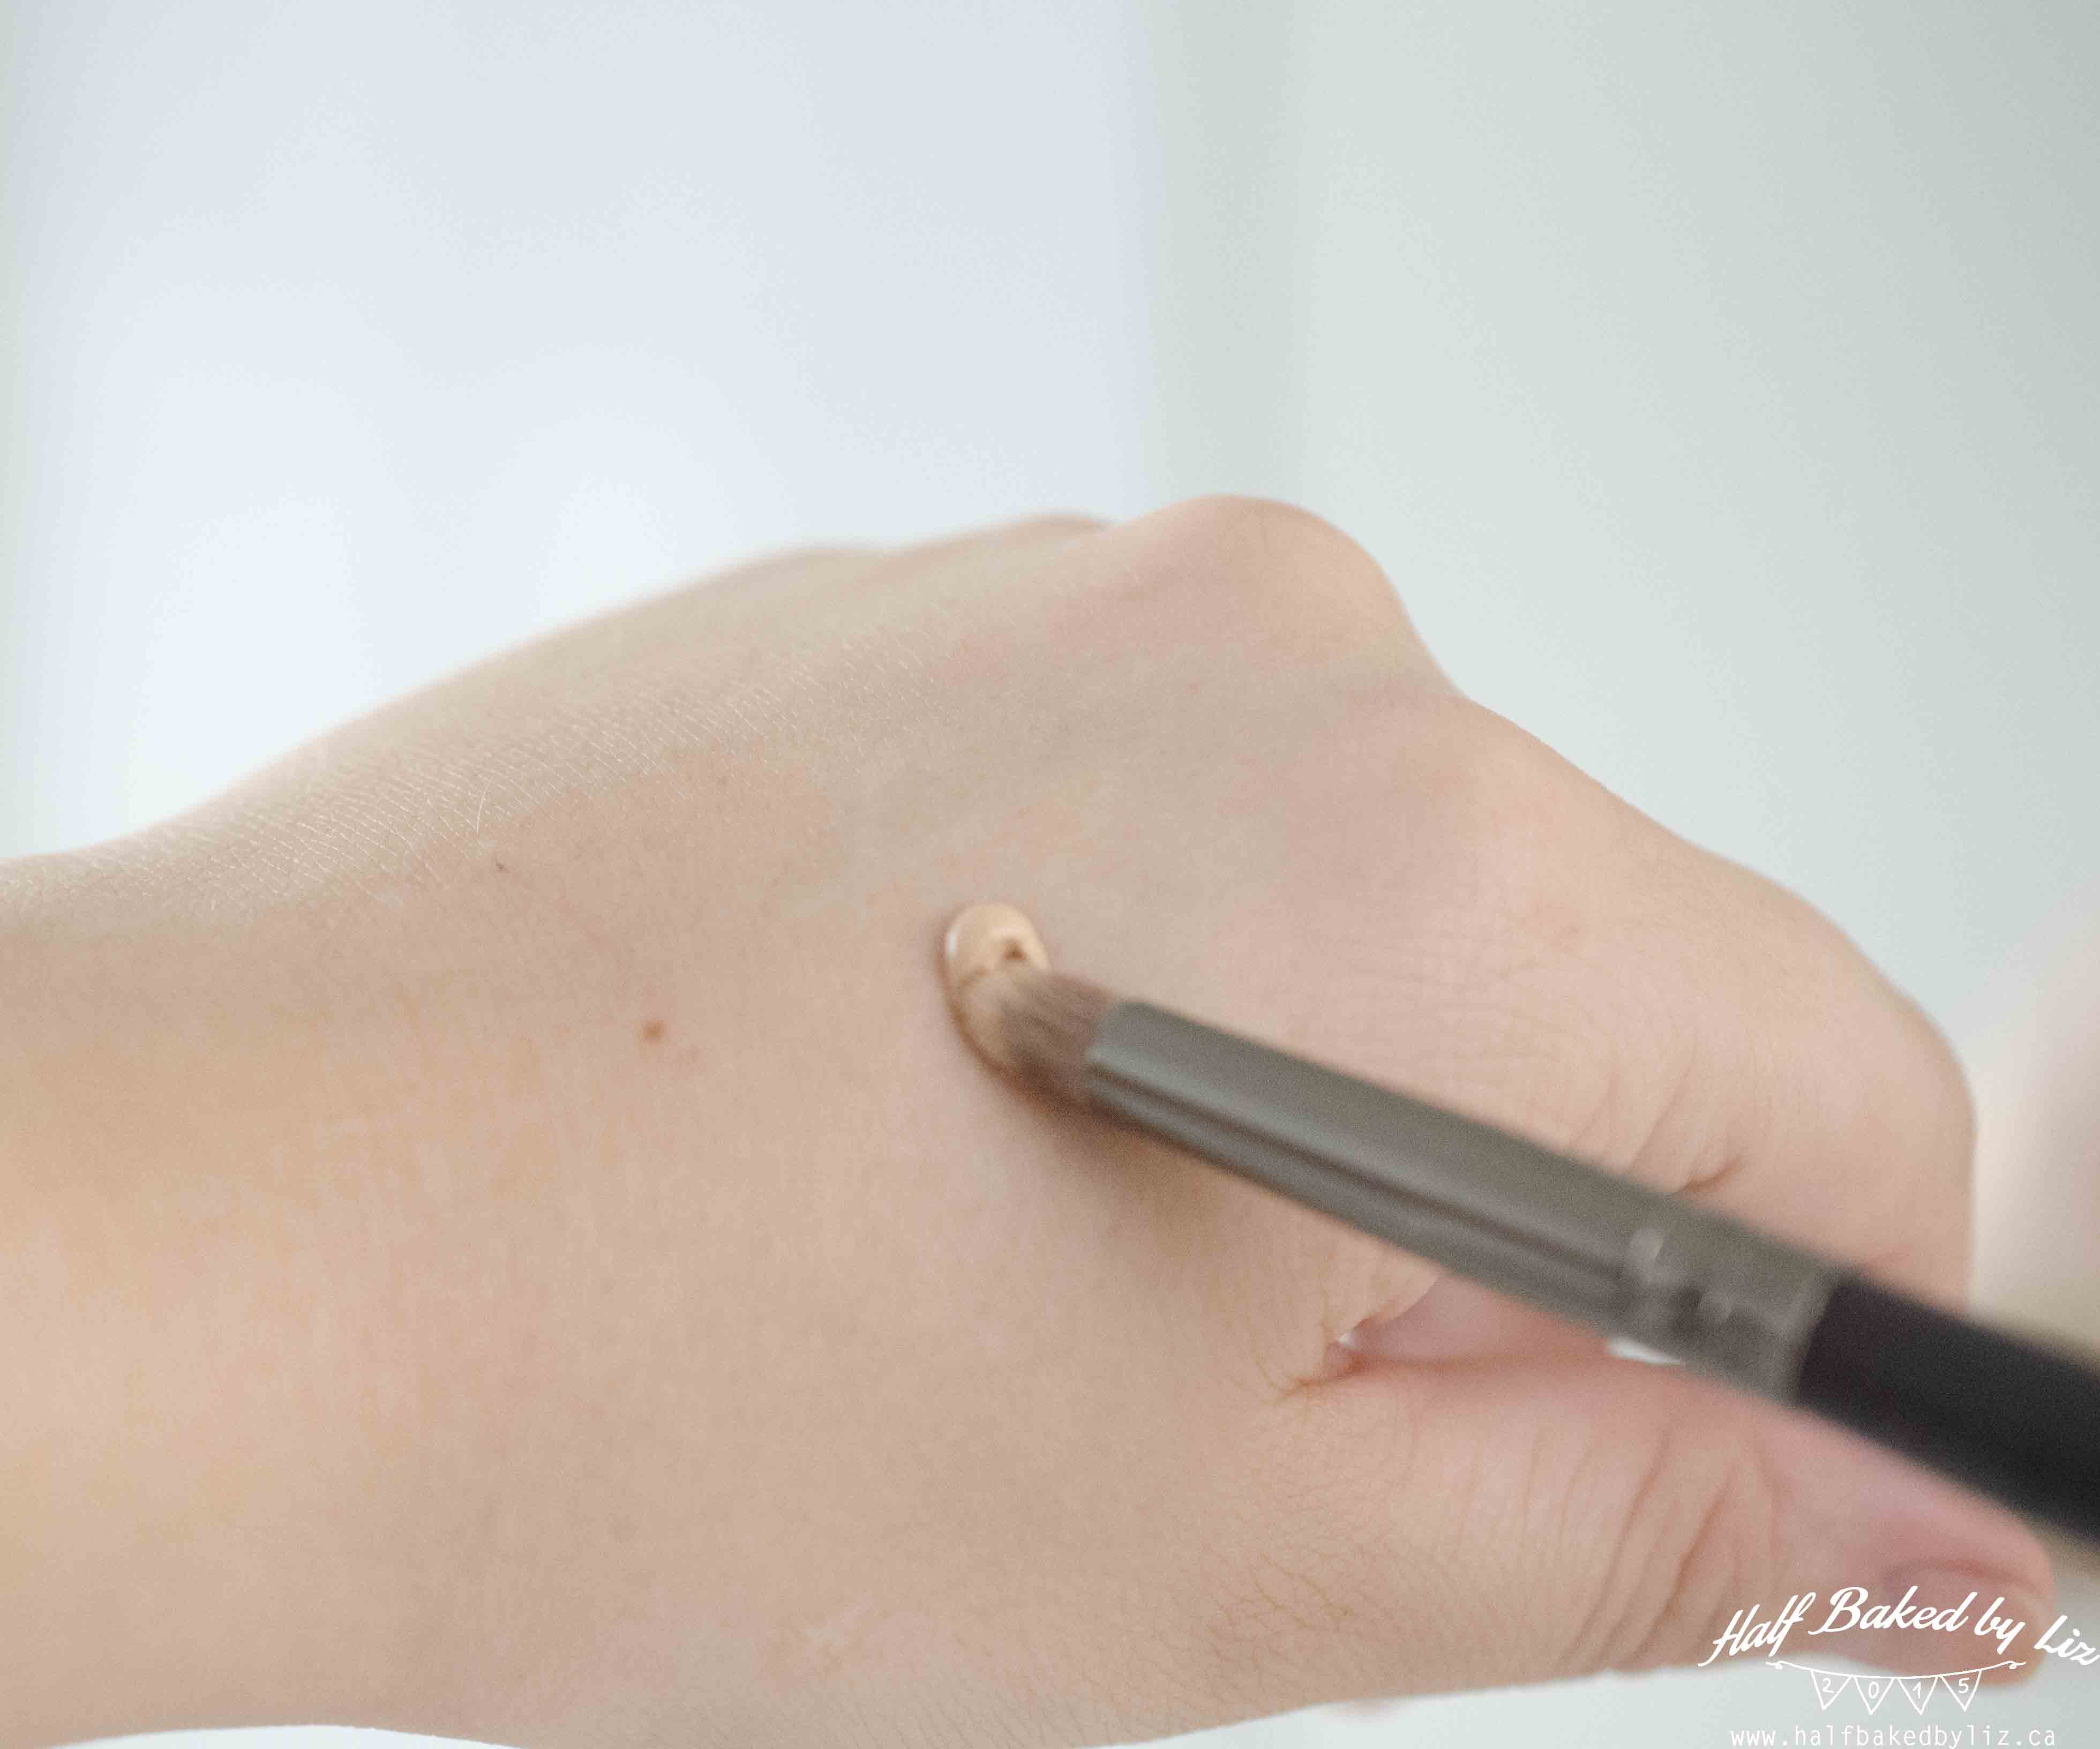
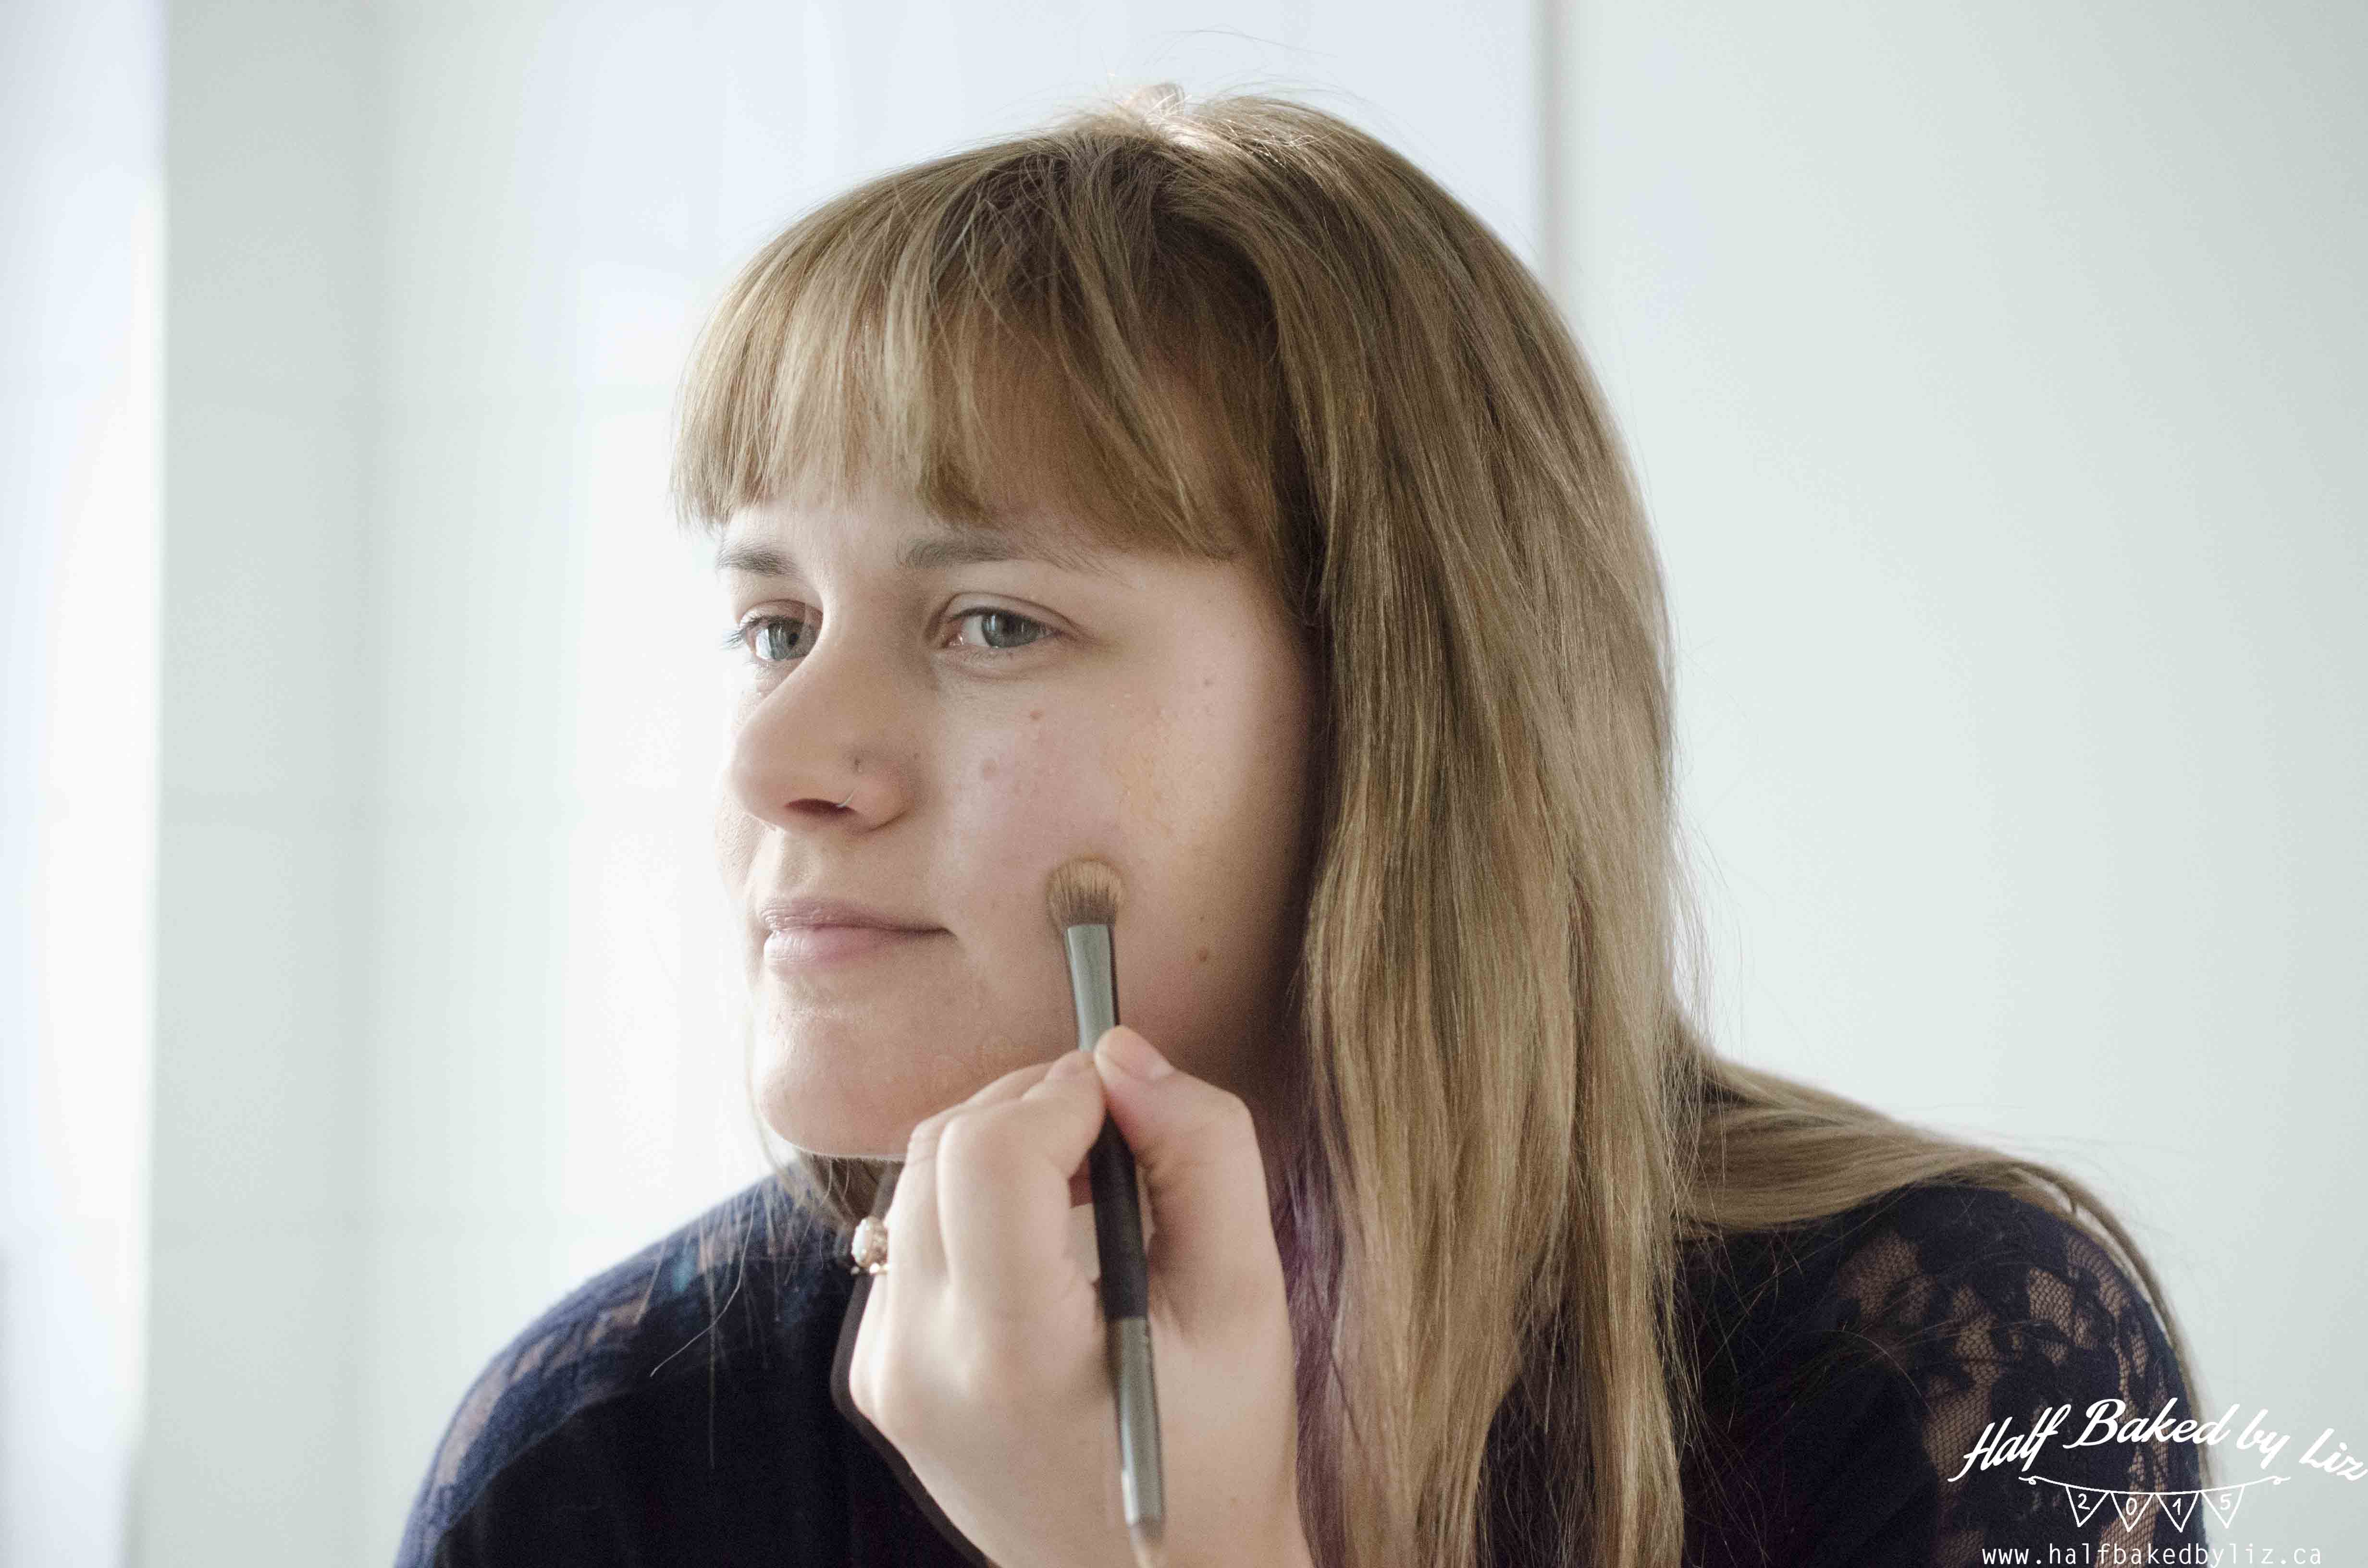
Step 2: Foundation + Concealer. I start by brushing foundation over the areas of my face that are a little red – between my brows, nose, and chin. Then I use a concealer to cover any blemishes. Don’t use foundation or concealer around your eyes – it’ll crease like mad!
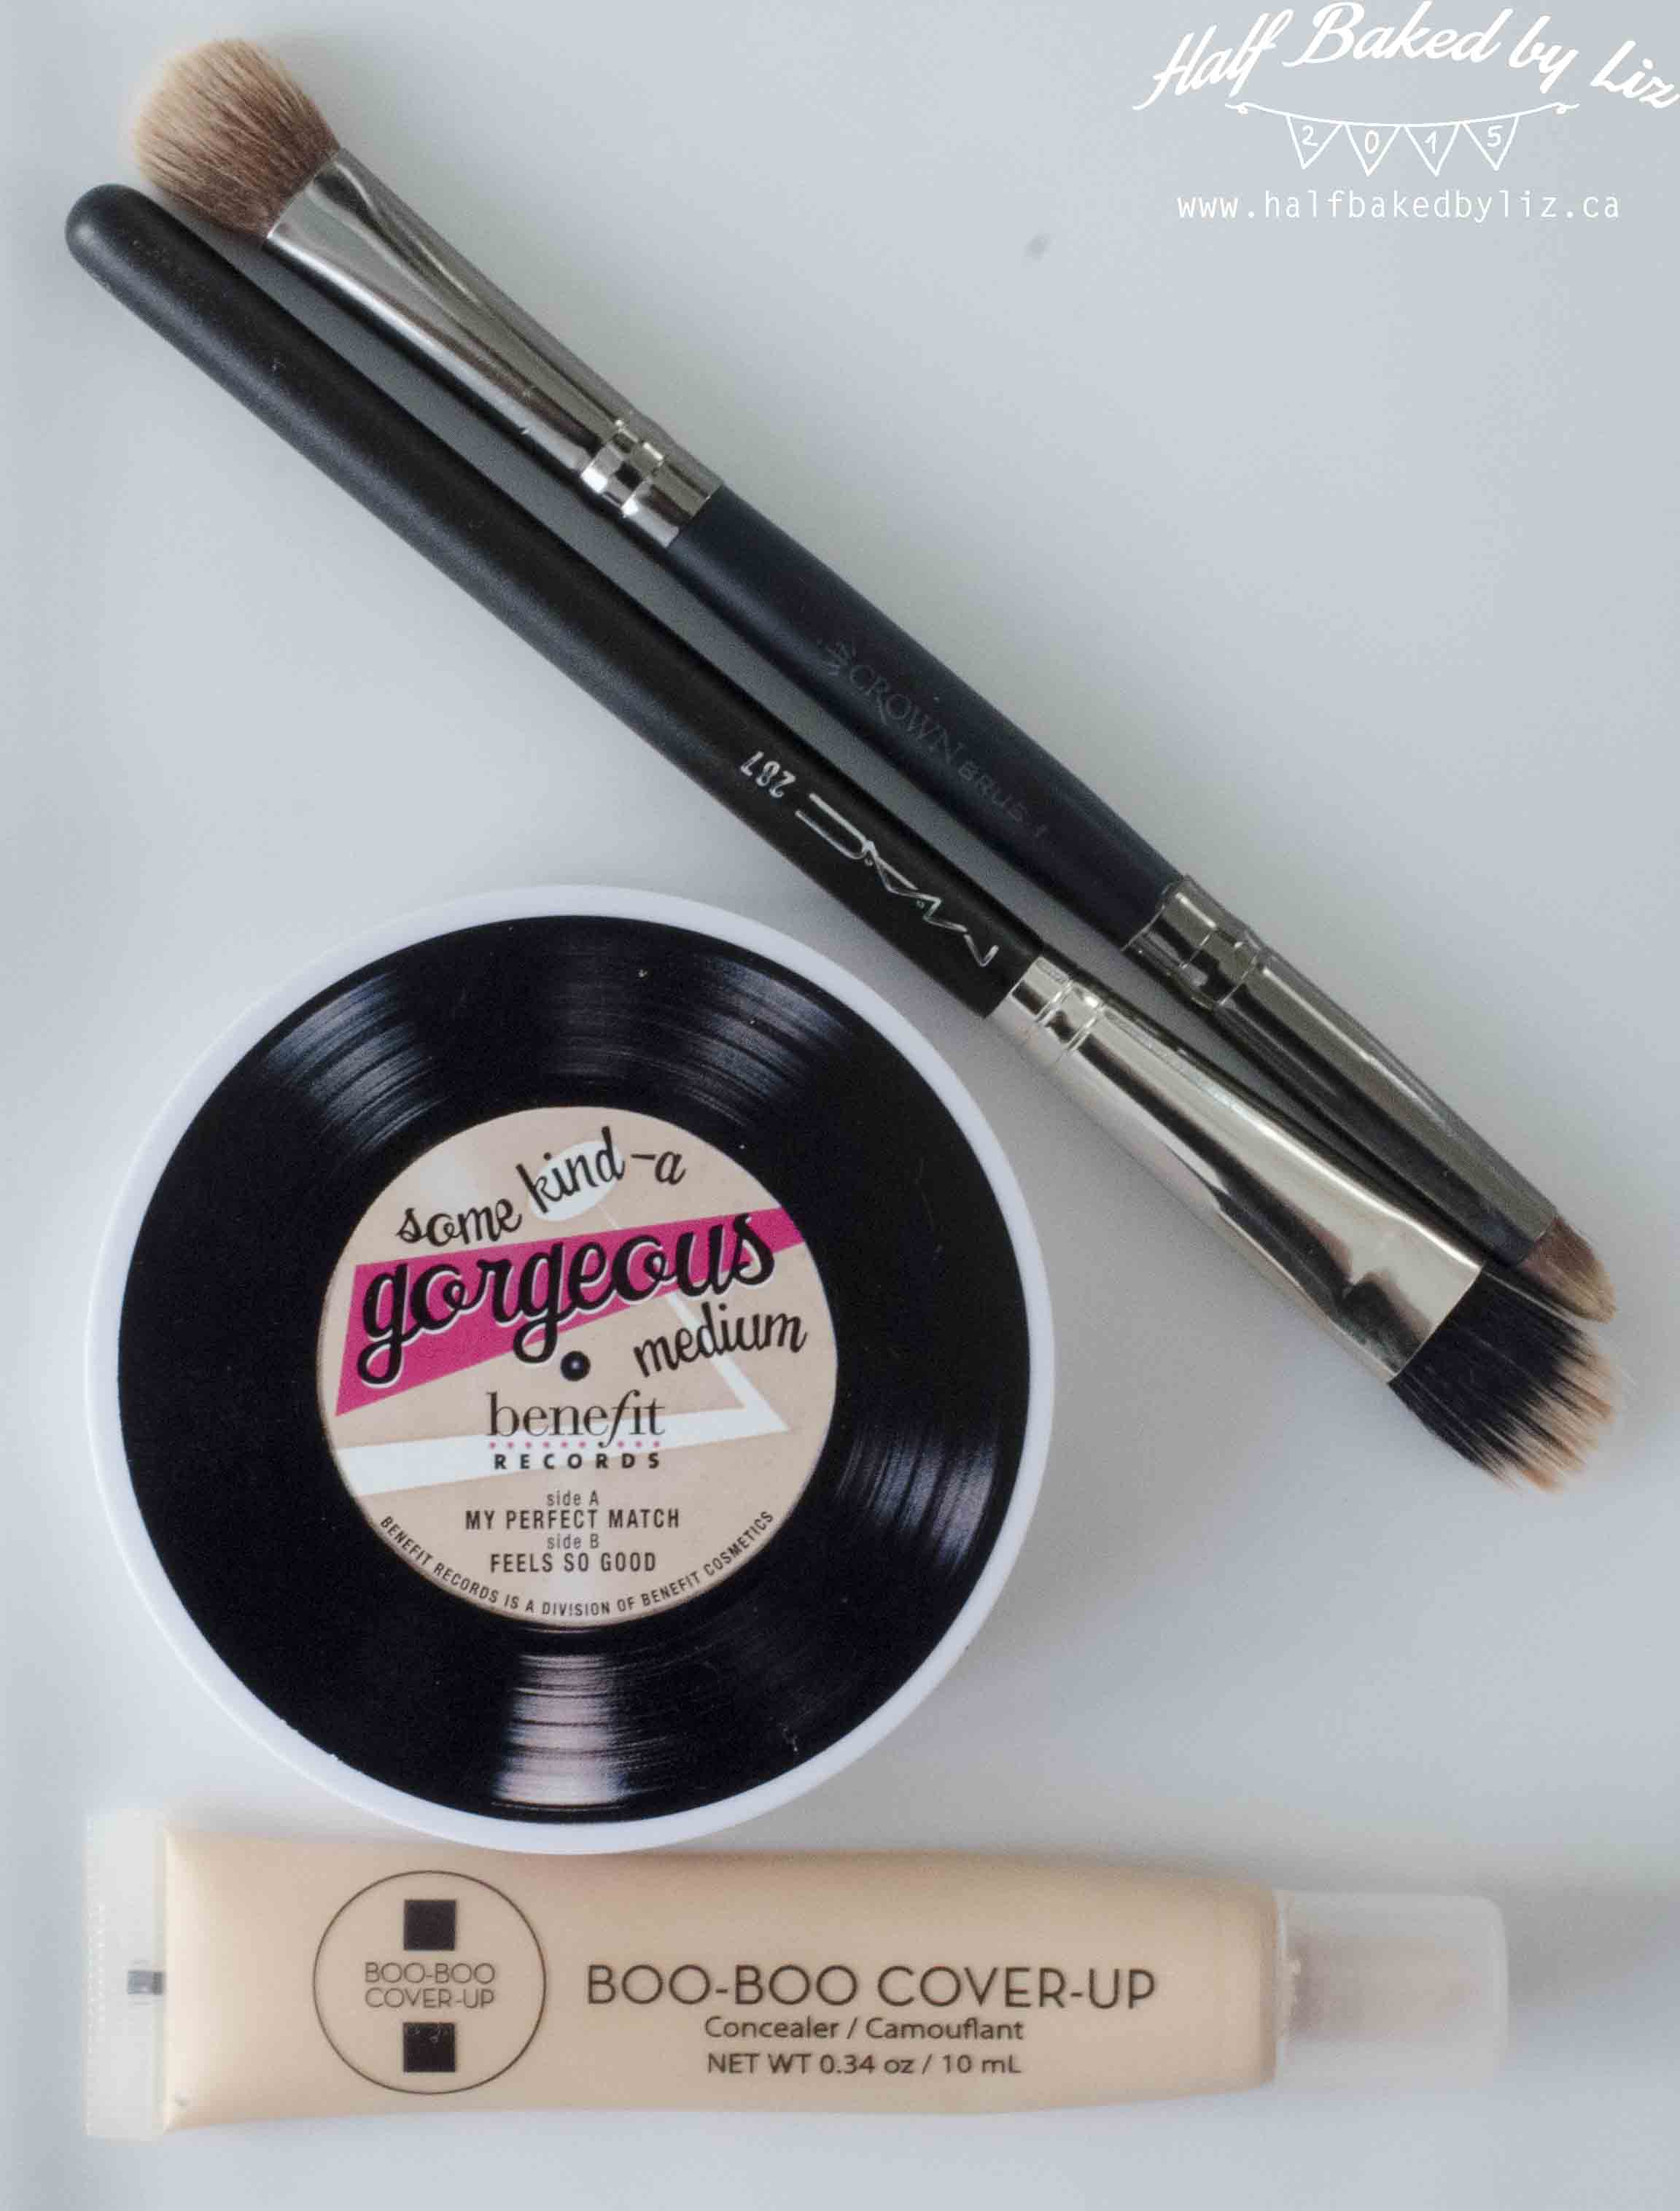
| Foundation: Some Kind-a Gorgeous, Benefit | Brush for Foundation: #287 from Mac | Concealer: Boo-Boo Cover-Up | Brush for Concealer: C476 from Crown Brush |
The brushes I use for foundation / concealer are actually brushes for eye makeup, but I just love them for this purpose. And several of the girls I’ve chatted with at Mac have said the same thing.
After brushing on the foundation, I use the small end of the concealer brush to add product to any spots (you only need the tiniest dab of this stuff), and then let it sit for a minute or so. Then I use the fluffy end of the brush to gently pat the concealer into the spot, and blend the concealer around the edges.
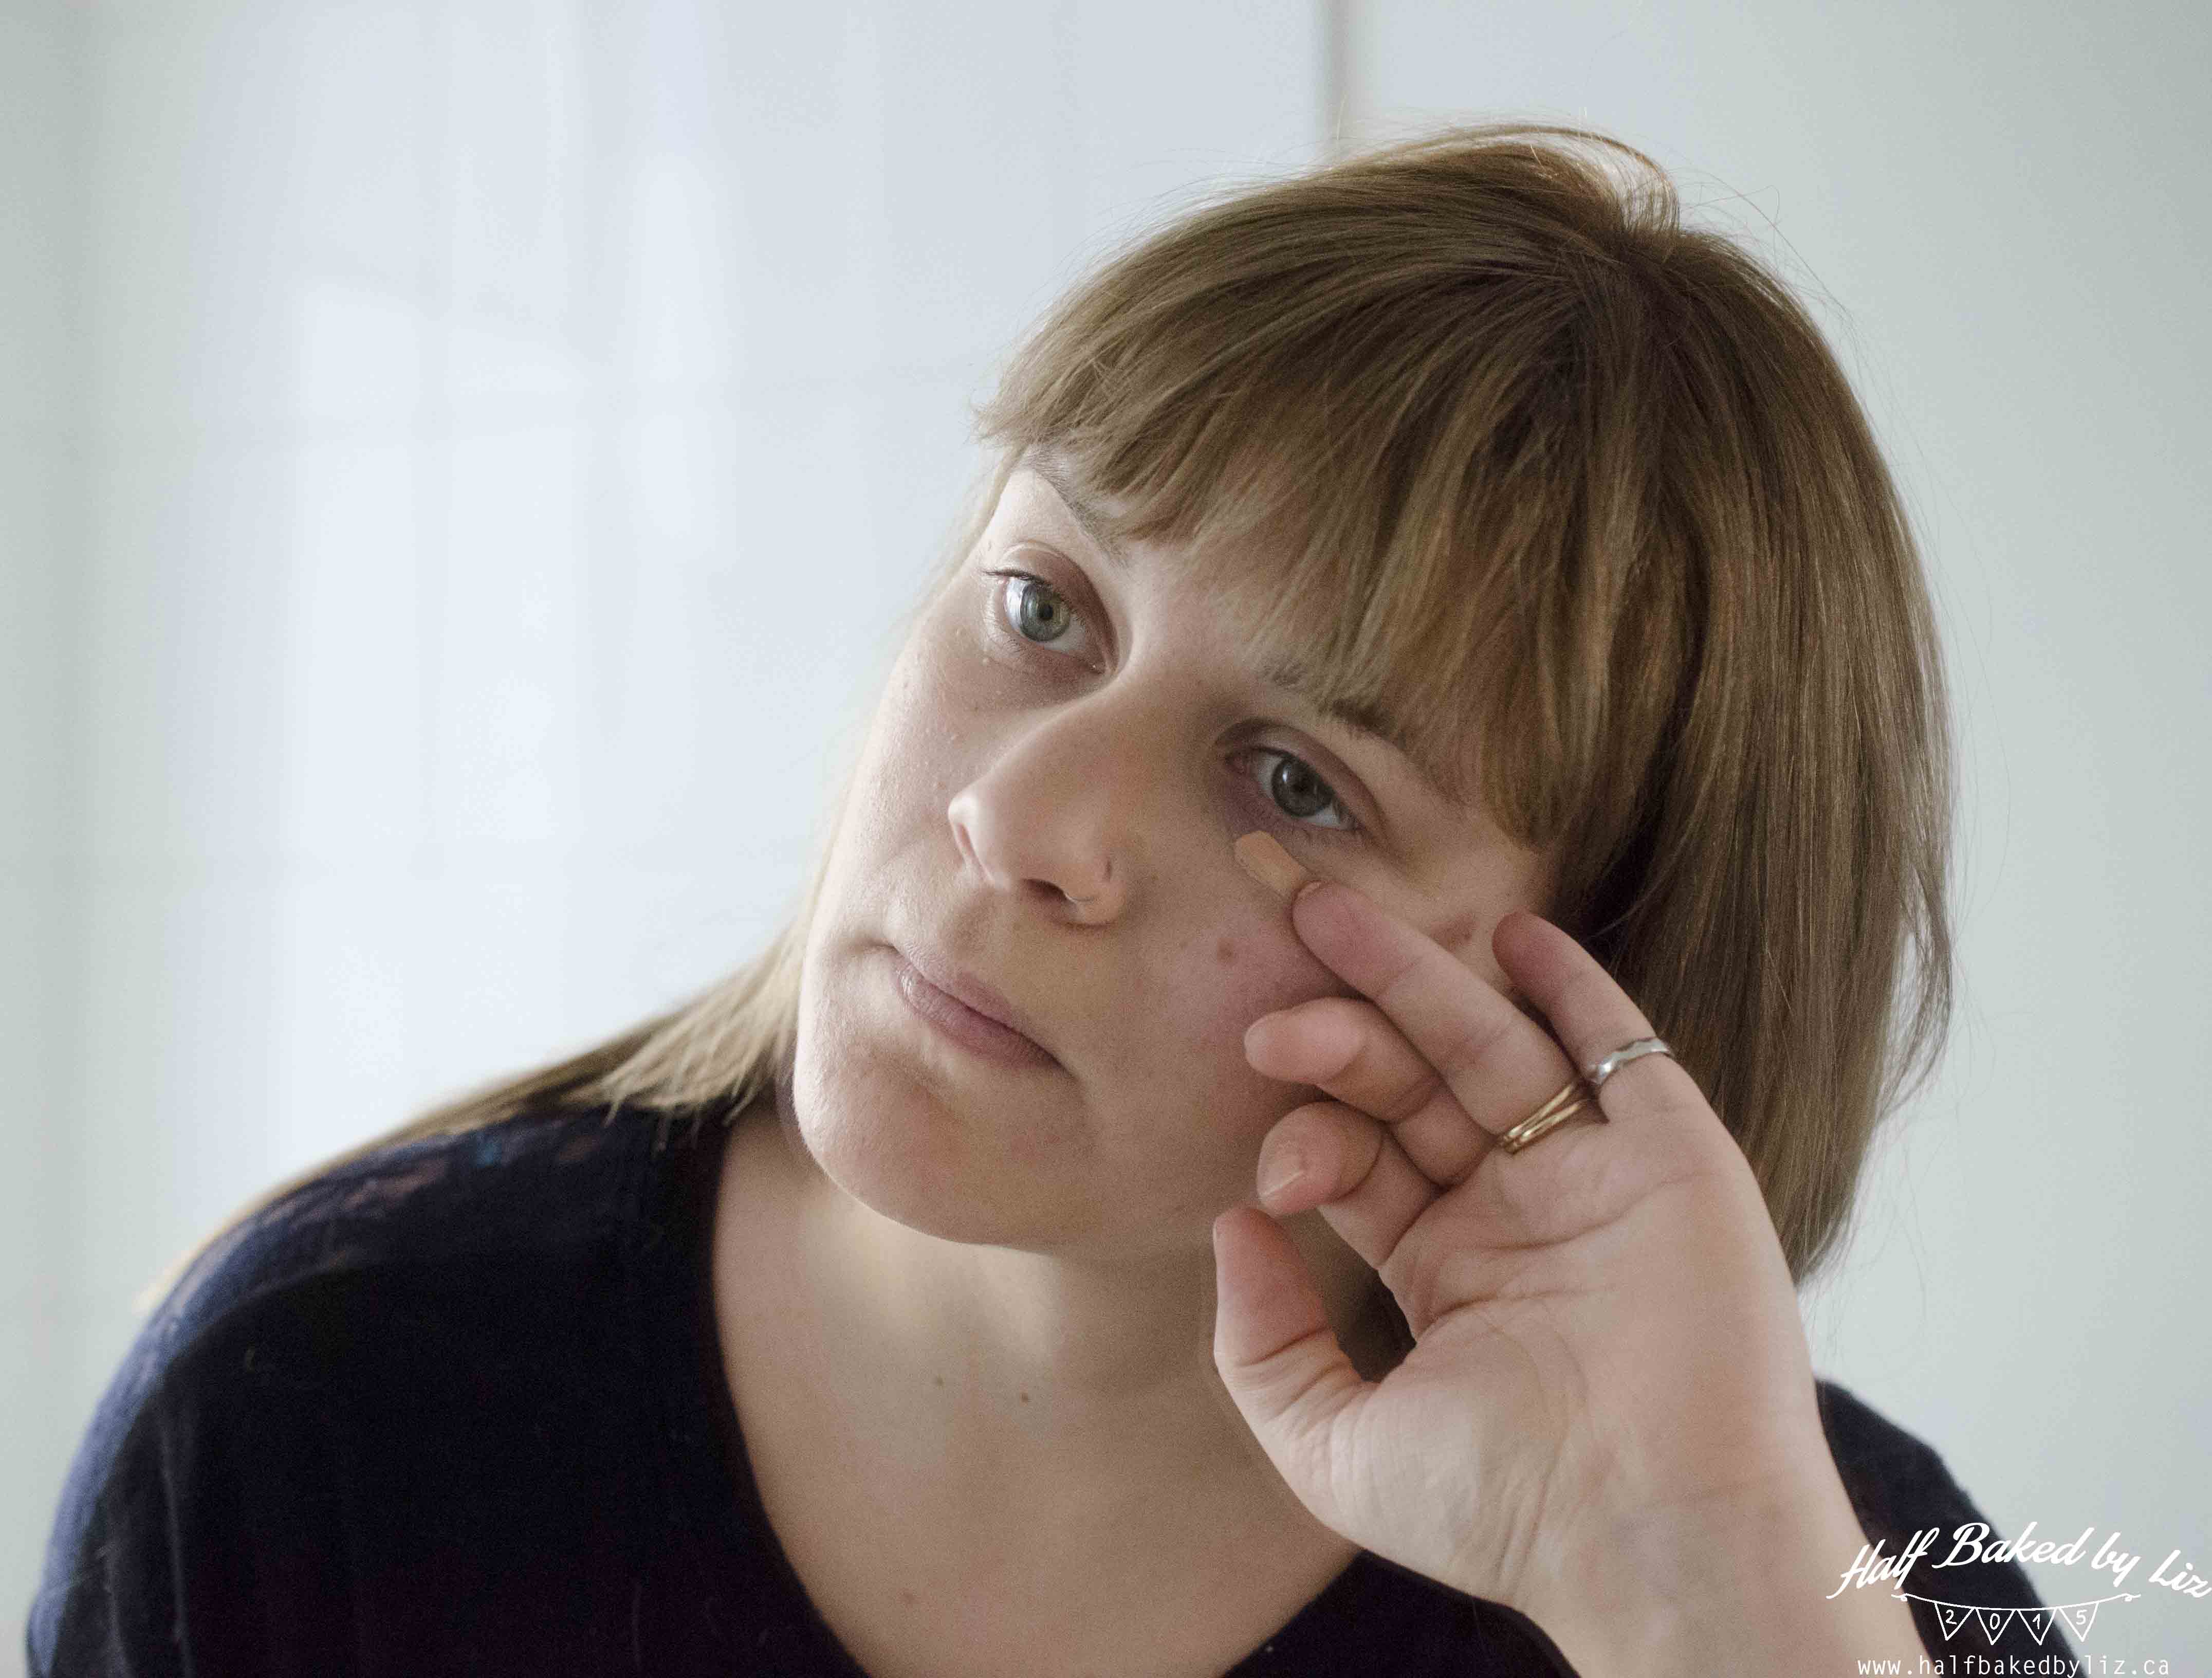
Step 3: Eyes. I use a different product for the area under my eyes, and for my eyelids.
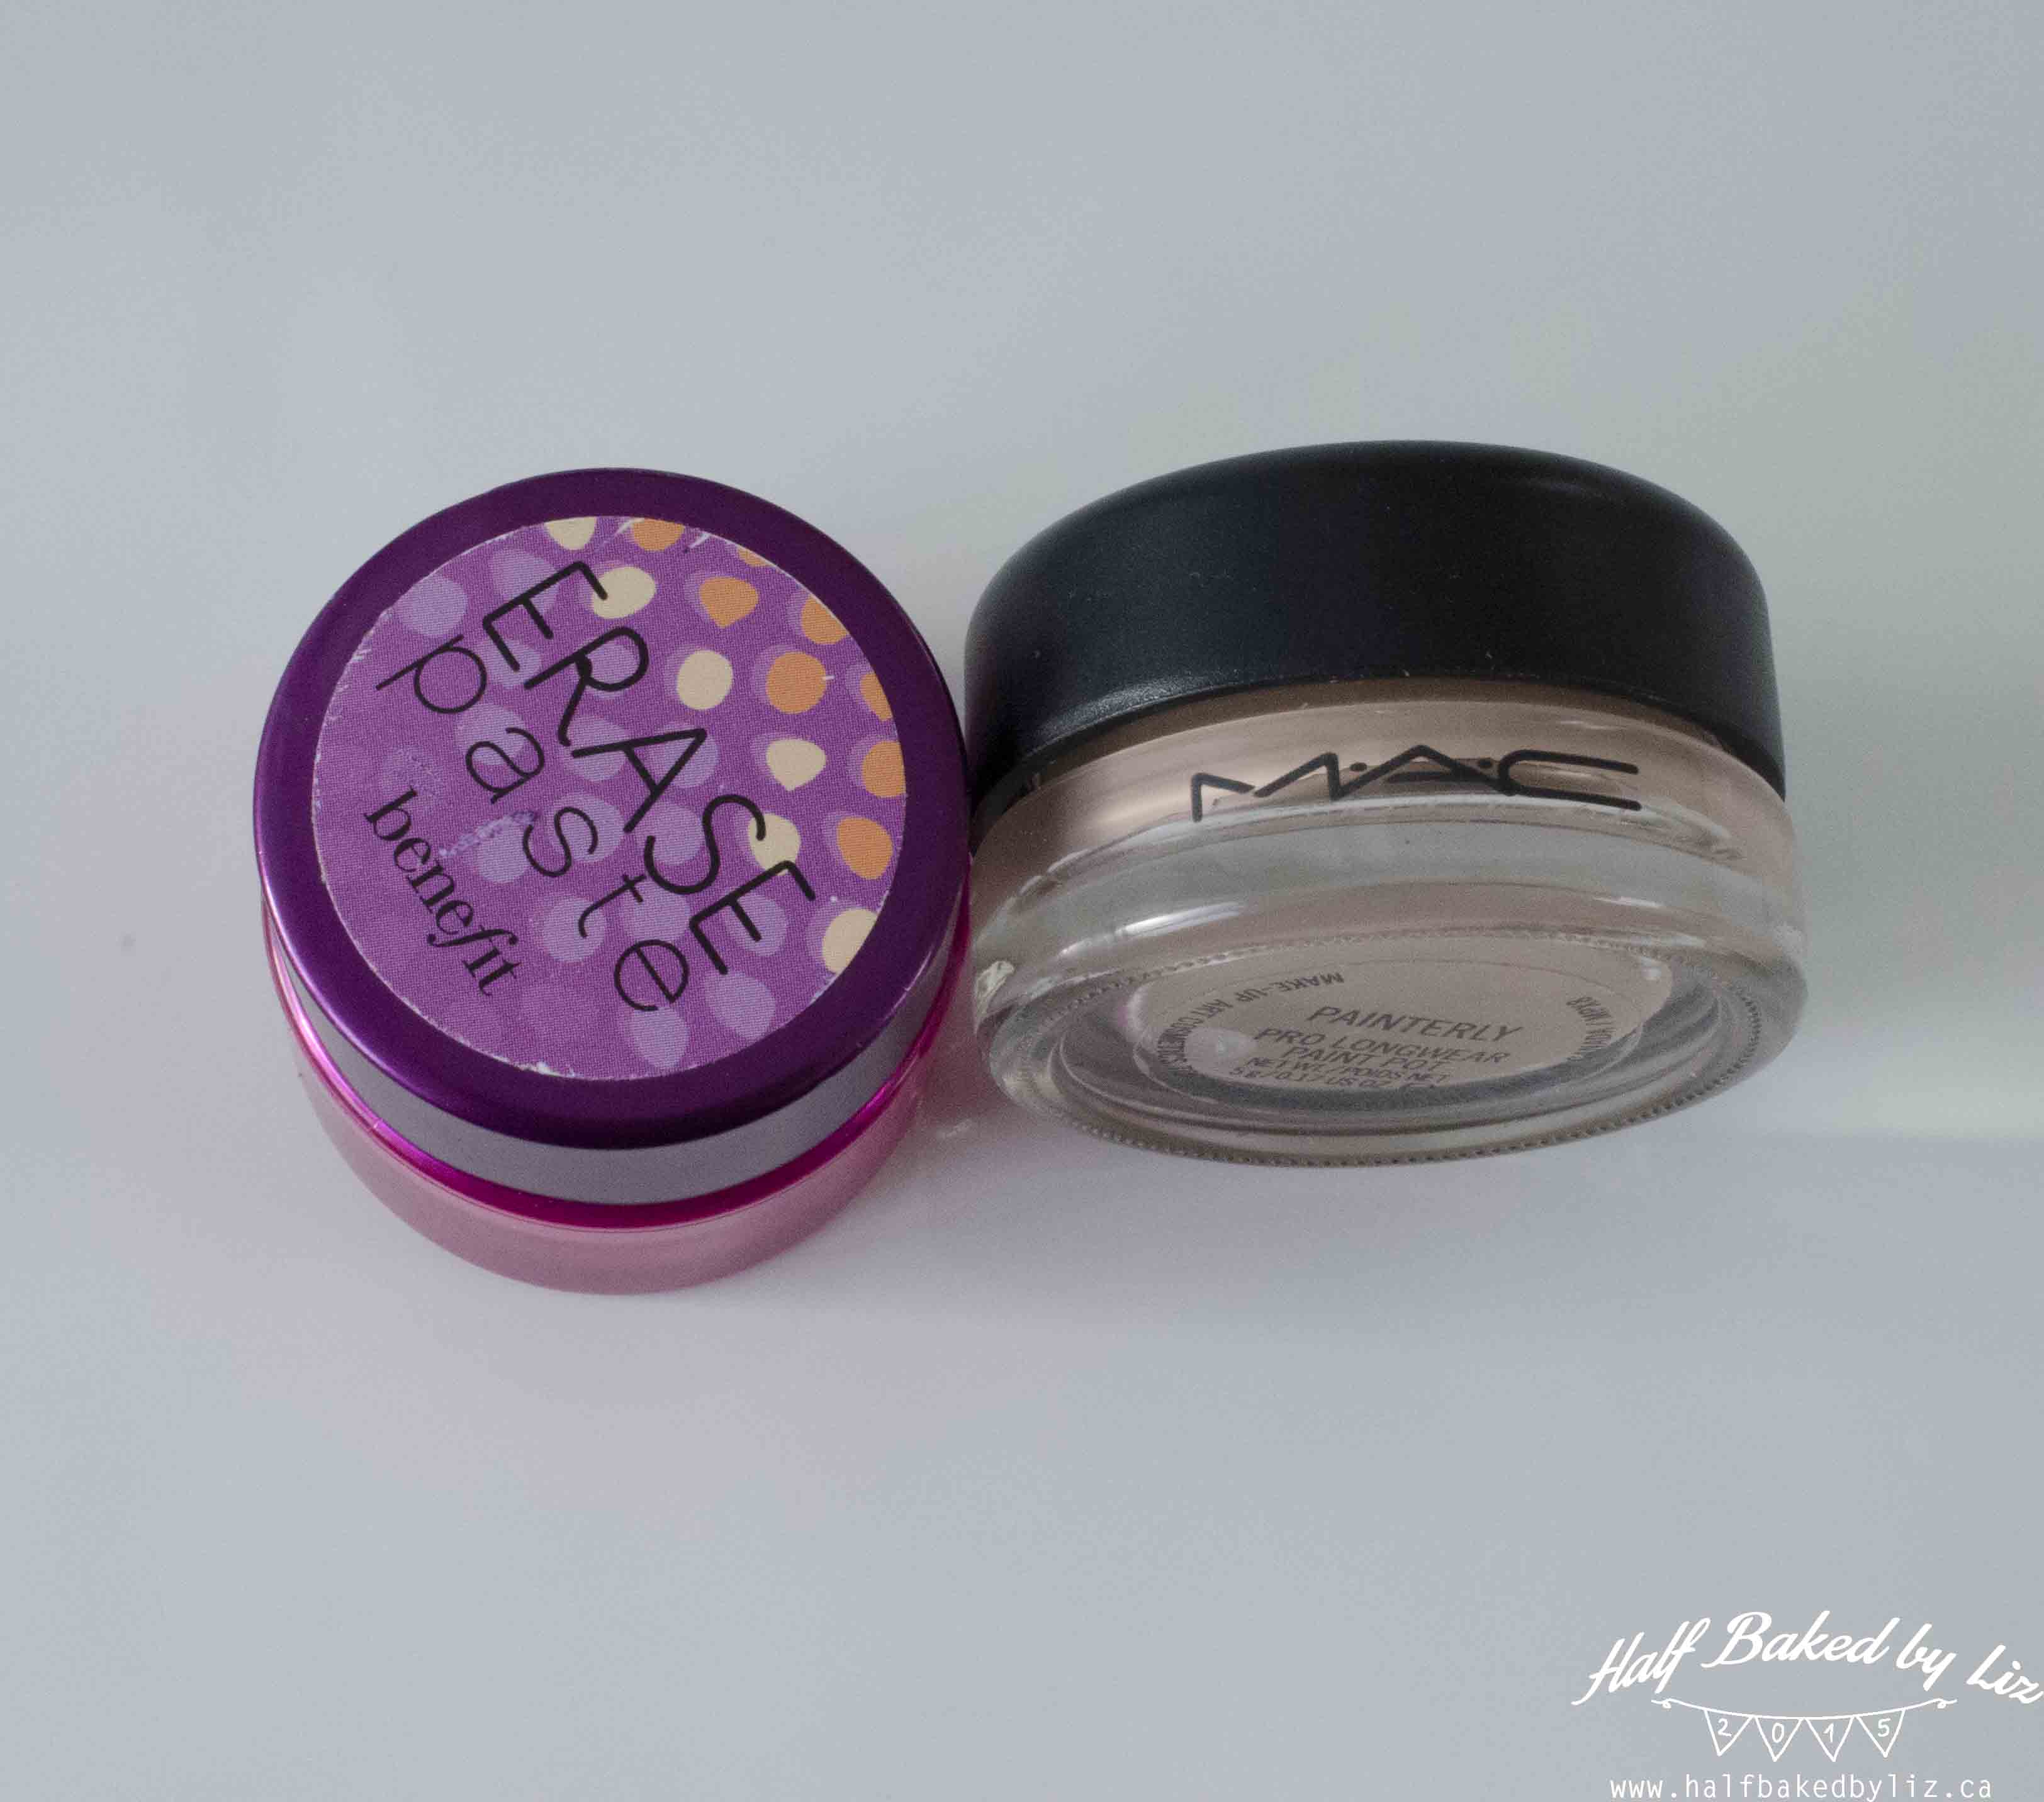
| For under my eyes: Erase Paste, Benefit | For my eyelids: Painterly Pro Longwear Paint Pot, Mac |
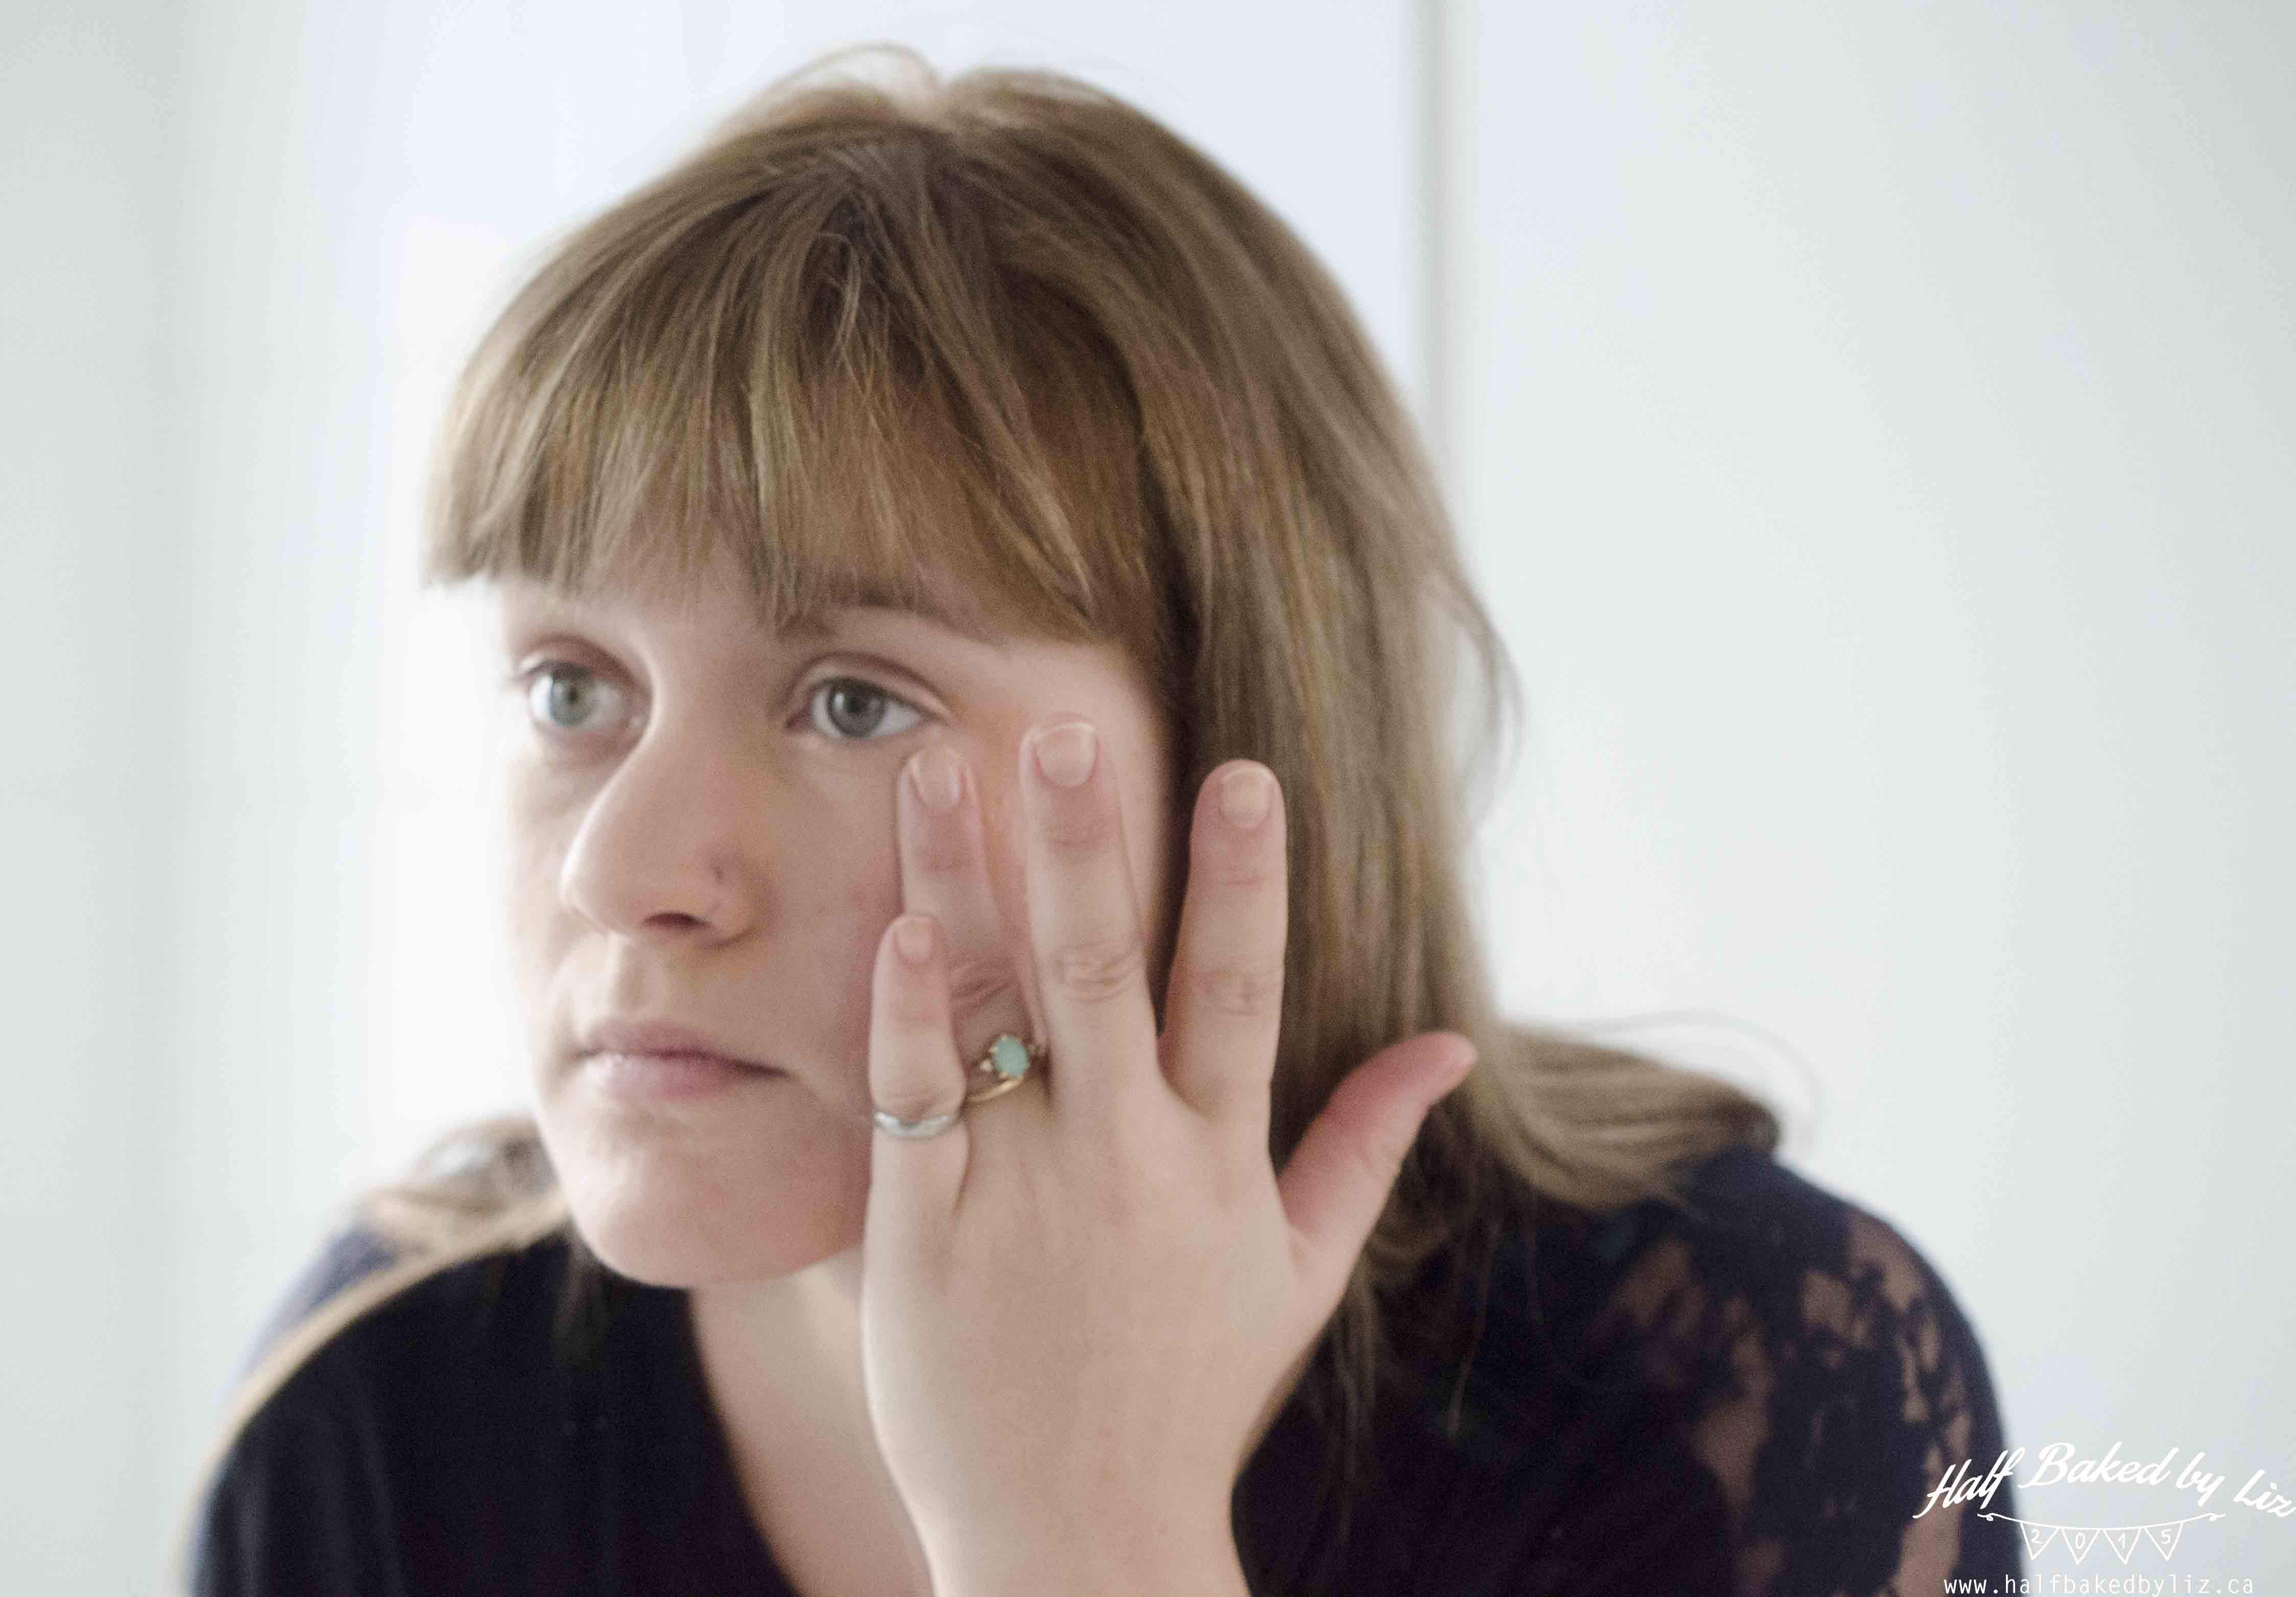
The Erase Paste is great for dark circles / bags under your eyes – it has a bright, pink-y tone, and covers the darkest circles. And doesn’t crease! I put a dab under each eye, and pat into place with my ring finger.
The Mac Paint Pot is my favourite for my eyelids. It’s a lovely neutral colour that is perfect on it’s own, but is also a wonderful primer if you want to use some shadow on top.
Step 4: Set it with powder. To make sure everything stays put all day, I use a regular neutral powder, followed by a face-brightening powder so that it doesn’t look too flat.
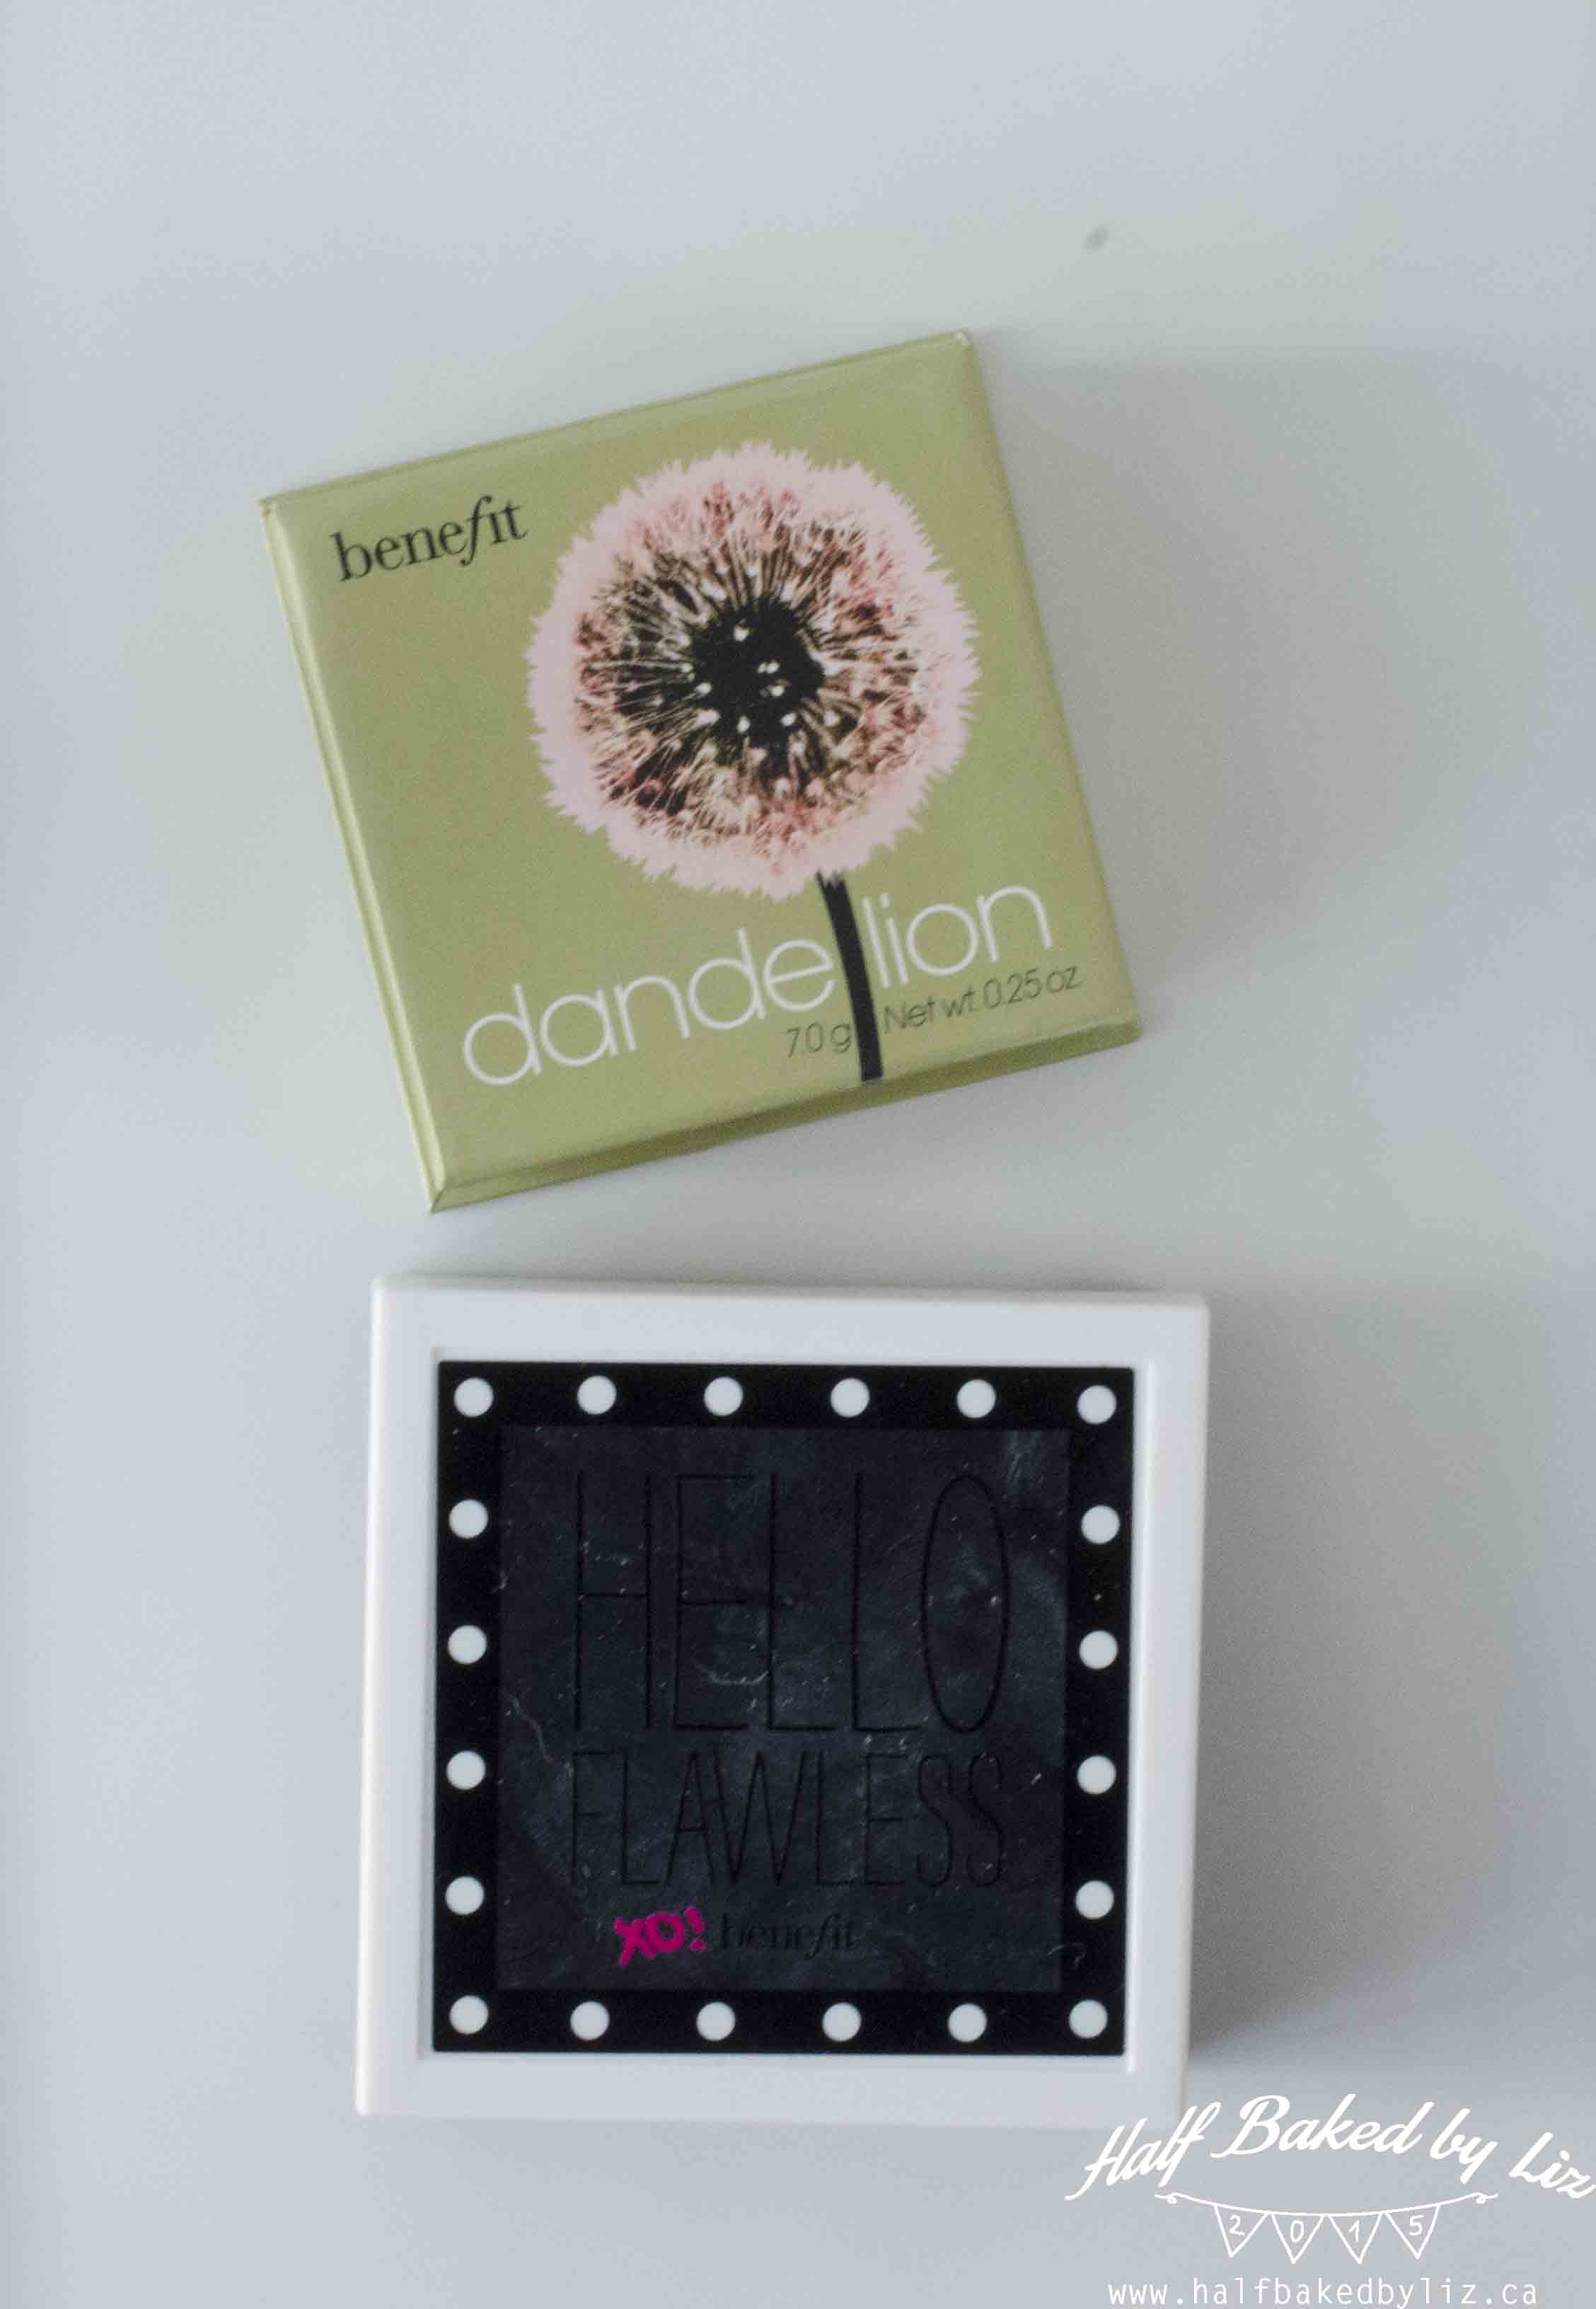
| Neutral Powder: Hello Flawless, Benefit | Face-Brightening Powder: Dandelion, Benefit |
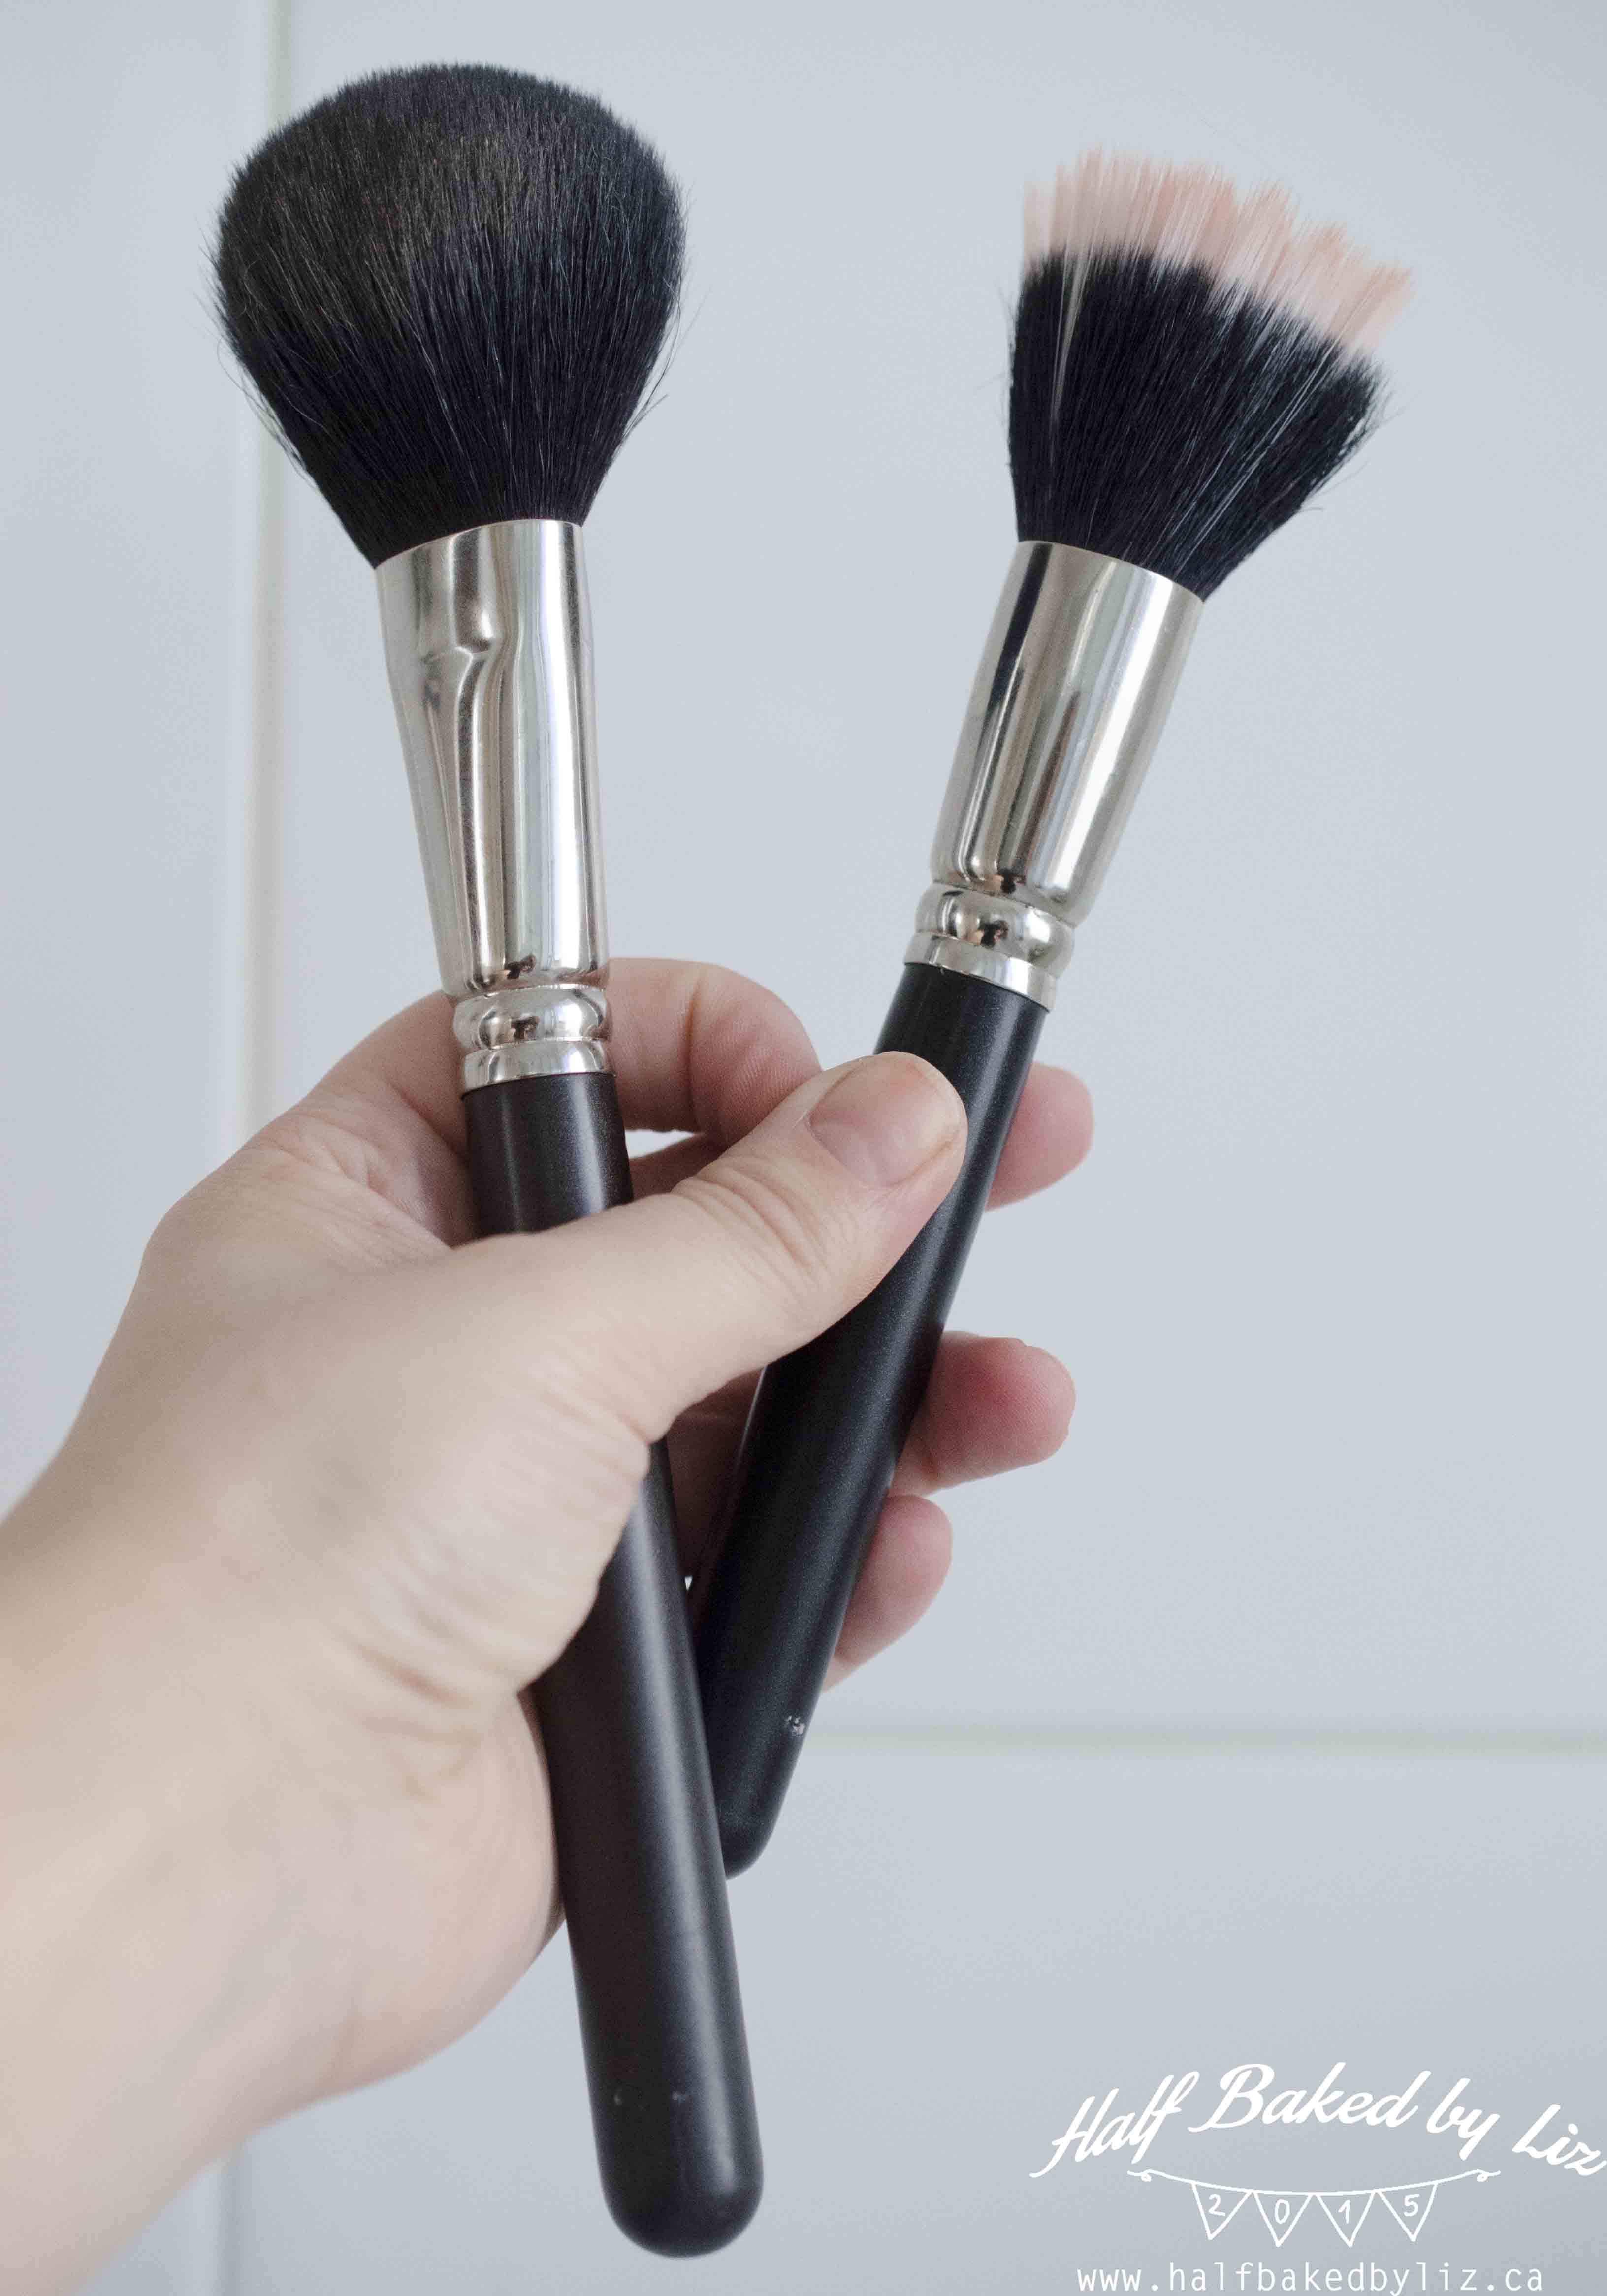
| Powder Brush: #150 from Mac | Brightening Powder / Bronzer Brush: #187 from Mac |
Gently sweep the neutral powder over your face, followed by the brightening powder.
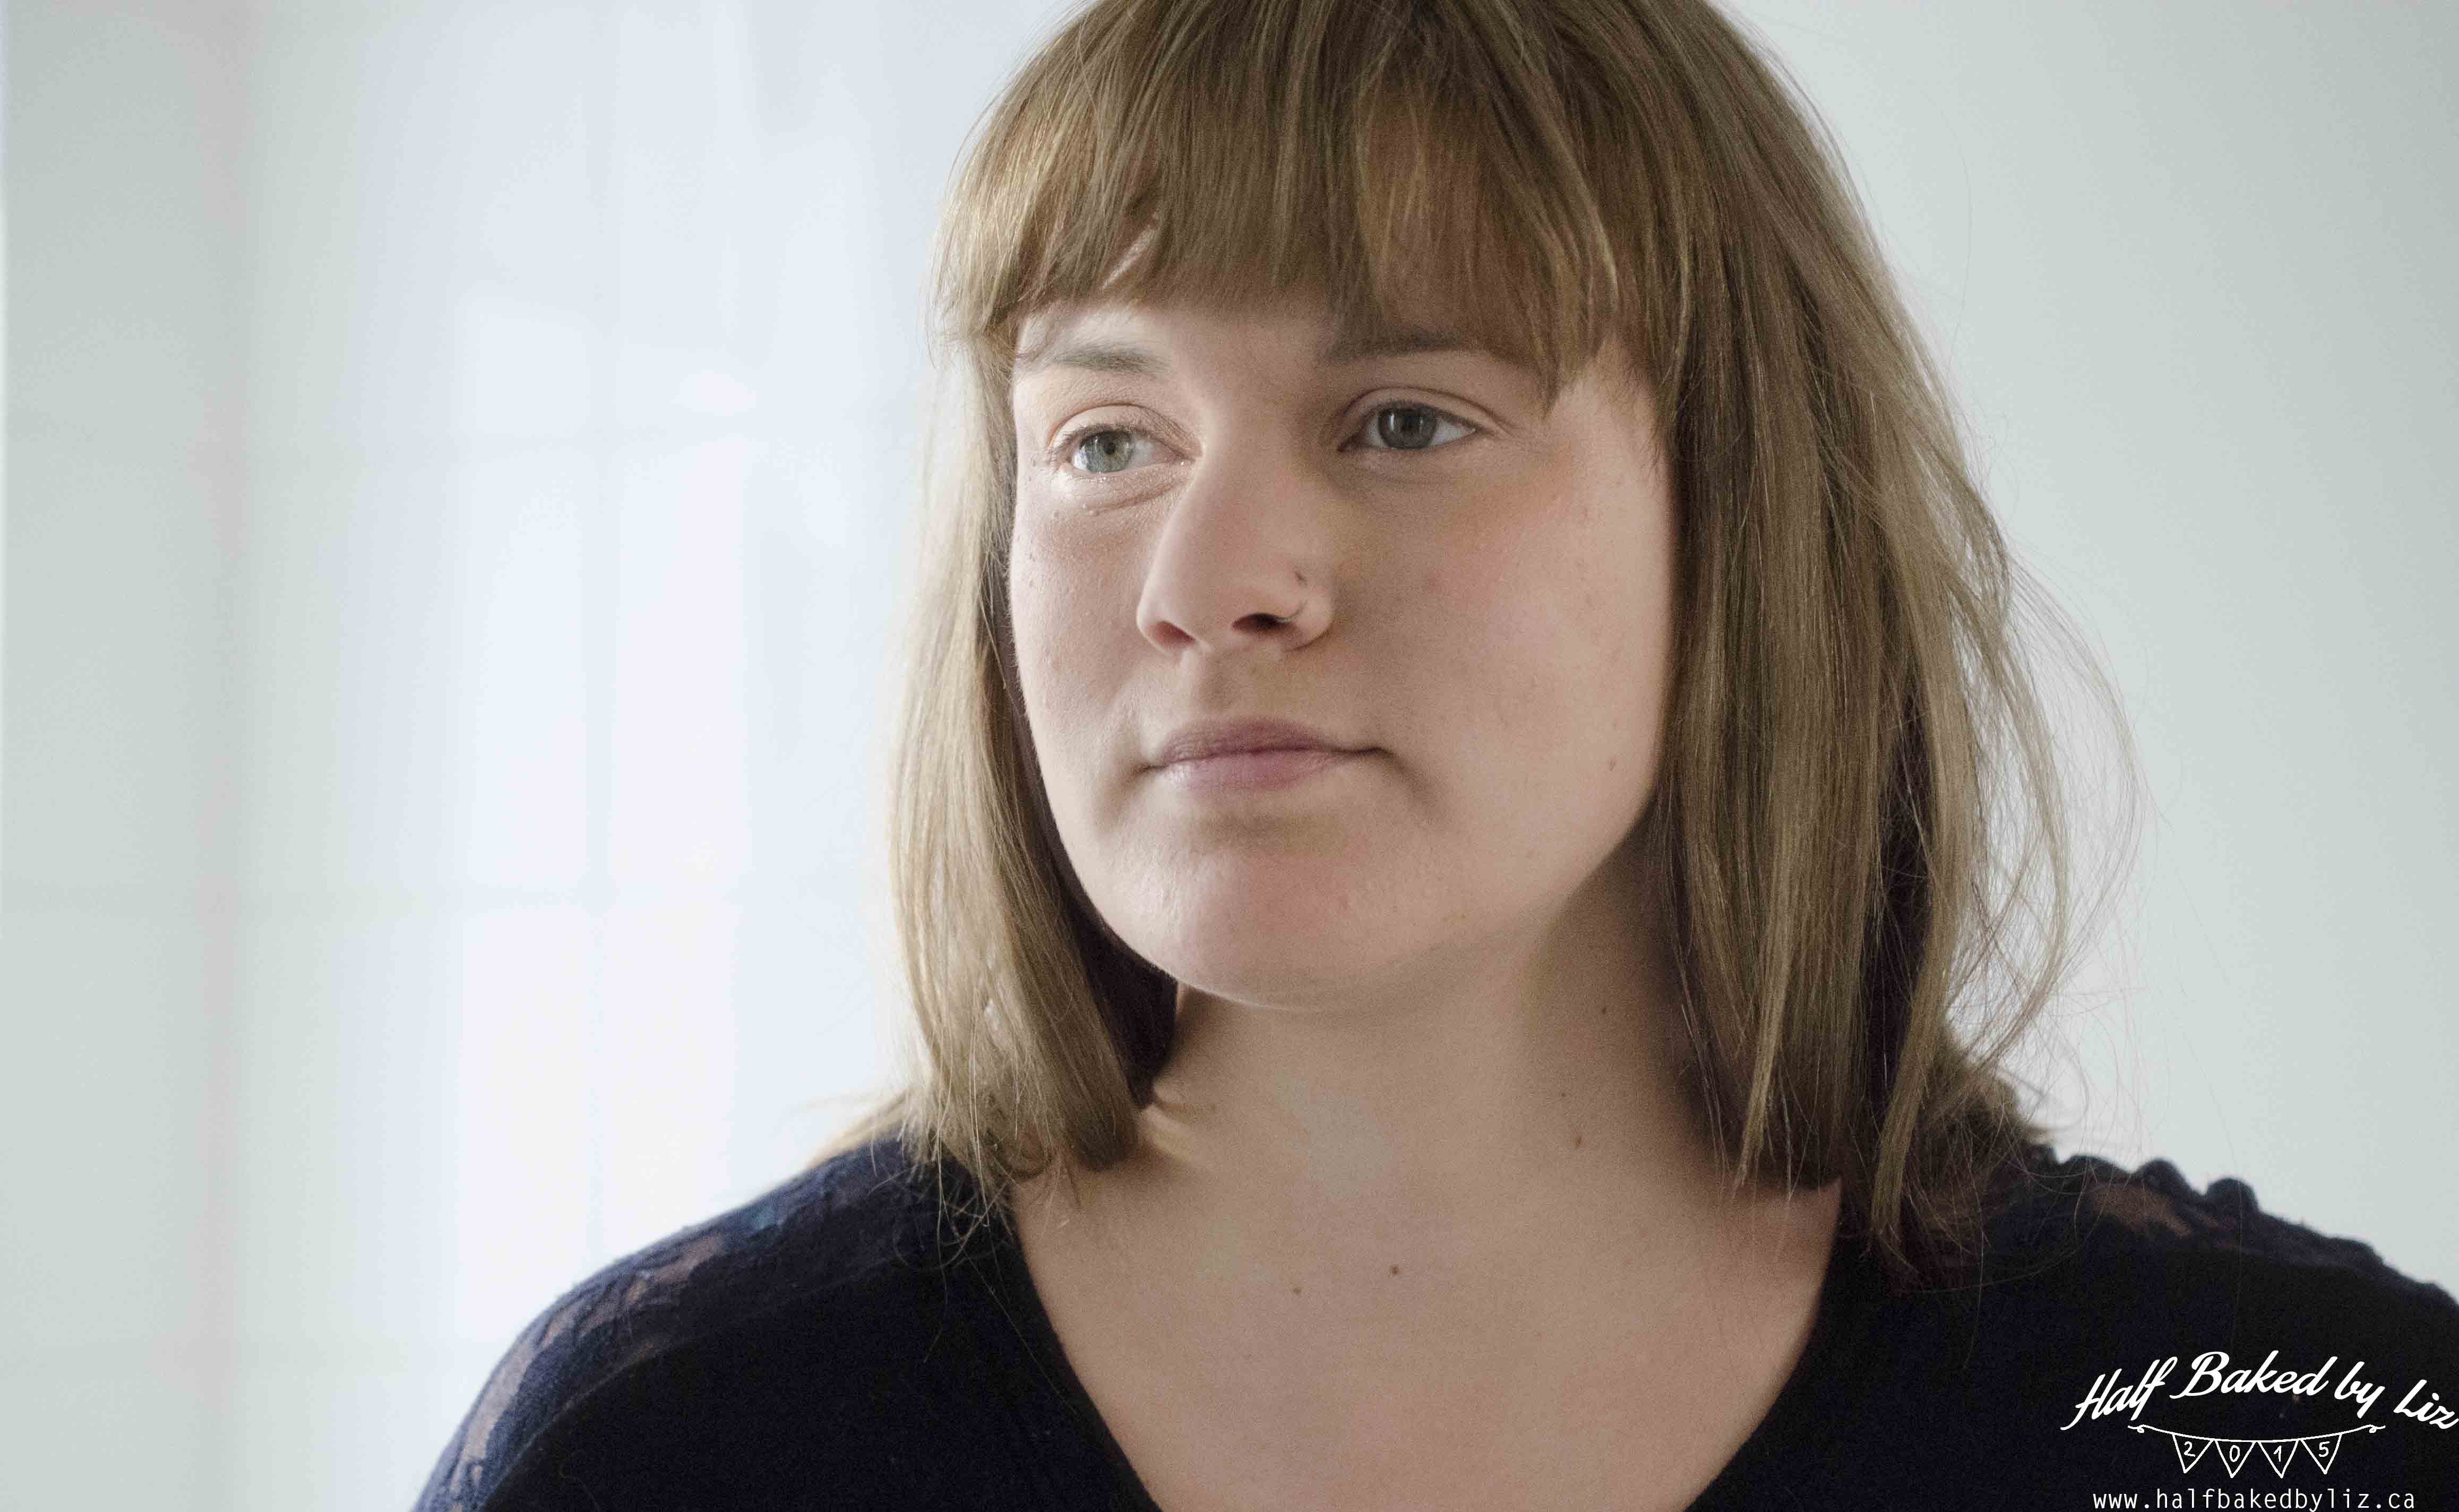
See ya, red patches and blemishes!