Oooooooops – it’s been a full week with no blog posts! After returning from our little vacation , two of our best friends arrived in Paris! And I’ve been pretty busy with work, so I wanted to spend the free time I had with our friends :) So happy to have them here! They’re visiting Bordeaux for a few days and we miss them already. Anyhoo, just a little nail art post today – with several new products that I ordered from Whats Up Nails .
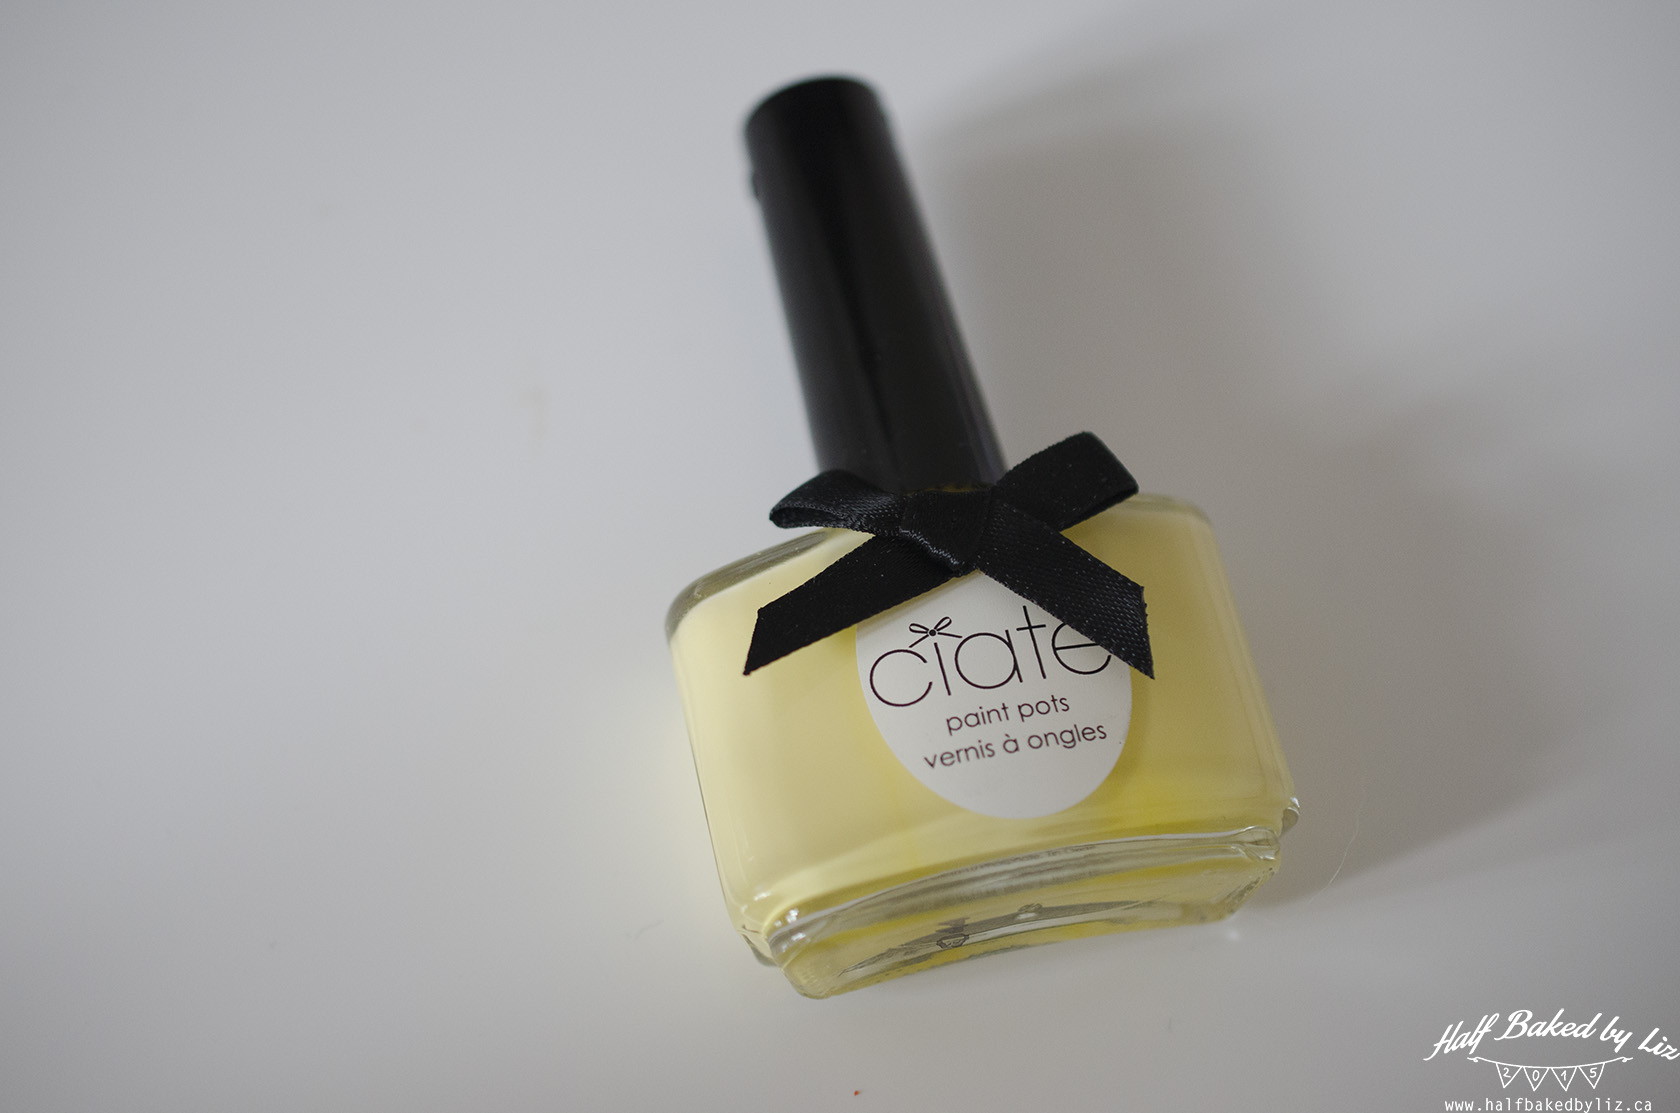
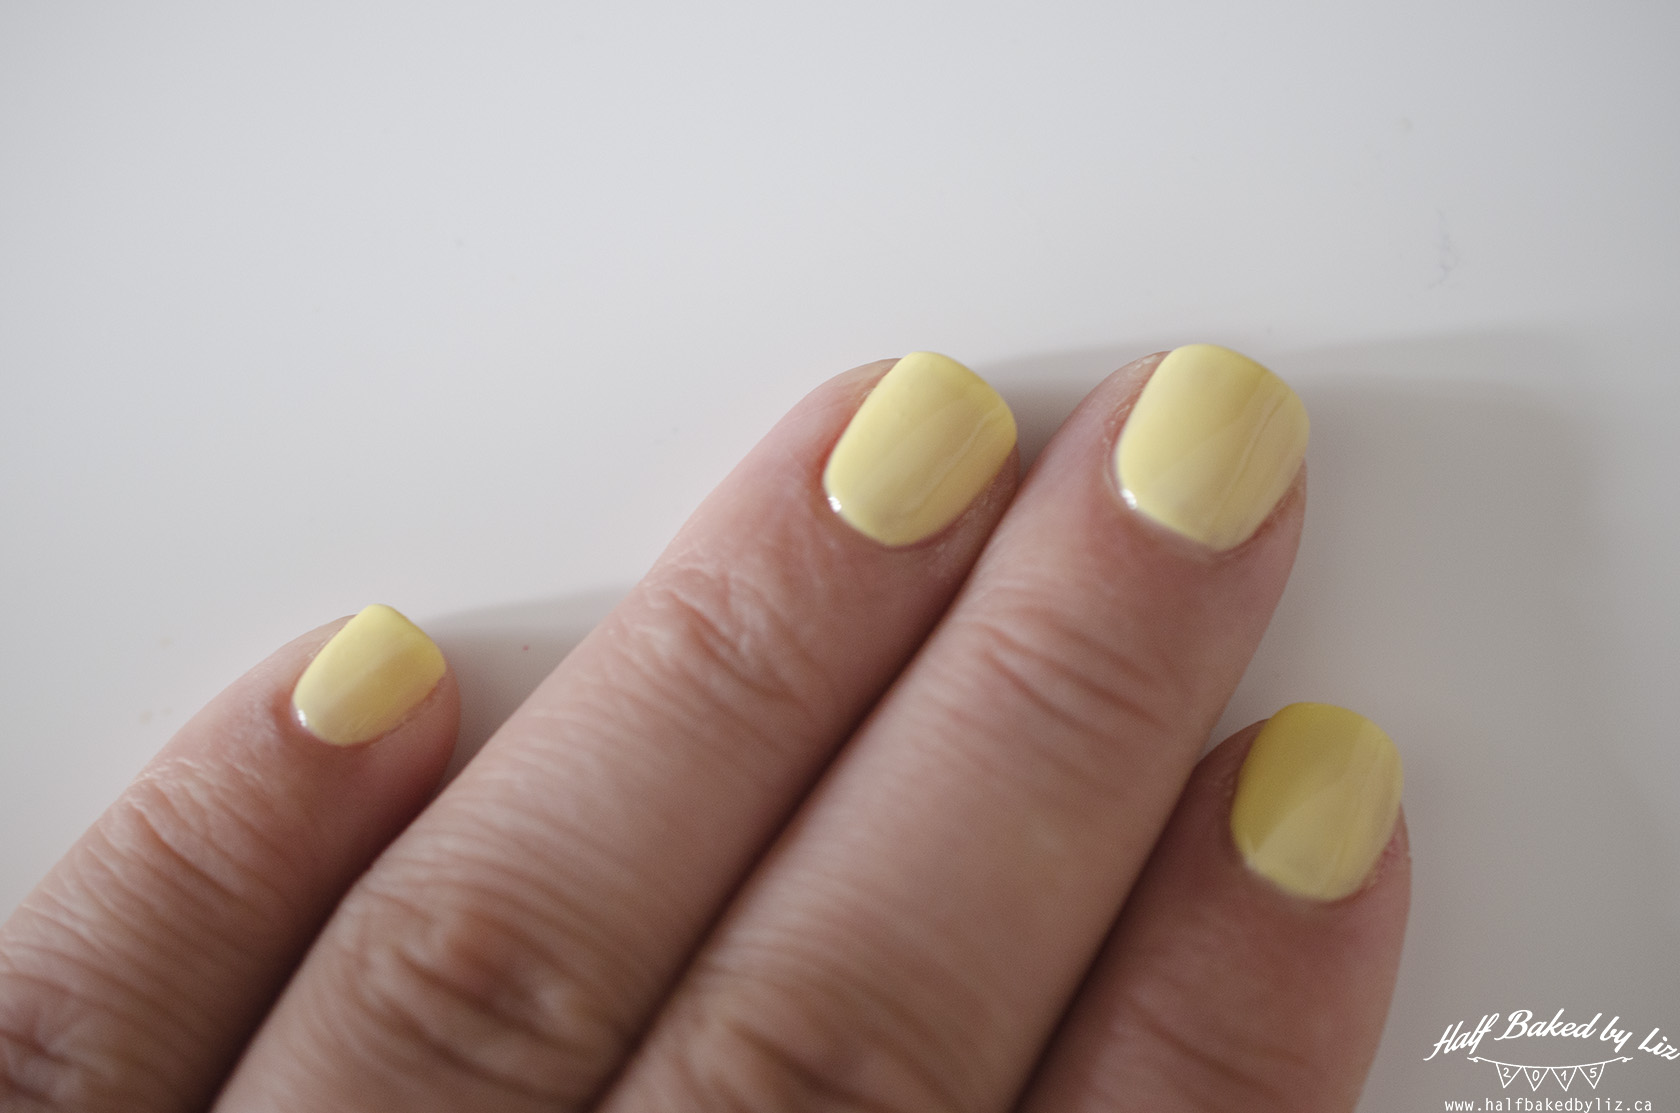
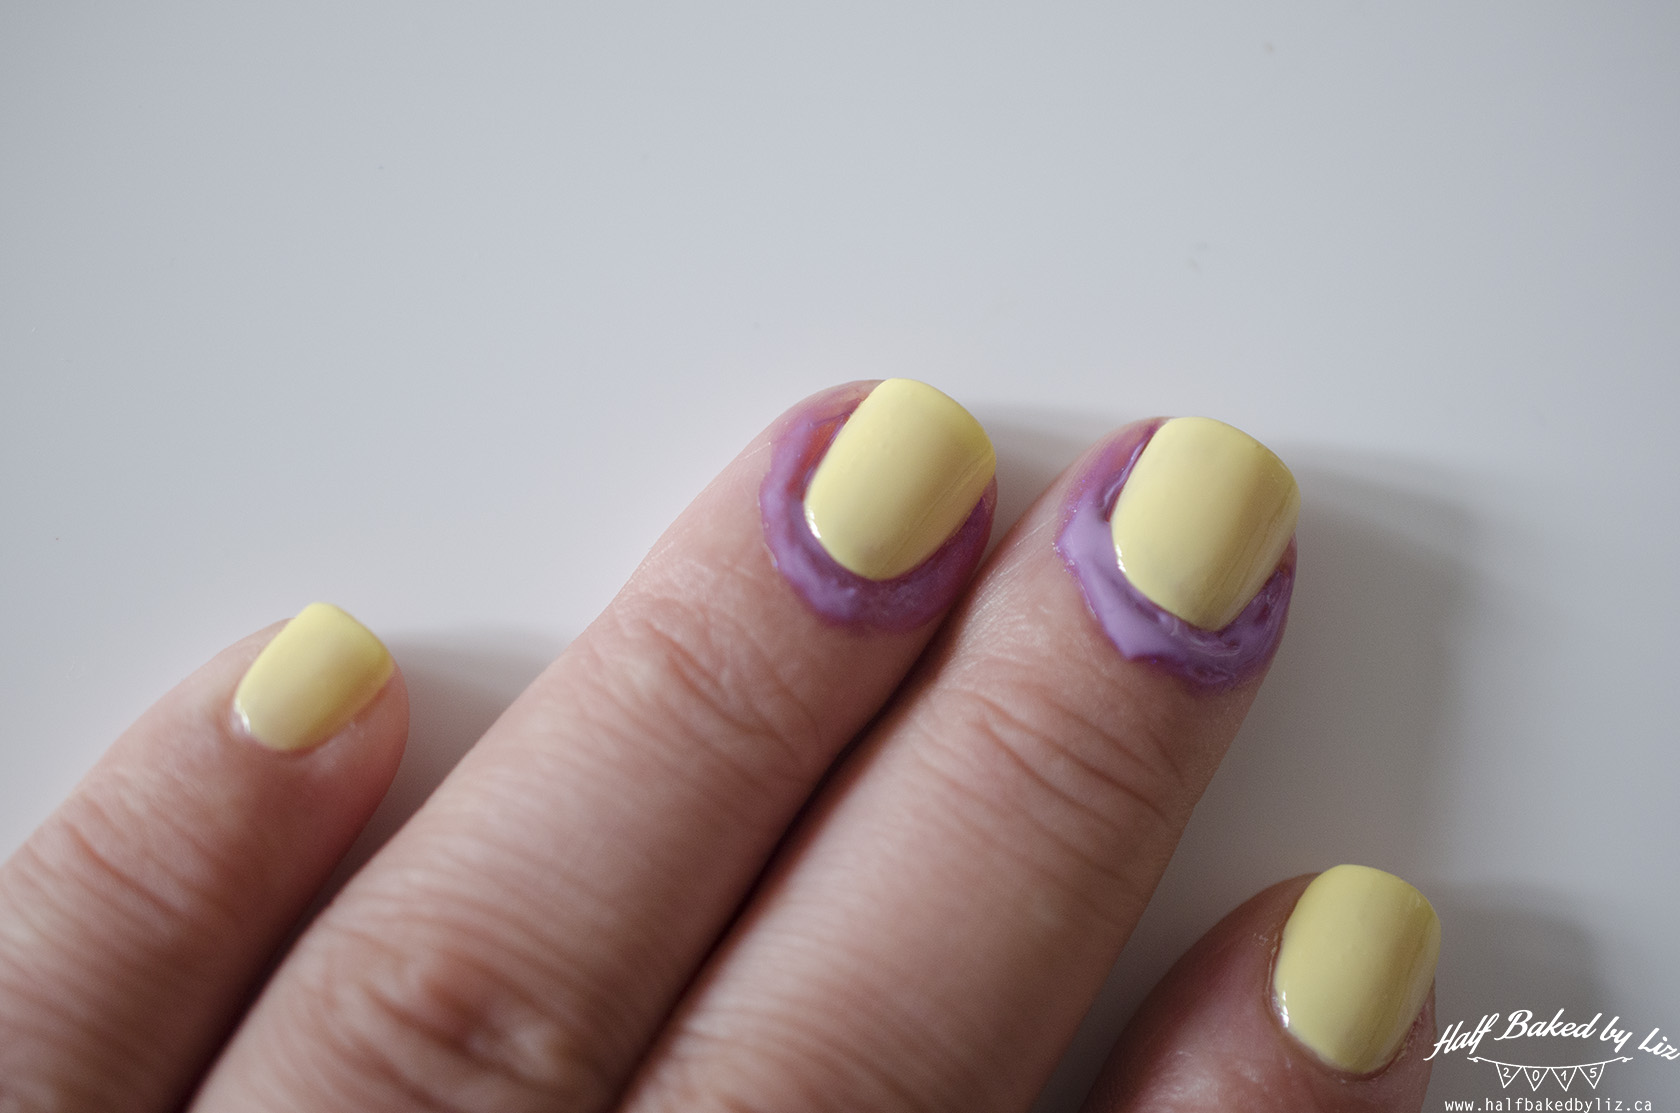
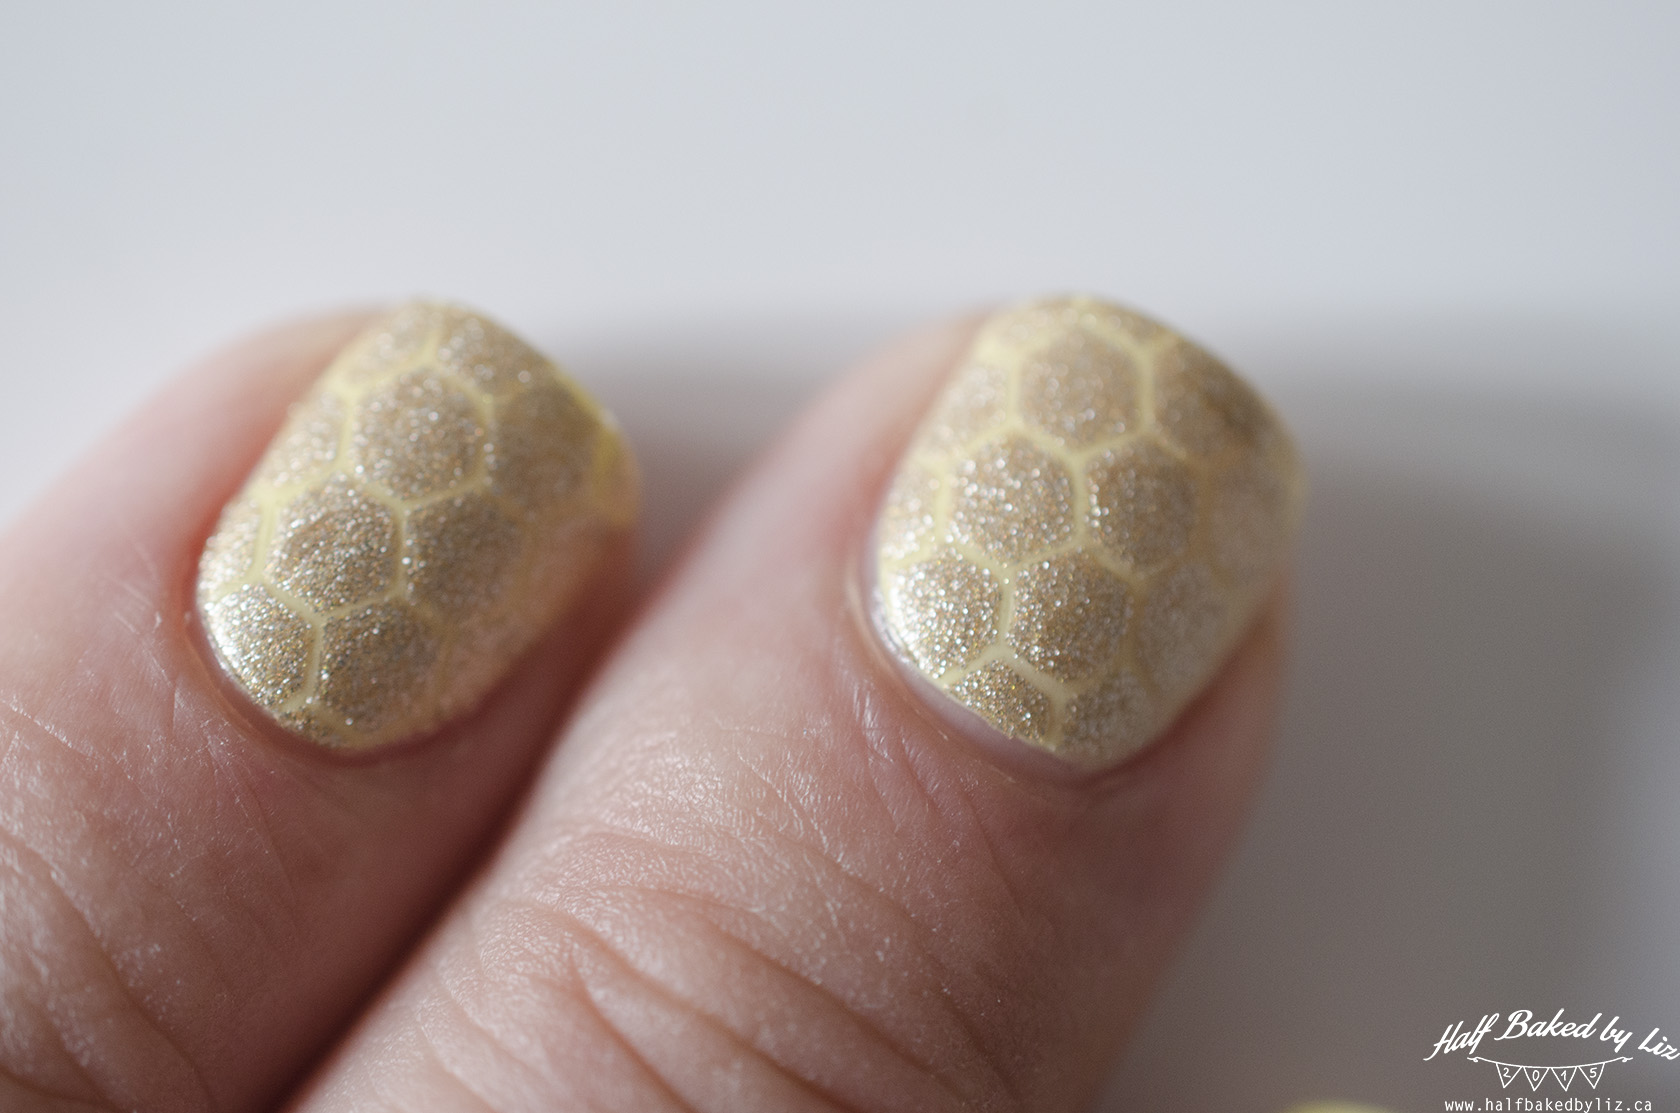
I started with three coats of yellow base colour (‘Loop the loop’ by Ciaté ).
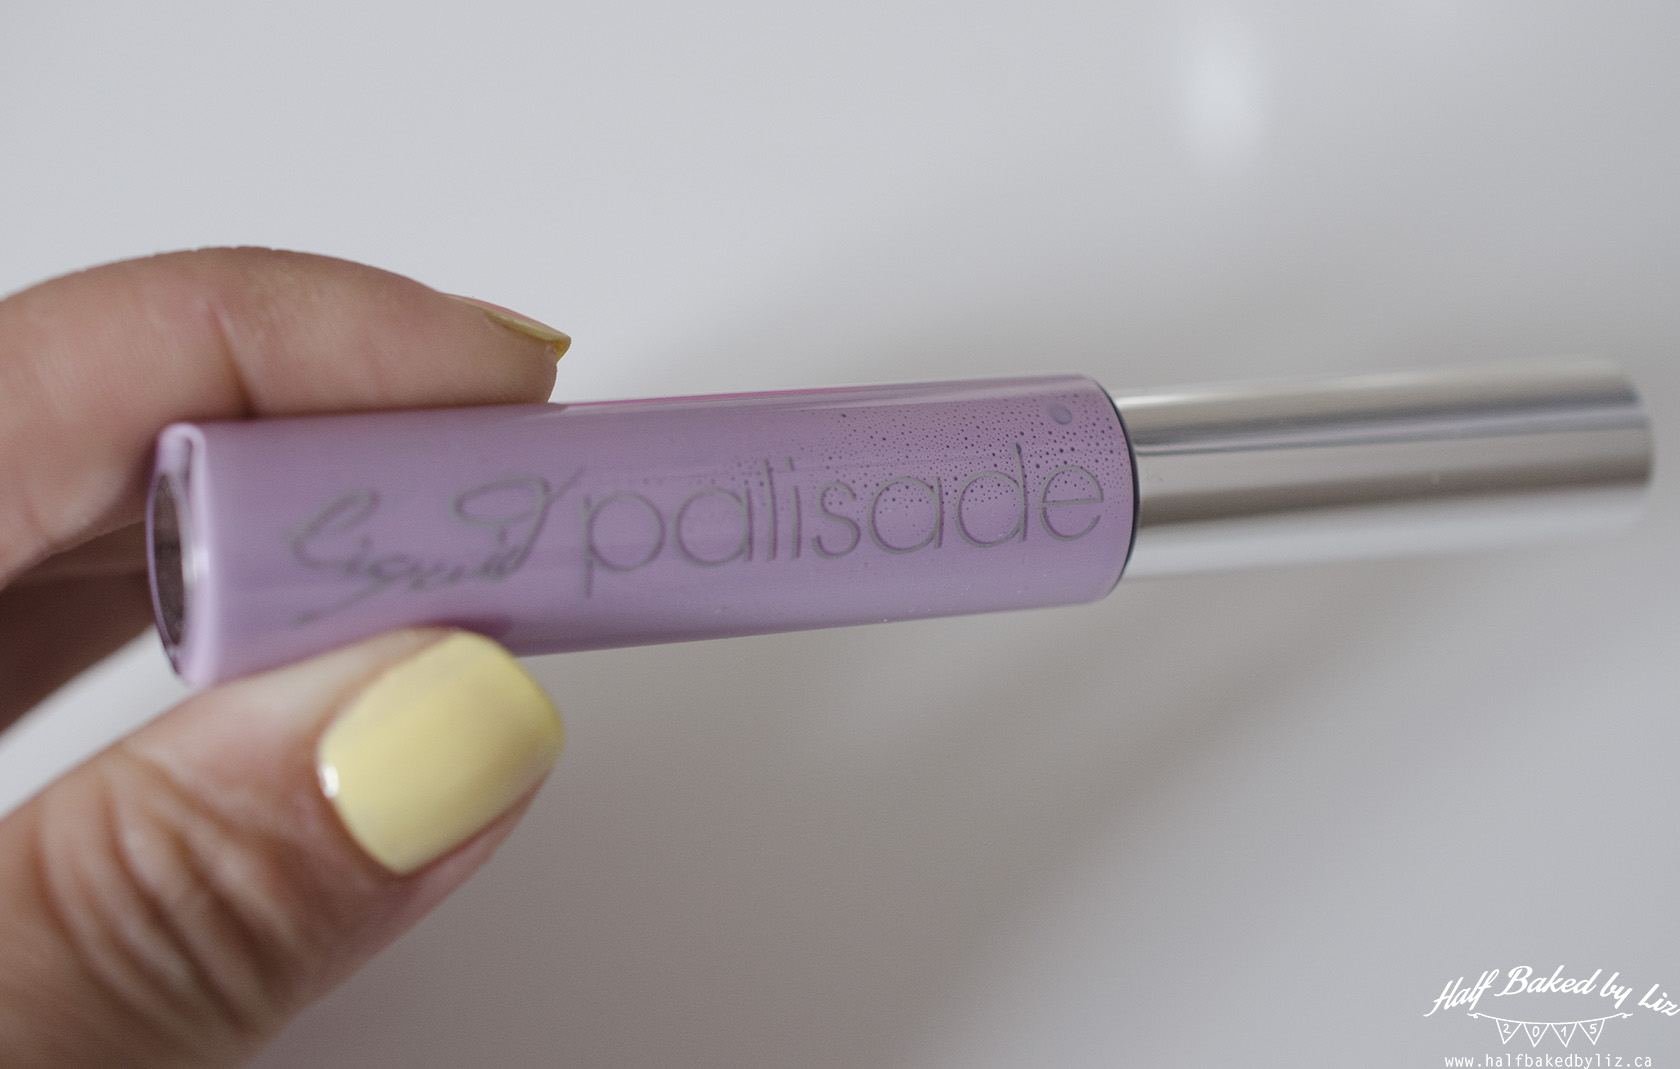
Next, I applied liquid nail tape around my ring and middle fingers, to keep any polish off of the skin around my nails. The product I used is Kiesque Liquid Palisade – totally new to me, and I have to say that I’m really impressed with it. It has a fine brush which makes precision application really easy. It also dries quickly, is easy to peel off after you’re finished, and is really effective. It’s a little pricey, but totally worth it.
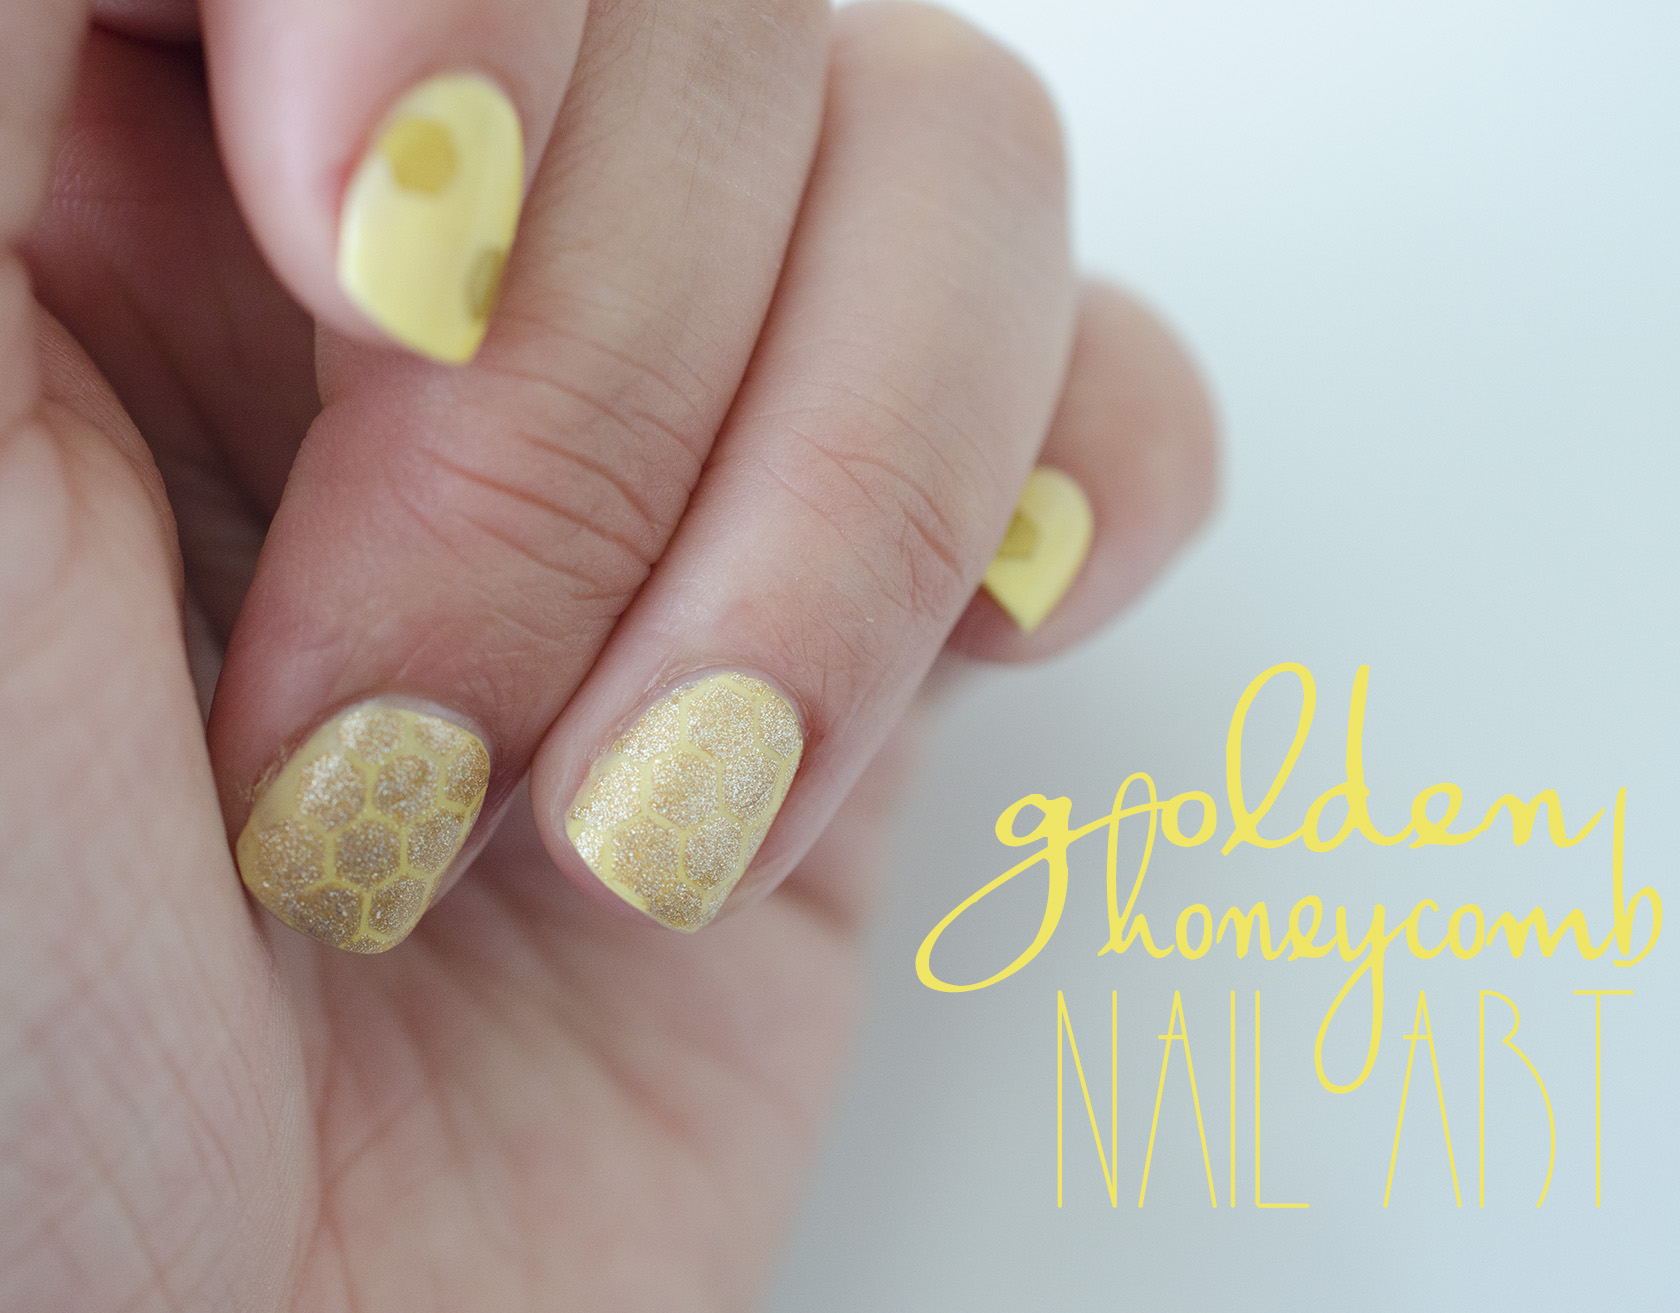
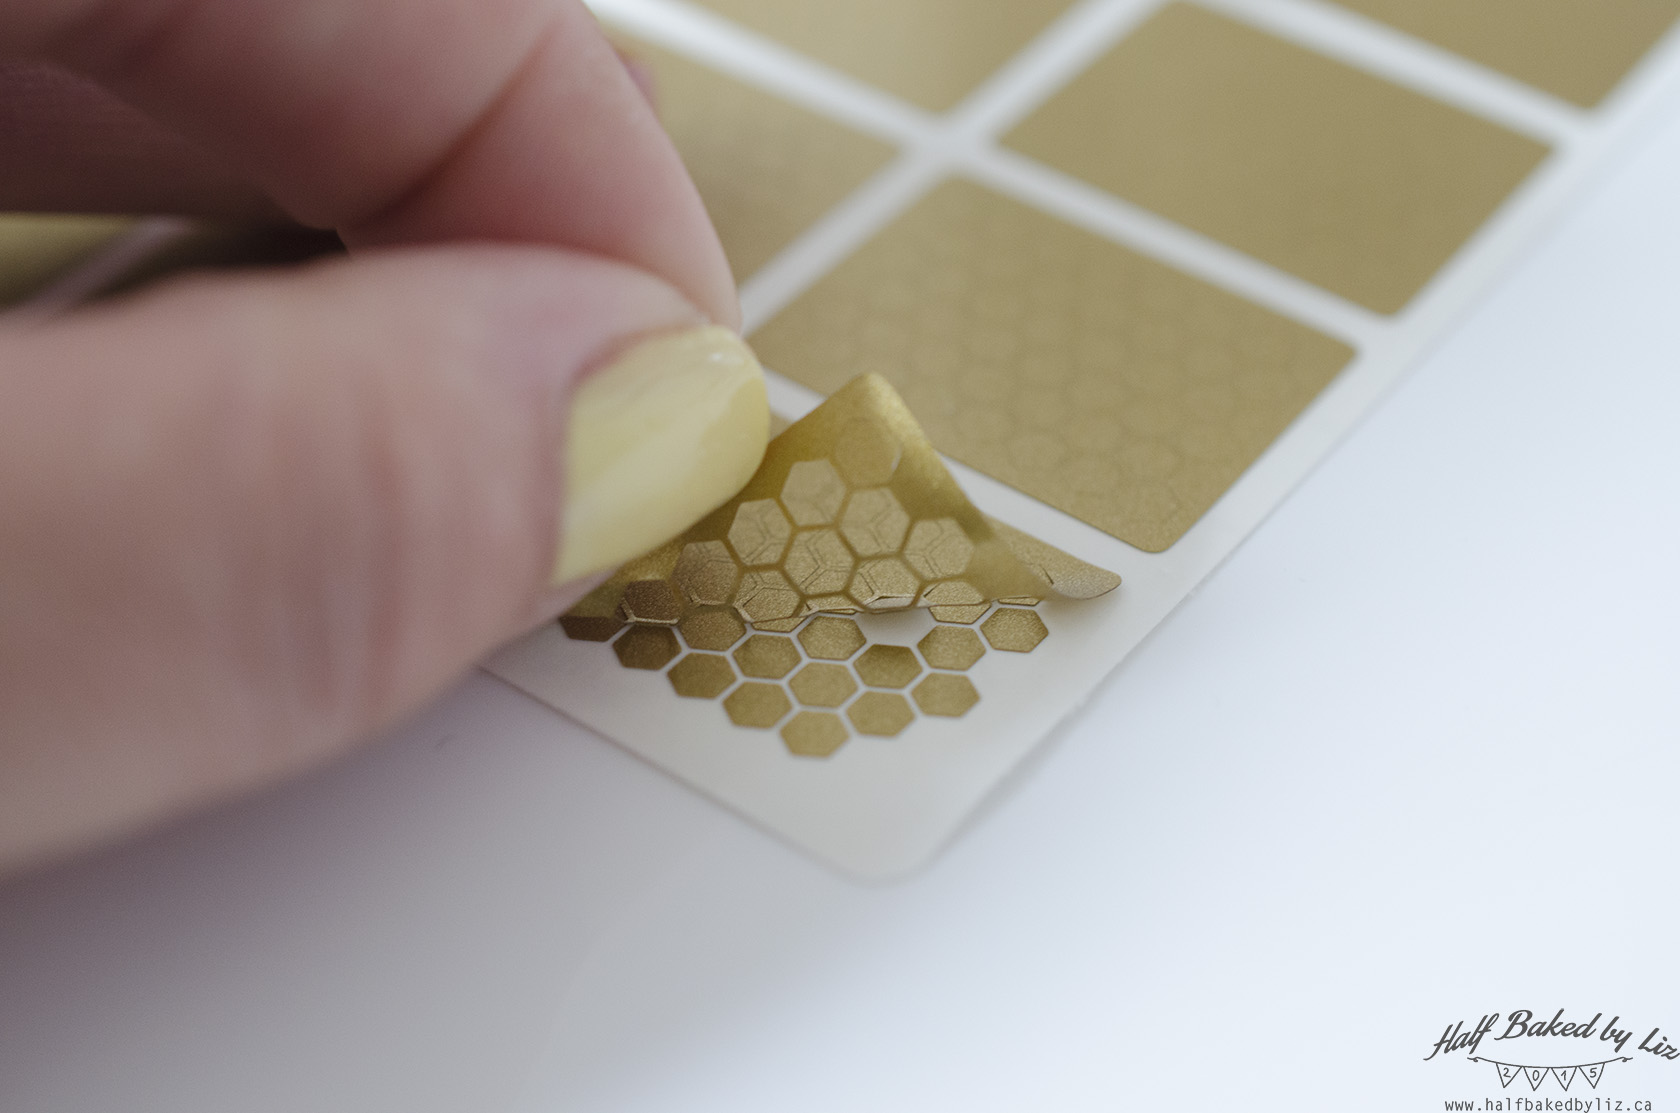
Next for the honeycomb stencils (also new!). Be sure that they’re well adhered all the way to the edges of your nail. Then just polish over the top!
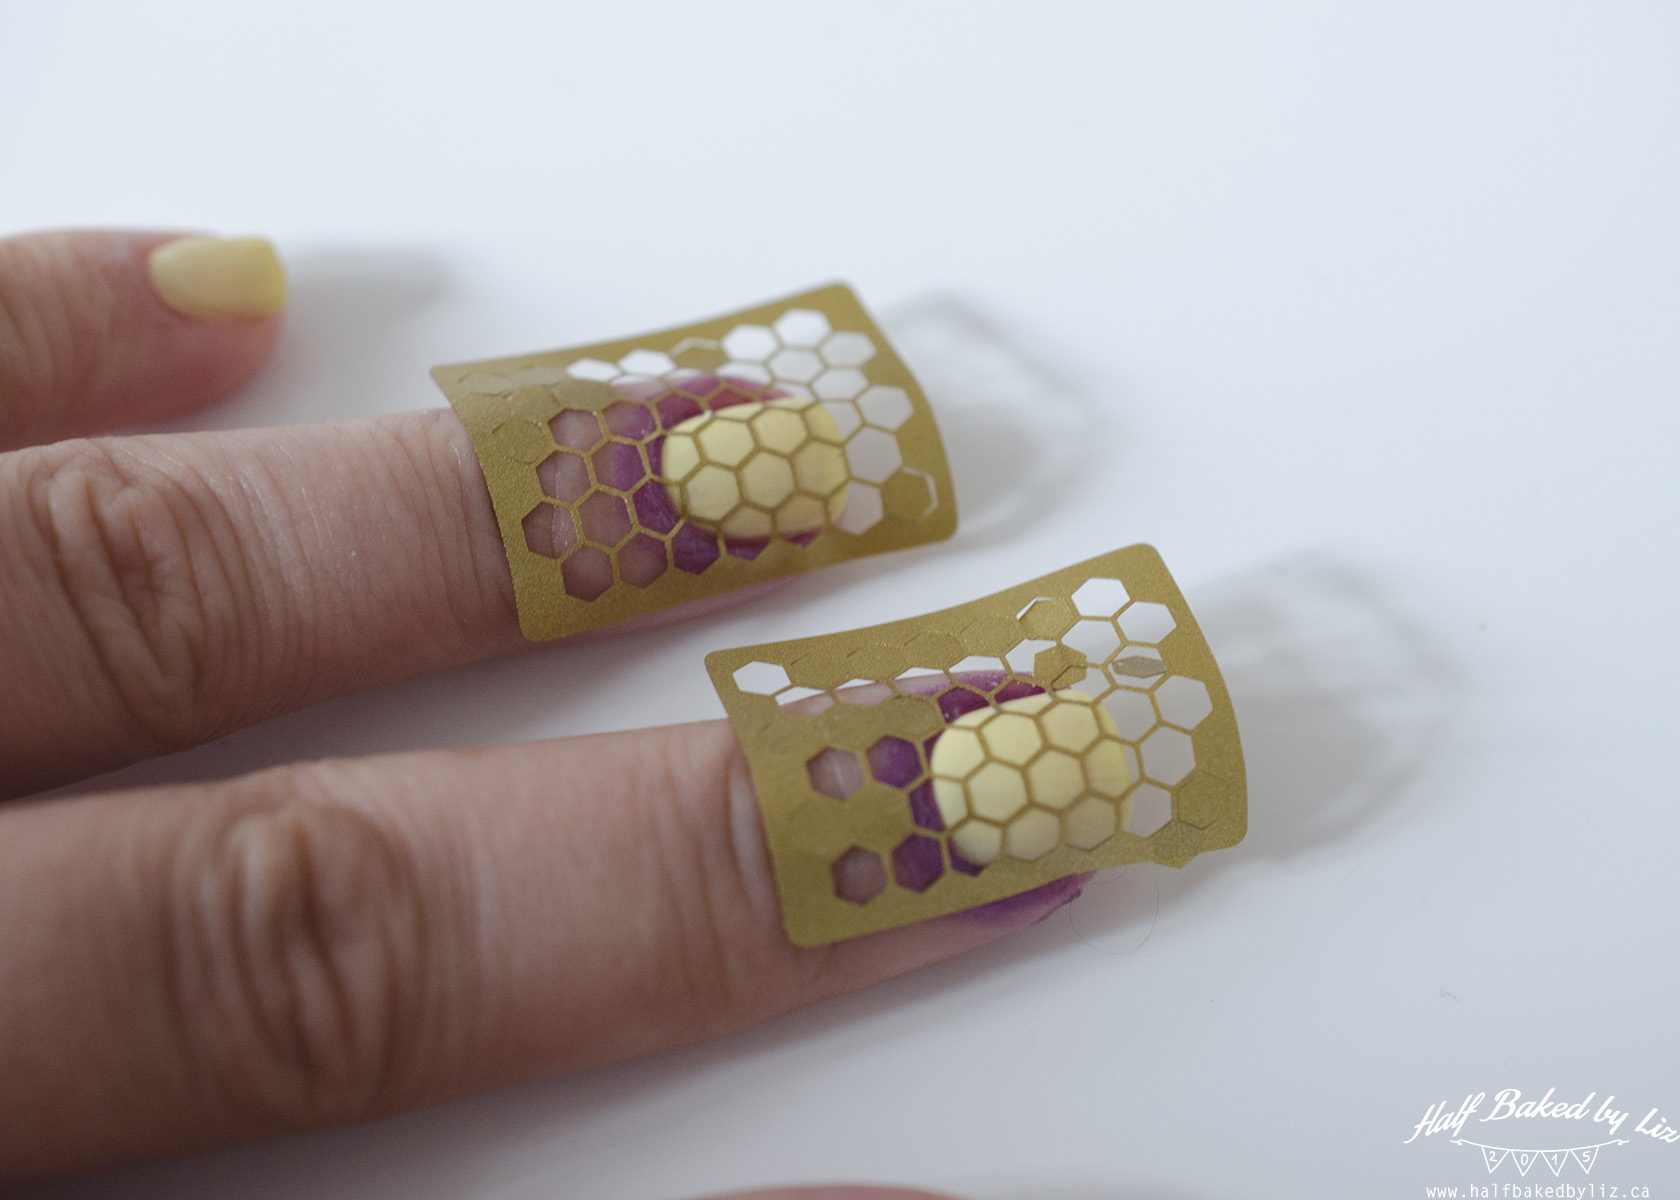
After polishing, immediately remove the stencil, followed by the tape.
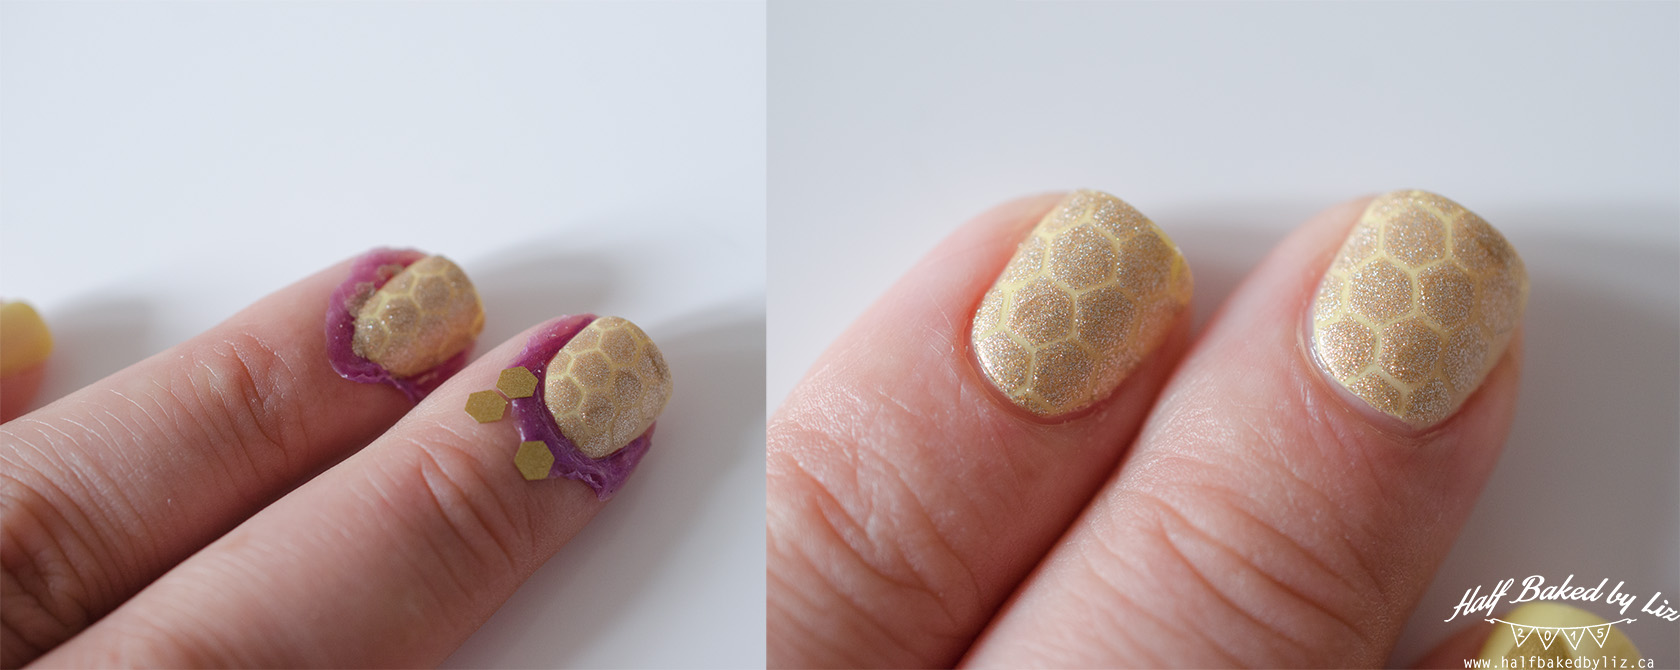
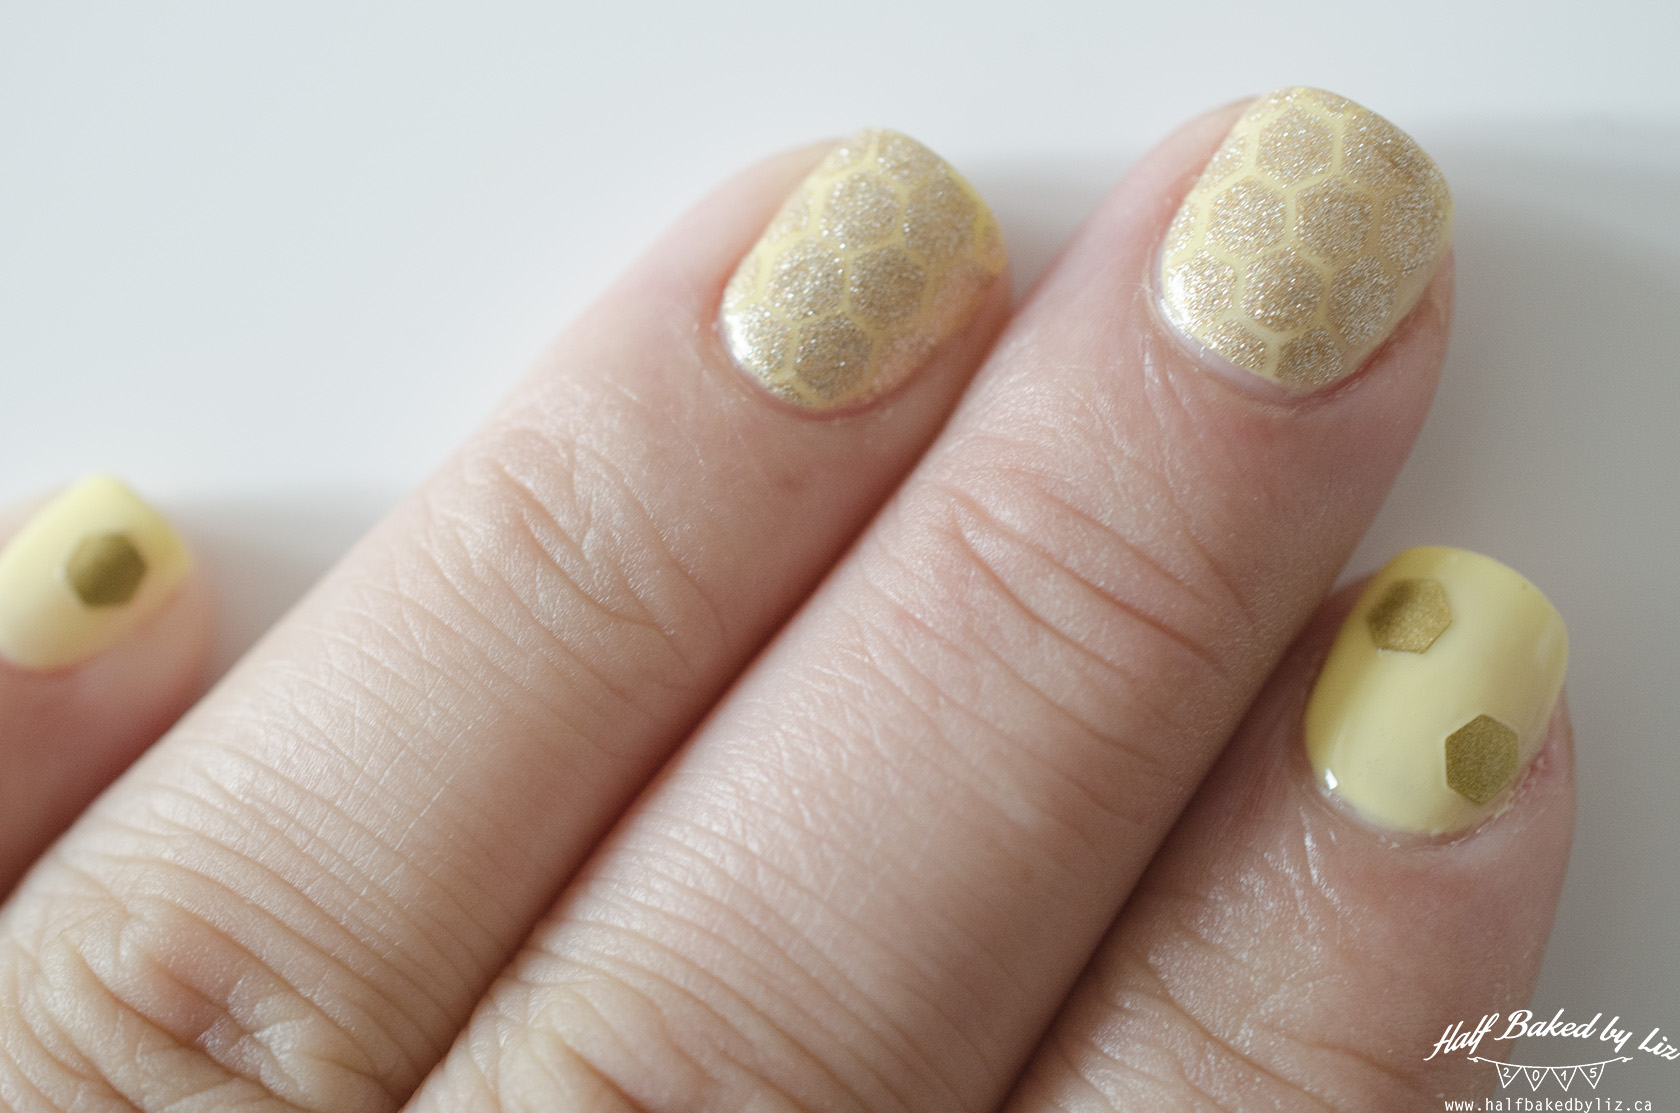
So impressed with the accuracy of the stencil – easily the best nail stencil I’ve used to date.
I also decided to use some of the “leftover” honeycomb cutouts from the stencils as nail stickers! Super cute.
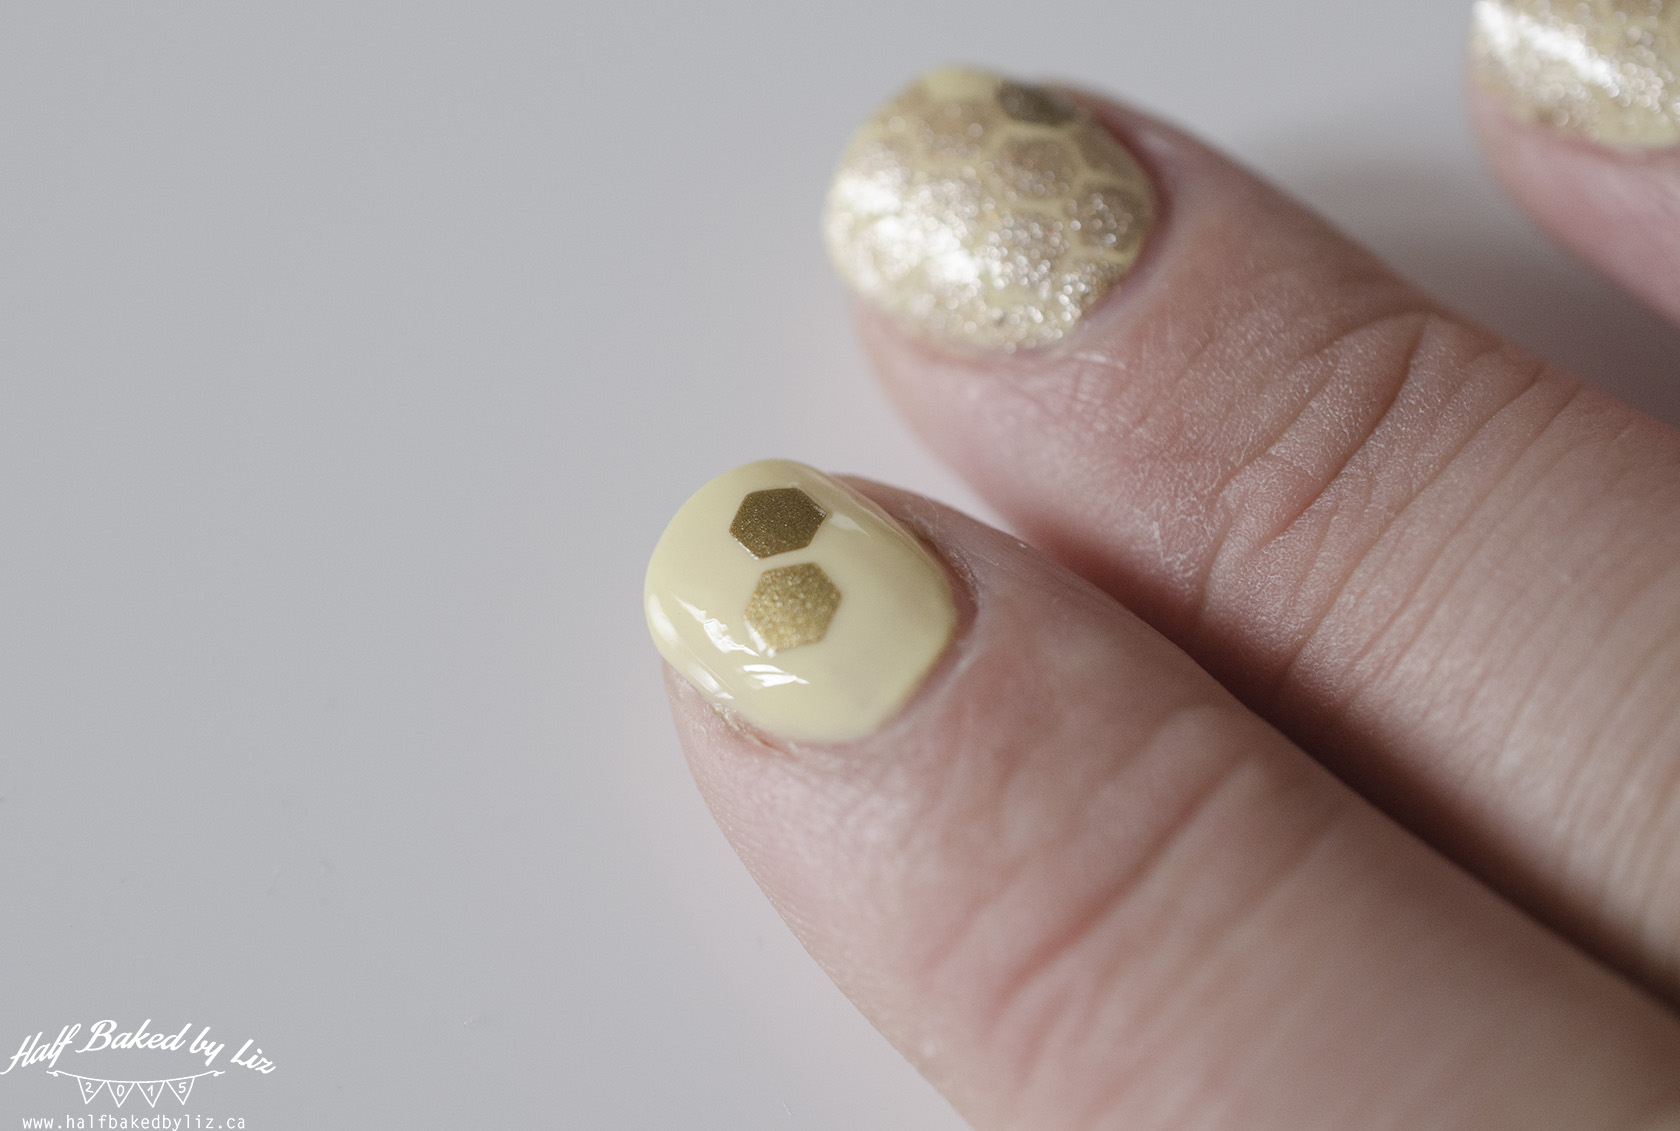
And voila! That’s it. Love how these turned out, and I’m super happy with my new products from Whats Up Nails.