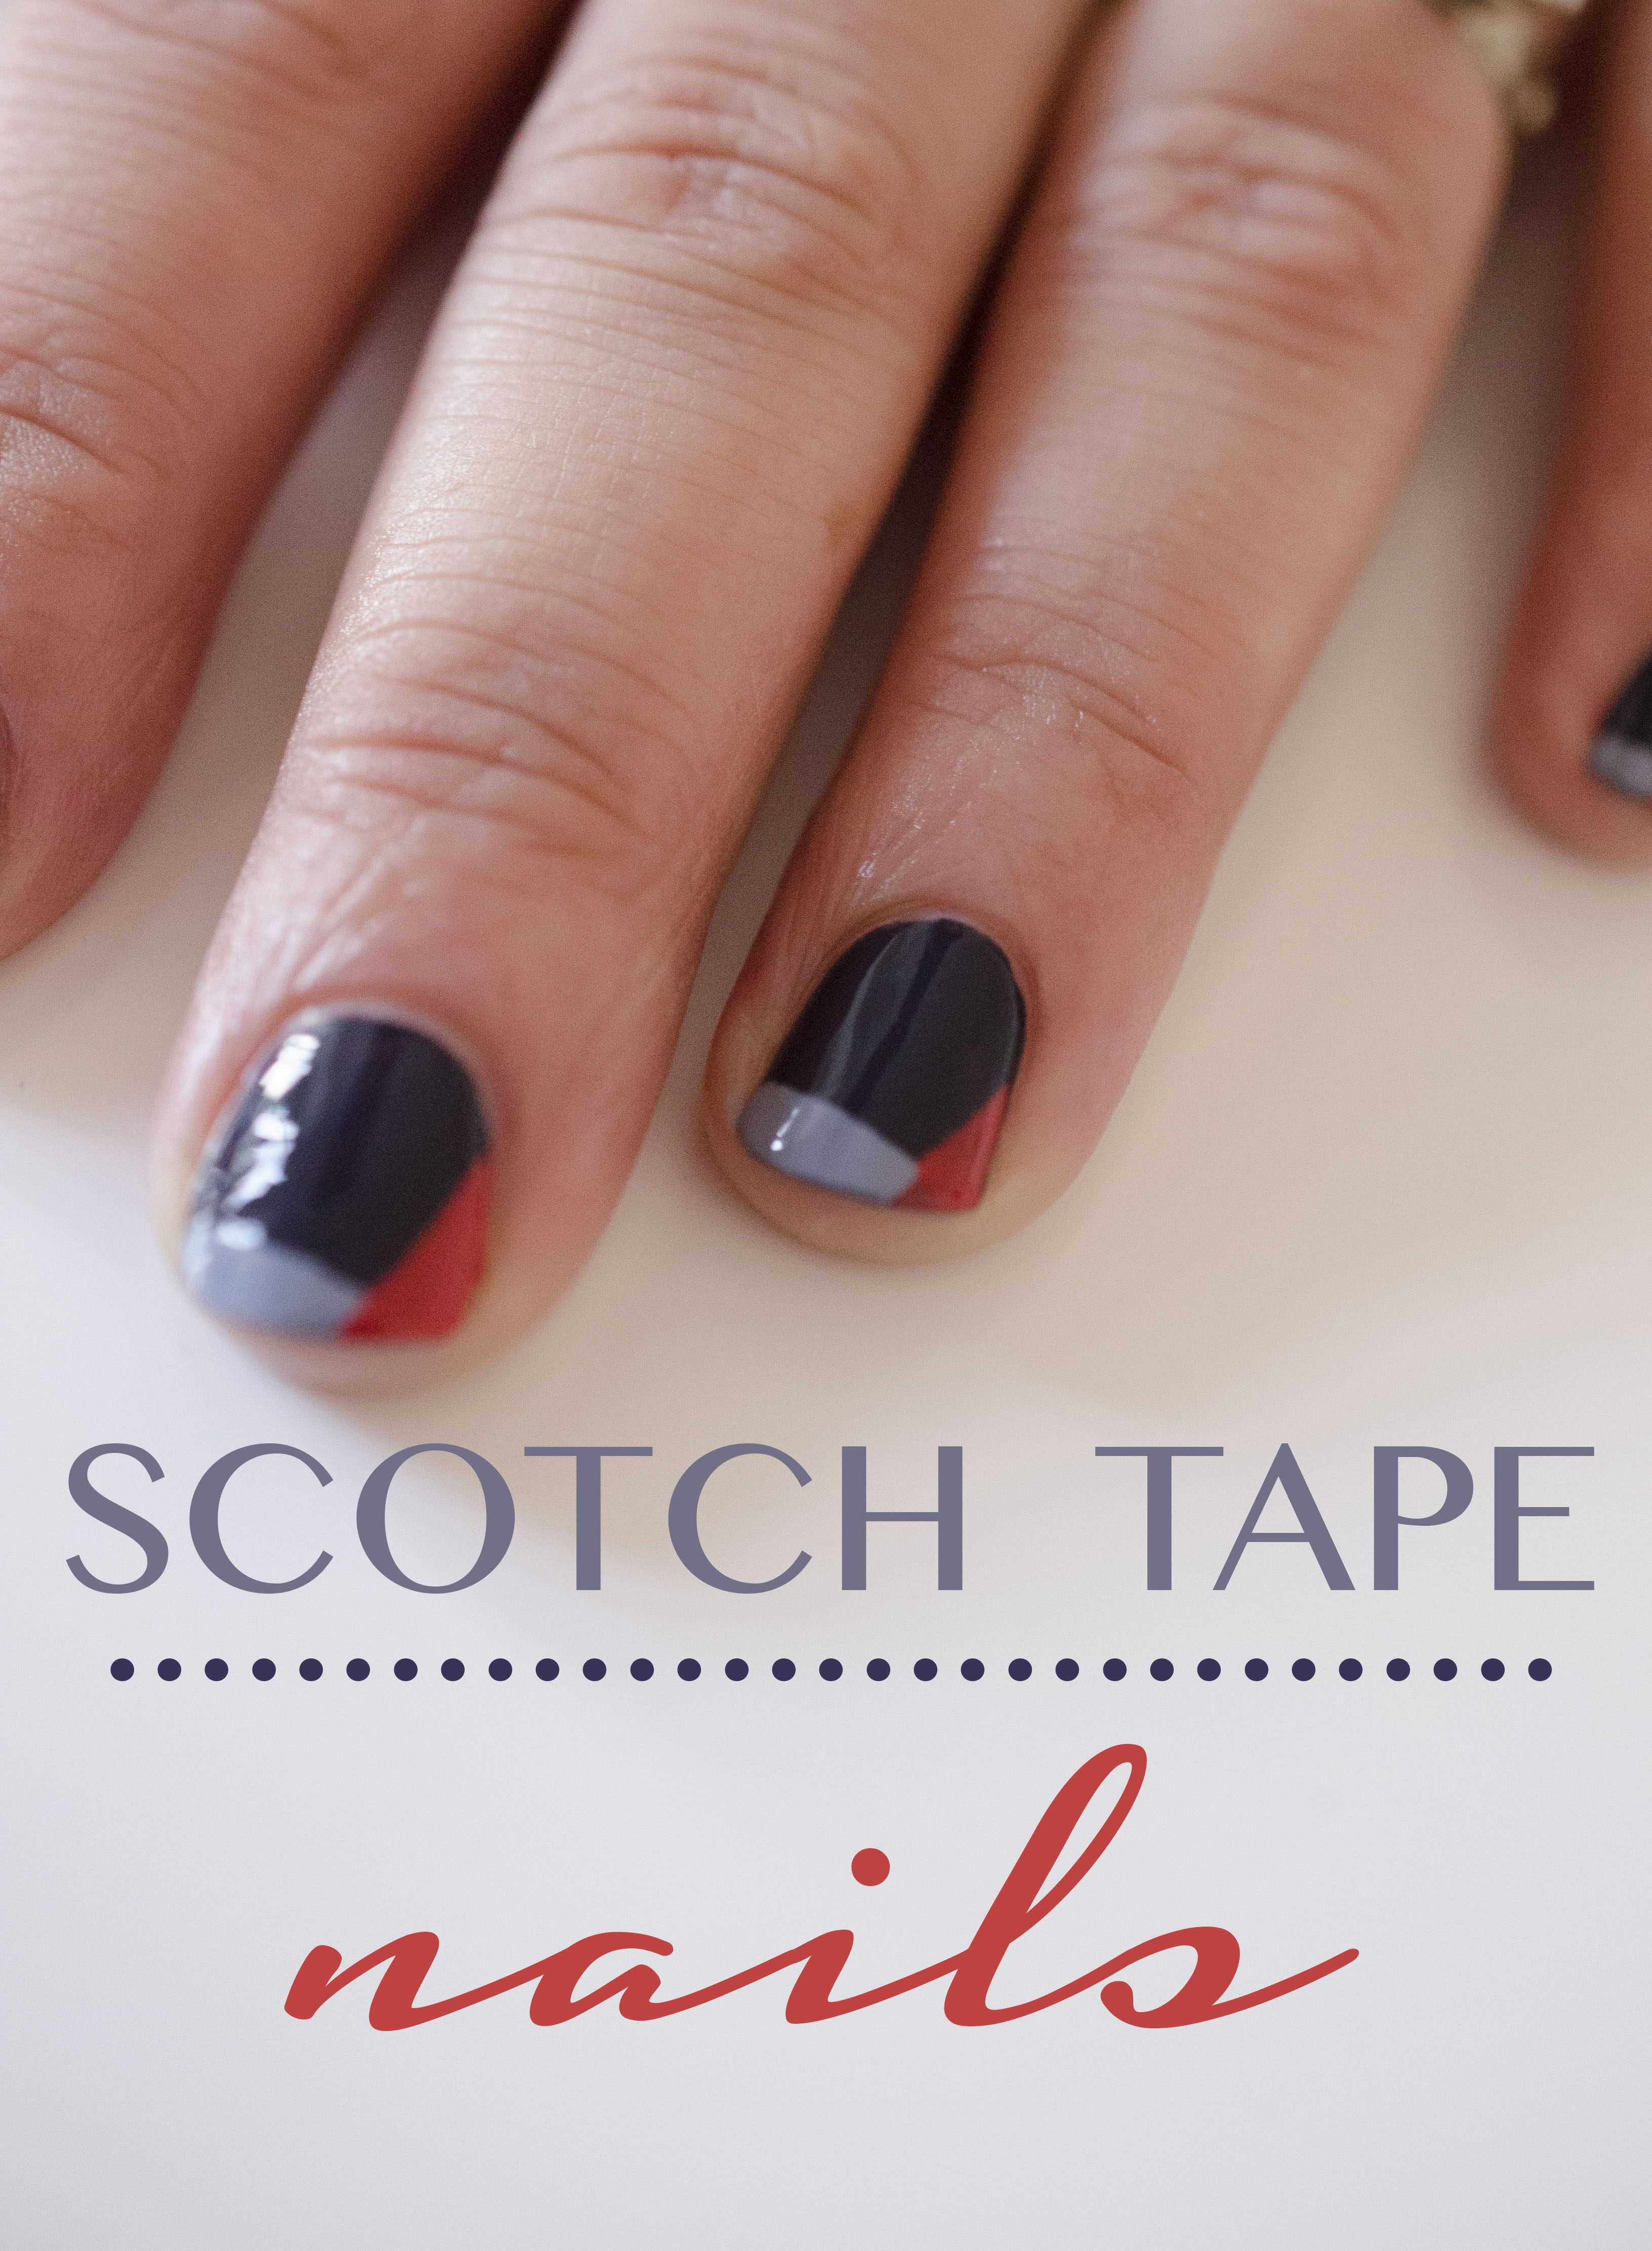
While I’m waiting for my nail kit to arrive, I’ve been using some things from around the house for my nail art – including bobby pins , and most recently, Scotch tape. And I have to say, it works so well! It’s easier to use, and works better than any of the nail tapes I have. All you need is polish in varying colours, and tape.

The colours I chose were:
1 – ‘Access All Areas’ by
ciaté
2 – ‘Cocktail Bling’ by
essie
3 – ‘Bobbing for Baubles’ by essie
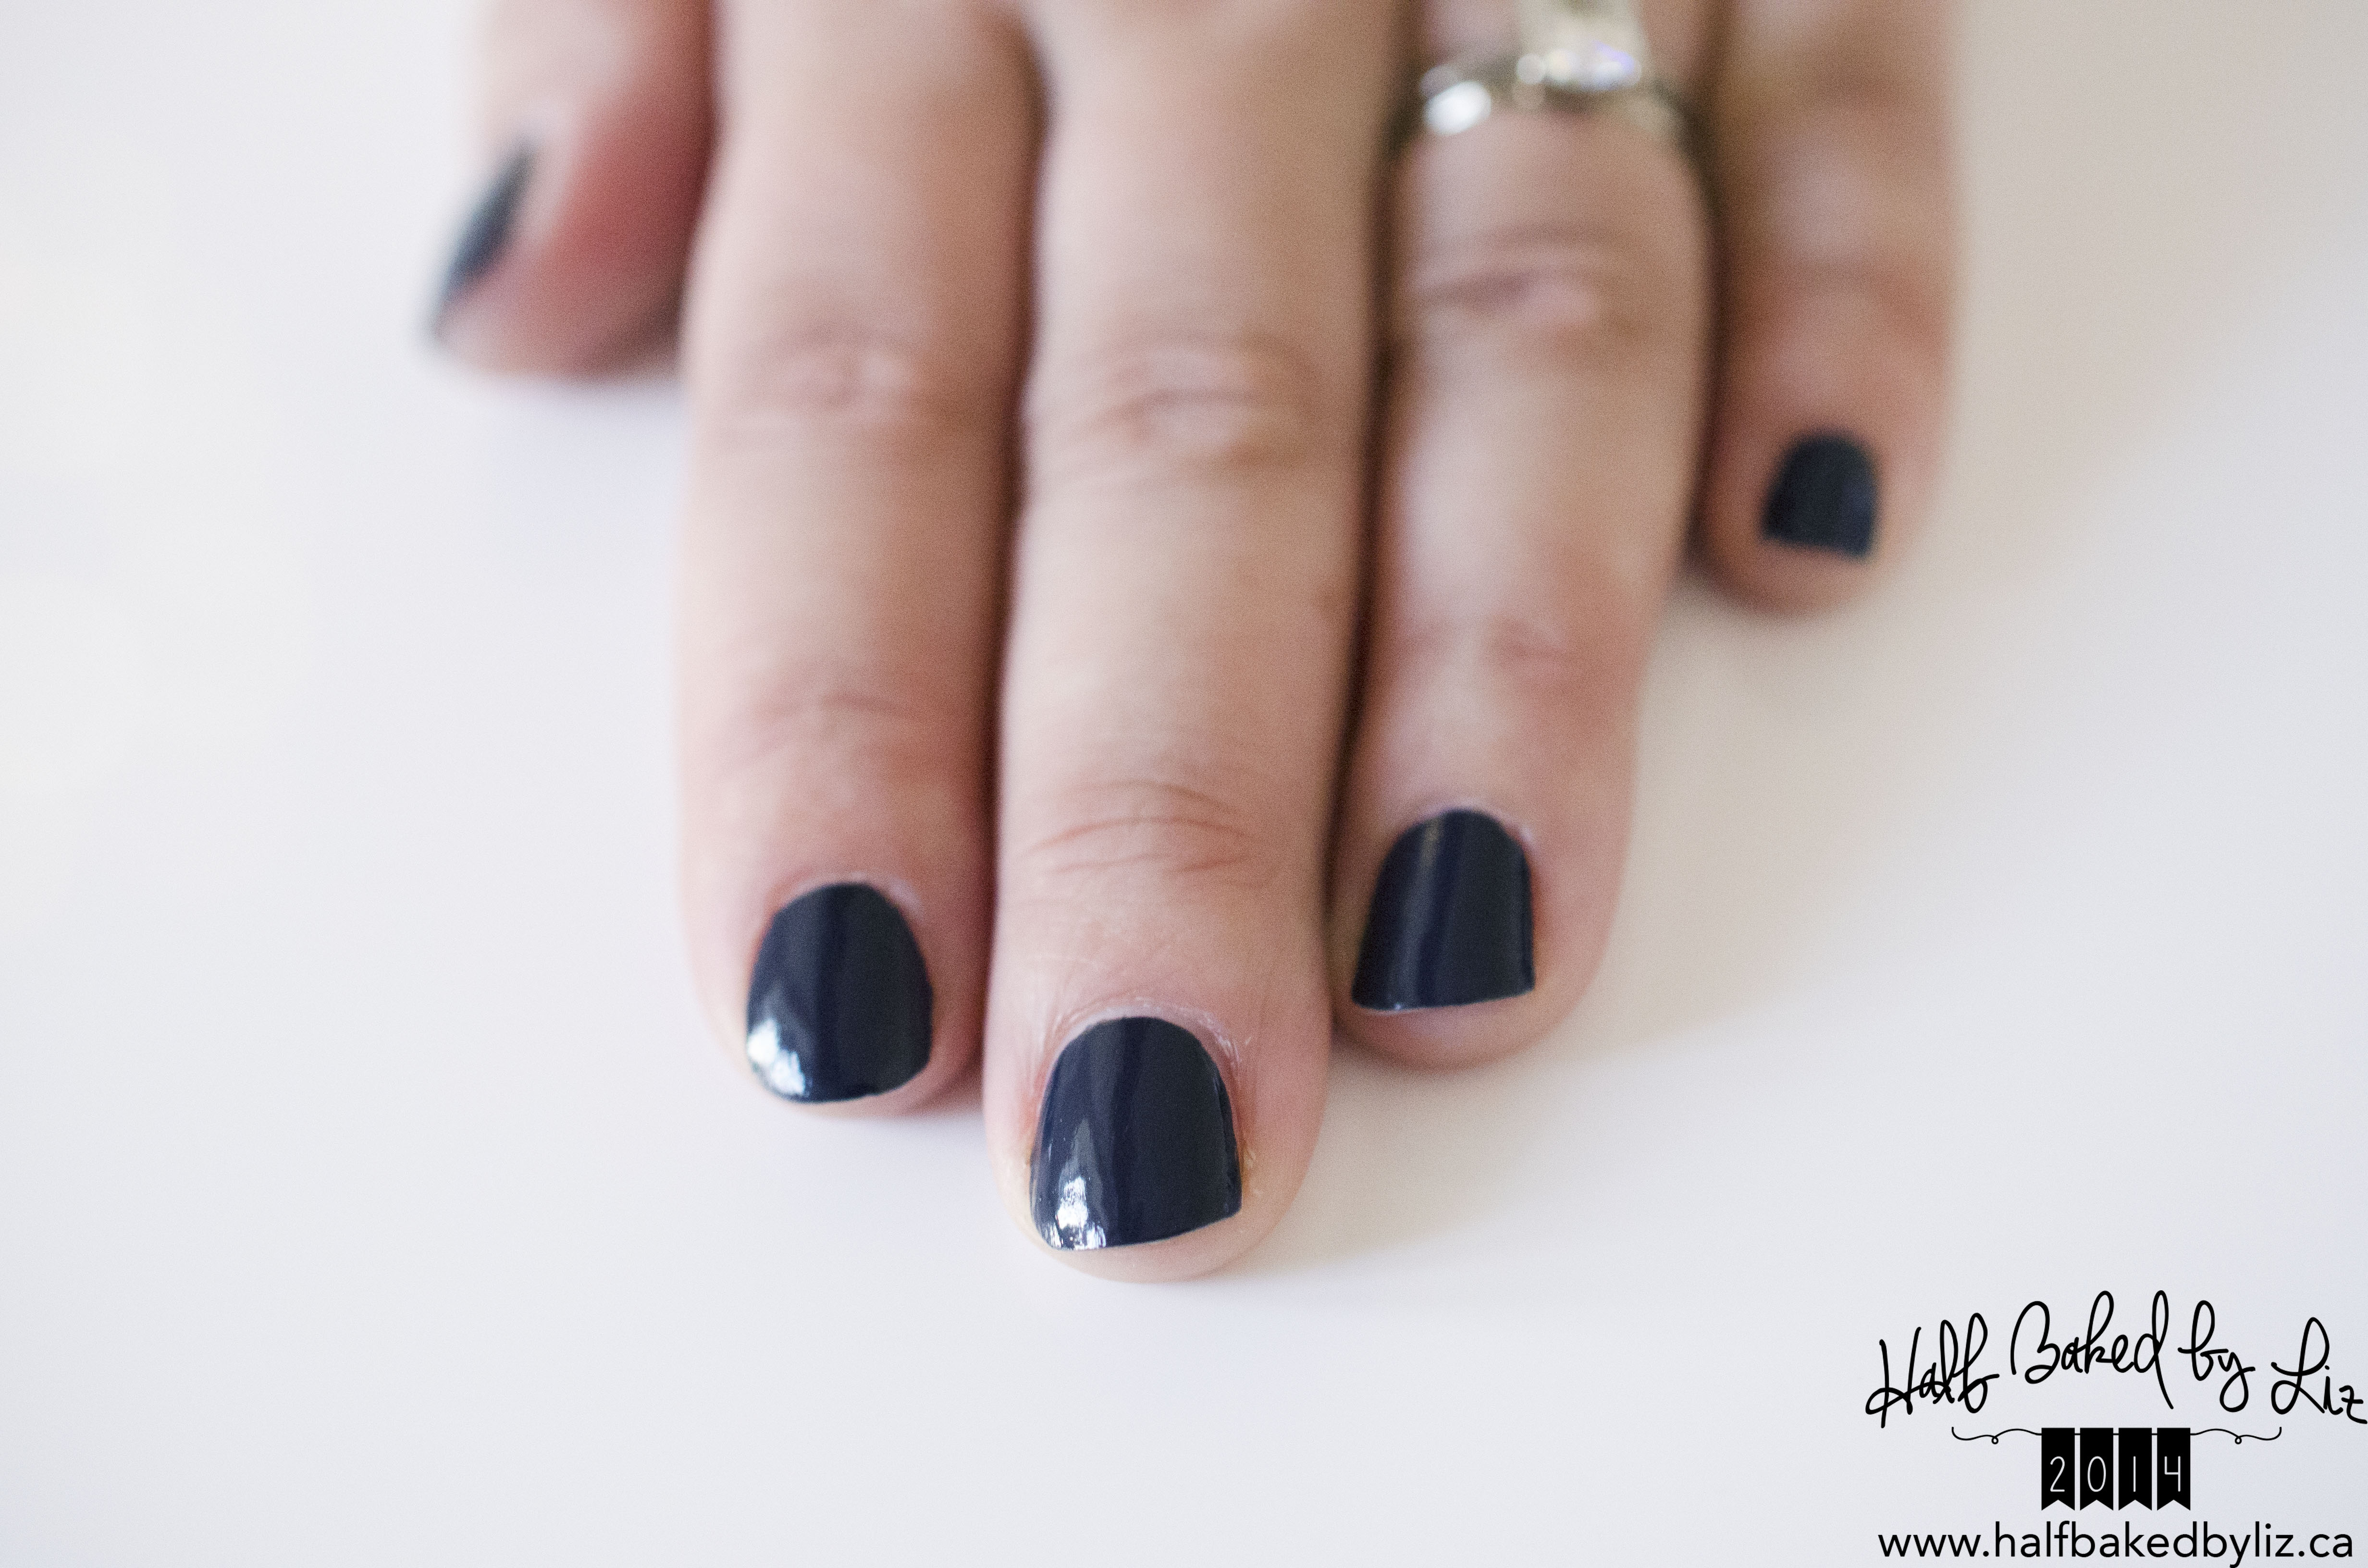
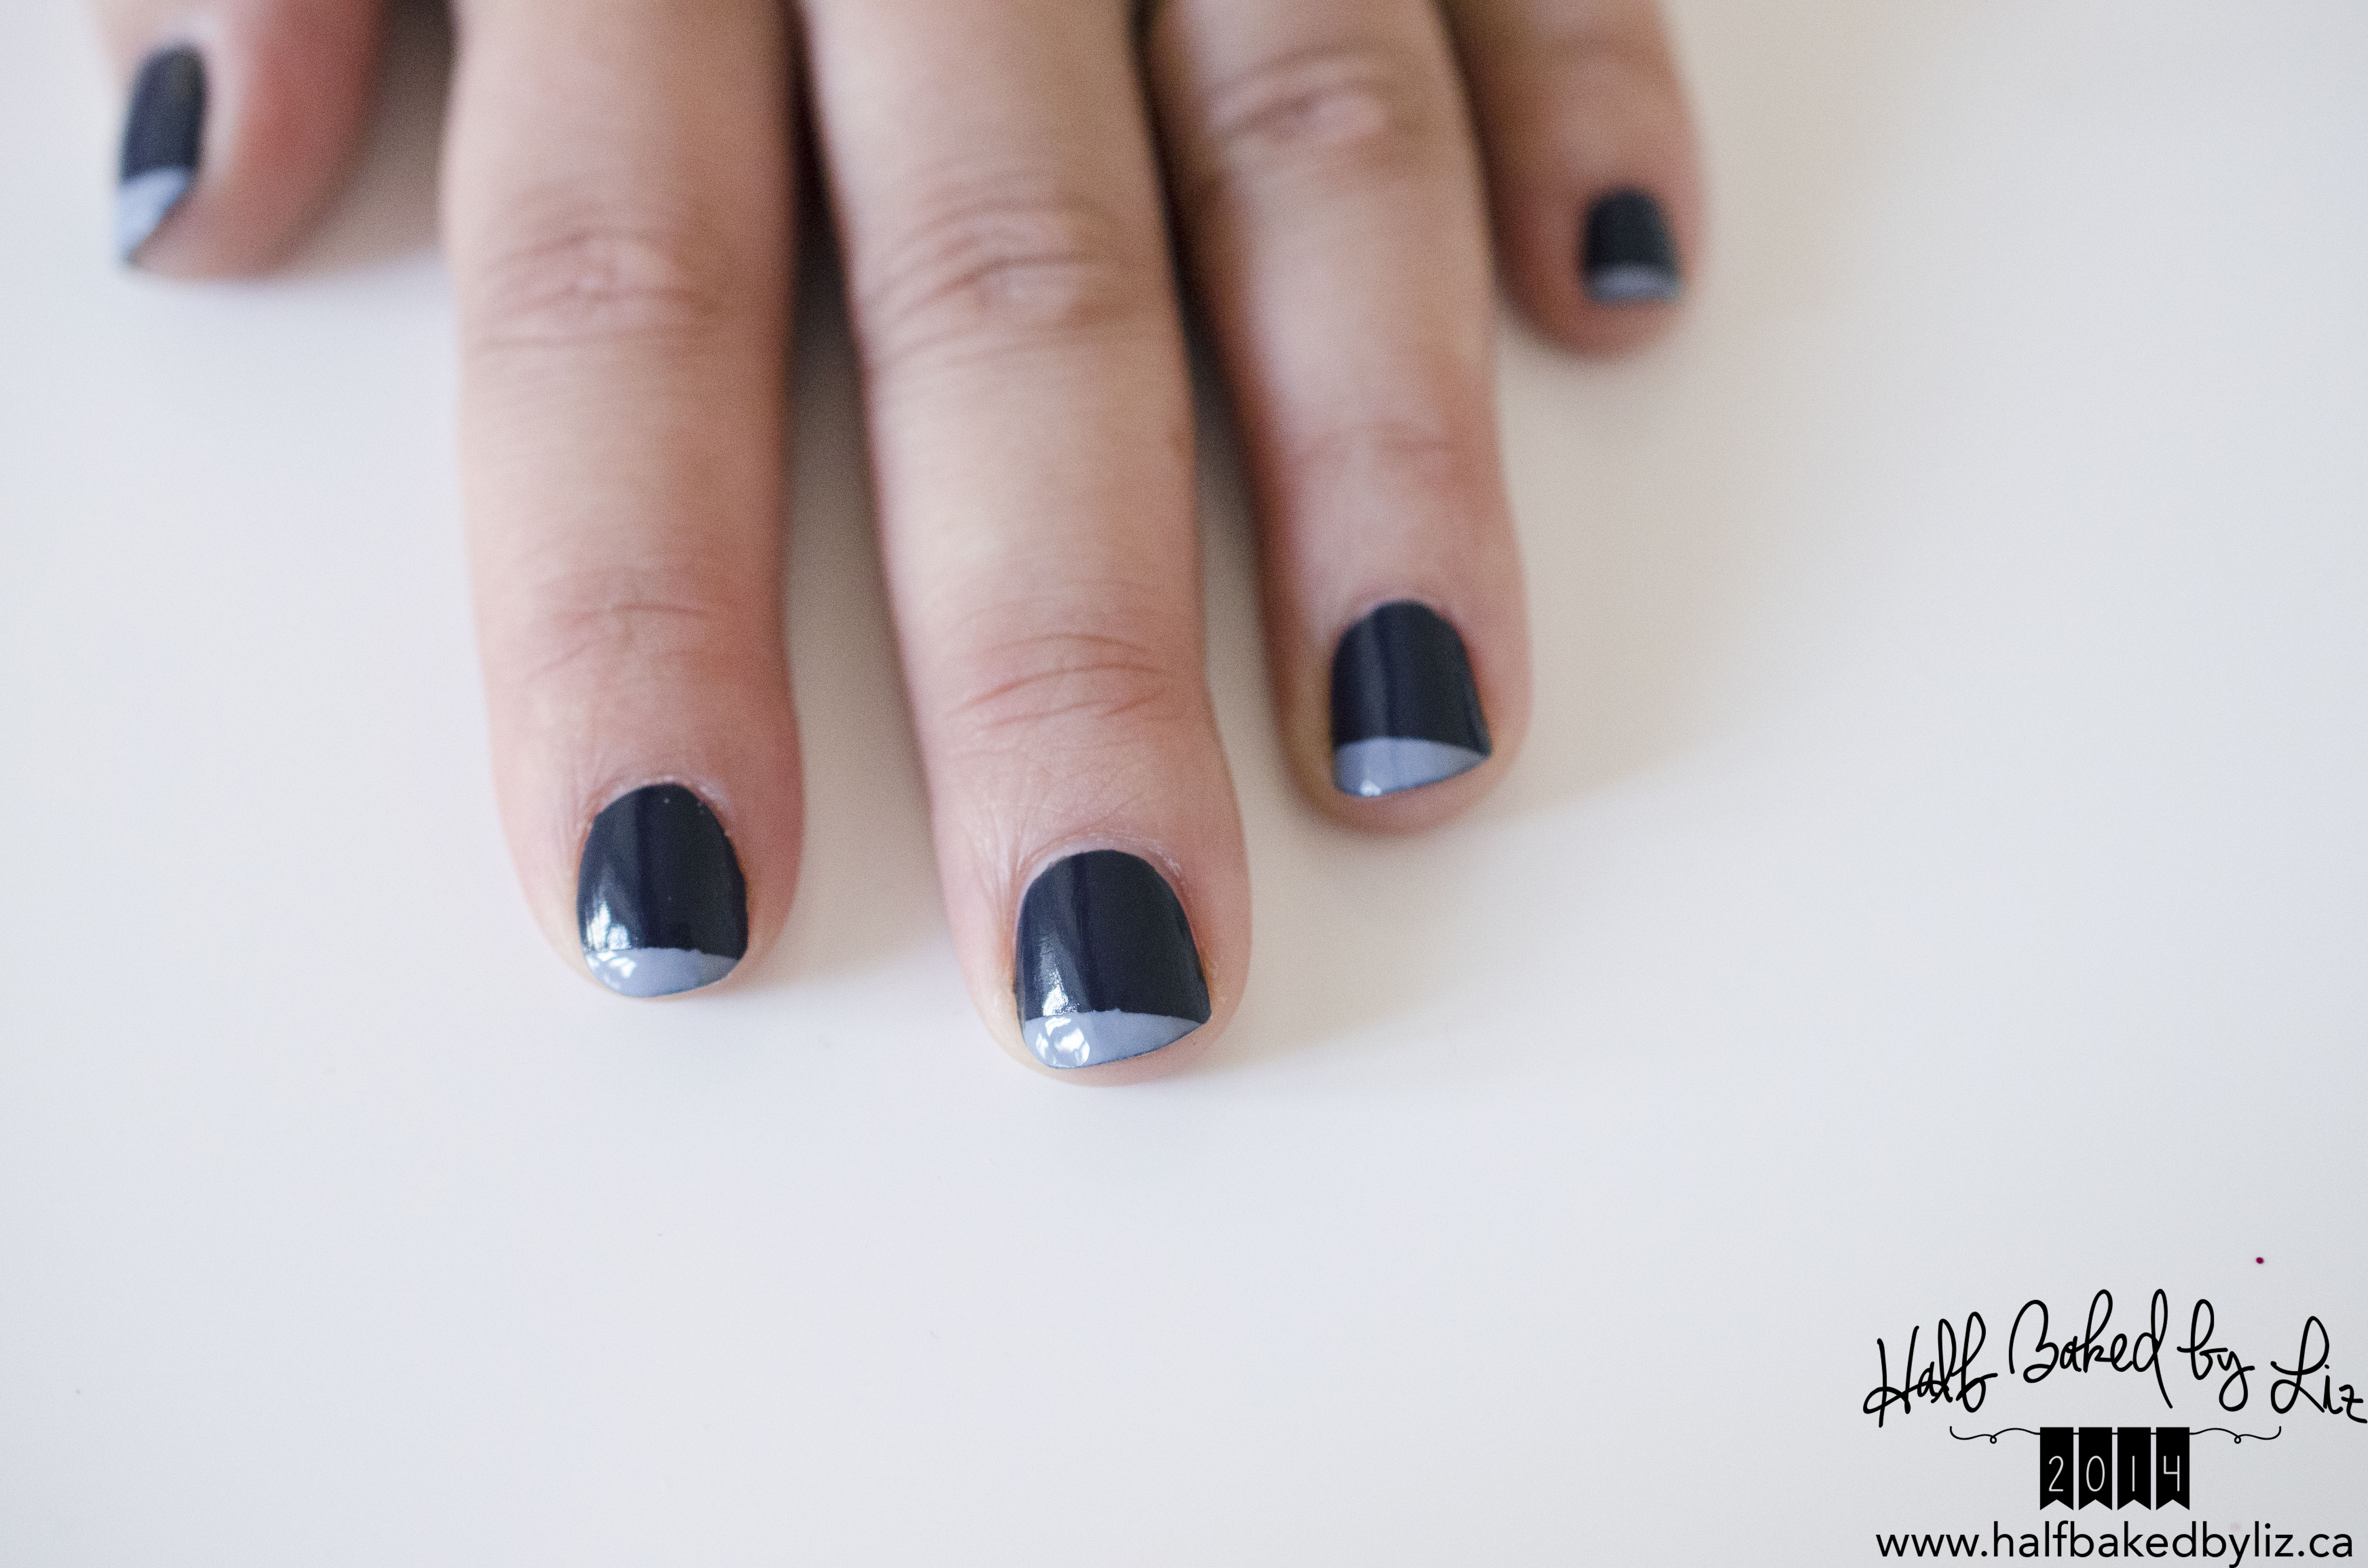
I started with a base coat + two coats of my base colour.
Then, after the base colour was dry, I added a piece of tape to each nail, and painted the exposed area with another colour.
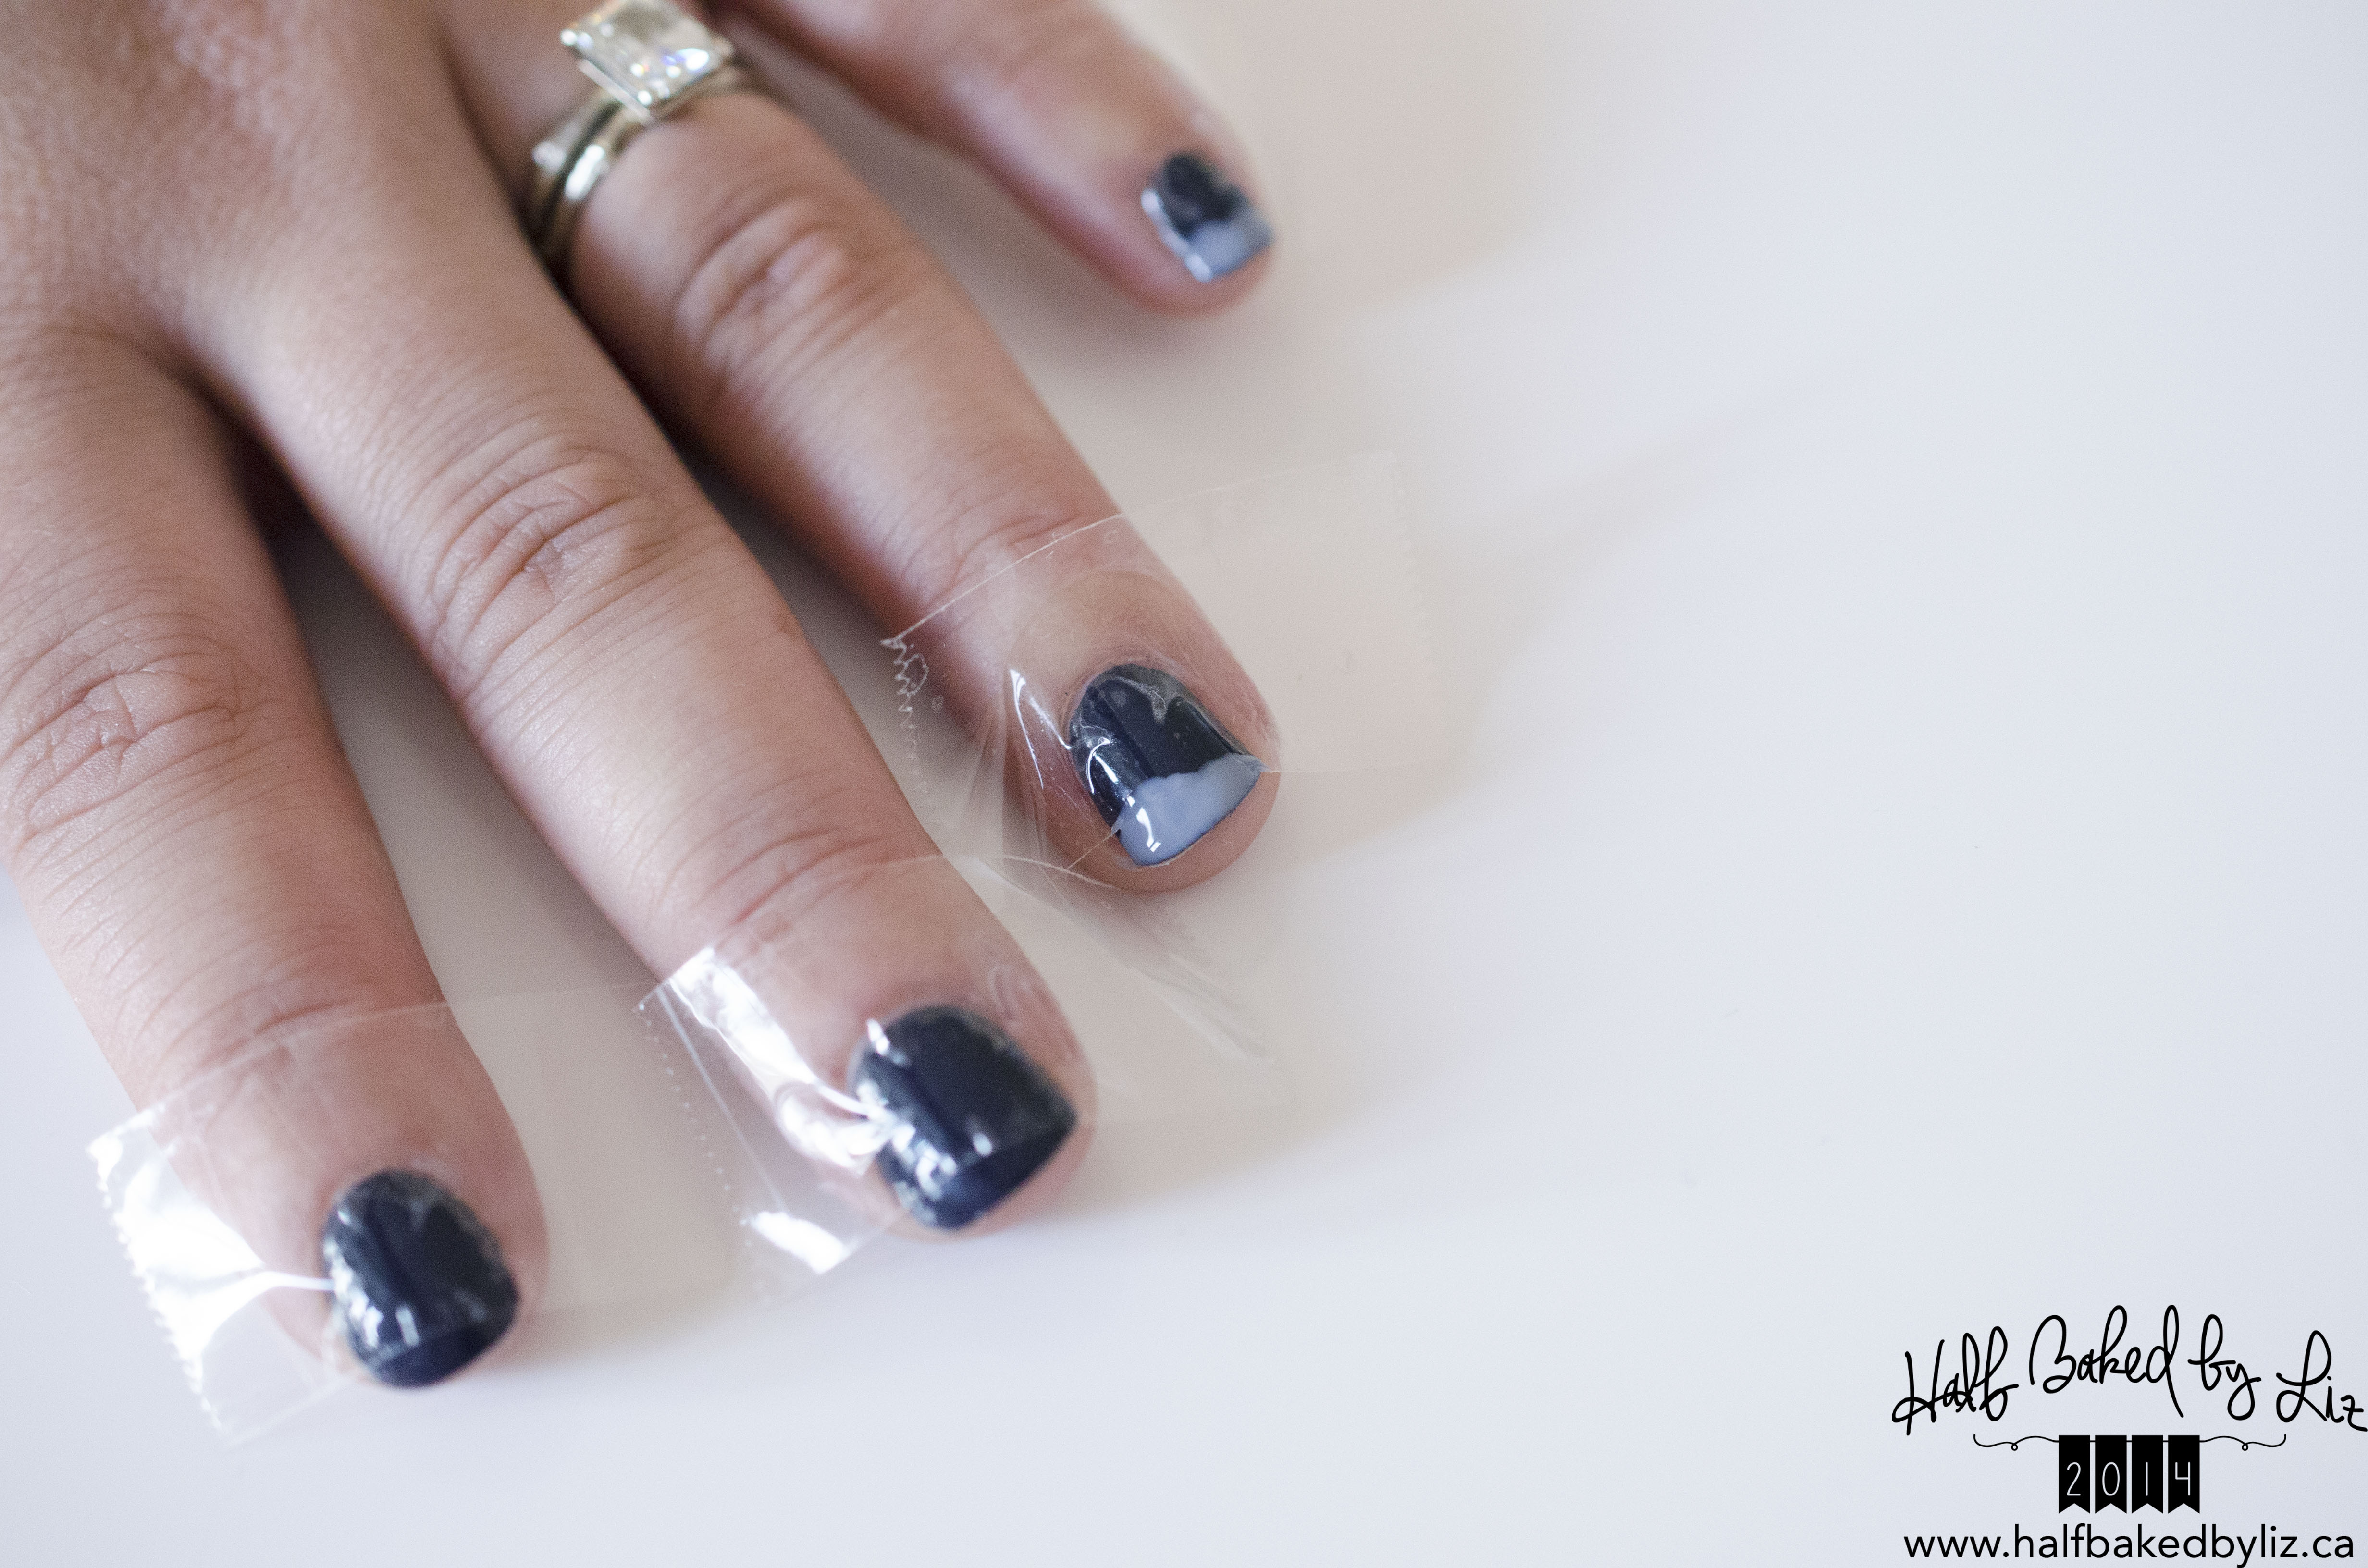
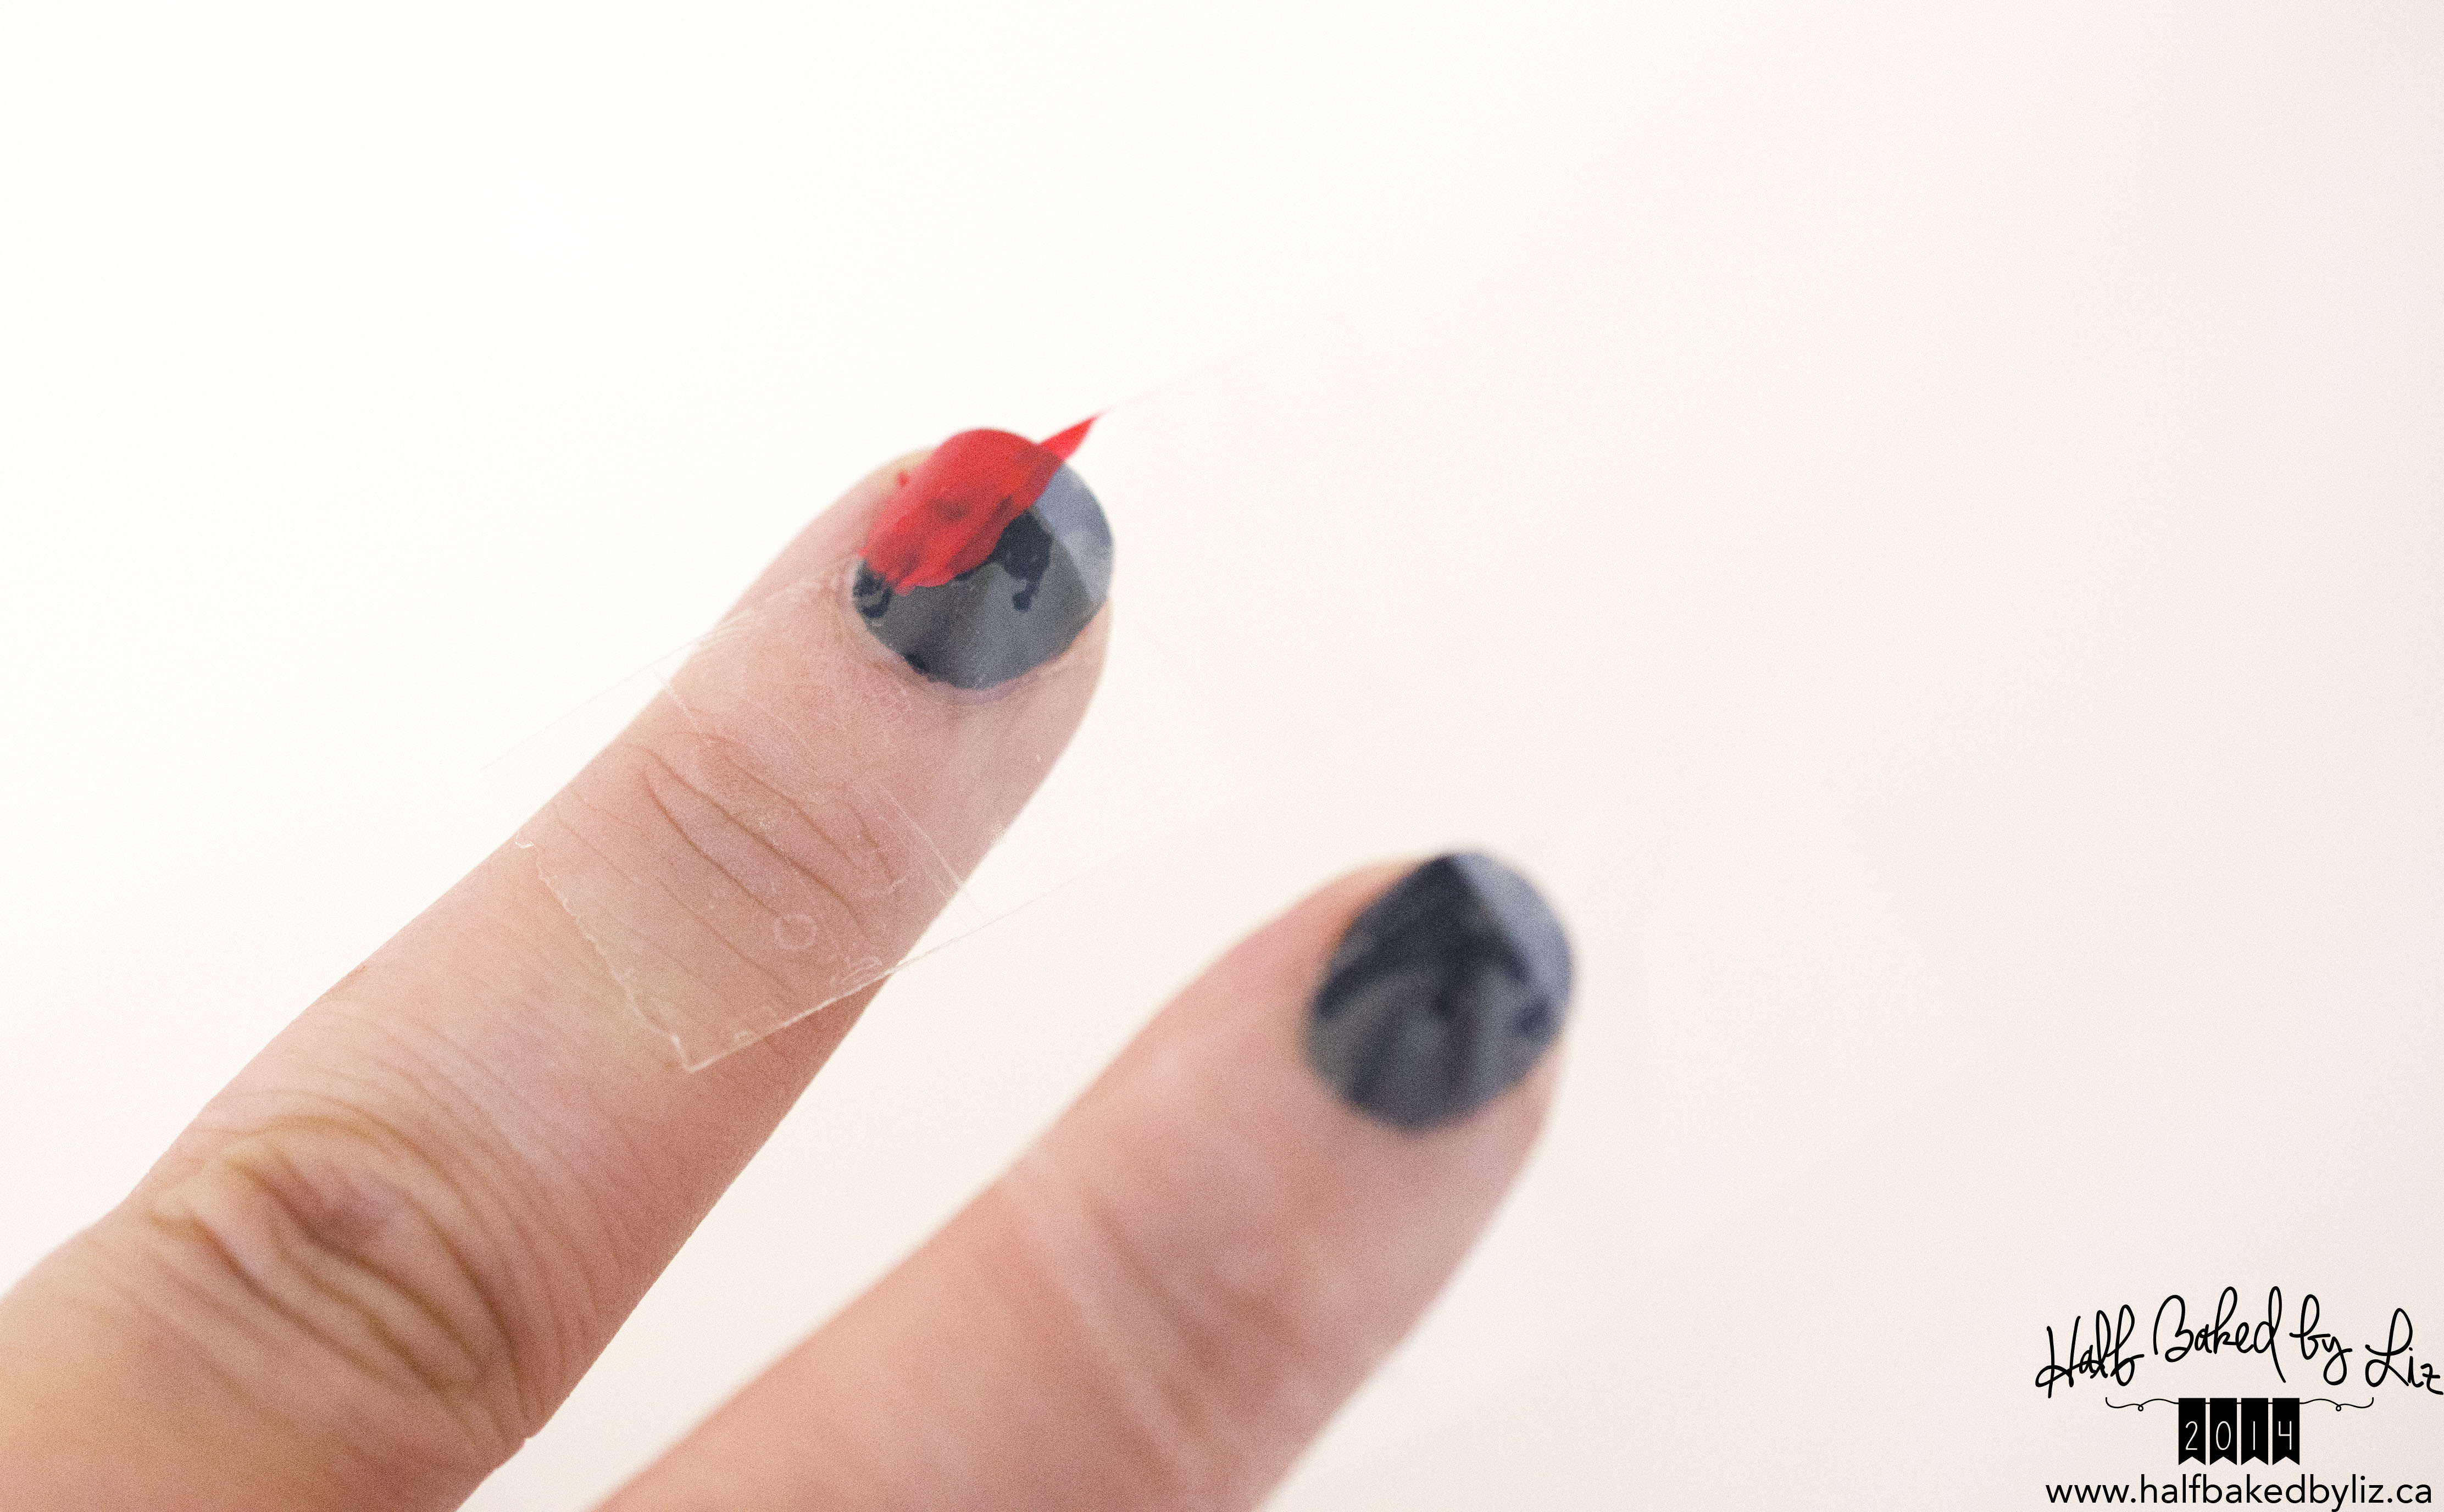
Be sure to pull the tape off right away, before the new polish begins to dry.
Then, do the same with the next colour…
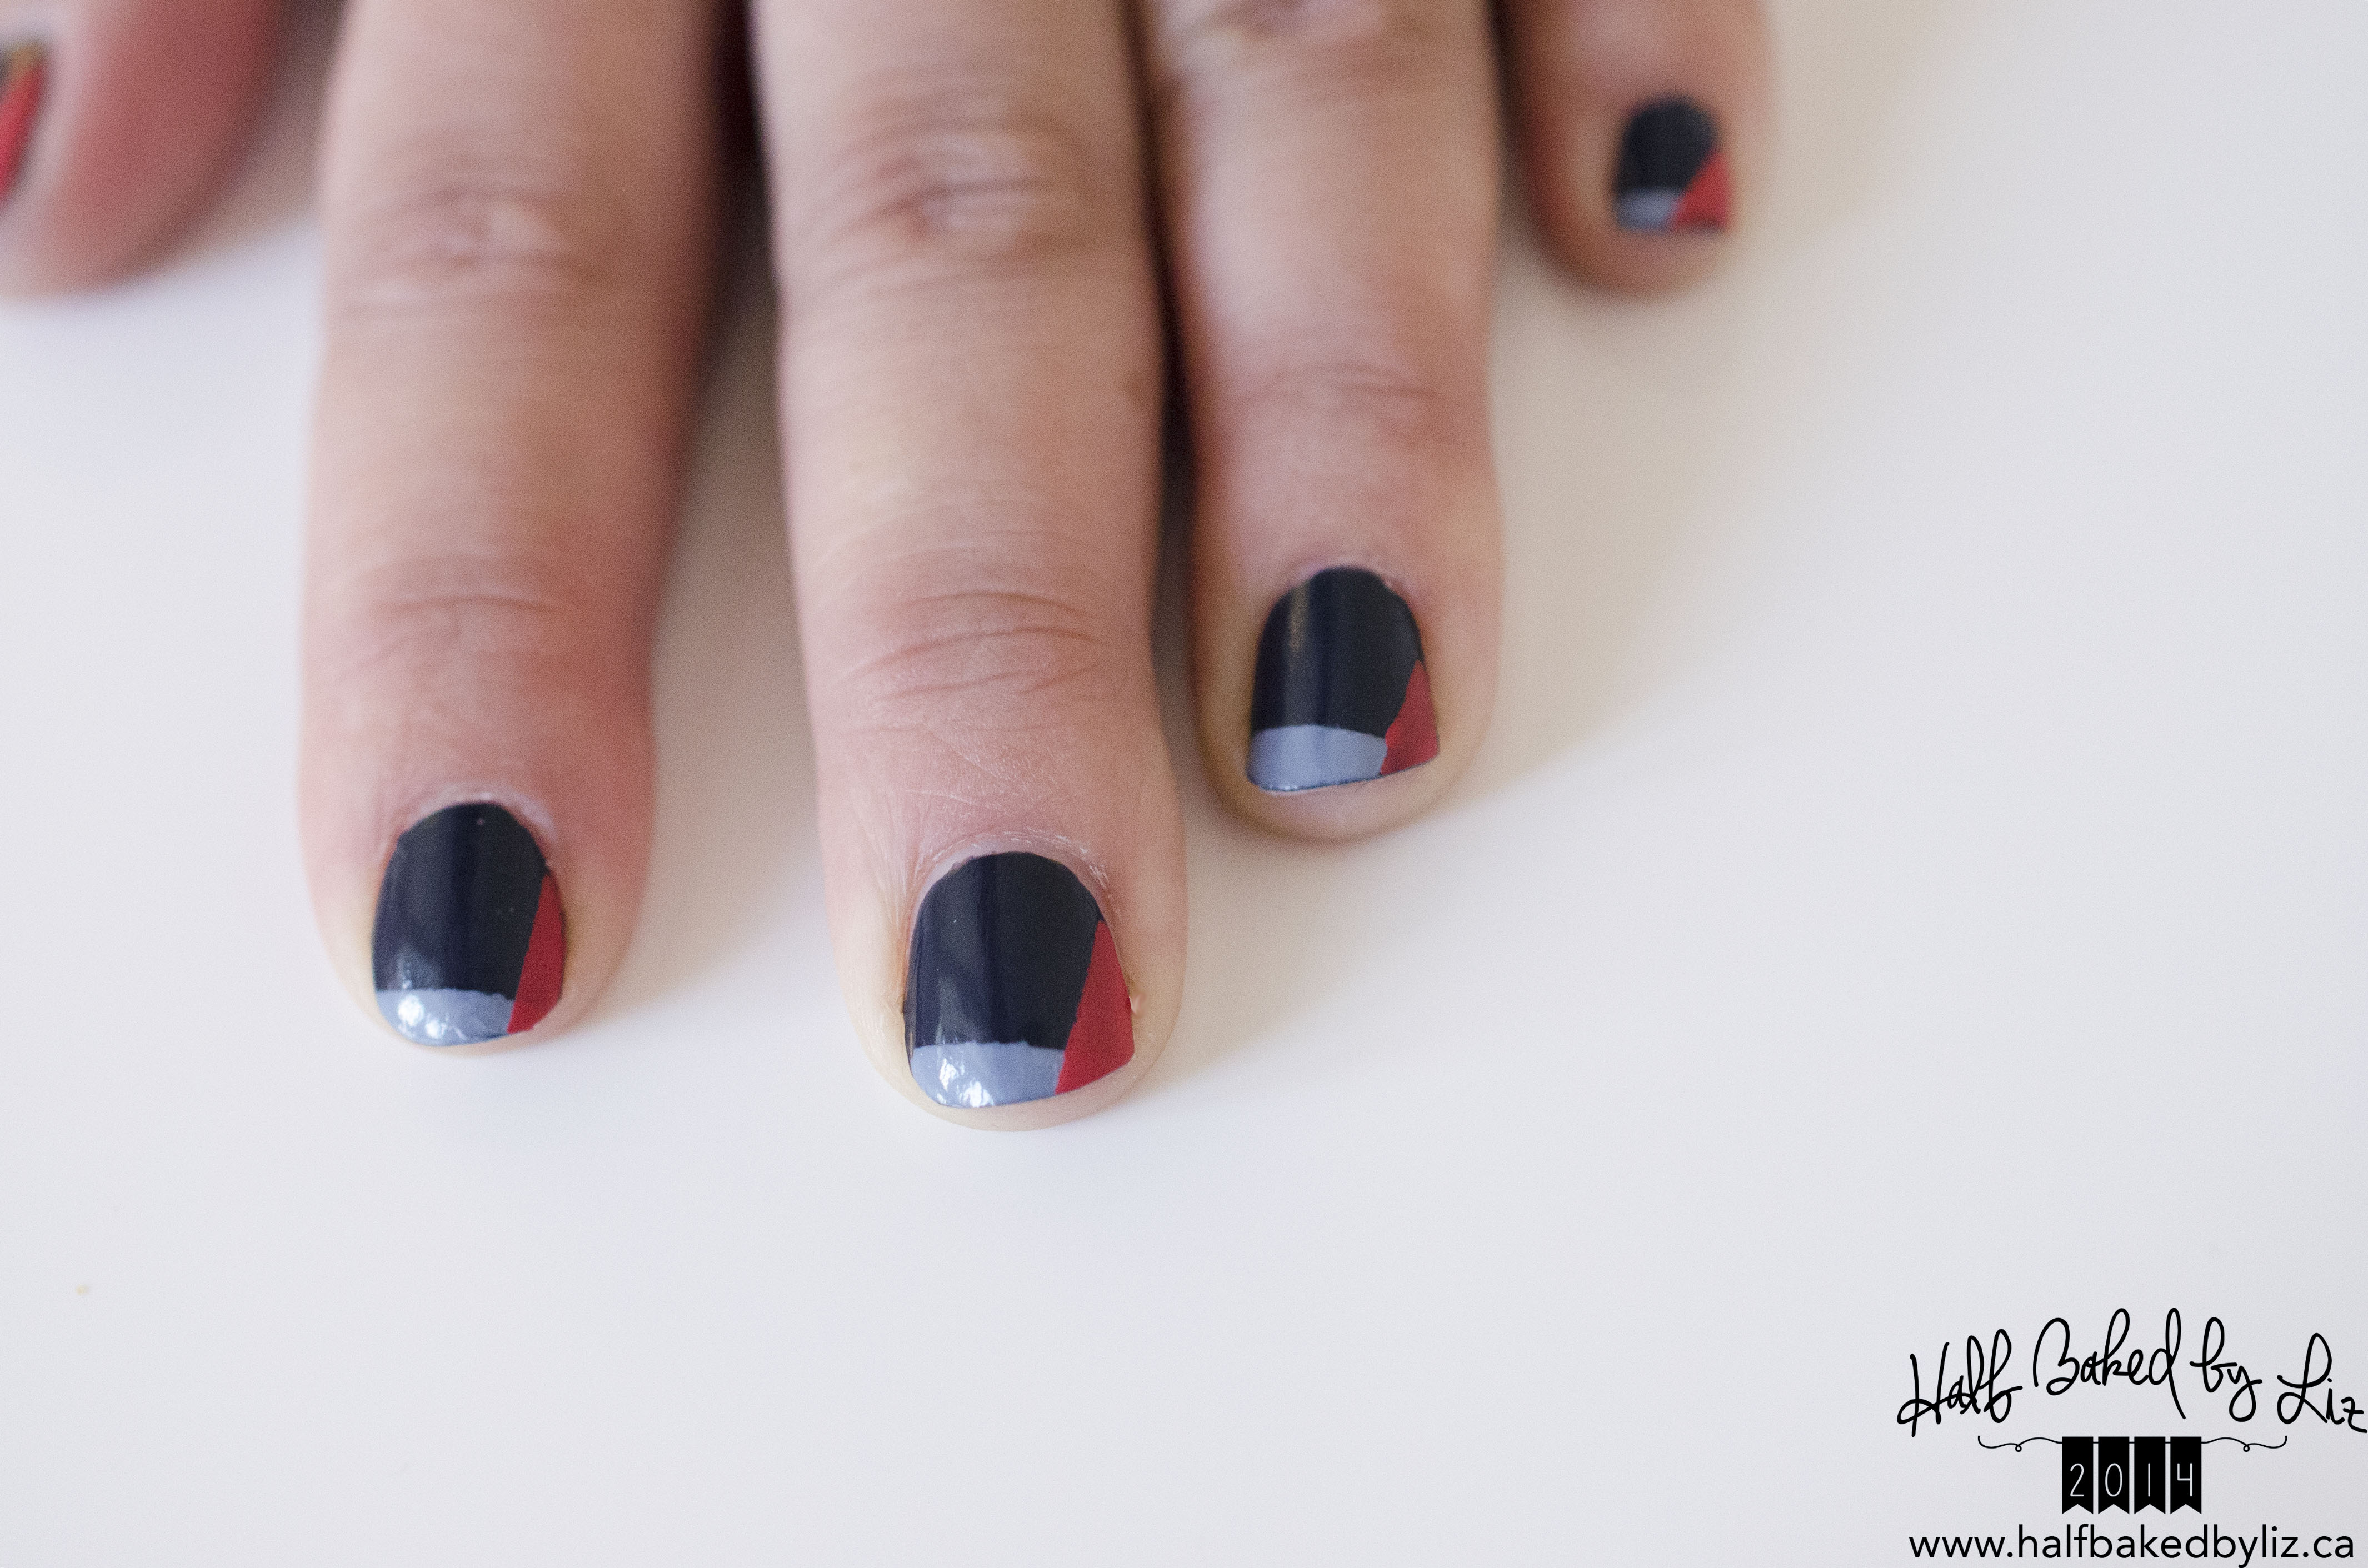
Then, add a top coat (or more colours?), and you’re good to go! I was really impressed with how well the tape worked – it left really crisp lines, and didn’t pull any of the polish off. This would also be a really fun thing to do with shellac, since you wouldn’t be waiting so long for each coat to dry.
Happy polishing!