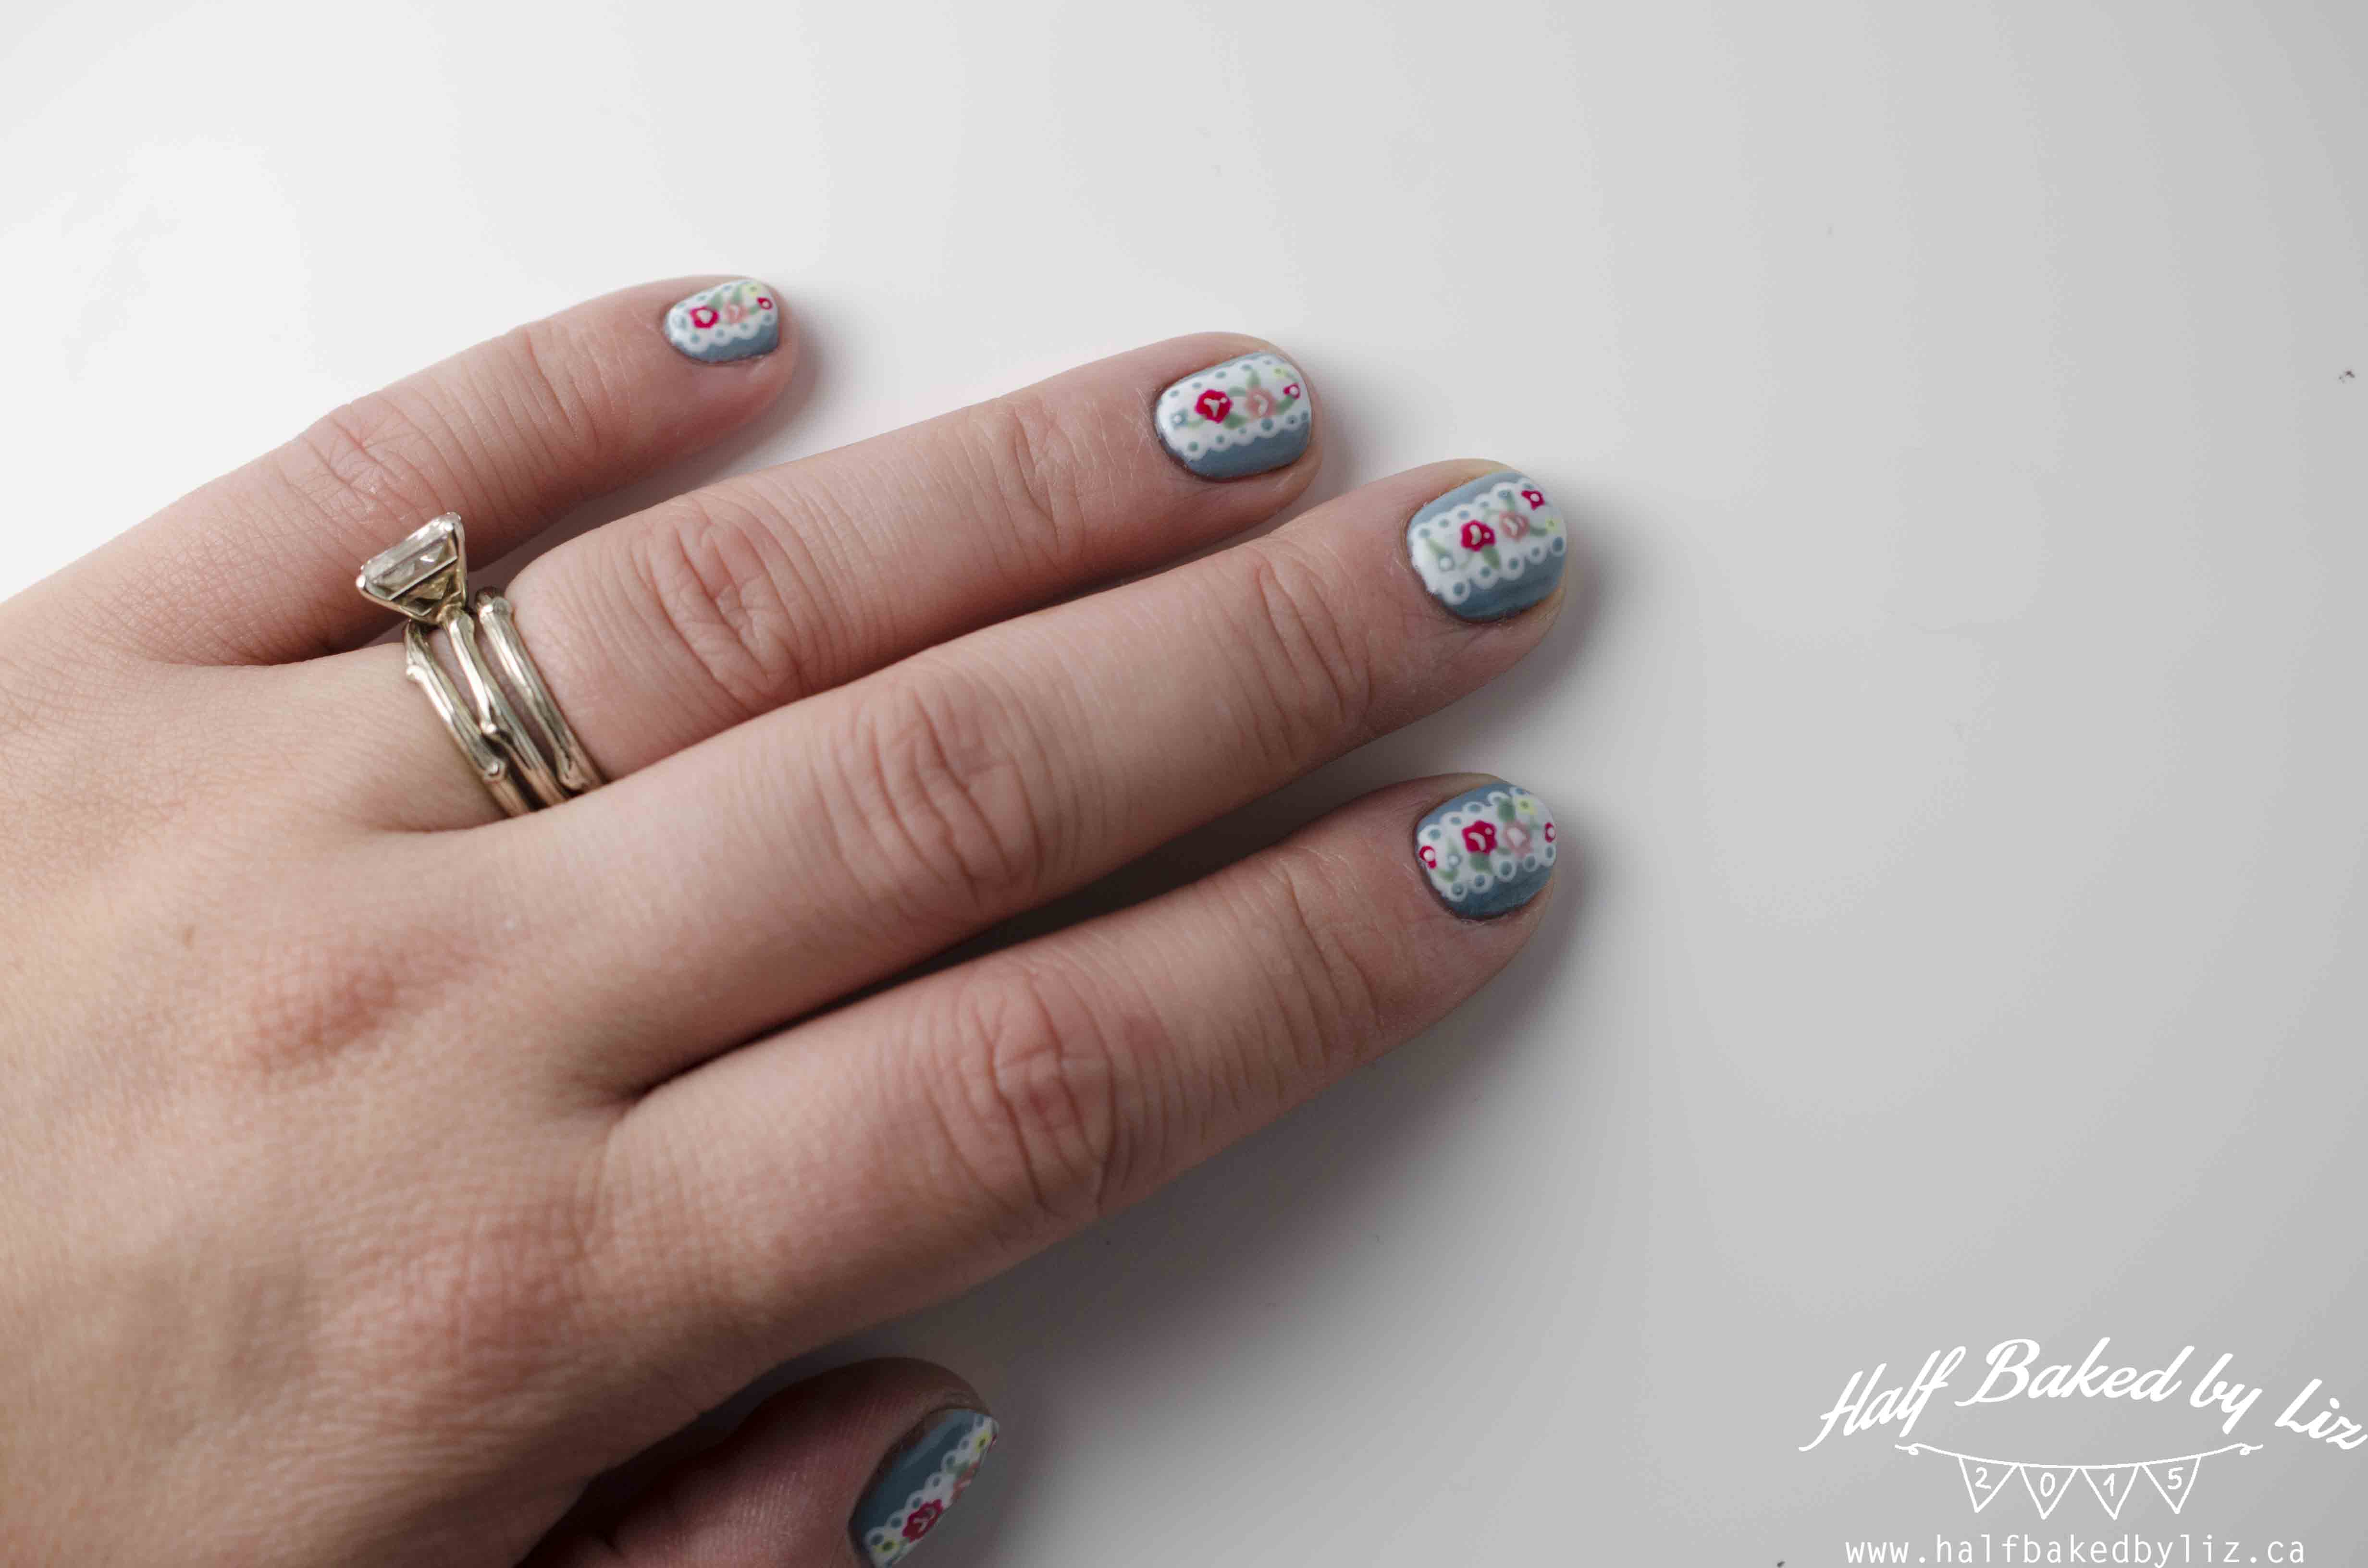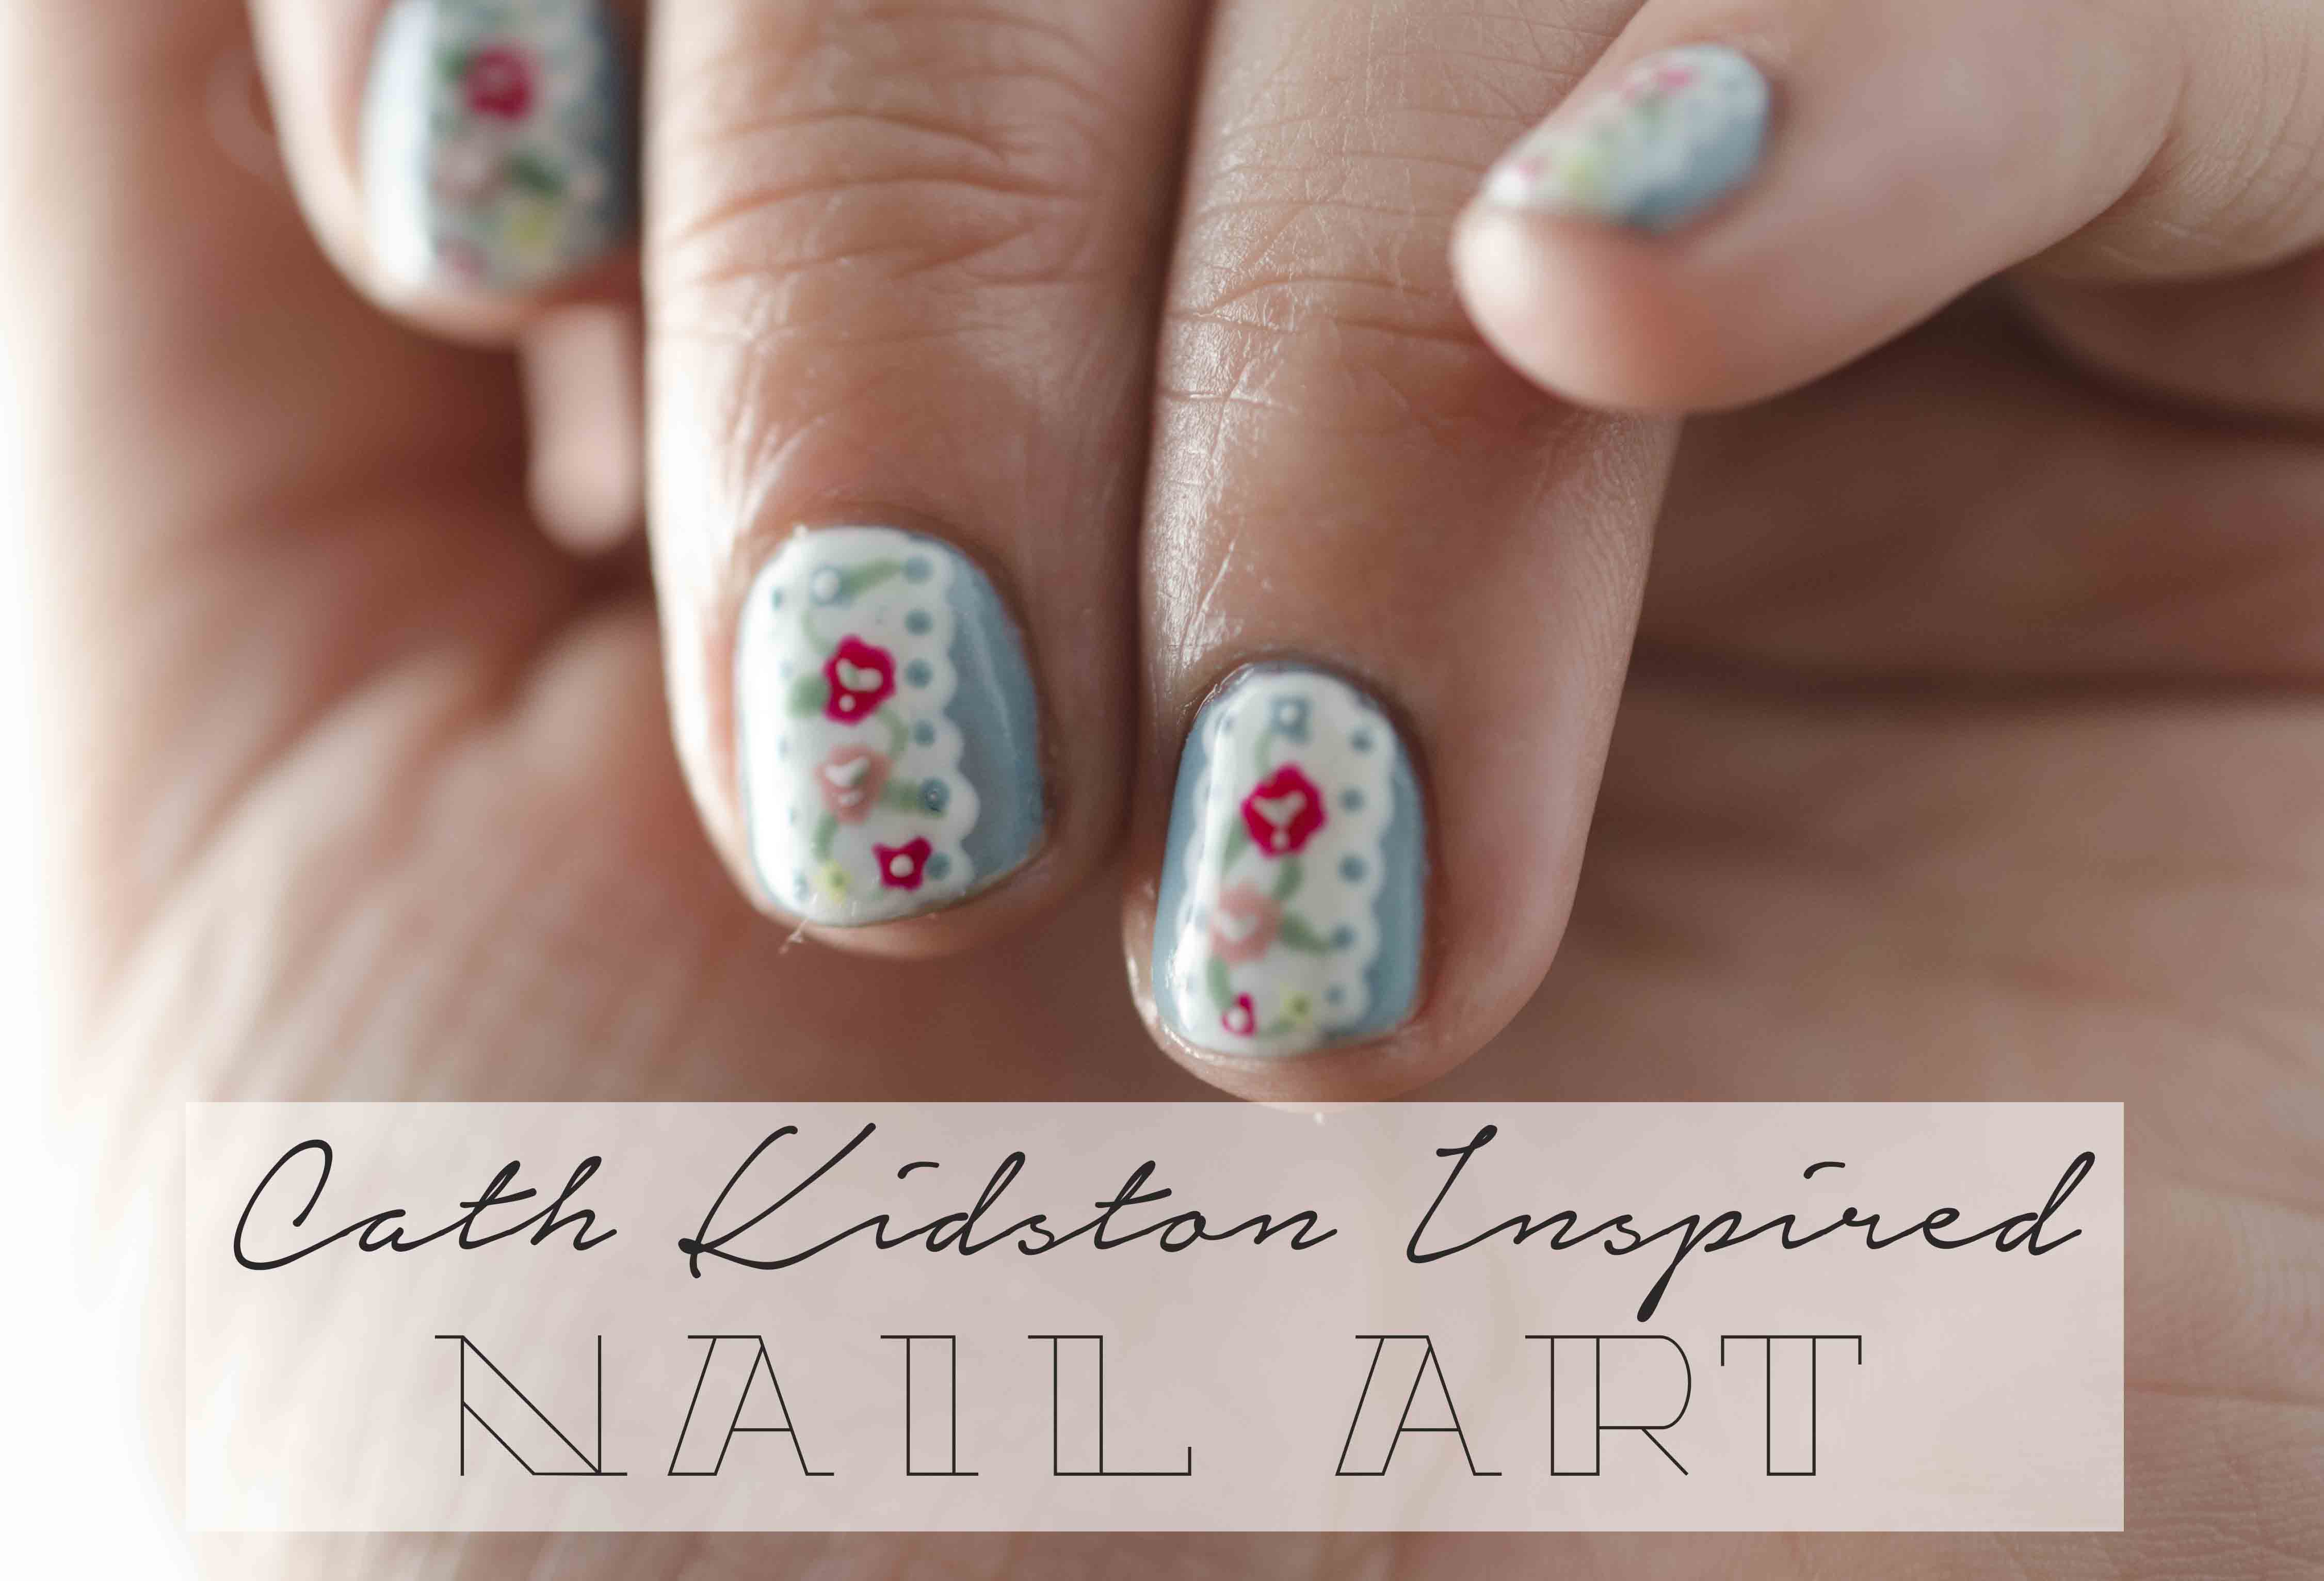
I’ve always been a fan of Cath Kidston prints – so fun and colourful, kind of like Kate Spade (my other love), but busier and with more of a vintage feel. I came across this print recently, and I couldn’t stop thinking how lovely it would be as nail art.
Although this design looks like it might be really difficult to recreate on your nails, I can assure you that it’s not! In fact, as long as you have some dotting tools in varying sizes, anyone can do this. BUT, it does take a fair bit of time :)
I used shellac for this manicure because I wanted it to last for a while, since I’d be spending a fair bit of time on it…
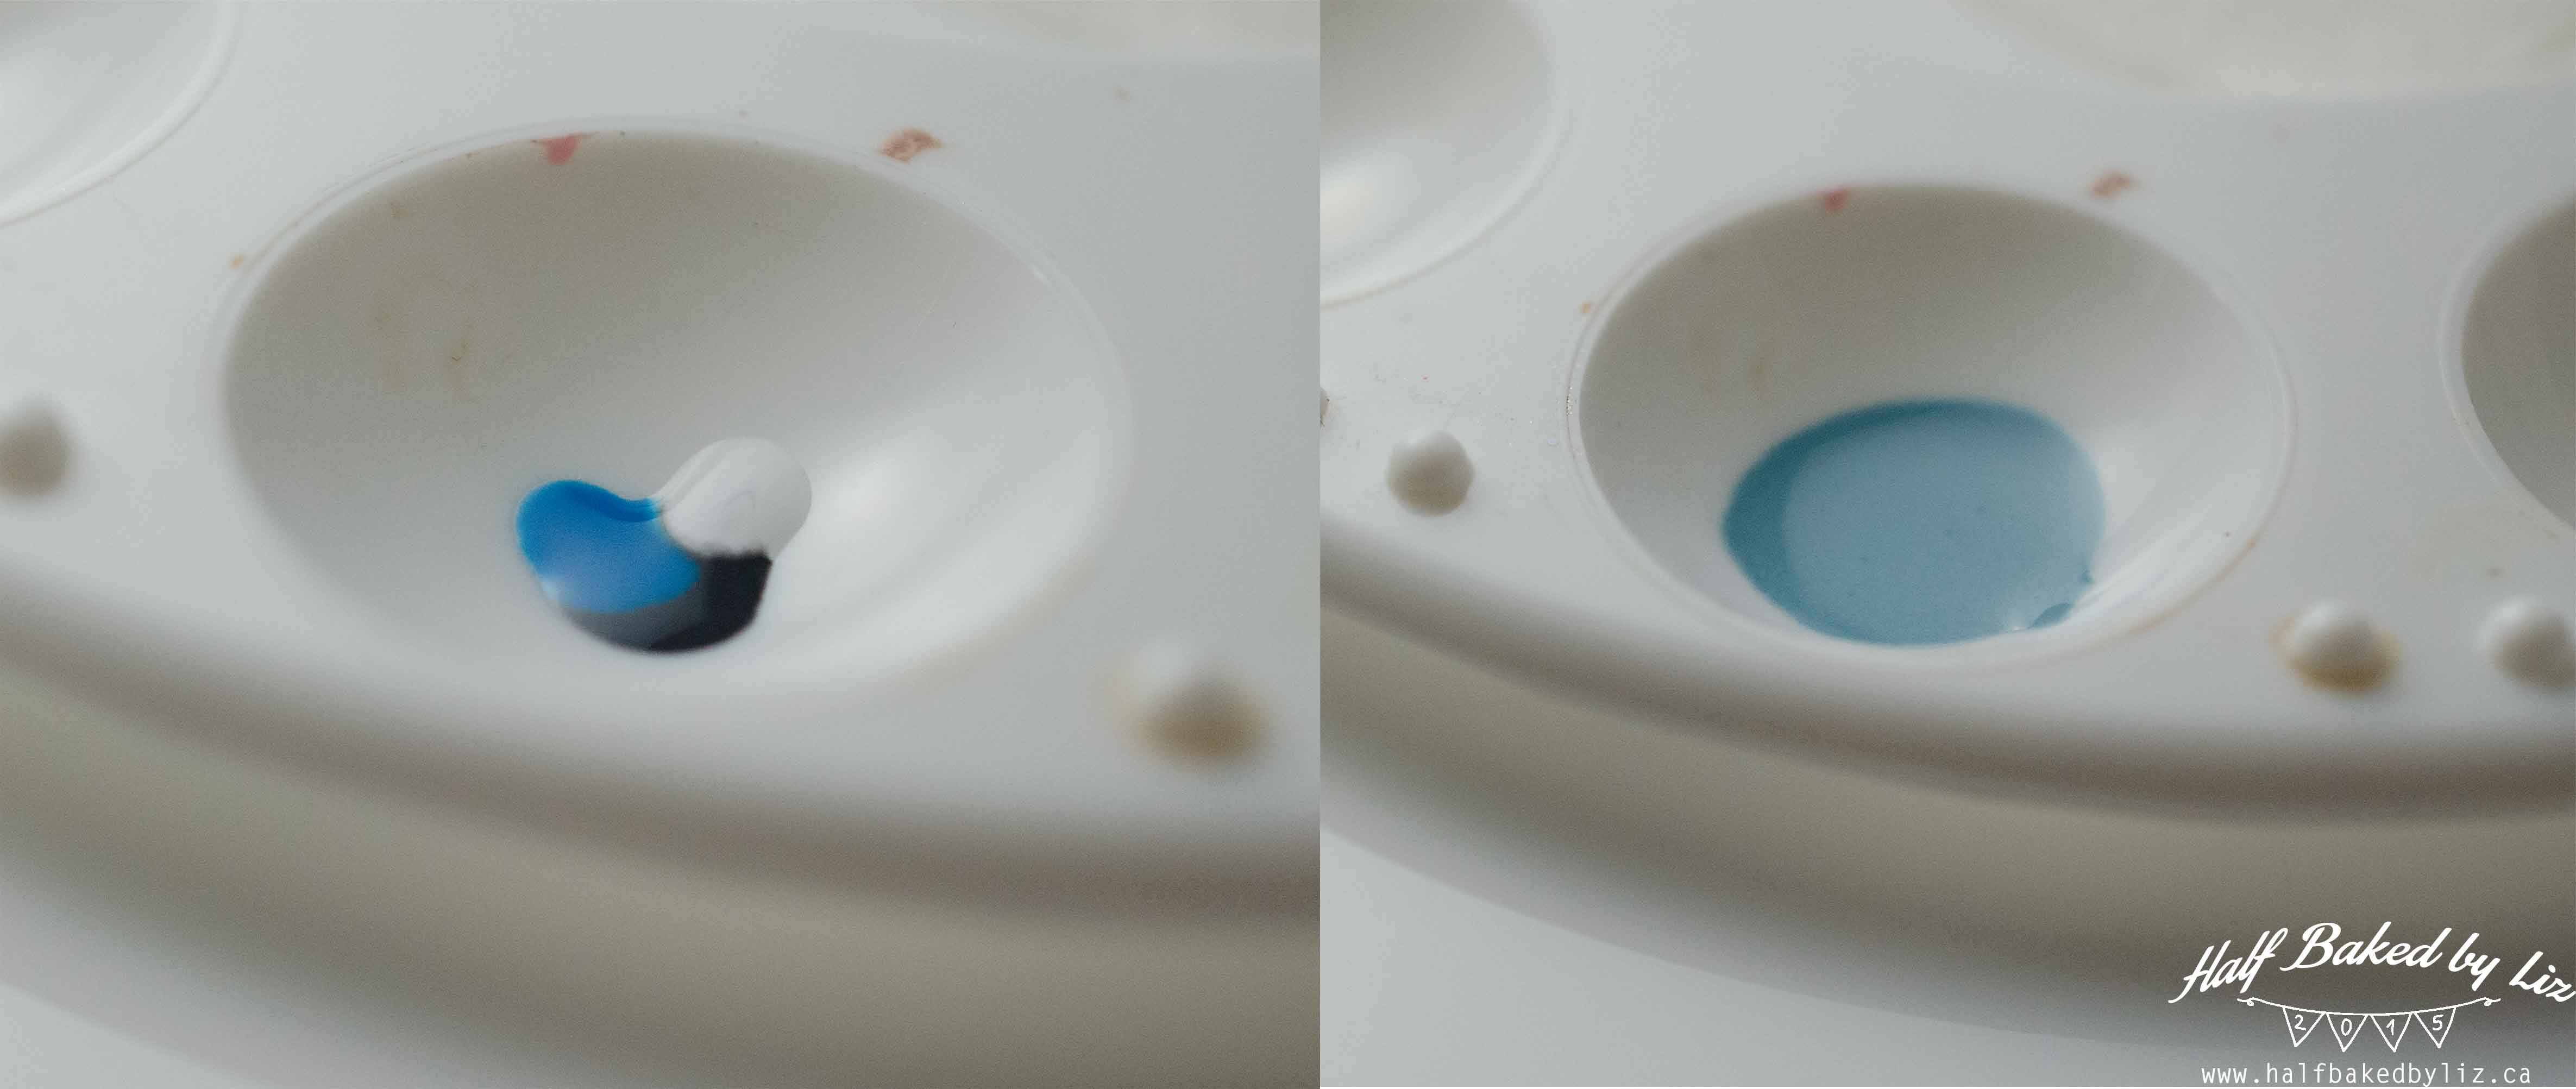
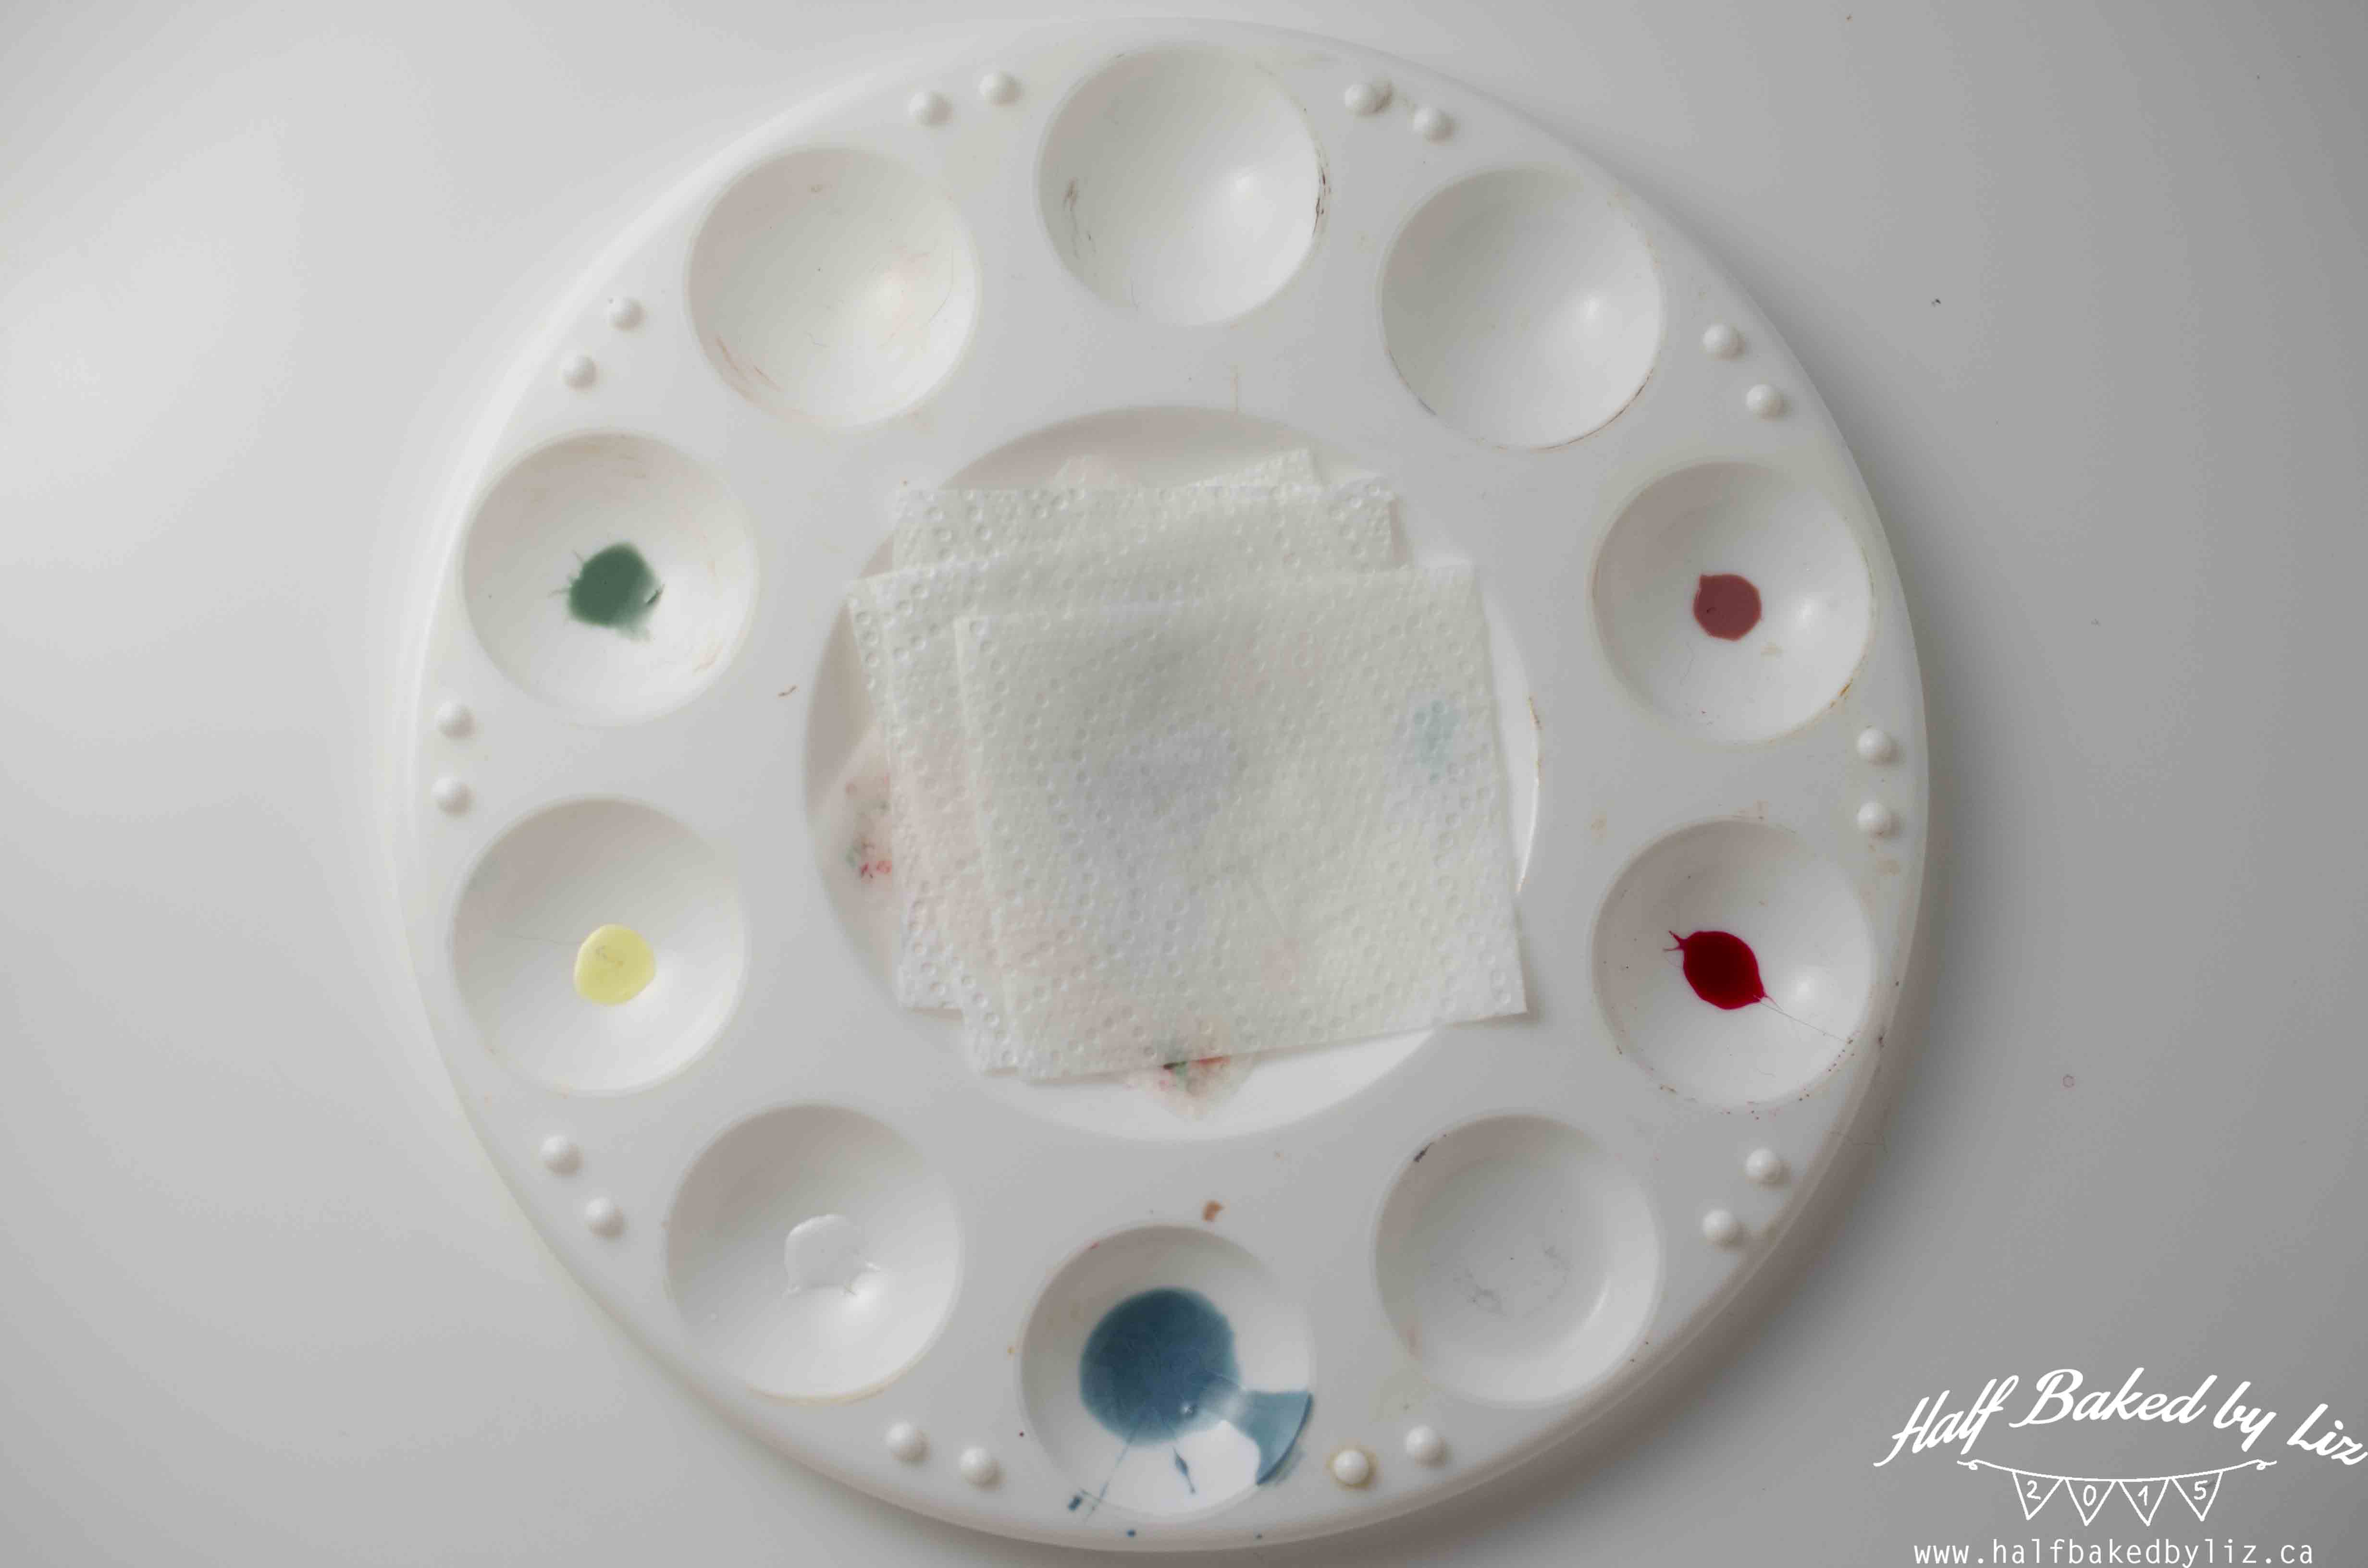
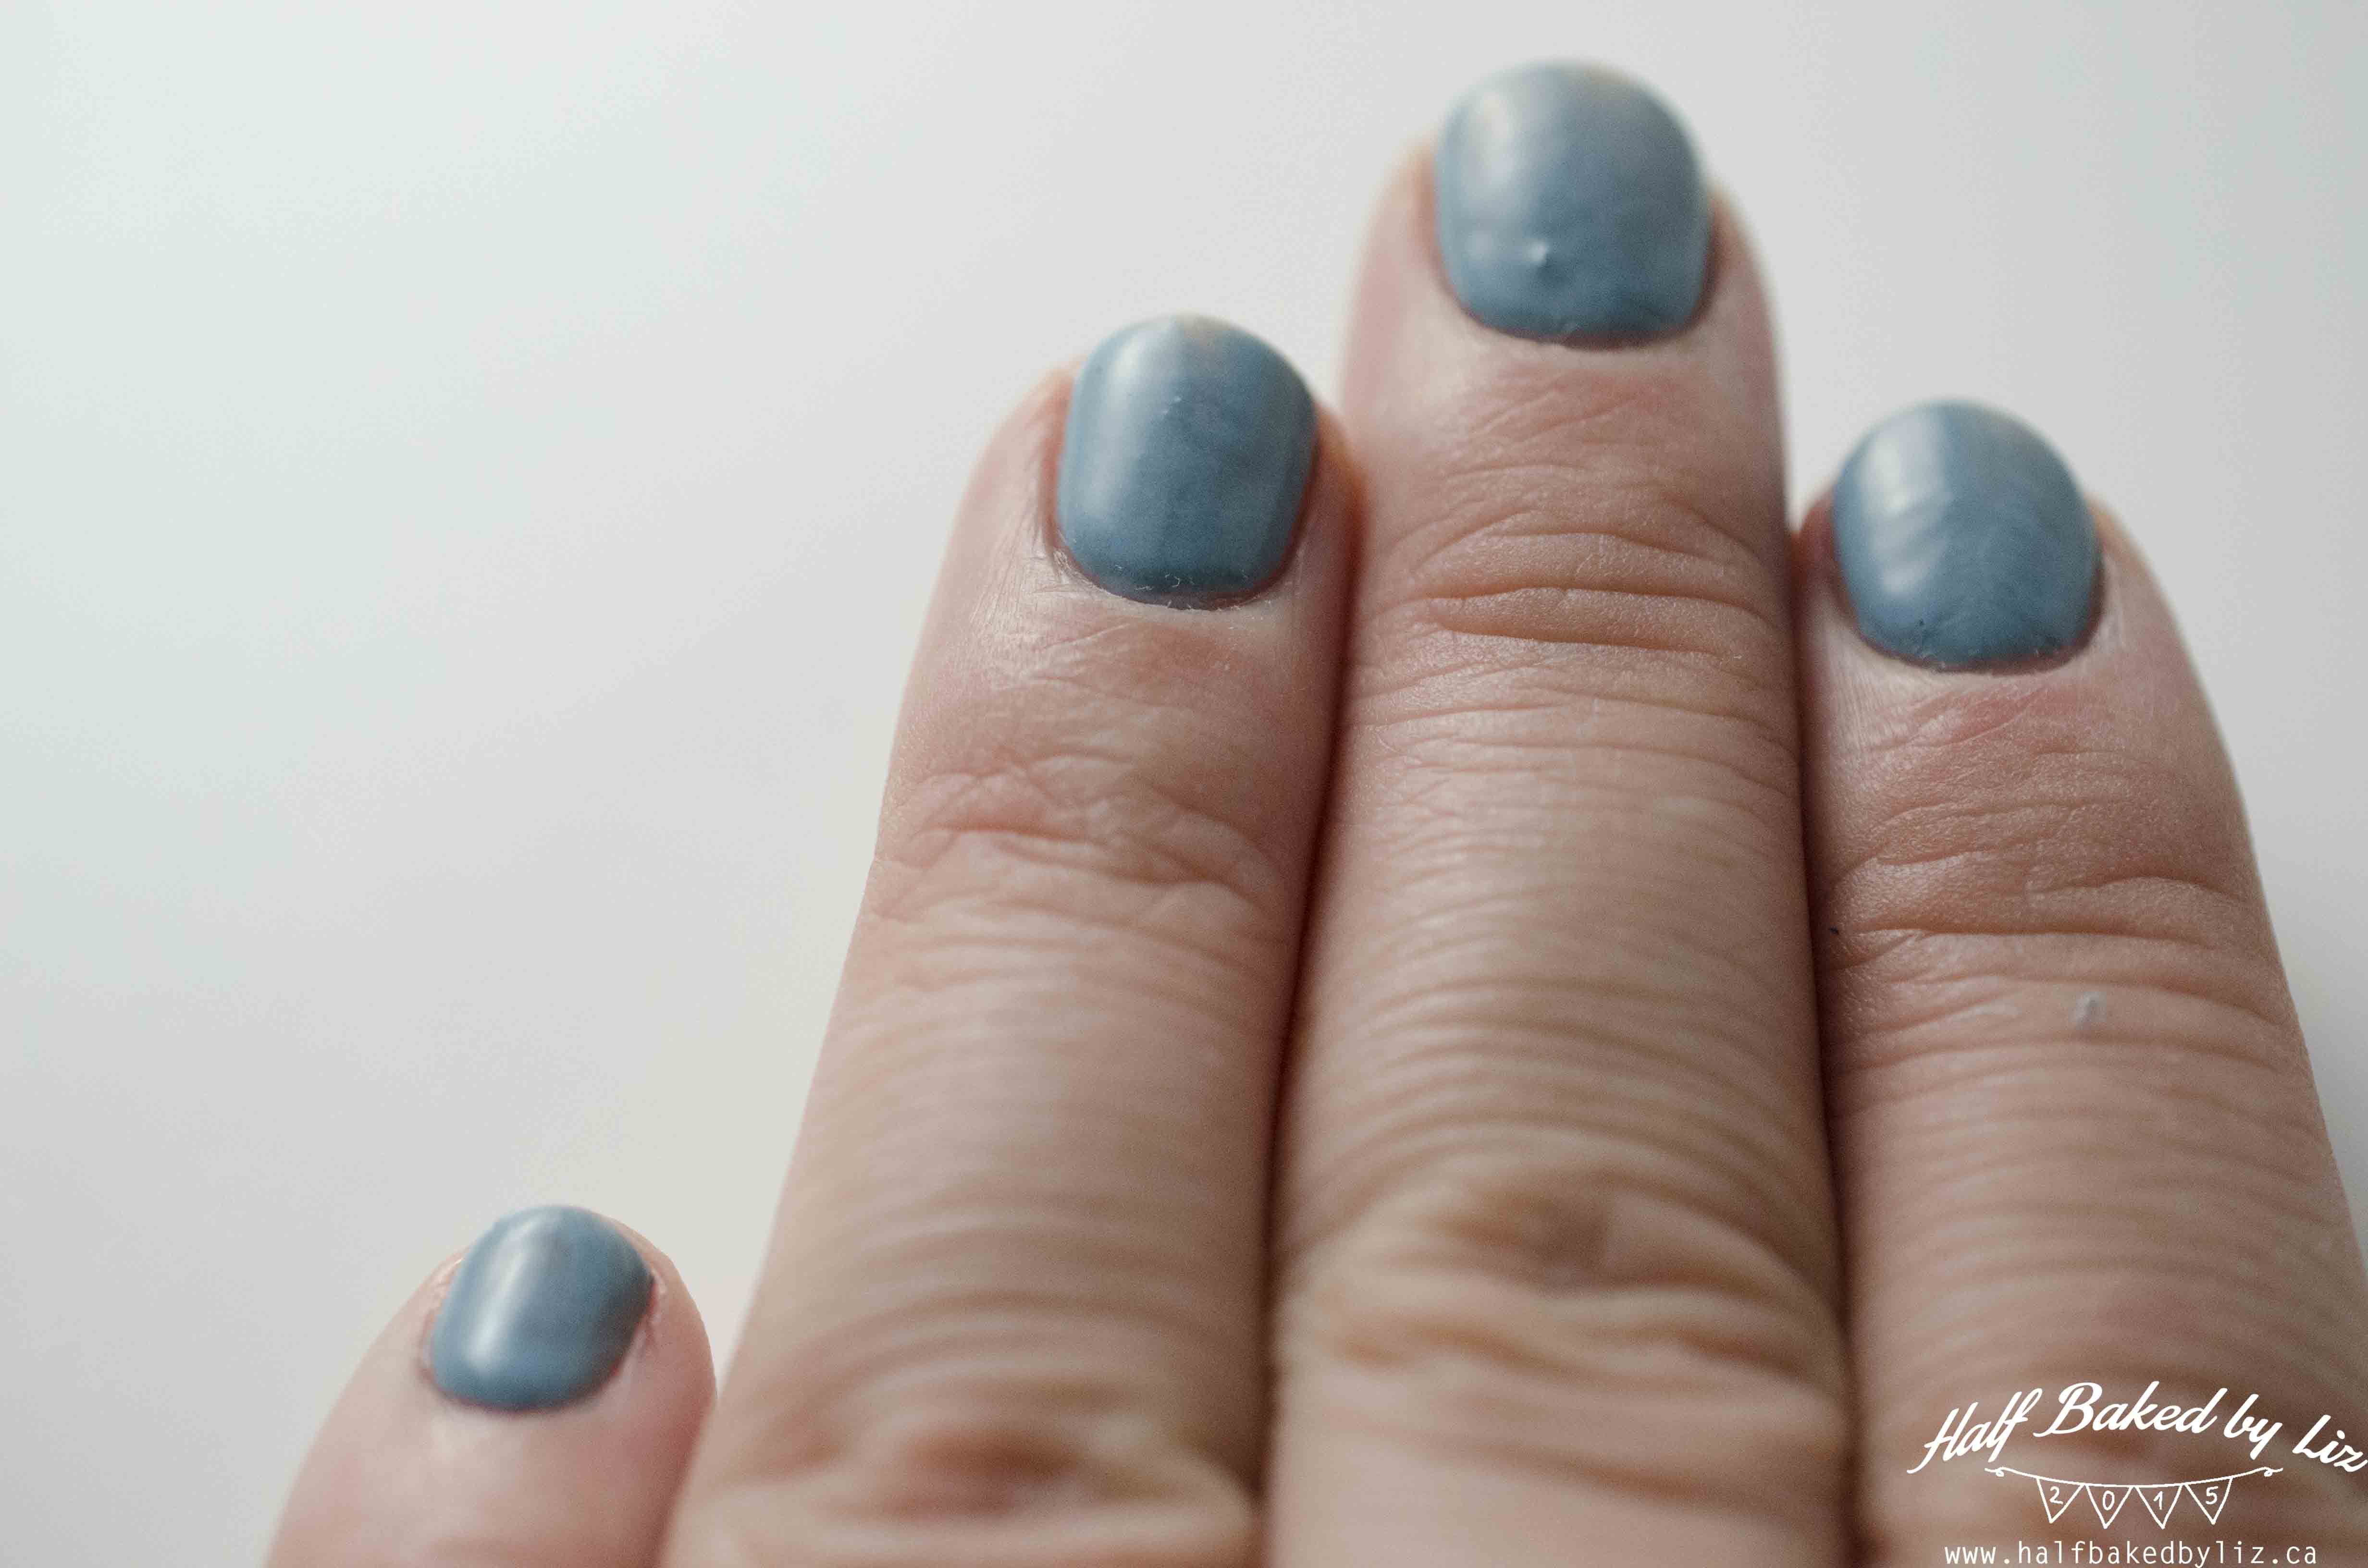
I started by getting all the colours I would need together. I didn’t have a blue-grey for the base colour, so I mixed my own using bright blue, grey, and white polishes.
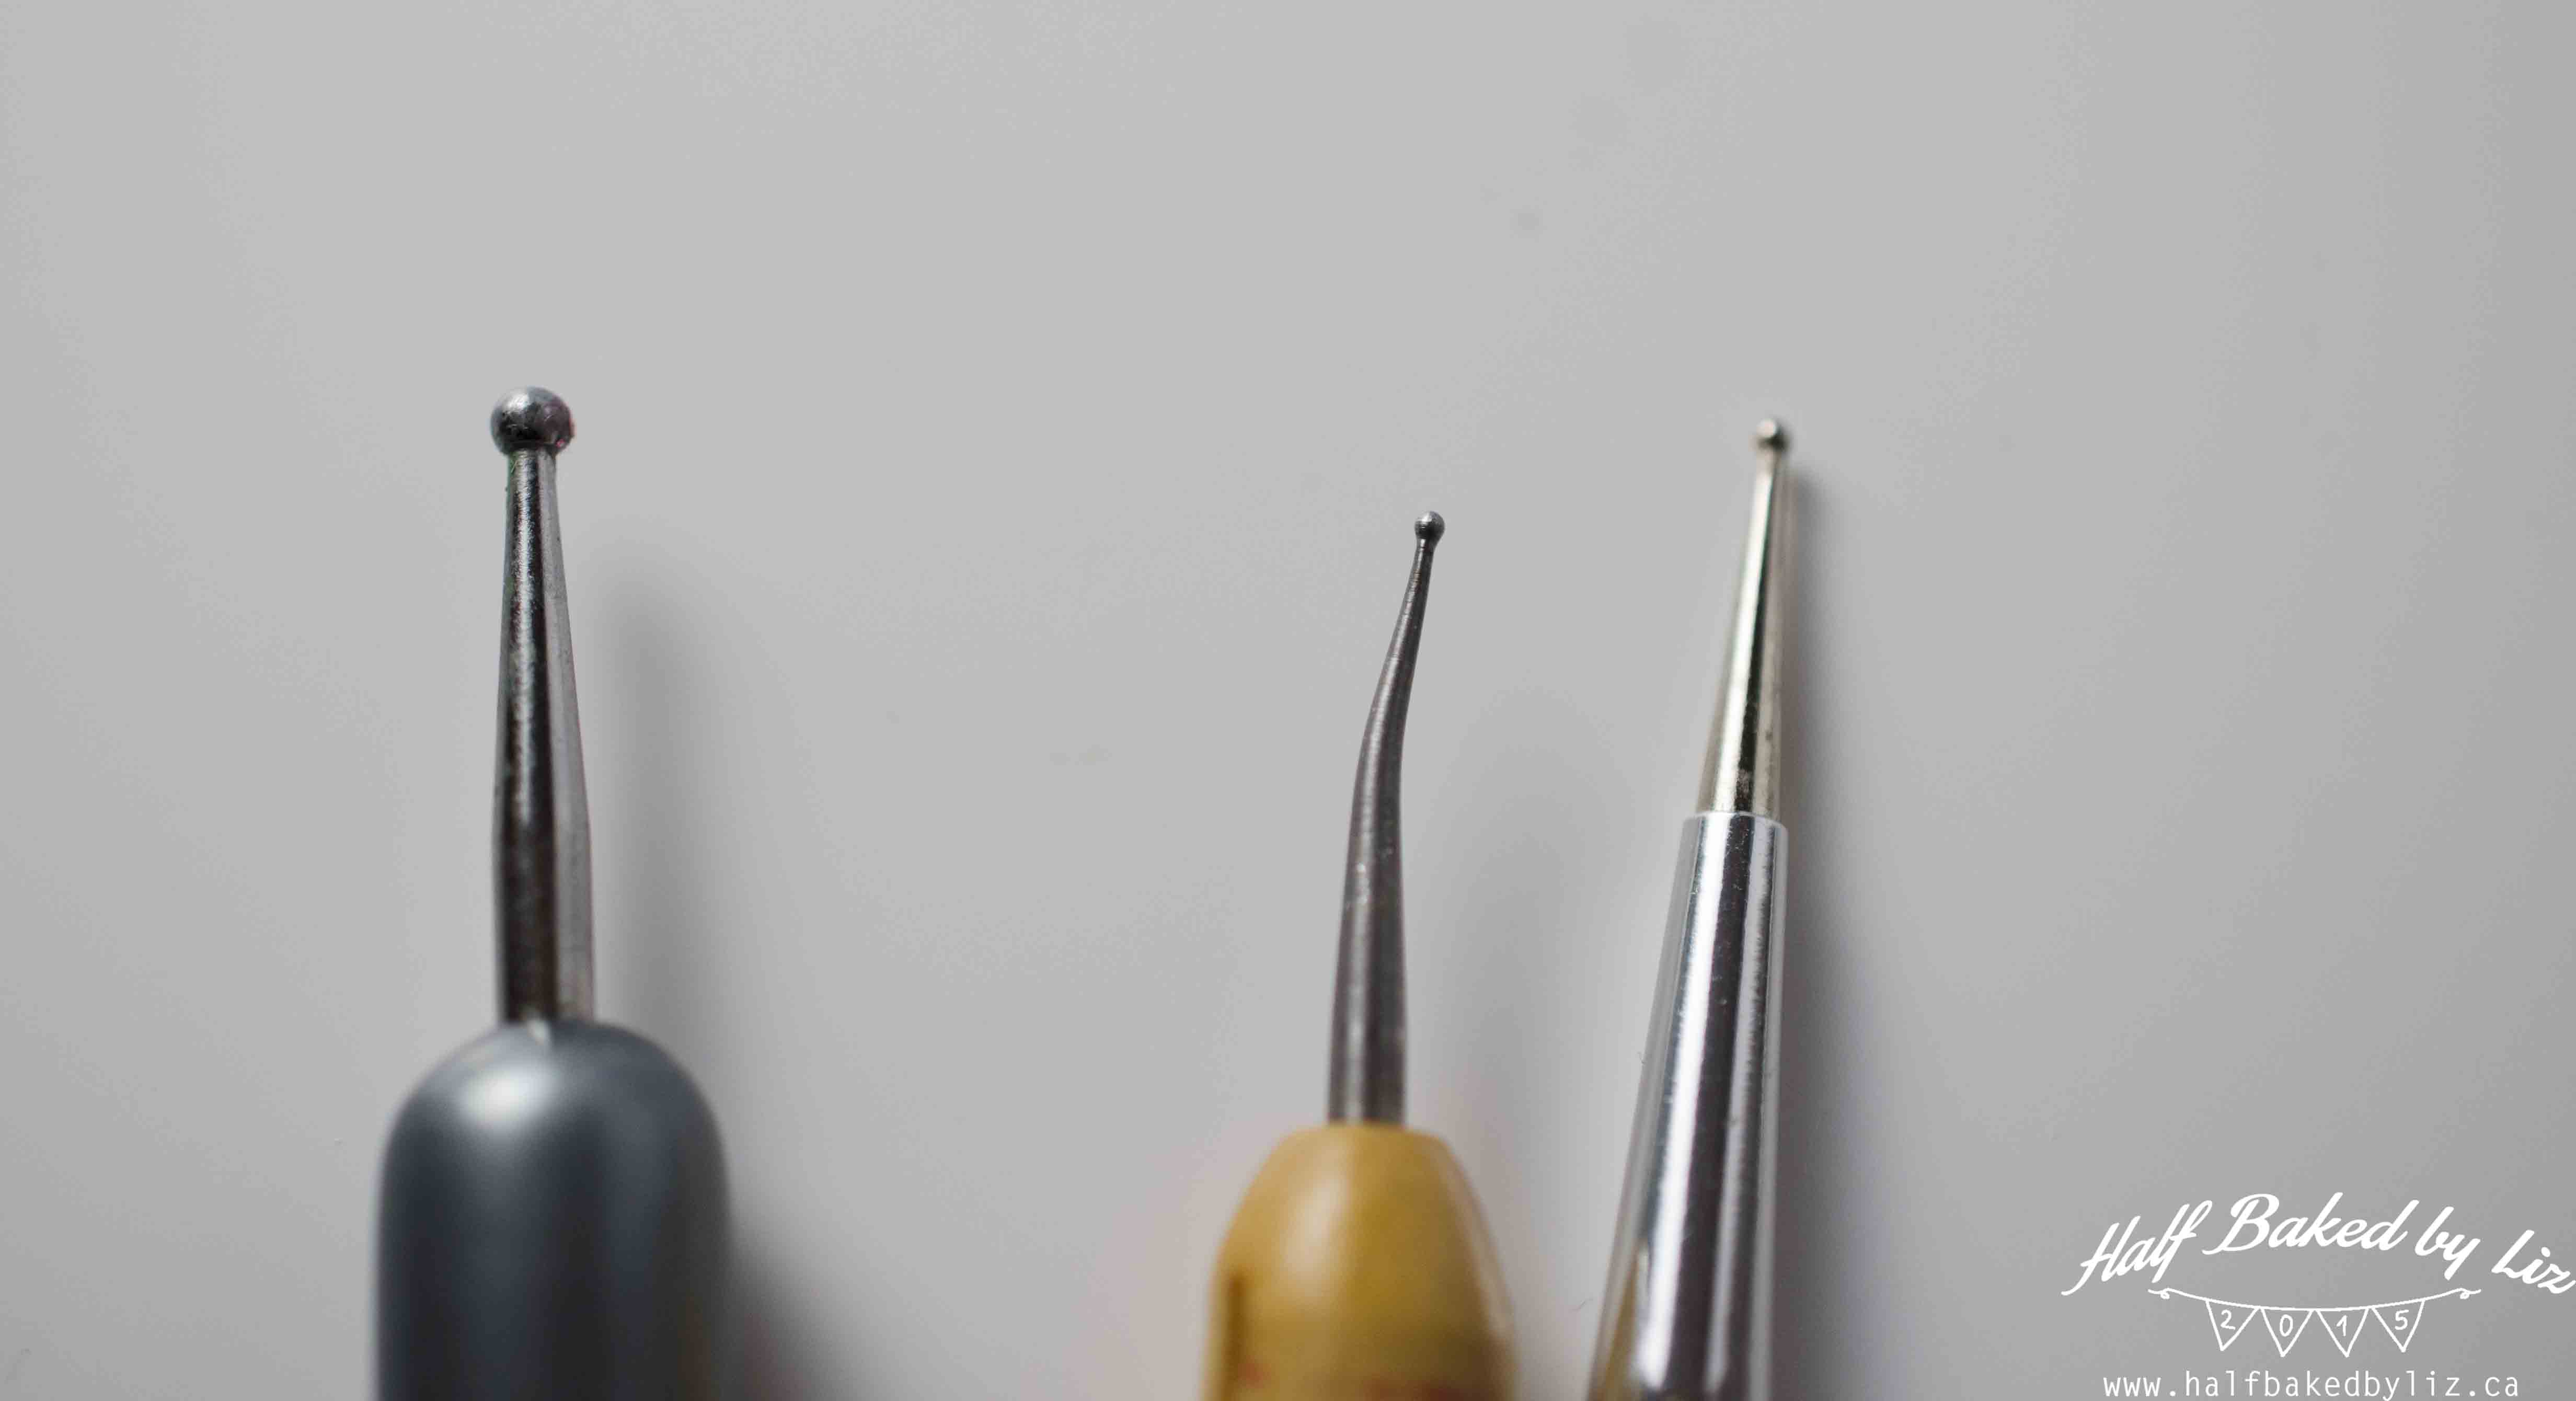
I also needed a green, yellow, white, red, and pink, and several dotting tools. Dotting tools are super versatile, and you can find them at any craft store (and they’re really inexpensive). Also… bobby pins work just as well .
After nail prep and a base coat, I painted one coat of the blue-grey base colour on all of my nails, and then a second coat on just the edges of each nail (since the center part of each nail would be covered up anyway).
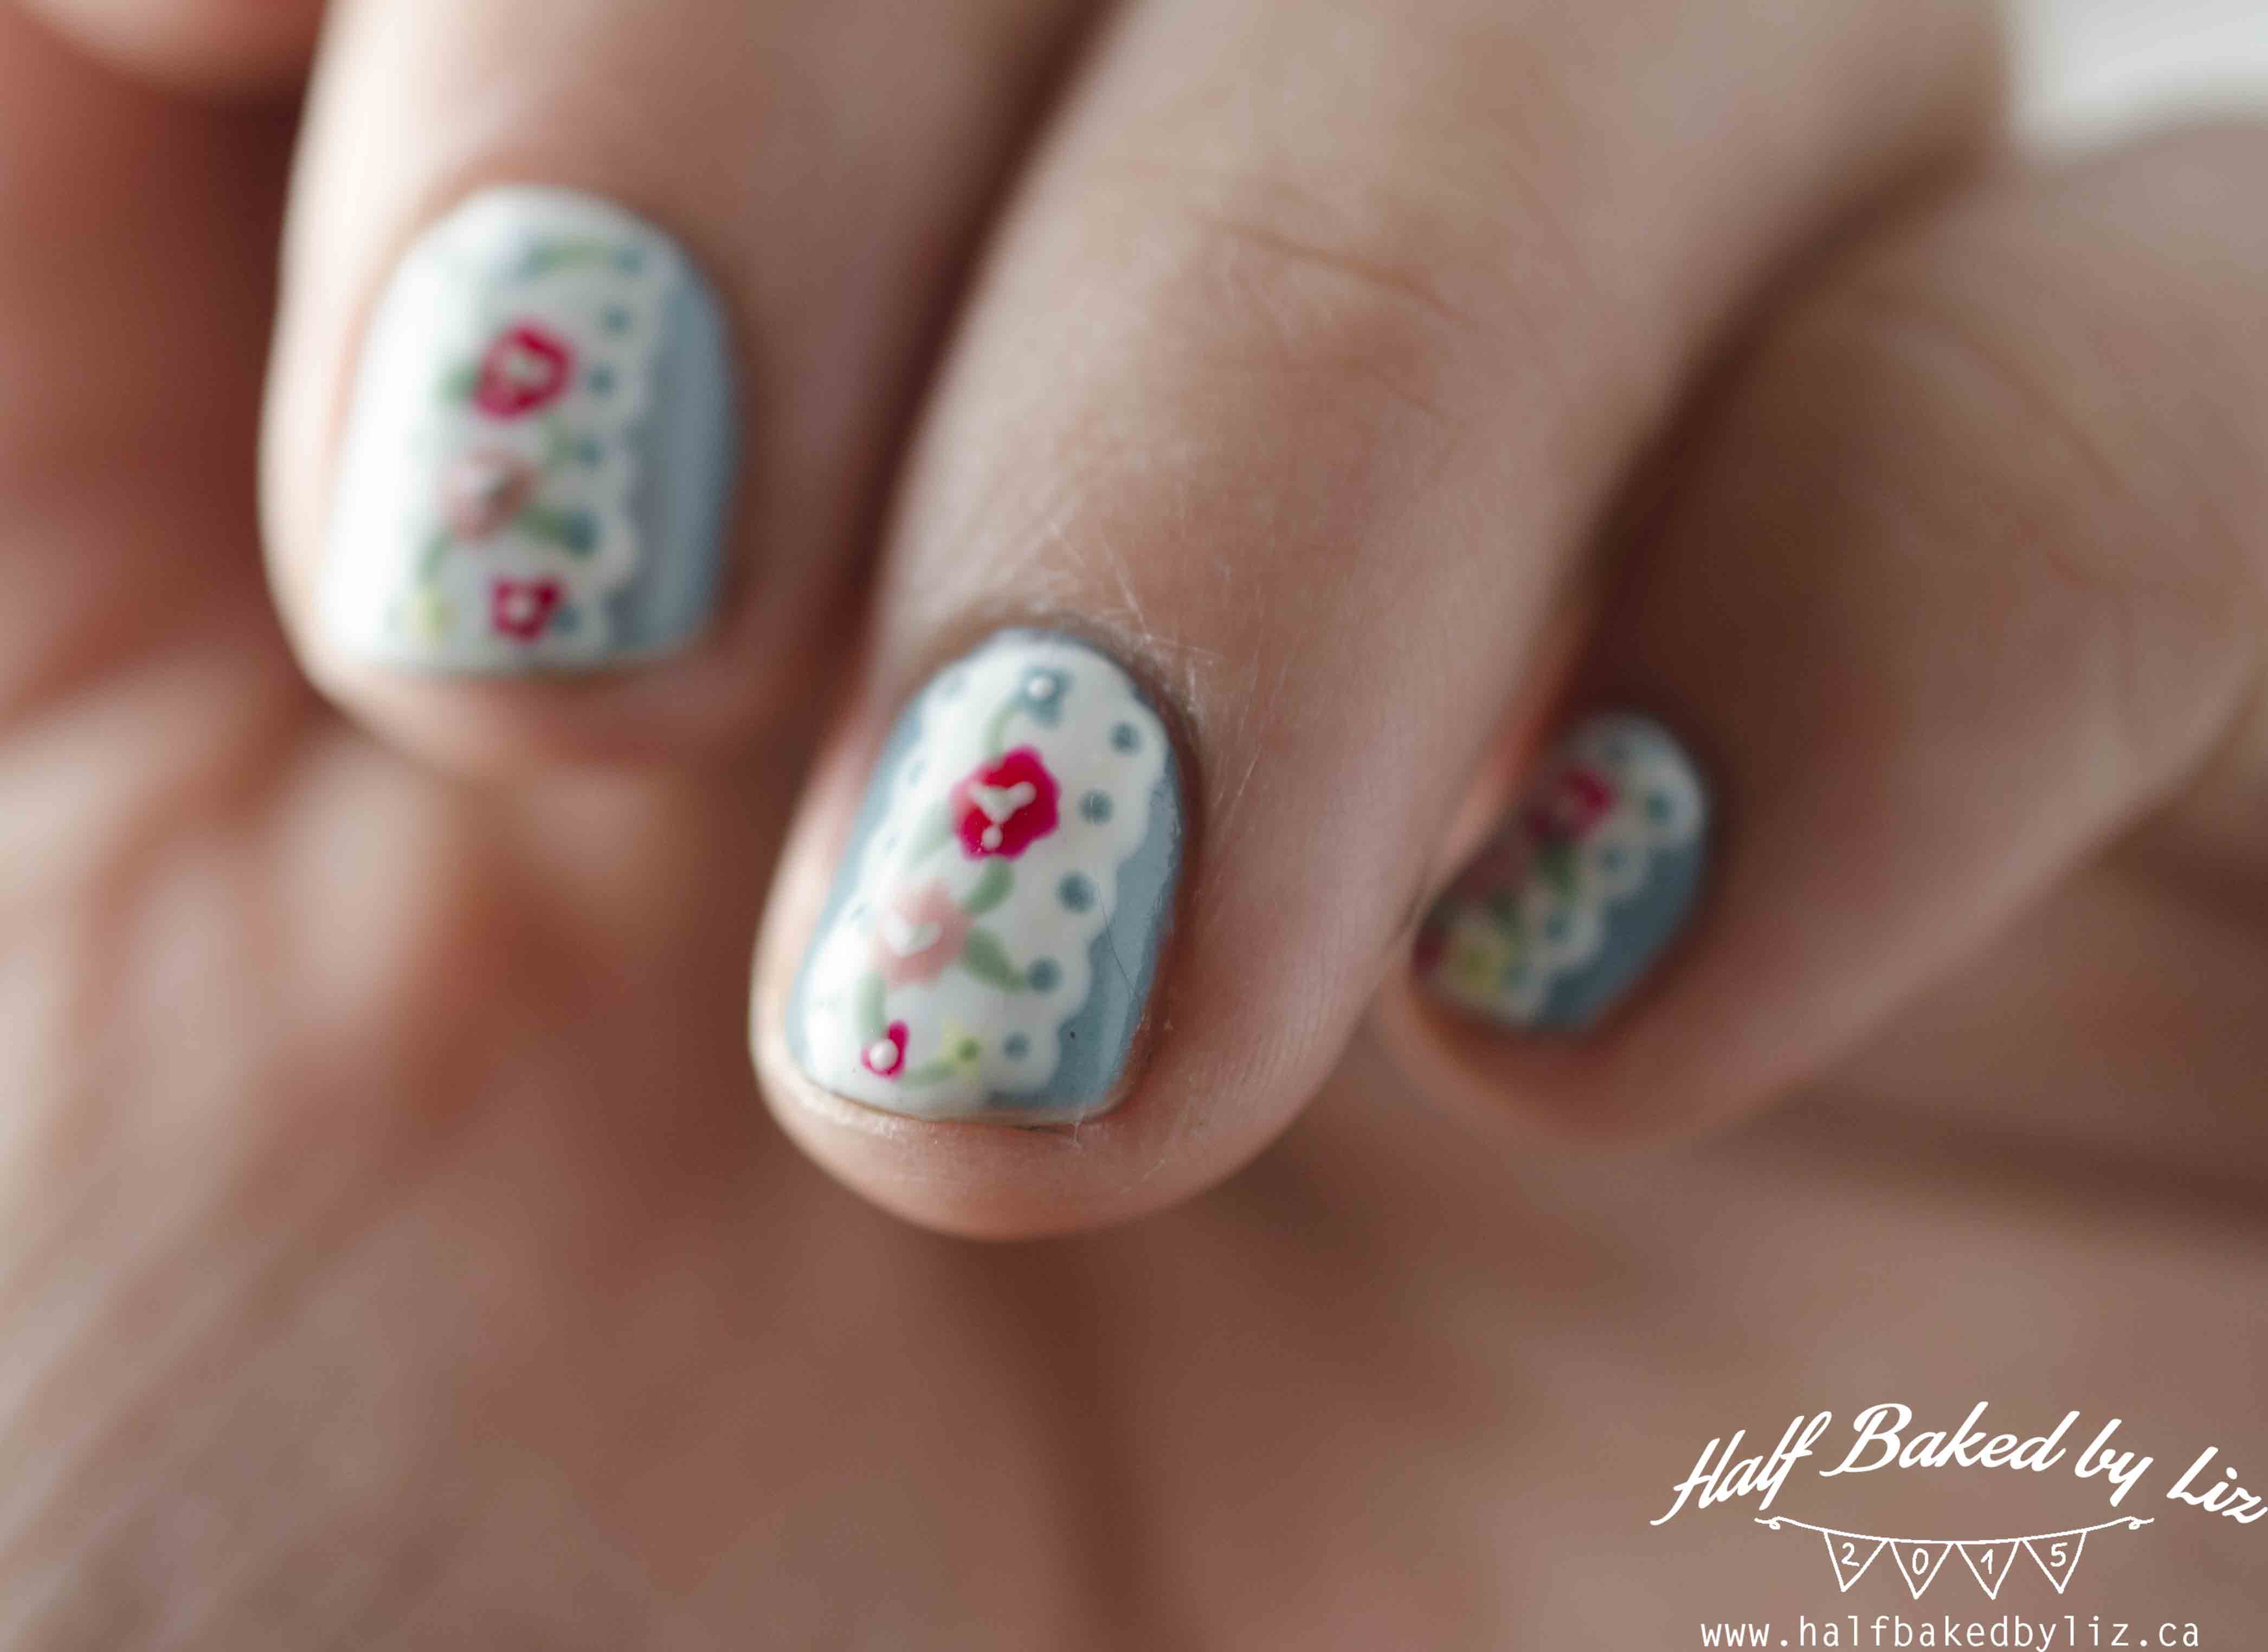
Next I added the lace design to the center of each nail:
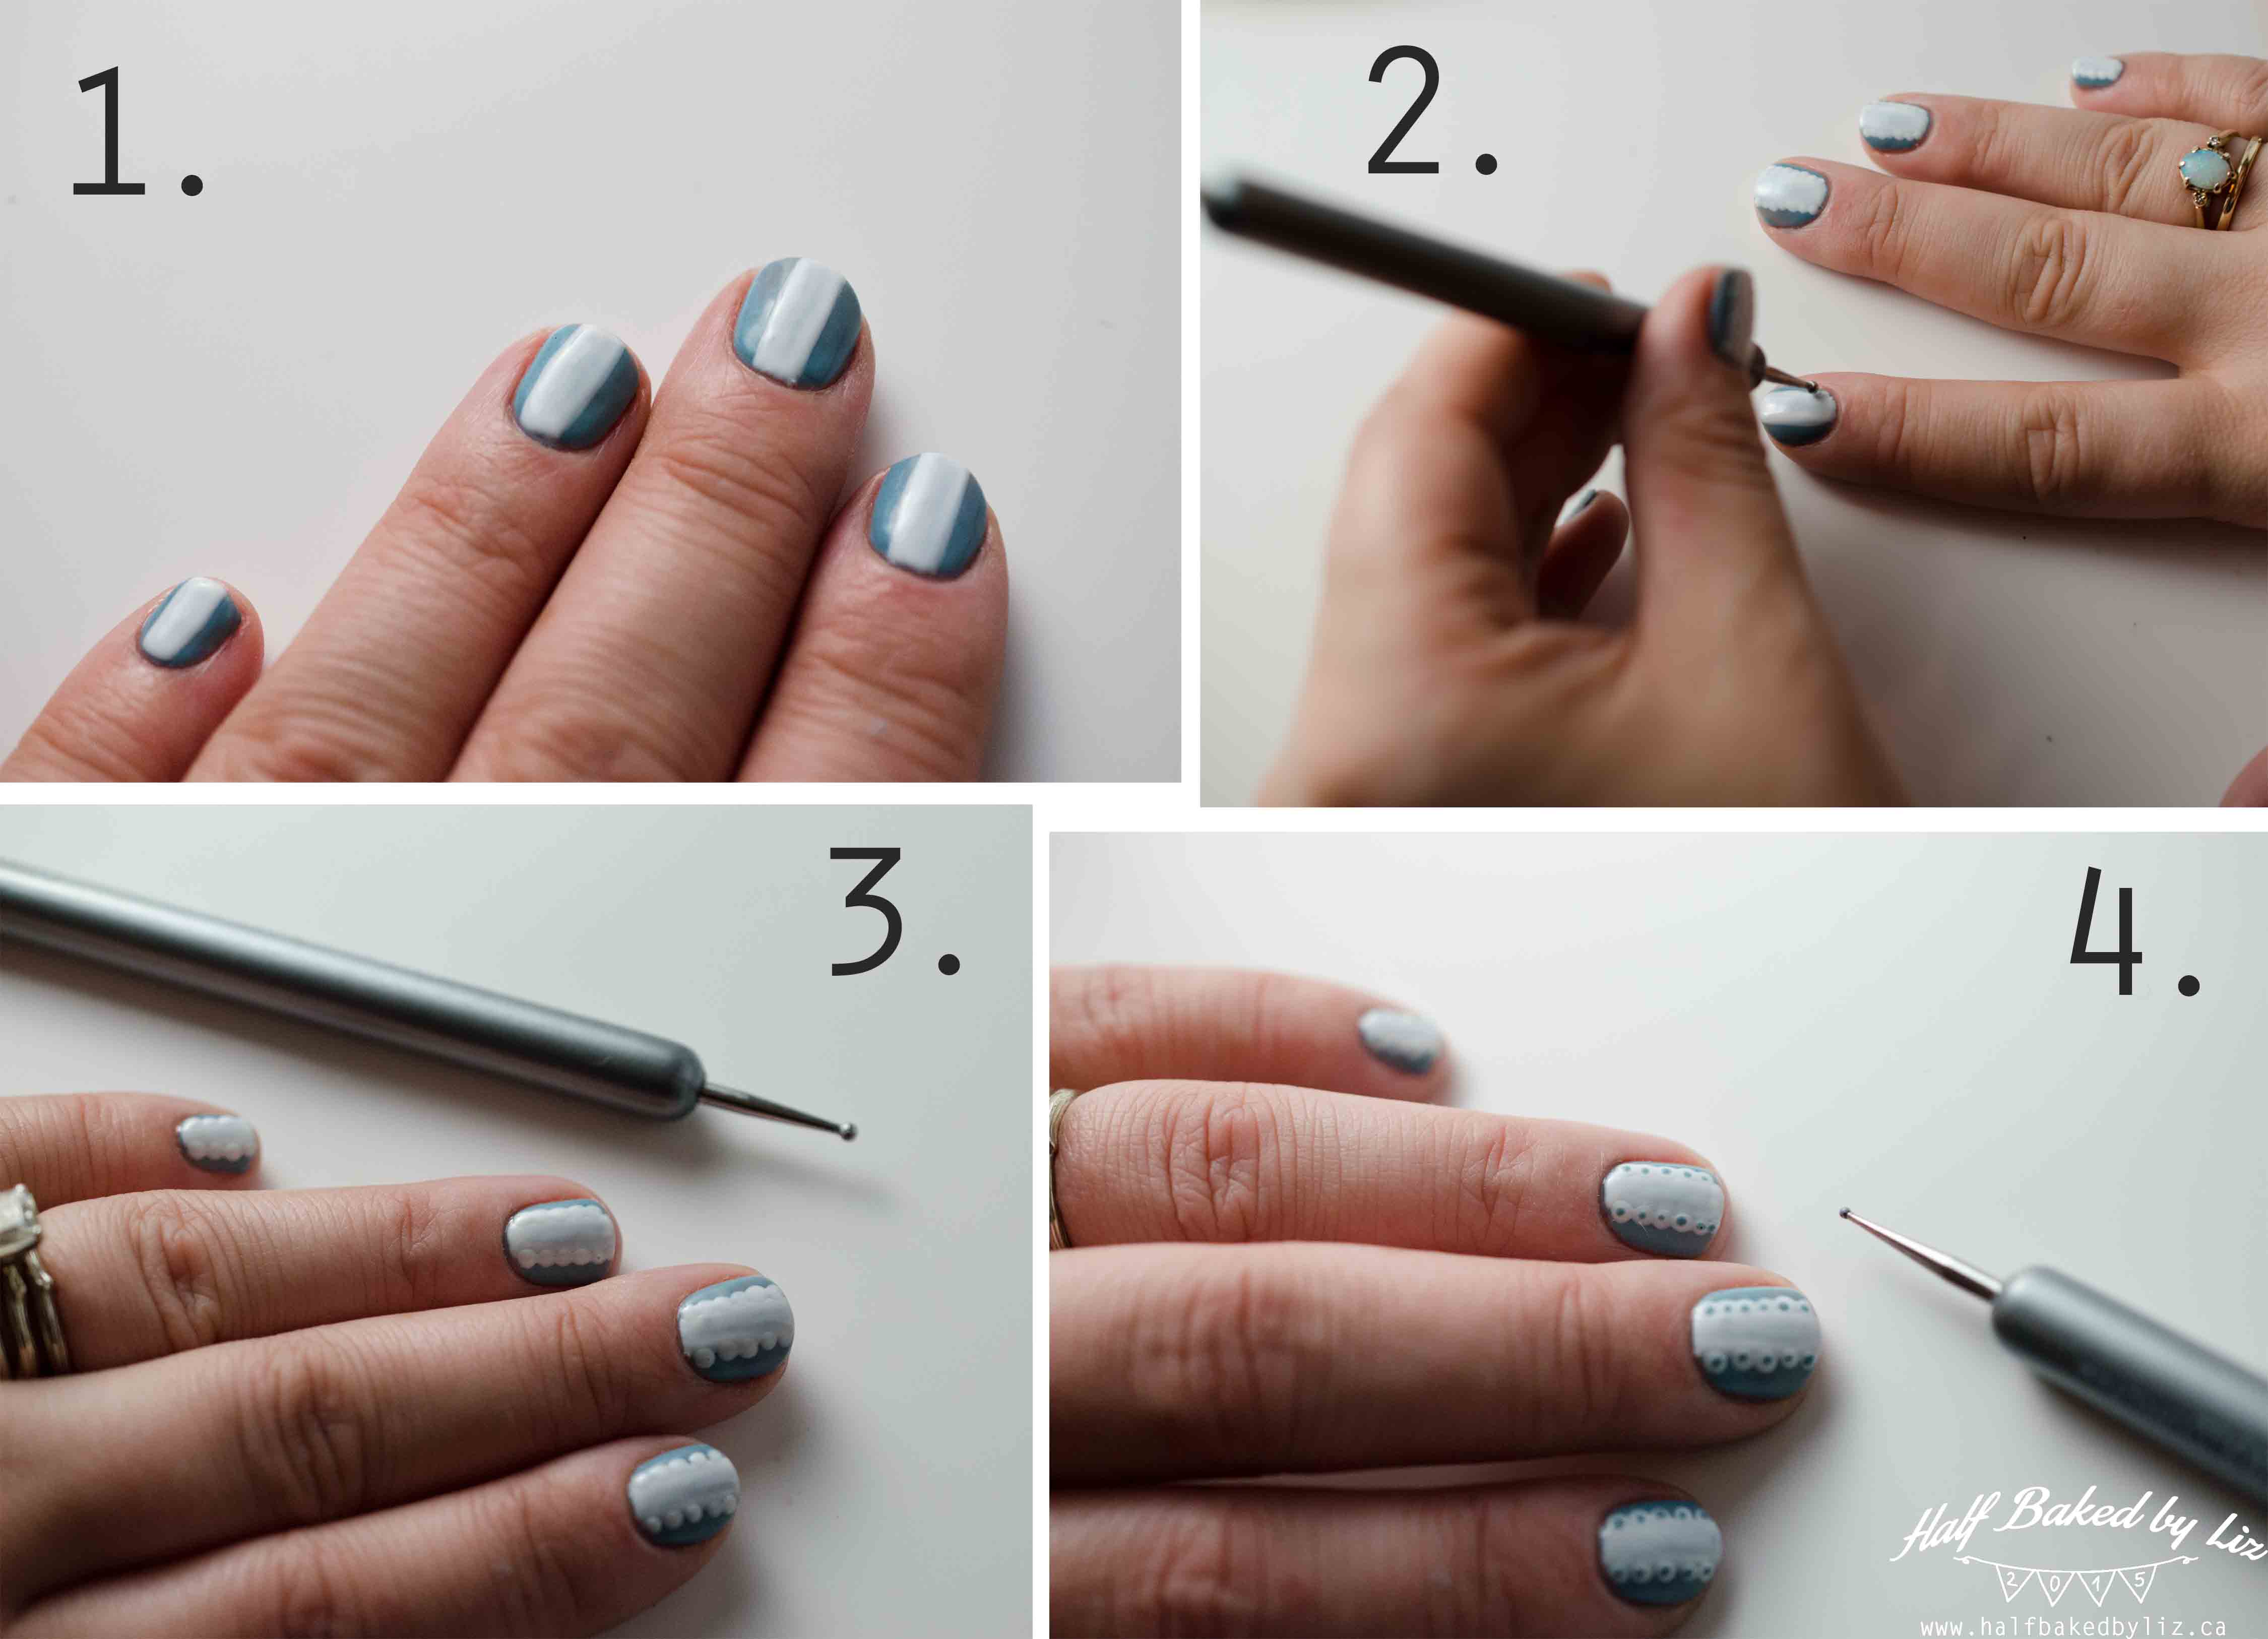
Step 1.
Add a white strip to the middle of each nail – just a brush width. You’ll likely need two coats.
Steps 2. + 3.
Use a medium-sized dotting tool to add white dots down the side of each white strip.
Step 4.
Use a small dotting tool to add tiny blue-grey dots to the center of each white dot (same colour as the base colour).
Once the lace is done, add the flower details:
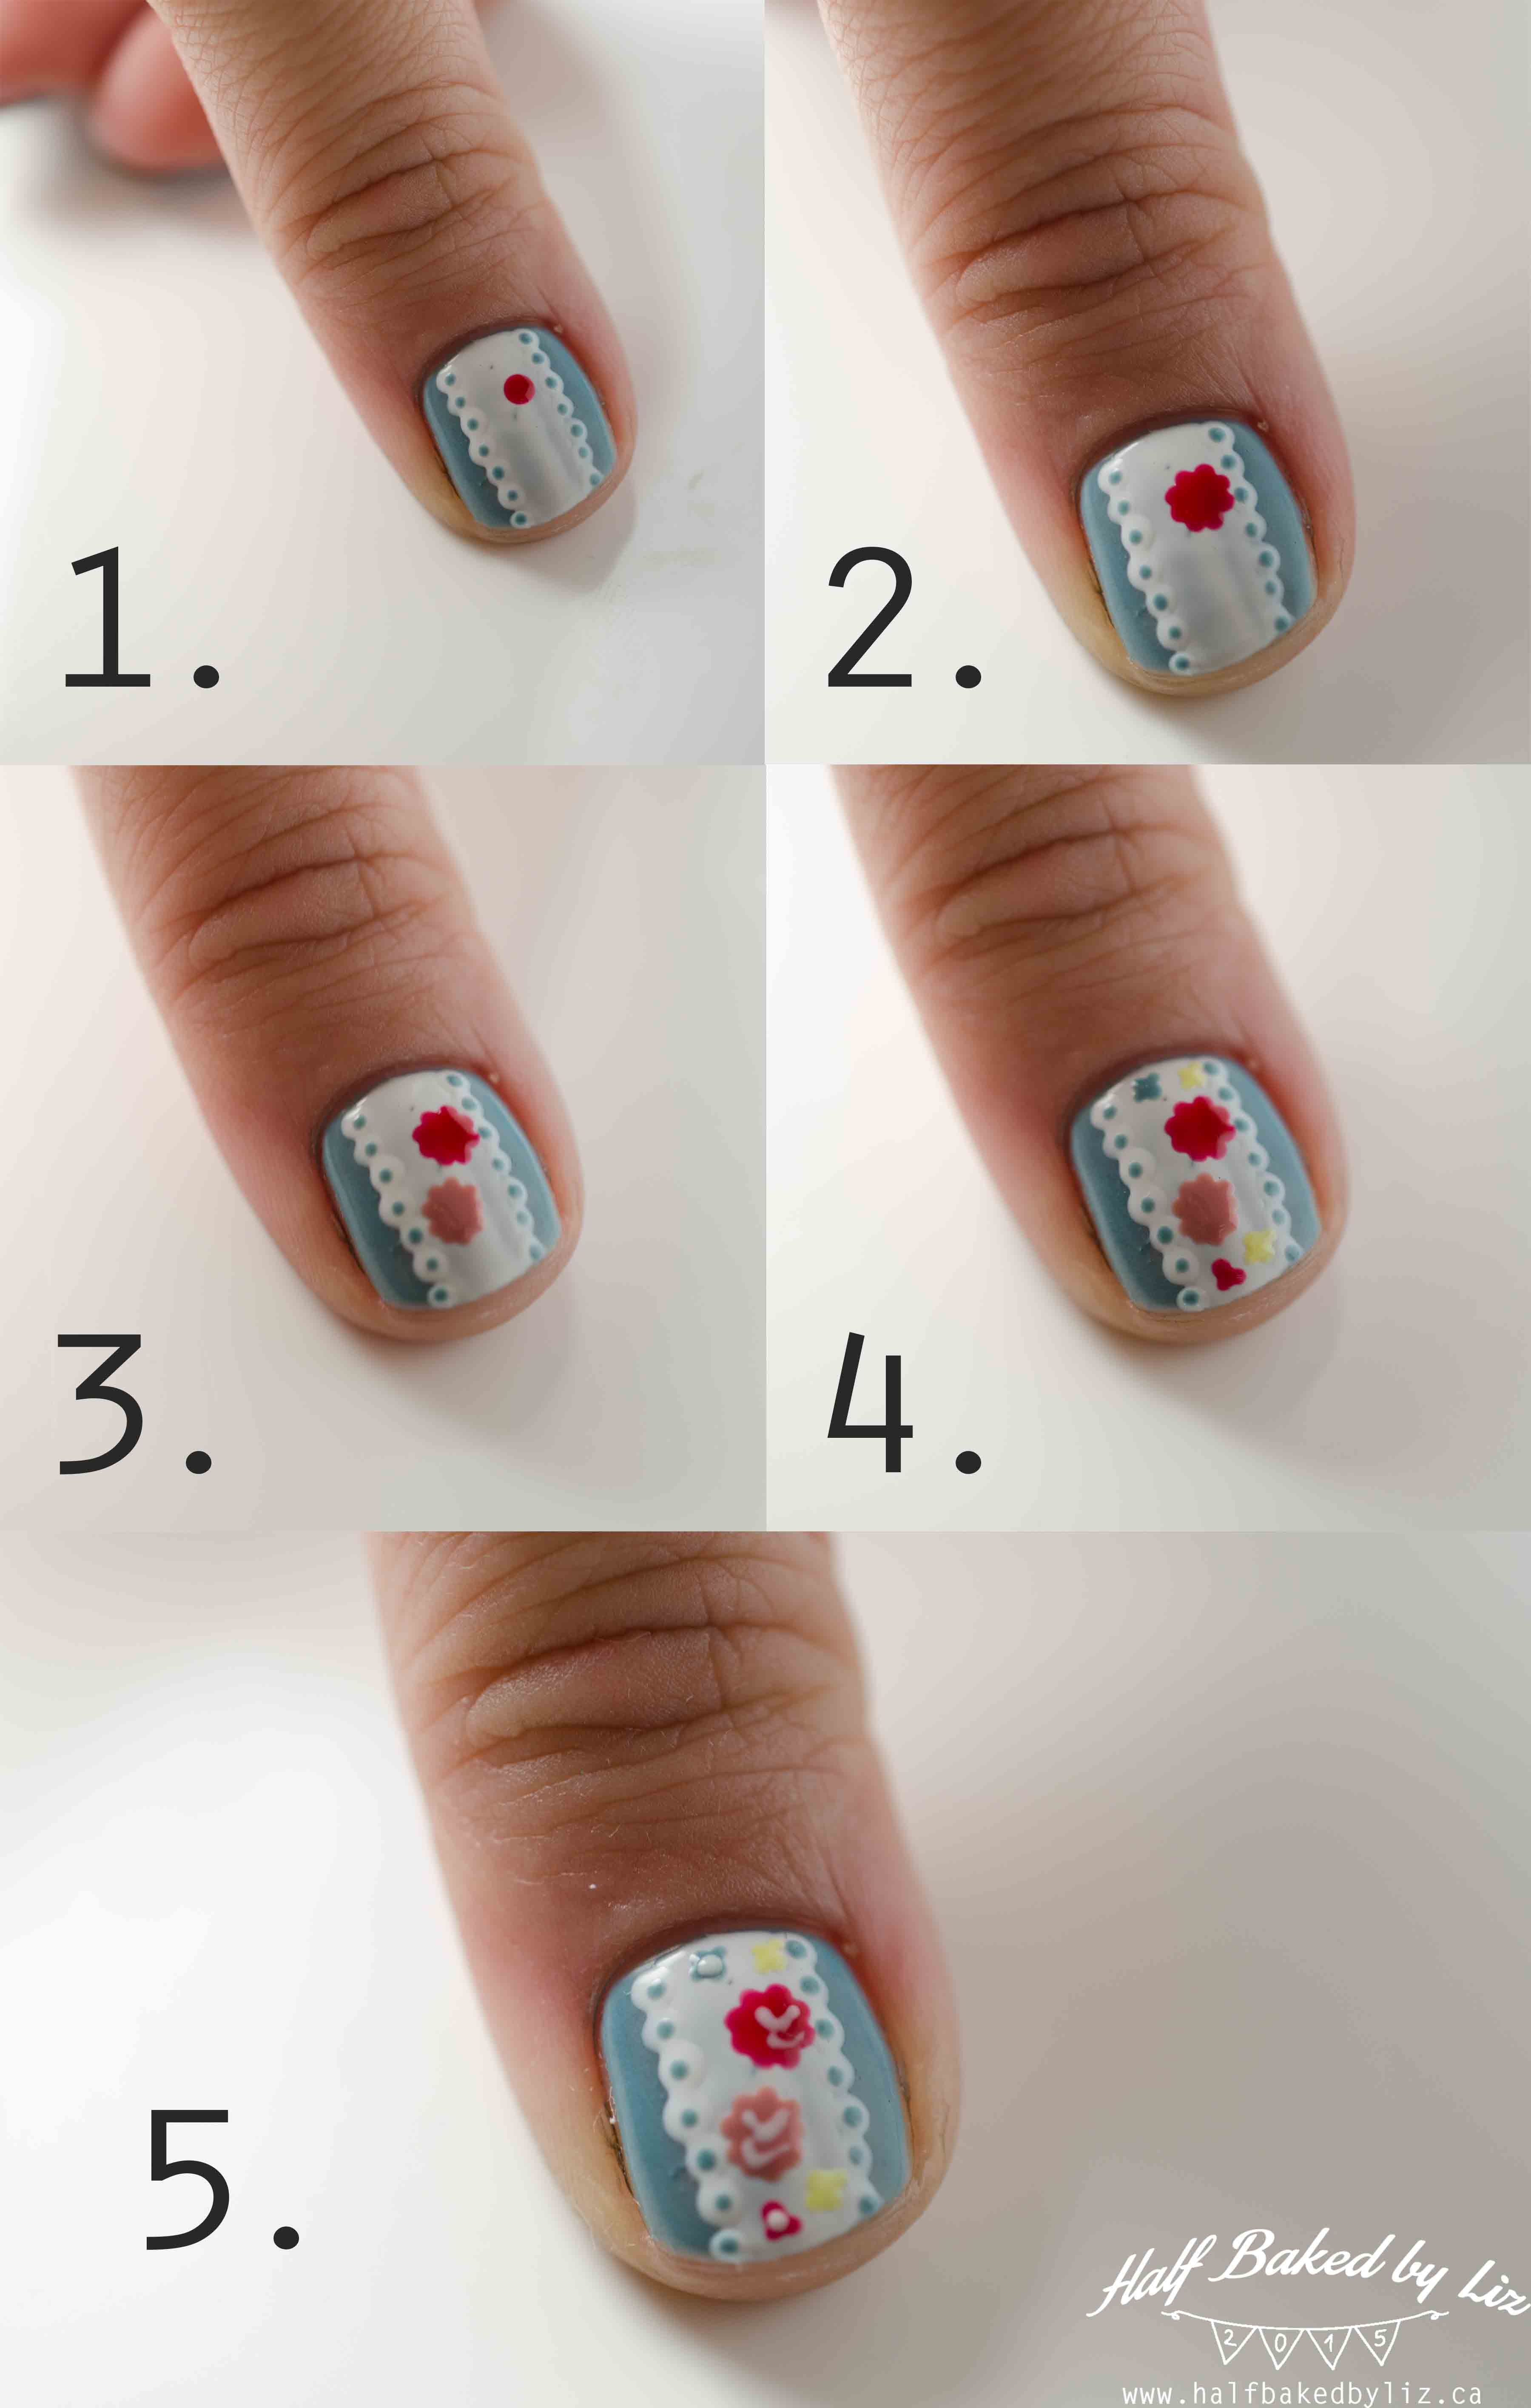
Step 1.
Add a large red dot near the center of each nail.
Step 2.
Place tiny red dots all around the edges of the large dot, to create a flower shape.
Step 3.
Repeat steps 1 and 2 with a rosey-pink polish.
Step 4.
Use yellow, blue, and red polish, and a small dotting tool to add some dot-clusters at either end of the lace piece, to create some tiny flowers.
Step 5.
Use the small dotting tool to add some white detailing to the center of the flowers.
Finally, once all of the flowers are in place, you need a little greenery:
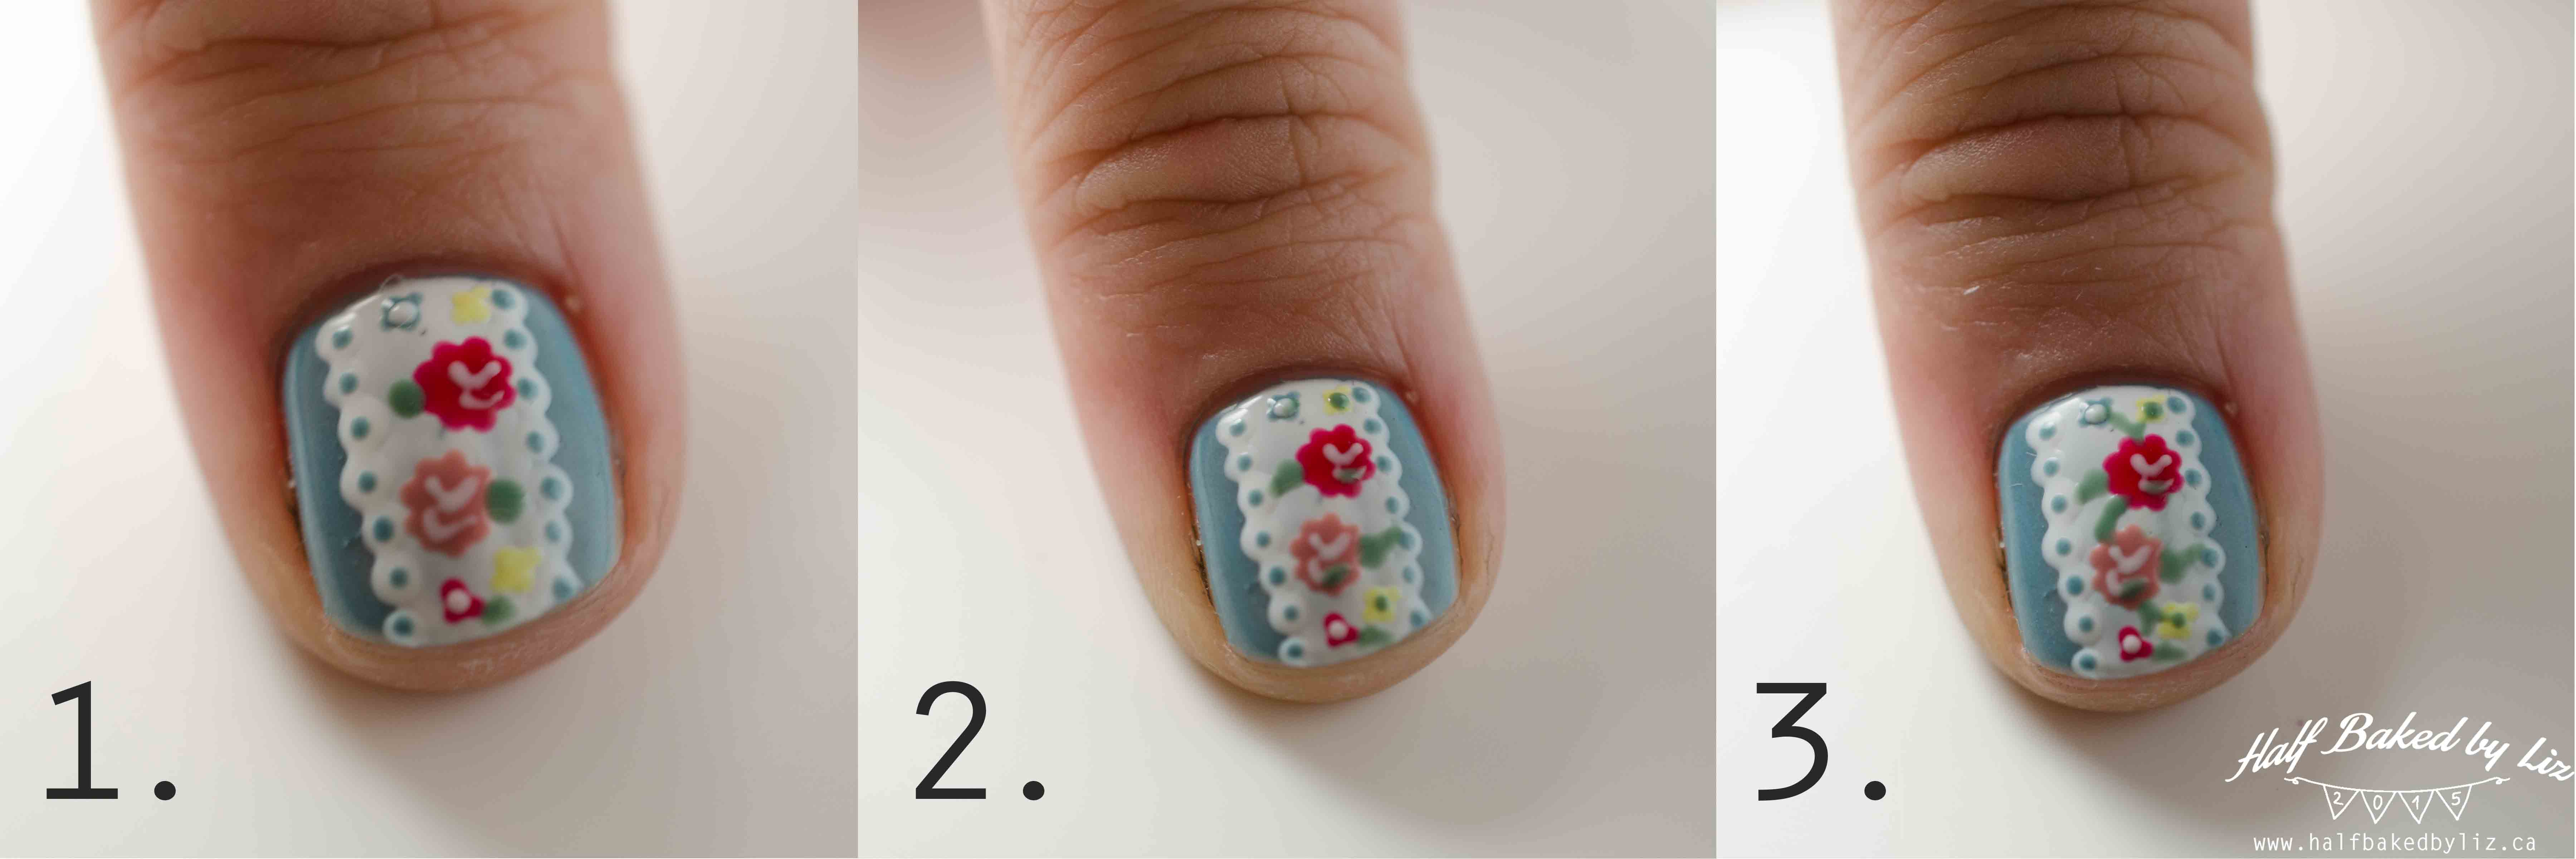
Step 1.
Place a medium-sized green dot next to some of the flowers.
Step 2.
Use the small dotting tool to drag each green dot out into a leaf shape. Also add a few small green dots inside the flowers.
Step 3.
Use the small dotting tool and some green polish to draw some vines between the flowers.
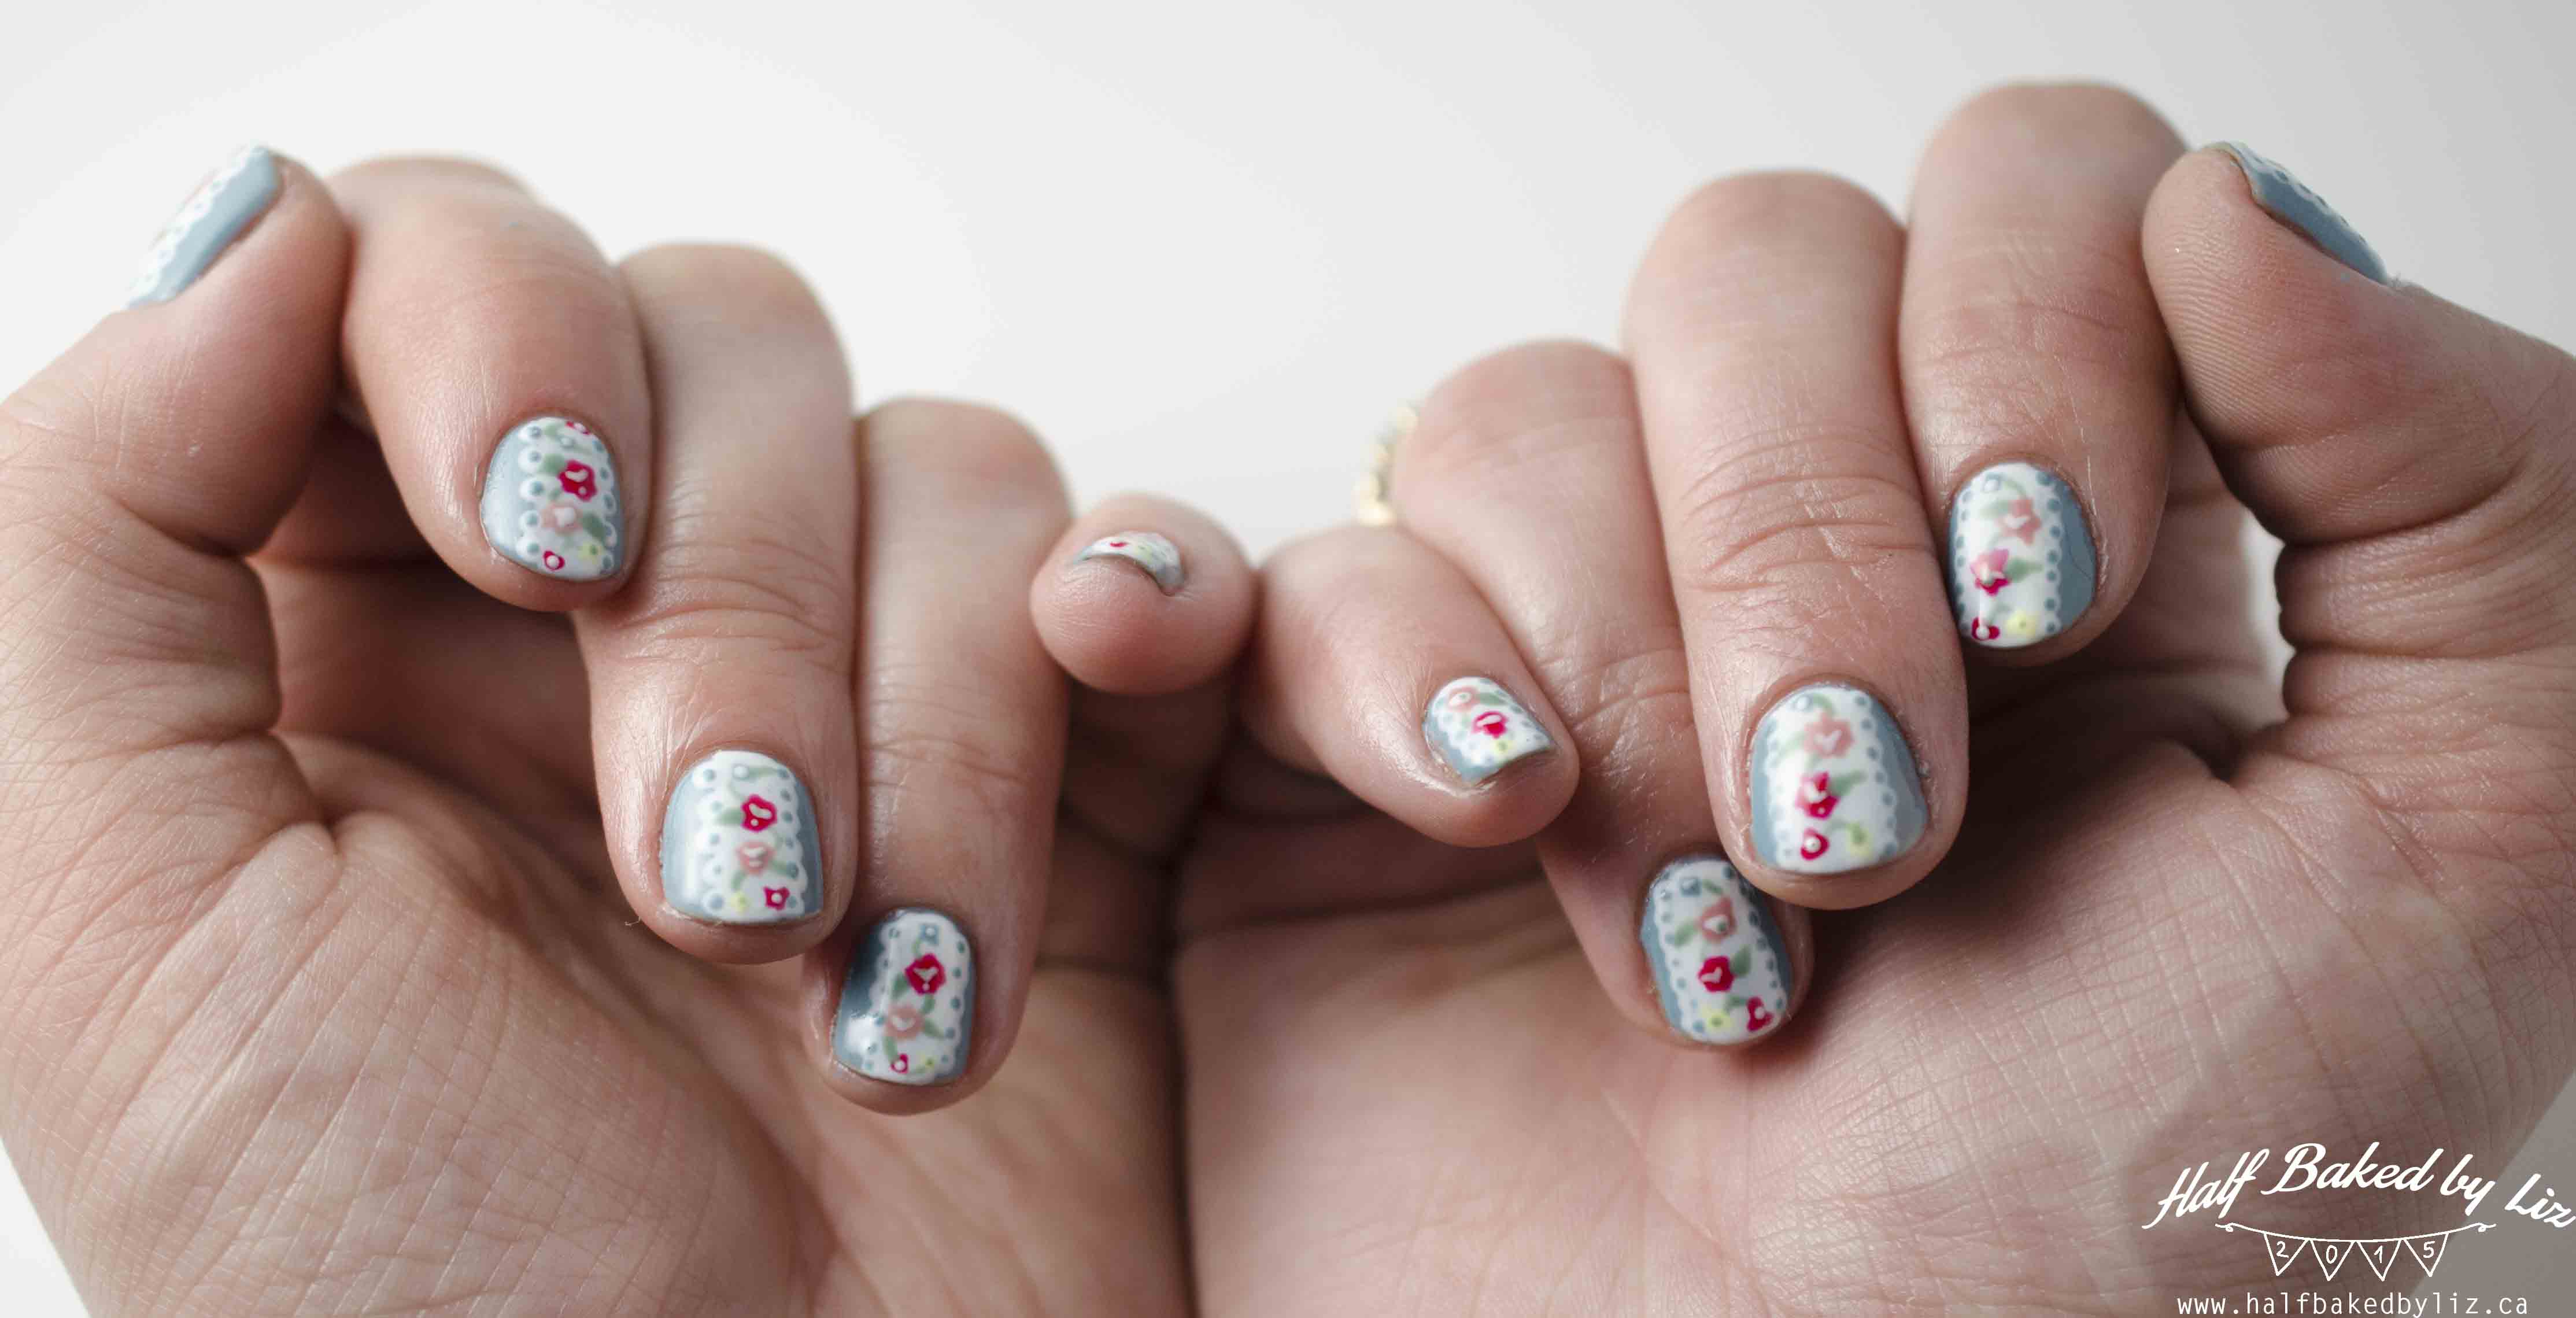
That’s it! Yes, there are a lot of steps, and I think this took me over an hour. But it’s really not hard to do, and so, SO cute.